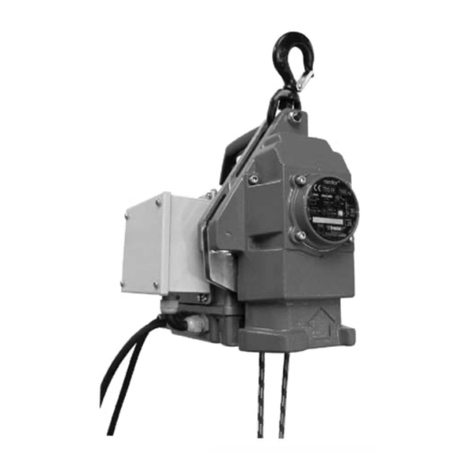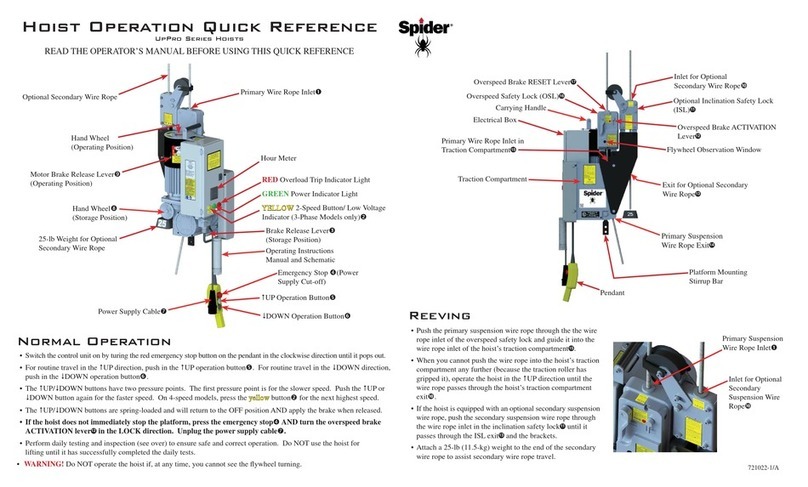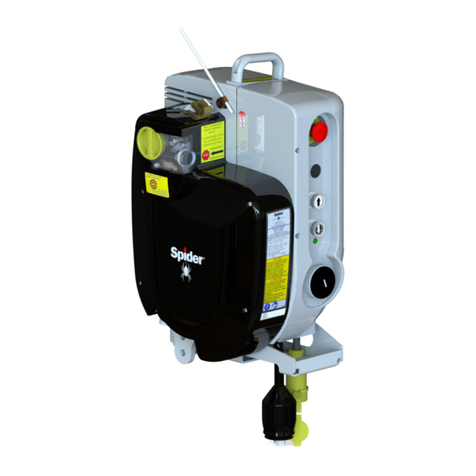
Dereeving Primary Suspension Wire Rope
For hoists equipped with the optional secondary wire rope, the secondary wire rope must be removed before
the primary wire rope is removed.
• WARNING! To prevent hoists and platform from tipping and avoid injuries, ensure that the platform is properly
supported on a stable, at surface before putting slack on the primary suspension wire rope.
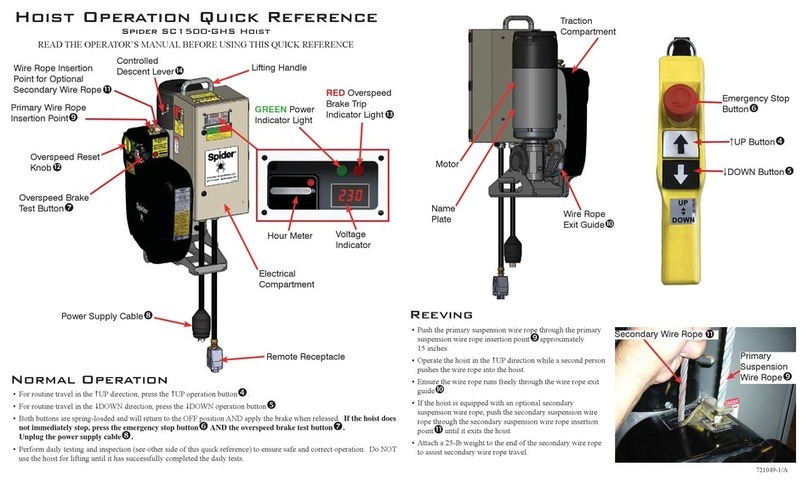
• Push in the DOWN operation buttonto wind the primary suspension wire rope out of the hoist. To remove
the last 15 inches (40 cm) of wire rope, if necessary, grab the wire rope above the primary suspension wire rope
insertion point, hold the overspeed brake reset knobin the reset position (vertical) and slowly pull the primary
suspension wire rope out of the hoist.
Dereeving Secondary Suspension Wire Rope
• In order to remove the optional secondary suspension wire rope, there must be no slack on the primary suspension
wire rope and the platform must be supported on a stable surface.
• Remove the counterweight from the end of the secondary suspension wire rope.
• Pull the secondary suspension wire rope out of the hoist by hand.
• If necessary, the primary suspension wire rope can now be removed from the hoist.
Daily Testing and Inspection
• Before operating the hoist, inspect the following:
▫Wire rope
▫Power supply
▫Rigging
▫Platform
▫Hoist
▫All parts are present, in proper working order, and are not damaged.
▫Bolts, nuts, and clamps are well secured.
▫Ensure the hoist is secured to the stirrup with SAE Grade 5 fasteners and lock nuts that are properly installed.
• In a dirty environment that contains epoxy, paint, cement, sand blast residue, or corrosive material, inspect the
operation of the overspeed brake several times a day. Protective hoist covers are recommended. Contact your
supplier.
Test the Overspeed Brake
• While powering the hoist UP and DOWN
approximately 3 feet (1 meter), look through the
window into the overspeed compartment to see
whether the ywheel is turning.
• Dereeve the wire rope:
• Re-insert the wire rope about 12" (30 cm) into
the hoist.
• Holding the wire rope rmly, pull it out quickly. If
the brake is working correctly, it will grab and hold
the wire rope in less than 4" (10 cm). The DOWN
button will light up RED to indicate the overspeed
brake has activated and the DOWN circuit has been
interrupted.
• Repeat this test at least 3 times. If the brake does not
work correctly every time, DO NOT USE THE HOIST.
Return the hoist to your supplier.
• Reset the overspeed brake by turning the overspeed
brake reset knobclockwise.
Test the Overspeed Brake Test Button
• Push in the UP operation buttonand raise the platform approximately 3 feet (1 meter).
• Push in the DOWN operation buttonand, at the same time, push in the overspeed brake test button.
• The platform should stop immediately. WARNING! If the hoist does not immediately stop the platform when the
overspeed brake test buttonis pushed, this indicates the motor is out of phase. Stop pushing both buttons and
CORRECT THE PROBLEM BEFORE THE HOIST IS PUT IN SERVICE.
• Reset the overspeed brake by turning the overspeed brake reset knobclockwise.
Test the Emergency Stop Button
• While running the hoist in either direction, press the red emergency stop button.
• Once the emergency stop buttonhas been pressed, the hoist should not move at all.
• To reset the emergency stop button, pull the button out.
Test the Controlled Descent
• Raise the platform approximately 3 feet (1 meter).
• Disconnect the power supply cable.
• Pull up the controlled descent leverSLOWLY, to make sure the hoist does not overspeed. The platform should
descend at a slow, controlled speed.
WARNING! If the overspeed brake trips while testing the controlled descent, the controlled descent system is not
working properly and THE HOIST SHOULD NOT BE USED.
Flywheel

