Copyright © 2020 Spiker Engineering. All Rights Reserved.
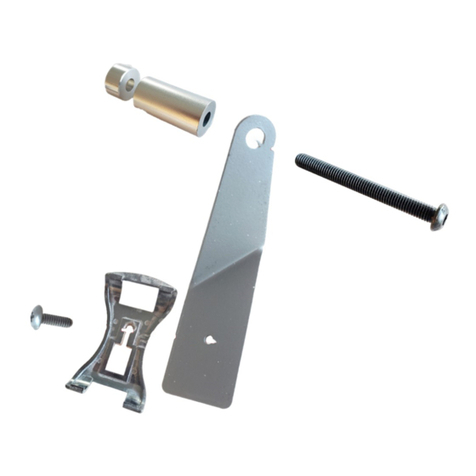
Sit in the driver’s seat, and adjust the angle of the mounting bracket on the handle bolt, as well as the clocking angle
of the adapter plate on the mounting bracket, until the plate points at your face (see below). Once you’re satisfied
with the adjustments, tighten the handle’s M6 screw securely, then tighten the 4-40 locknut and the bolt (hint – tighten
the locknut just enough to be snug, to allow future tilt adjustments; the locknut will prevent loosening of the bolt.).
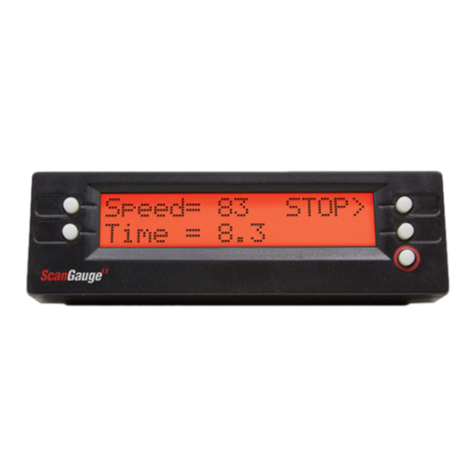
Clean the back of the Scangauge with IPA or similar. Remove the liner from the Dual Lock strips on the adapter
plate, and adhere the Scangauge to the Dual Lock strips, being careful to line up the Scangauge and the adapter
plate. Press the Scangauge against the Dual Lock strips on the adapter plate firmly to engage the adhesive, and hold
tight for about 30 seconds.
The Dual Lock strips should be sufficient to hold the Scangauge, however you can add a couple of zip ties to hold the
Scangauge to the bracket even more securely.
Leave a small loop near the Ultragauge, then route the cable along the a-pillar and to the left of the dash. You can
also tuck the cable between the a-pillar and the door weatherstrip.
Connect the cable to the OBDII port under the dash (’01-04 Tacoma – right side; ’05-15 Tacoma – left side). Zip tie or
tuck away any excess portion of the cable.
Route the Cable


