Sponge-Jet 70P Recycler User manual

SPONGE-JET 70P 70E USER MANUAL | 1
SPONGE-JET®
70P RecyclerTM
70E RecyclerTM
USER MANUAL
Sponge-Jet, Inc. (USA)
14 Patterson Lane +1-603-610-7950
Newington, NH 03801 www.spongejet.com
Sponge-Jet 70P 70E User Manual - REV A / ENG

2| SPONGE-JET 70P 70E USER MANUAL
CONTENTS
1.0 Safety 3
2.0 Introduction 5
3.0 Receipt and Inspection 6
4.0 Installation and Startup 6
5.0 Maintenance and Repair 15
Weight Adjustments 15
Balance Cages 18
RPM Adjustment 19
Lubrication 22
Belt Replacement 23
Motor & Variable Speed Pulley Replacement 27
Bearing Replacement 30
6.0 Replacement Parts 32
7.0 Recommended Spare Parts 32
Notes 33
Addendum
IMPORTANT NOTE: While parts, systems, components, operational
procedures may be the same between equipment models, the images
provided in this manual may vary from model to model.
This manual represents the following models:
Model: 70E Weight: 295 kg (650 lb)
Model: 70P Weight: 295 kg (650 lb)
English Language is Original Instructions.
Translated from Original Instructions.

SPONGE-JET 70P 70E USER MANUAL | 3
1.0 SAFETY
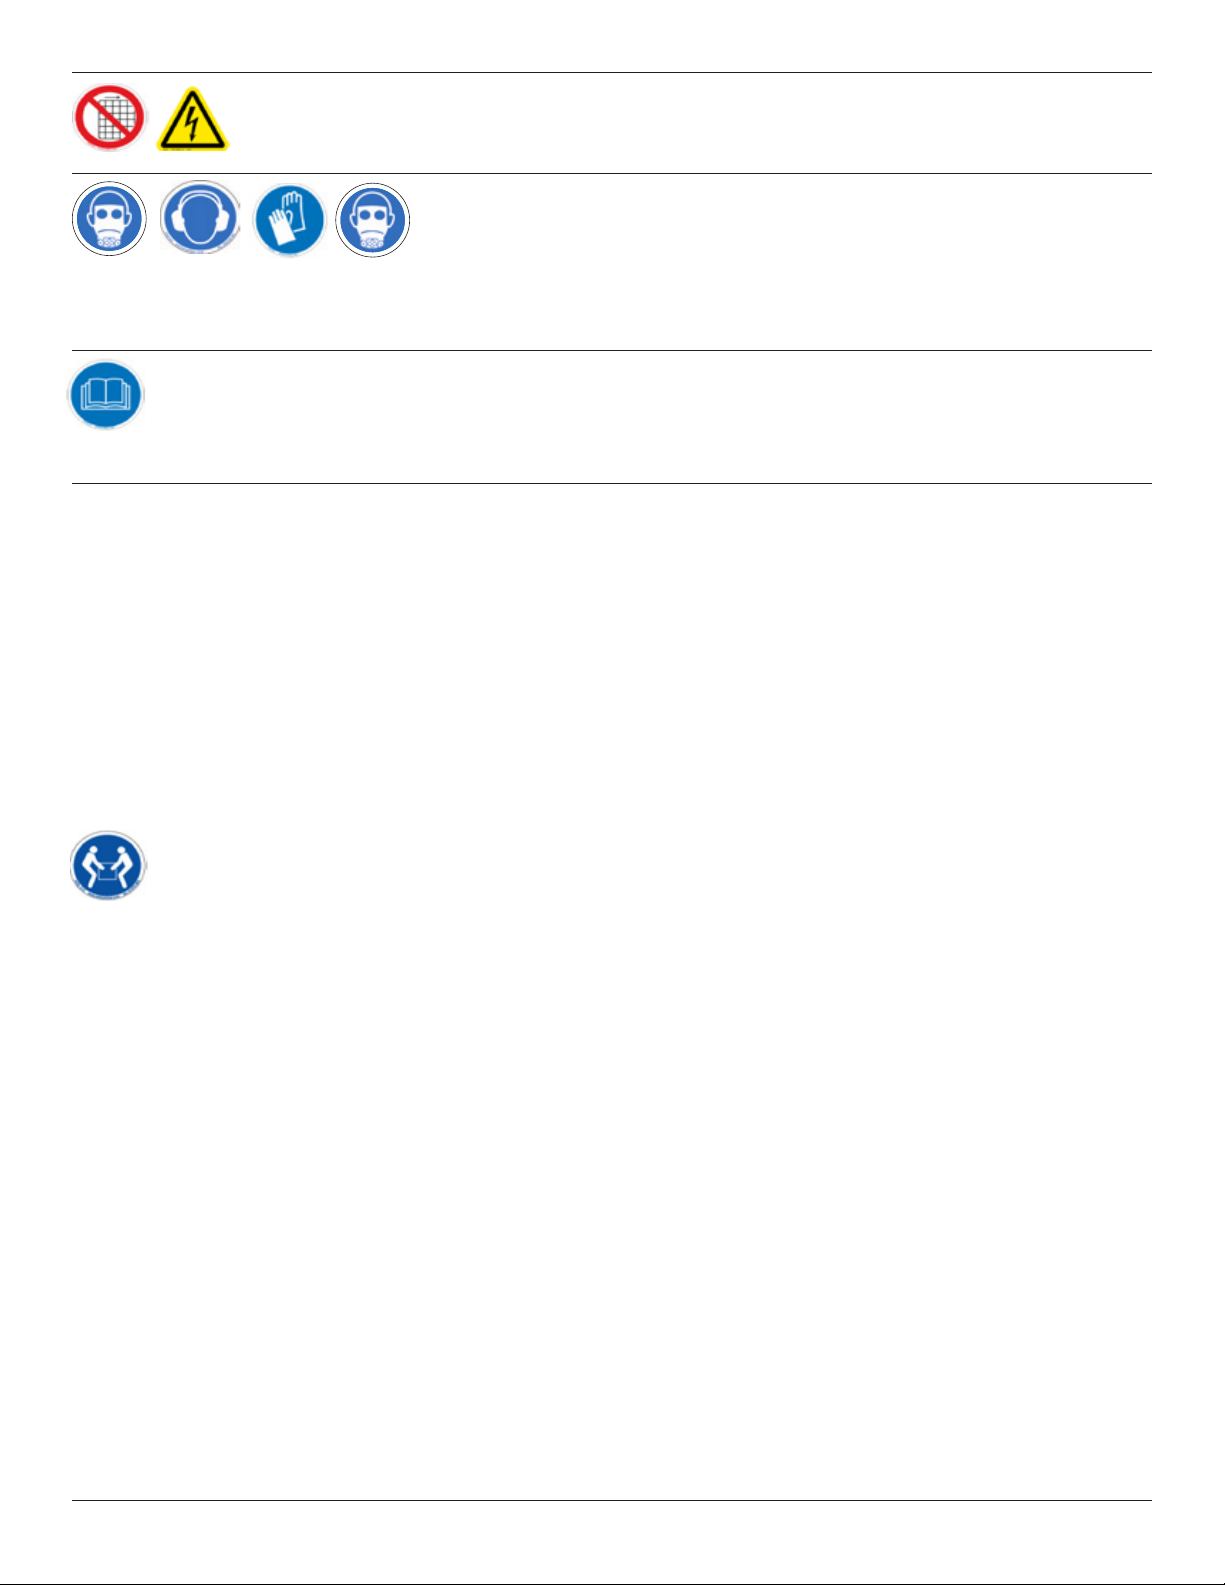
Safety Labels
User Manual Caution/Danger
Ear protection Safety Gloves
Hazardous Voltage Two Man Lift
Protective Earth Ground Do Not Operate with
Guards Removed
Lockout/Tagout Eye Protection
Electrical Power Respiratory Protection
Failure to follow all Instructions in manual and any alterations made to
equipment following shipment from Sponge-Jet will void warranty. Direct
attachment, such as welding or bolting of any additional chutes or hoppers,
etc., to vibrating equipment other than those supplied by Sponge-Jet, Inc.
will automatically void warranty.
Any connection made to the unit must be flexible.
Before starting unit, operator must be certain unit is free to follow the
movement produced by the vibrating equipment.
In general, the feeding and discharge connections must have sucient
clearance to prevent any contact.
Before Starting Unit:
The base must have a substantial foundation around the entire bottom of the
unit base ring. The base must be secured to floor or adequate support struc-
ture unless on casters. If, after unit has been started, there are secondary
vibrations to foundation or to separator base, unit must be reinforced. With
further questions, consult Sponge-Jet, Inc.).
The frames must be attached to the table.
Shipping lugs must be removed.
All guards and service doors must be In place.
4| SPONGE-JET 70P 70E USER MANUAL
2. Risks:
a. Operating equipment with guards removed
b. Hazardous voltage
3. Required Personal Protective Equipment:
a. Wear eye protection
b. Wear ear protection
c. Wear safety gloves
d. Wear respiratory protection
4. Unit should only to be operated and maintained by trained personnel.
a. Read and follow all maintenance instructions and guidelines.
i. User should not operate without reading all guidelines.
b. Licensed electrician for wiring of any electrical equipment is required.
5. Unit must not be used:
a. Do not operate with explosive products or products at
elevated temperatures.
b. Do not operate without all guards and covers in place.
c. Lockout/tagout procedures must be followed before any
inspection, maintenance or cleaning is undertaken.
d. Lockout/tagout procedures must be followed before
adjustments are made to eccentric weight mechanism.
e. User must ensure any cables, hoses or pipes do not
present a slip, trip or fall hazard.
f. Unit should not be climbed on.
g. User is responsible for taking all necessary precautions
dependent on material being screened (e.g. additional PPE etc.).
h. Be careful when moving. Move with help.

SPONGE-JET 70P 70E USER MANUAL | 5
2.0 INTRODUCTION
This unit is a series of vibratory sieves powered by an electric motor. The mo-
tor connects to a variable speed pulley, and is mounted to a motor mount that
allows the motor to be adjusted by a crank for various RPM changes.
Please study this manual carefully and keep it handy for reference.
This manual suits for next models
1
Table of contents
Other Sponge-Jet Industrial Equipment manuals


