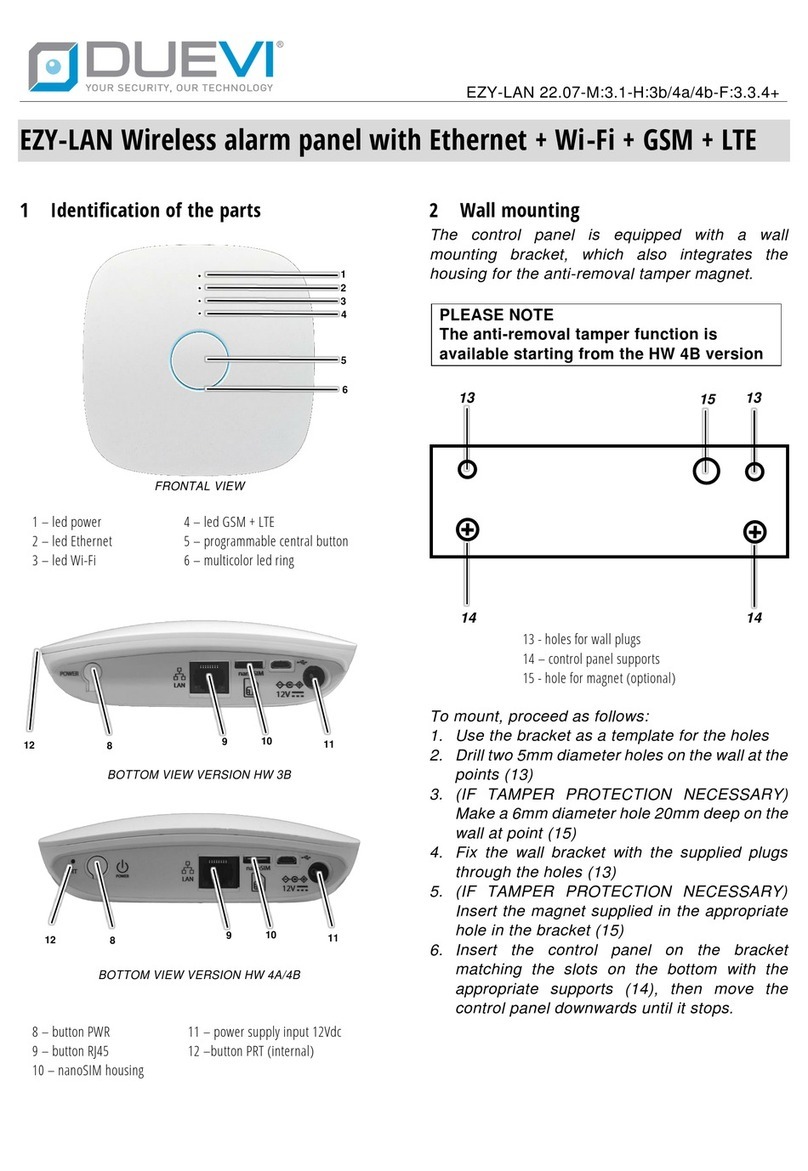
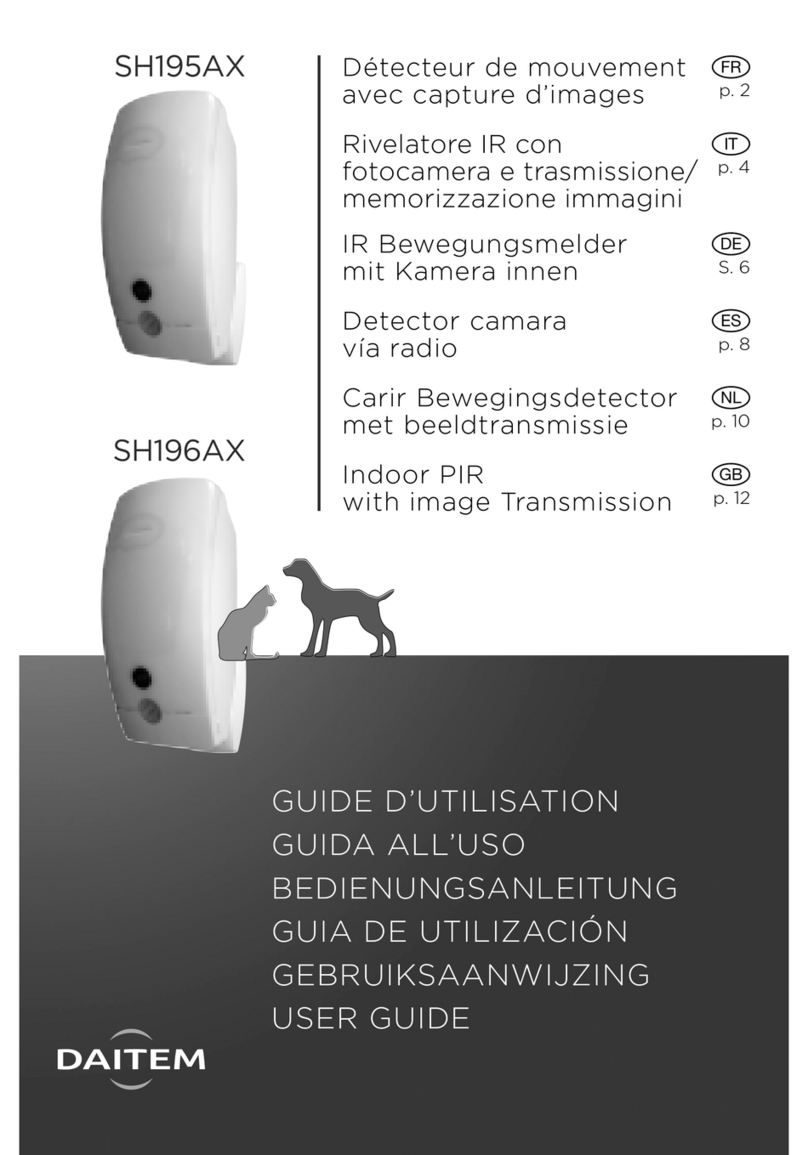
SPY RF ALARM User manual

BEDIENUNGSANLEITUNG
USER MANUAL
SPY RF ALARM

BIP
Symbole / Symbols
SpyRF AlarM
Zubehör / Furnitures Montageanleitung /braket fixing
Funktion / functioning Beenden desAlarms / Stop alarm
Im Alarm / Inalarm
=>
Recycling : Werfen sie dieses Gerät nicht auf eine
Mülldeponie oder in den Hausmüll. Beachten sie die
Aktuellen Müllregelungen.
RECYCLING : do not throw in a rubbish dump or in a domestic
waste container. Comply to the regulation to throw away the
device.
Stromversorgung: Dieses Gerät kann mit einem 230VAC
Adapter betrieben werden. Beachten sie die Sicherheits-
Vorschriften und Regelungen vom Anschluß an Strom.
POWER SUPPLY : this device is powered bya cotinuous
current delivered bya main power supply adaptor (230VAC).
Comply to the security and utilization regulations of electric
power. Use a an electricinstallation complying to these
regulations
CE - Zeichen : Dieses Equipment ist zertifiziert das es den
Europäischen Regulationen der Elektrogerätesicherheit,
Brennbarkeit, Strahlungsemissionen und Sicherheit von
Elektrischen Störungen entspricht.
CEMARKING :this equipment is certified to comply with the
European regulation for the electric security, inflammability,
disturbing radiation emission and immunity to surrounding
electric disturbances.
BIP
Die Alarmierung über das Relay istauf 4Minuten begrenzt.
Der Alarm startetwieder bei Überschreitung wenn er inder
Software bestätigt wurde.
Der Alarm über dasRelay stoppt nach einer gewissen
Anzahl vonWiederholungen(siehe Seite 4).
Die LEDund das Alarmsignal am SPY ALARM wirdwährend
des komplettenAlarmsaufrechterhalten.
aDieFunktion desRelayswirdnach Beendigung desAlarms
über dieSoftware wieder neu initalisiert.
Stopis temporary(4min) only forthe relay. The alarm will go on
again until it will be acknowledged by Sirius.
The relaywill stop aftera number ofcycle (seep 4). Theled and
buzzerwill always advertise. The relay fonctionningwill be
initializedafter aSirius acknowledgement.
BeierreichendesAlarmesschaltetdasModem
Für 4Sekunden dasRelay Anoder Aus
By default, thealarmis alternatively on and off 4’onlyfor
the relay.

1
2
3
2
a
a
)
AbklemmenderBatterie.
Unplug the battery connector
.
b) Benutzensie zum Abklemmen einen Schraubenzieher.
Short circuit the 2 pins with a screwdriver
c) Neue Batterie anschließen. Connect the new battery
d) Wechseln sie die Dichtung. Change the seal
e) Schließensie das Batteriefach. Close the battery cover
Die Garantie des
Gerätes erlischt
bei öffnen der
Scharuben.
Neverunscrew.
This will cancel the
warranty
1
3
Öffnen des
Batteriefachs
Open the
batterycover
b
Ersetzender Batterie / Replacing battery
TECHNISCHE DATEN / CHARACTERISTICS Spy RF AlarM
Zeitliche Länge des Alarms (aktiv) / duration alarm on Wählbar / suitable
Zeitliche Länge des Alarms (inaktiv) / duration alarmoff Wählbar / suitable
Betriebstemperatur / Operatingrange -10°C +70°C
LagerTemperatur / Storage range -30 + 70°C
Funk Reichweite (im Freifeld) / Radio range (in free field) 1km
Frequenz / Radio band 868MHz
Stromversorgung / Power supply 9 VDC – 300 mA
LebensdauerBatterie / battery life 200 alarmes max ou 2 ans / 200 alarms or2years
Maße 123x69x30mm
Schutzklasse / Protction degree IP34
CE-Konformität / CEERMconformity EN 301 489 / EN 61000 / EN 61010 EN 55022 / EN 300 220
AKTIVIERUNG ACTIVATION
Zum Startendes SPY RF, drücken sie 3 bis 10 Sekunden
den Taster :
-Die beidenLED´sleuchtengleichzeitig
-Die grüneLED leuchtet jede Sekunde
Zum Ausschaltendes SPY RF, drücken sie 3 bis 10
Sekunden den Taster
-DiebeidenLED´s leuchtennacheinander
-Das Ausschalten ist nur beikeiner Alarmierung möglich
ansonsten bittedenAlarm in der Softwarebestätigen.
To start the SPY RF, press between 3 and10”onthe button:
-the2 LEDs are onandflash atthesame time
-The green led blinks evry seconds
To stop theSpy Rf, press on between 3 to 10’’ on thebutton
-the2 leds areon andandflash one after the other.
-Stopis possible onlyif thereis no alarm, otherwise
acknowledgeit before withSirius.
BATTERIEN NIEMALS IN
S FEUER WERFEN.
BATTERIEN KÖNNEN NIC
HT AUFGELADEN WERDEN
.
BITTE BENUTZEN SIE NUR BATTERIEN VON IHREMAUTHORISIERTEN FACHHÄNDLER.
KEEP THEBATERYFAR FROM THEFIRE ; DO NOT TRY TO RELOAD OR TO SHORTCIRCUIT IT. USE ONLYBATTERIES
SUPPLIED BY JRI (REF 06569)
AlarM
AlarM
>3’’ / <10’’
<3’’

Einfügen des SPYAlarm in Sirius
InSirius bitteDevice management öffnenund auf
dieses Feld klicken. Dann wie folgt vorgehen
Adding the Spy RF AlarMinSirius
InSirius click on Device management and then on
Followthe instructionbellow
Nach derBestätigung schließt sich das Fensterund
Der SPY ALARMwird in die Flotteeingebunden. After Ending,the window will closeandtheSpy RF
AlarM is installed and appear in the fleet
Ajouter unappareil
Logger Typ
auswählen
Choose the
recorder familly
DasModem auswählen
zu
welchem das Gerät zugefügt wird
Eingabe der Seriennummer
Bestätigen
Geräte Model auswählen

Konfiguration
Der SPY RF ALARMhat einevoreingestellteWerte :
Wenn ein ALARM ausgelöst wird ertönt ein Signal
unddie LED´s blinken.Der Schaltkontakt wird für
4 Minuten eingeschaltet und endet automatisch.
DieserVorgangwiederholt sich 5 mal bevorder
Schaltkontakt definitiv endet.
Diese Funktion ist aberauchprogrammierbar.
Inder Device management Seitewählen sieden
SPY RF ALARM(90 AX XX XX) aus und klickenauf
More details.
Setting up
The Spy RF AlarM asadefault settings:
When an alarm goes on, the buzzer,the led turn on.
The relay contact turn on during 4’ and turn off
automatically4’ later5 time by defaultbefore
soppingdefinitively.
These activation / relaesedelay are programable
From Device management page (in Sirius), select
the Spy RF AlarM (90 AX XX XX) and thenclick on
More details button
1 = Anzahl der öffnen/schließenkontaktebevor der Alarm
Völligstoppt. Beendensieden Alarmin Sirius umdas
SPY ALARM neu zu programmieren.
2 = Intervall Einstellungin Sekunden fürden Schaltvorgang
3 = Einstellung desLED undTon Intervalls
(ACHTUNG Die Änderungen der Konfiguration können
DieLebensdauer der Batterie beinträchtigen.)
1= Numberof open/closecontact cycle before relay stop
Acknoledge thealarm inSirius to initializeit again
2= contact durationfor each state(insecond)
4= activationledandbuzzer coefficient.
(Takecare changing this setting modify the durationof
battery life)
Alarm Einstellungen
Um einenAlarmaufdem SPY ALARM zu empfangen
Öffnen siedas ConfigurationFensterund klickensie
Auf Rmote Alarms
Sending remotealarm
Toremote alarms through theSpy RF AlarM, open
Configuration windowand click on Remote alarms
.
Name : Namedes Alarms
Support : AlarmModul undName desausgewählten
SPY RF ALARM
Type : AuswahlderAlarmierung
Target : Alarmgebundene Geräte
Time delay : Zeitverzögerung vorAlarmstart
Name : Remotealarmidentification
Support : Alarm modulethenN°of concerned
SpyRF AlarM
Type : Choosefor whatsort of alarm
Target : Monitoring units concerned
Timedelay : Delai before alarm goes on
Zeitintervall in welchem derAlarm aktiviert ist
. J
edes
Kästchensind 30Minuten. Die AuswahloderLöschungder
Zeit wird über dieKlickund Zugfunktion derMausgesteuert.
Time period in which the remote alarmis activated. Each square
equals to 30 minutes. The selection or deselection of a period is
done by a click / slide.
1
2
3
1
2
3
This manual suits for next models
1


