manuals.online logo
Brands
  1. Home
  2. •
  3. Brands
  4. •
  5. Blaupunkt
  6. •
  7. Security System
  8. •
  9. Blaupunkt SR-S1 User manual

Blaupunkt SR-S1 User manual

Other manuals for SR-S1

1

Other Blaupunkt Security System manuals

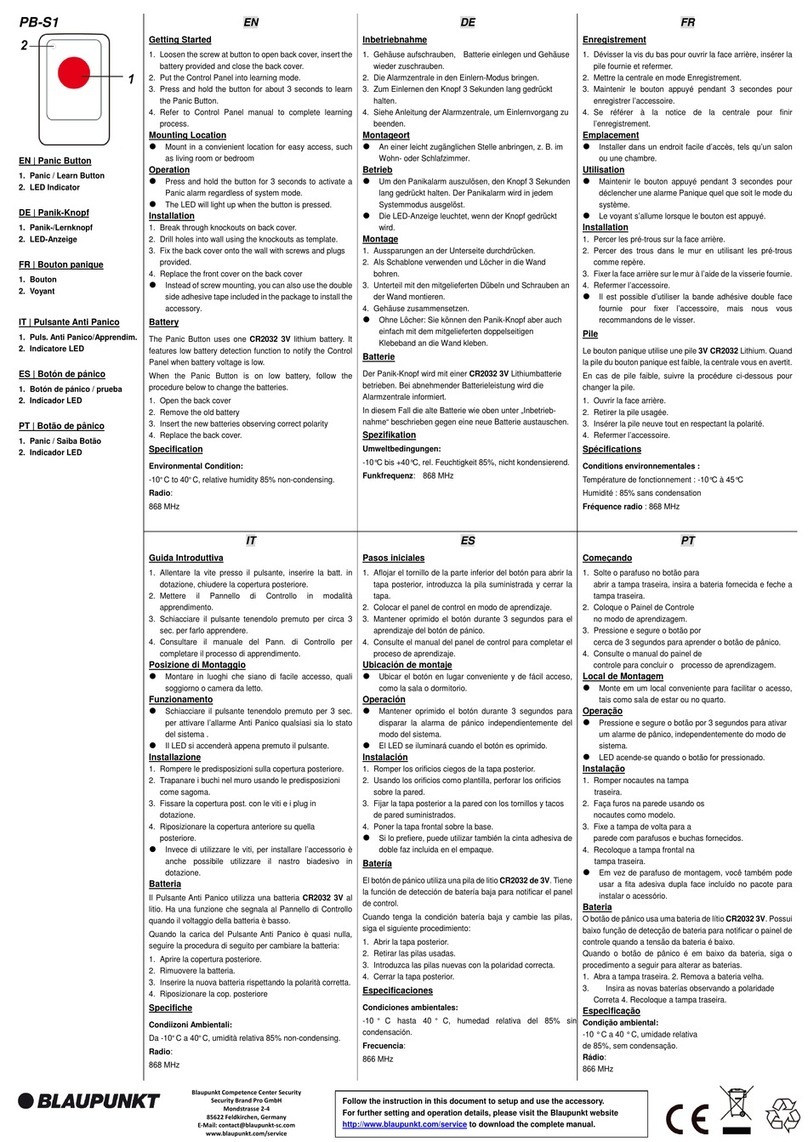
Blaupunkt PB-S1 User manual

Blaupunkt

Blaupunkt PB-S1 User manual

Blaupunkt SR-S1 User manual

Blaupunkt

Blaupunkt SR-S1 User manual

Blaupunkt Q3000 User manual

Blaupunkt

Blaupunkt Q3000 User manual

Blaupunkt SA 2700 User manual

Blaupunkt

Blaupunkt SA 2700 User manual

Blaupunkt PB-S1 User manual

Blaupunkt

Blaupunkt PB-S1 User manual

Blaupunkt SA 2900R User manual

Blaupunkt

Blaupunkt SA 2900R User manual

Blaupunkt SA 2700 User manual

Blaupunkt

Blaupunkt SA 2700 User manual

Blaupunkt SRAC-S1 User manual

Blaupunkt

Blaupunkt SRAC-S1 User manual

Blaupunkt SA 2500 User manual

Blaupunkt

Blaupunkt SA 2500 User manual

Blaupunkt IRC-S2 User manual

Blaupunkt

Blaupunkt IRC-S2 User manual

Blaupunkt ISD-RG1200 User manual

Blaupunkt

Blaupunkt ISD-RG1200 User manual

Blaupunkt ISD-DA1 User manual

Blaupunkt

Blaupunkt ISD-DA1 User manual

Blaupunkt SA 2700 User manual

Blaupunkt

Blaupunkt SA 2700 User manual

Blaupunkt Q SERIES Owner's manual

Blaupunkt

Blaupunkt Q SERIES Owner's manual

Blaupunkt Q-Pro6300 User manual

Blaupunkt

Blaupunkt Q-Pro6300 User manual

Popular Security System manuals by other brands

Polon-Alfa 4000 Installation and maintenance manual

Polon-Alfa

Polon-Alfa 4000 Installation and maintenance manual

Nexcom NViS 14162 Series user manual

Nexcom

Nexcom NViS 14162 Series user manual

Eminent EM8670 Quick install

Eminent

Eminent EM8670 Quick install

urmet domus alpha 1060 INSTALLATION AND USE BOOKLET

urmet domus

urmet domus alpha 1060 INSTALLATION AND USE BOOKLET

SmartPool YardGuard YG03 manual

SmartPool

SmartPool YardGuard YG03 manual

DSC PC5964 Mounting instructions

DSC

DSC PC5964 Mounting instructions

Secure USAB-1 operating instructions

Secure

Secure USAB-1 operating instructions

B&B 480 SERIES Operation & maintenance manual

B&B

B&B 480 SERIES Operation & maintenance manual

ADEMCO VISTA-20P Series Installation and setup guide

ADEMCO

ADEMCO VISTA-20P Series Installation and setup guide

Inner Range Concept 2000 user manual

Inner Range

Inner Range Concept 2000 user manual

Johnson Controls PENN Connected PC10 Install and Commissioning Guide

Johnson Controls

Johnson Controls PENN Connected PC10 Install and Commissioning Guide

Aeotec Siren Gen5 quick start guide

Aeotec

Aeotec Siren Gen5 quick start guide

Swann SW-P-MC2 Specifications

Swann

Swann SW-P-MC2 Specifications

Ecolink Siren+Chime user manual

Ecolink

Ecolink Siren+Chime user manual

EDM Solution 6+6 Wireless-AE installation manual

EDM

EDM Solution 6+6 Wireless-AE installation manual

Siren LED GSM operating manual

Siren

Siren LED GSM operating manual

Detection Systems 7090i Installation and programming manual

Detection Systems

Detection Systems 7090i Installation and programming manual

FRIEDLAND MA10 Installation and operating instructions

FRIEDLAND

FRIEDLAND MA10 Installation and operating instructions

manuals.online logo
manuals.online logoBrands
  • About & Mission
  • Contact us
  • Privacy Policy
  • Terms and Conditions

Copyright 2025 Manuals.Online. All Rights Reserved.

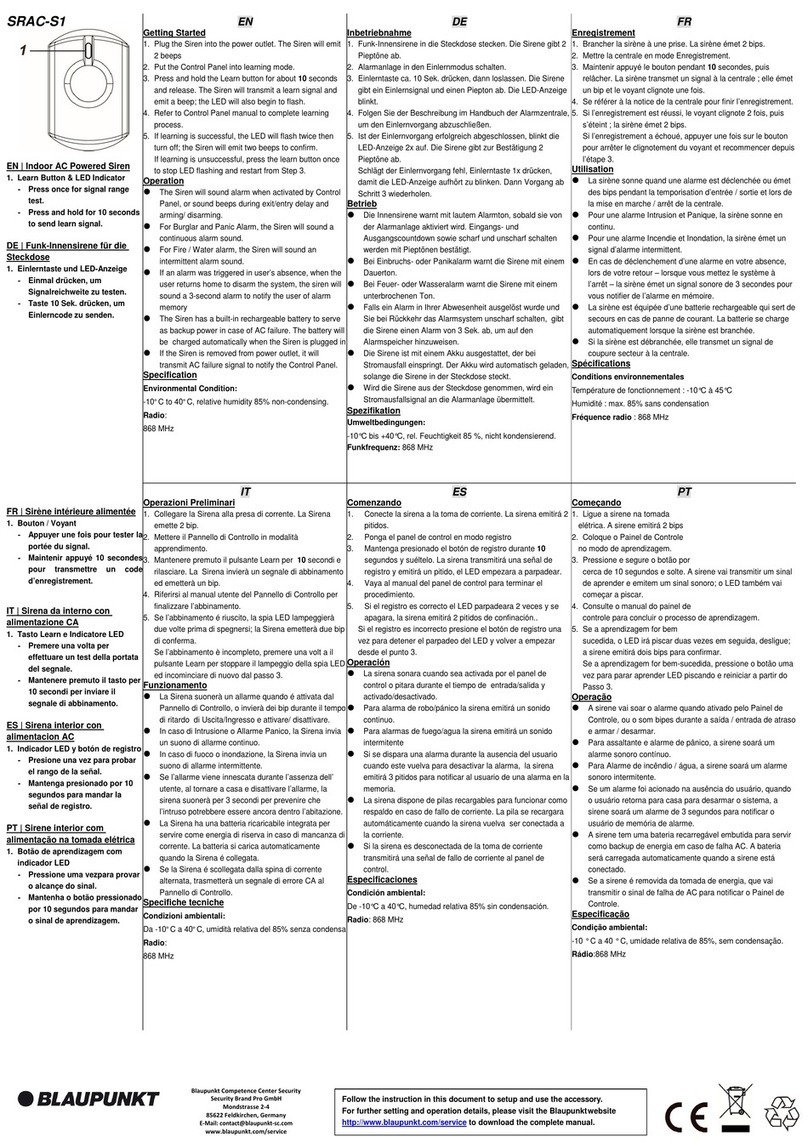
Wireless Indoor Siren (SR-S1)
P
Pa
ar
rt
ts
s
D
De
es
sc
cr
ri
ip
pt
ti
io
on
n
1. Mounting Holes x 4
2. Tamper Switch
The tamper switch protects the cover from being opened.
3. Function Switch Block
Contains 7 DIP Switches to enable the learning mode and to set
the alarm period of siren.
P
Pa
ac
ck
ka
ag
ge
e
C
Co
on
nt
te
en
nt
t
1 x Indoor Siren
4 x large wall plugs and screws
4 x 1.5V D alkaline batteries
D
Di
ip
p
S
Sw
wi
it
tc
ch
h
1. Open the front cover
2. Open the battery compartment cover to insert batteries.
3. Locate the Function Switch Block. Use a sharp object to set
Dip SW3 & SW4 on the function switch block to your desired
alarm length.
4. Enter learning mode for your control panel.
5. Slide Dip SW1 to the ON position. SR-S1 will enter learning
mode. After 3 seconds, the Siren will send a learning code
and emit a beep to confirm.
6. If the Control Panel receives the learning signal, please refer
to the Control Panel manual to complete the learning process.
When learning is complete, the Control Panel will send signal
to the Siren to confirm. The Siren will sound a short beep
again to indicate learning is successful.
If the Control Panel fails to receive a learning code, slide Dip
SW1 back to OFF, and then ON position again to enter
learning mode again.
7. If the Siren does not respond, please remove the Siren from
the control panel and repeat steps 4-6 again.
8. Slide Dip SW1 to the OFF position to leave learning mode. If
you do not slide Dip SW1 back to OFF position, the Siren will
automatically leave the learning mode in one hour.
The Indoor Siren has 4 mounting holes on the back cover for wall
mounting.
Before Installation, refer to your Control Panel manual to
temporarily disable the Siren Tamper function to avoid
accidental alarm trigger.
1. Use the 4 mounting holes on the back to mark position on the
wall.
2. Drill holes into the wall using the mounting holes as template,
insert wall plugs if required,
3. Fix the base onto the wall with the screw and plugs provided.
4. Replace the front cover onto the base.
5. Enable the Siren Tamper function on you Control Panel.
L
Le
ea
ar
rn
ni
in
ng
g
SW1 Siren Learnin
g
OFF Normal o
p
eration
ON Learn-in mode
SW2 Reserved
SW3 SW4 Siren Duration
OFF OFF 3 min.
ON OFF 5 min.
OFF ON 10 min.
ON ON 1 second
(
test
)
SW5 Reserved
SW6 Memor
y
Reset
OFF Normal
ON Clear Memor
y
SW7 Su
p
ervision
OFF Su
p
ervision function disable
ON Su
p
ervision function enable
For further detail please see L
Le
ea
ar
rn
ni
in
ng
g
a
an
nd
d
O
Op
pe
er
ra
at
ti
io
on
n.
.
I
In
ns
st
ta
al
ll
la
at
ti
io
on
n
Mounting Holes
x 4
T
Ta
am
mp
pe
er
r
S
Sw
wi
it
tc
ch
h
The Siren is protected by a tamper switch which will be activated
if the Siren is cover opened. When installing the Siren, please
make sure the tamper switch is properly compressed against the
front cover.
Before installing the Siren, changing mounting location or
batteries, please make sure to disable the tamper switch
temporarily using your Control Panel’s Siren Tamper function and
enable the tamper switch again after finish working on the Siren.
Please refer to your Control Panel manual for detail.
S
Si
ir
re
en
n
A
Au
ud
di
ib
bl
le
e
P
Pe
er
rf
fo
or
rm
ma
an
nc
ce
e
The Siren produces a minimum of 104 dBA sound pressure at 1
meter range when activated.
For Burglar and Panic Alarm, the Siren gives a continuous alarm
sound.
For Fire / Water alarm, the Siren gives an intermittent alarm
sound of 2-sec siren followed by a 1 sec interval.
The Siren is silenced when either the programmed siren length
expires or when the Control Panel is disarmed to turn off the Siren.
Please refer to Dip Switch table above to set your desired alarm
length through Dip Switch SW3 and SW4 setting.
Audio Status Indication Table
The Siren will sound indication beeps according to different status,
please refer to table below.
S
Si
ir
re
en
n
A
Au
ud
di
io
o
Arm/Home 1 beep*
Disarm 2 beeps*
Arm (Low Battery) 5 beeps
Disarm (Low
Battery) 5 beeps
Arm (Tamper) 5 beeps
Disarm (Tamper) 2 beeps*
Previous alarm
warning 3-second beep
Entry/Exit Sound Count-down beeps
* Siren Audio indication will be effected by the Confirmation
ON / OFF setting in your Control Panel settings.
B
Ba
at
tt
te
er
ry
y
The Siren uses four 1.5V D alkaline batteries as its power source.
It also features low battery detection function to notify the Control
Panel when battery voltage is low.
When the Siren is on low battery, follow the procedure below to
change the batteries.
1. Temporarily disable the Siren’s tamper protection function
(please refer to your Control Panel manual for detail). The
Siren will sound a beep to indicate the tamper is disabled.
2. Remove the front cover.
3. Remove the four screws fixing the battery compartment and
take off the compartment lid.
4. Remove the old batteries and press the Tamper Switch twice
to discharge.
5. Insert the new D cell alkaline batteries into the battery
compartment according to correct polarity.
6. The Siren will emit beeps when the last battery is inserted.
7. Replace the battery compartment lid and front cover
8. Enable the tamper protection function through your Control
Panel. The Siren will sound a beep to indicate.
E
En
nv
vi
ir
ro
on
nm
me
en
nt
ta
al
l
C
Co
on
nd
di
it
ti
io
on
n
-10°C to 40°C, relative humidity 85% non-condensing.
R
Ra
ad
di
io
o
868 MHz
O
Op
pe
er
ra
at
ti
io
on
nS
Sp
pe
ec
ci
if
fi
ic
ca
at
ti
io
on
n