Stahl ST50 User manual

ST Chain Hoists_
Translation of Original
Operating and Installation Instructions
www.hoistandwinch.co.uk

BA_ST_EN.FM
2
Fundamental information
You have purchased a product manufactured by STAHL CraneSystems GmbH.
This product has been constructed in compliance with the applicable standards and
regulations.
Inspect product for damage caused in transit immediately upon delivery.
Report damage caused in transit and after consulting the manufacturer/supplier
repair or have repaired before installation and commissioning.
Do not install or commission a damaged product!
- Assembly
- installation
- commissioning
-tests
- maintenance and elimination of faults
may only be carried out by a qualified person
Terms employed
User
Whoever uses and employs the product or has it operated by suitable trained per-
sonnel is considered to be the user (employer/company).
Trained personnel
Trained personnel are persons who have been instructed and trained in the duties
with which they are entrusted and the risks which may arise from incorrect
behaviour, have been advised on the necessary protective devices, precautions,
applicable regulations, accident prevention regulations and prevailing conditions
and have proven their ability.
Skilled electrician
A skilled electrician possesses knowledge and experience on electrical equipment
arising from specialist training and, with knowledge of the applicable standards and
regulations, is able to assess the work with which he is entrusted and detect and
avoid possible risks.
Definition of a qualified person:
A qualified person is one who has gained the specialised knowledge required for
testing the equipment from his/her vocational training, professional experience and
contemporary professional activity.
This person must be in a position to assess the safety of the system in conjunction
with the application. Qualified persons with the competence to undertake certain
maintenance work on our products include the manufacturer’s service engineers
and trained fitters with the corresponding certification.
Seminars:
Comprehensive understanding of material handling products is a prerequisite for the
correct use of equipment. Competent and practically oriented, we impart the special-
ist knowledge required for the correct use, monitoring and care of your installation.
Ask for our seminar programme.
02.12
www.hoistandwinch.co.uk

BA_ST_EN.FM
3
Table of contents
1 Safety instructions 1.1 Symbols ........................................................................................................................... 5
1.2 Operating instructions .................................................................................................. 6
1.3 Use for intended purpose............................................................................................. 6
1.4 Inappropriate use .......................................................................................................... 6
1.5 Safety-conscious operation......................................................................................... 7
1.6 Attaching load ................................................................................................................ 7
1.7 Organisational safety precautions.............................................................................. 8
1.8 General regulations....................................................................................................... 8
1.9 Electrical equipment ..................................................................................................... 8
1.10 Transport and storage................................................................................................... 8
1.11 Weight.............................................................................................................................. 8
1.12 Installation, commissioning, maintenance and repairs .......................................... 9
1.13 Warranty.......................................................................................................................... 9
1.14 Periodic tests.................................................................................................................. 9
1.15 After sales service.........................................................................................................9
1.16 Declaration of conformity/declaration of incorporation ......................................... 9
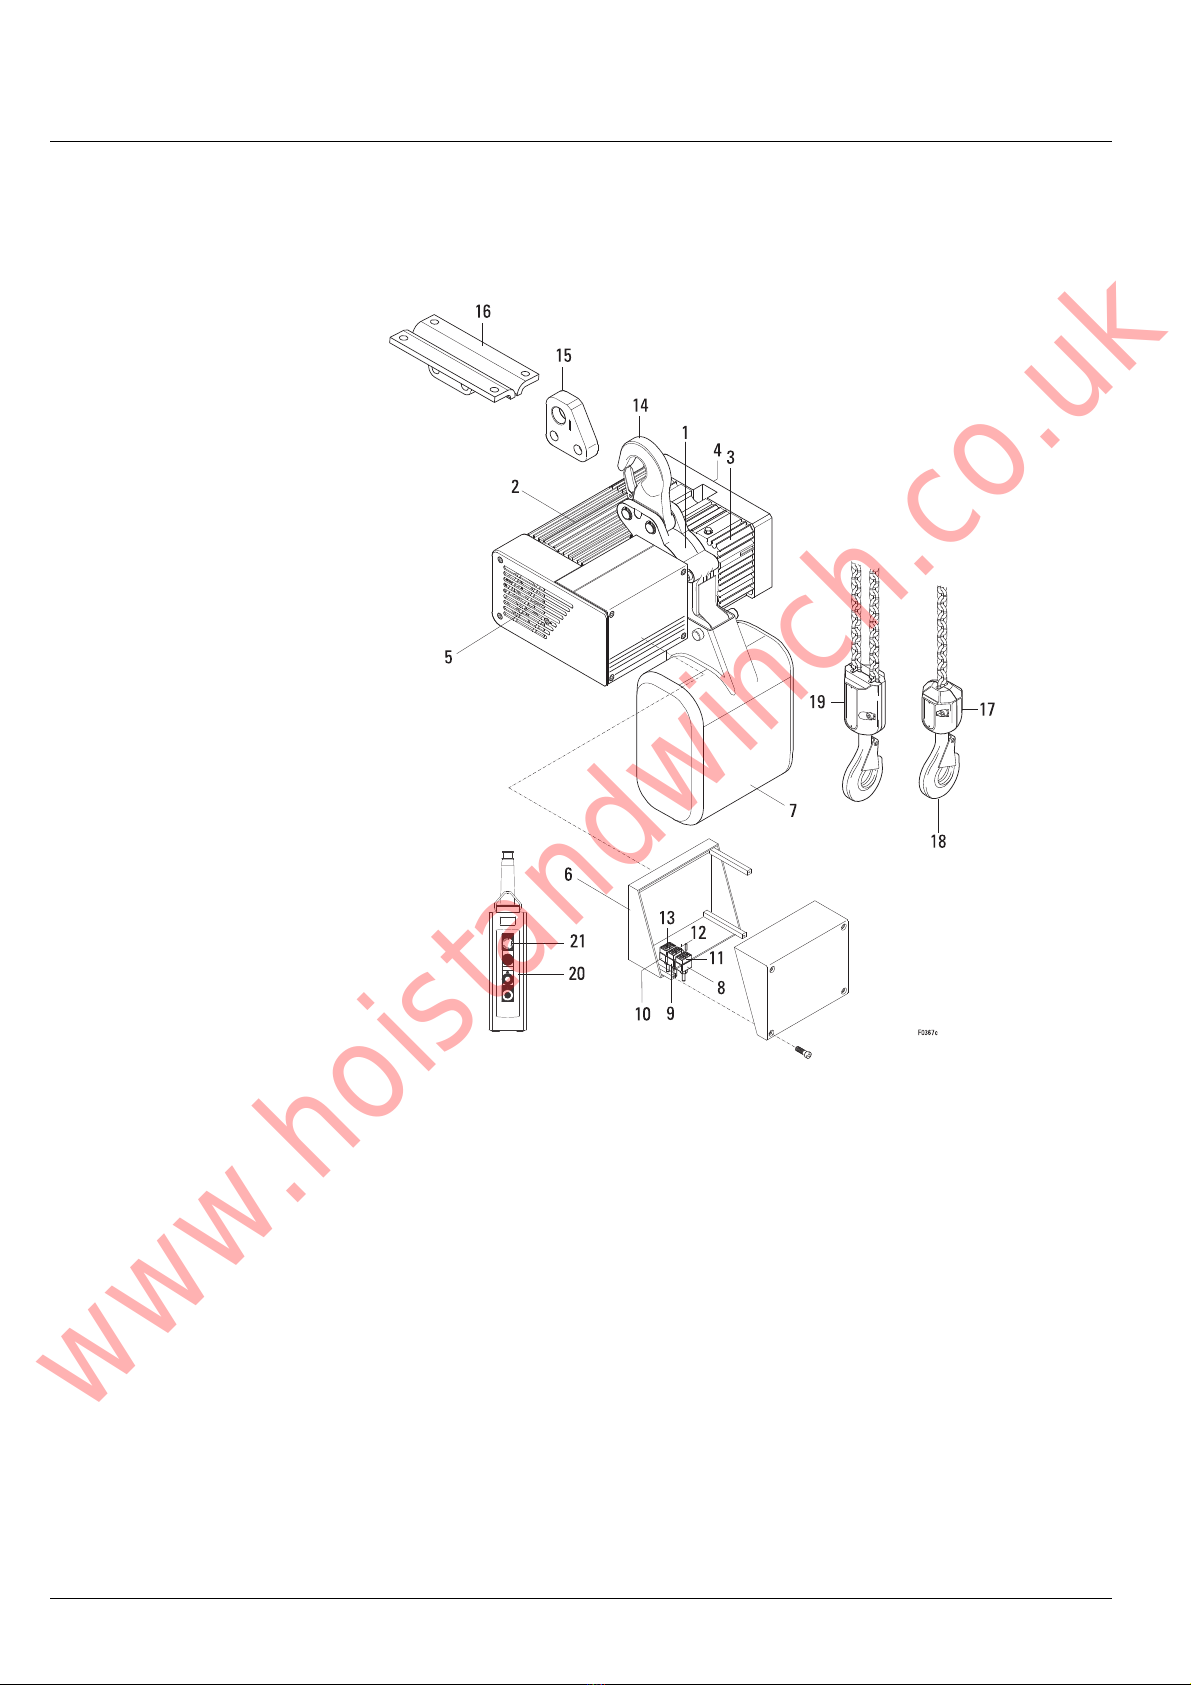
2 Getting to know the chain hoist ..................................................................................................................................................10
3 Installing 3.1 Installing stationary chain hoist ...............................................................................11
3.2 Installing trolley...........................................................................................................11
3.3 Installing trolley on chain hoist ................................................................................12
3.4 Connecting electric trolley........................................................................................14
3.5 Fitting guide rollers.....................................................................................................15
3.6 Mount support rollers ................................................................................................15
3.7 Runway endstop .........................................................................................................16
3.8 Fitting the chain box ...................................................................................................16
3.8 Fitting the control pendant ........................................................................................17
3.9 Checking screw connections ...................................................................................17
3.10 Mains connection.......................................................................................................18
3.11 Dismantling ..................................................................................................................18
4 Commissioning 4.1 Checklist for commissioning .....................................................................................19
5 Operating 5.1 Duties of crane operator ...........................................................................................20
5.2 Operating control pendant........................................................................................21
5.3 Emergency stop ..........................................................................................................21
6 Maintenance 6.1 Maintenance work .....................................................................................................22
6.2 Maintenance intervals...............................................................................................22
6.3 Hook ..............................................................................................................................23
6.4 Load chain....................................................................................................................23
6.5 Checking function of slipping clutch .......................................................................24
6.6 Adjusting slipping clutch without load....................................................................24
6.7 Adjusting slipping clutch - with test load ...............................................................24
6.8 Hoist motor brake .......................................................................................................26
6.9 Travel motor brake......................................................................................................27
6.10 Oil change ....................................................................................................................27
6.11 General overhaul ........................................................................................................28
6.12 Trolley............................................................................................................................28
6.13 Operating hours counter (optional) .........................................................................28
7 Repairs 7.1 Chain drive ...................................................................................................................29
Subject to technical alterations; errors and printing errors excepted.
07.12
www.hoistandwinch.co.uk

BA_ST_EN.FM
4
Table of contents
8 Wearing parts 8.1 Hoist ..............................................................................................................................32
8.2 Trolley............................................................................................................................33
9 Technical data 9.1 Classification in acc. with FEM ................................................................................34
9.2 Ambient conditions.....................................................................................................34
9.3 Hoist motor data..........................................................................................................35
9.4 Travel motor data........................................................................................................36
9.5 Specifications for mains connection.......................................................................37
9.6 Lubricants ....................................................................................................................39
9.7 Sound level ..................................................................................................................40
9.8 Chain certificate..........................................................................................................40
Subject to technical alterations; errors and printing errors excepted.
03.10
www.hoistandwinch.co.uk

BA_ST_EN.FM
5
1 Safety instructions
1.1 Symbols Safety notices
In these instructions, the safety notices are classified according to the severity of the
danger and the probability of its occurrence.
The procedures described for avoiding danger must be followed without fail.
This symbol gives warning of an imminent danger to health and life.
Ignoring these warning notices will lead to severe injuries, possibly resulting in
death.
This symbol gives warning of situations which are potentially dangerous to health
and life.
Ignoring these warning notices may lead to severe injuries, possibly resulting in
death.
This symbol gives warning of situations which are potentially dangerous to health.
Ignoring these warning notices may lead to injuries.
NOTICE
This symbol gives warning of harm to property or the environment.
Specific symbols:
Warning of electrical voltage
Covers such as hoods and caps which are marked with this symbol may only be
opened by "skilled ekectricians or qualified personnel".
Contact with live parts can cause death instantaneously.
Warning of suspended load
It is forbidden for persons to stand under suspended loads. This entails risks to life
and limb!
Warning of injuries to hands
Danger of crushing or cutting hands and fingers. The appropriate personal protective
equipment should be worn for this task to avoid injury.
Tips/recommendations
Tips for use and other particularly important information.
DANGER
WARNING
CAUTION
02.12
www.hoistandwinch.co.uk

BA_ST_EN.FM
6
1 Safety instructions
1.2 Operating instructions Read carefully and follow the operating instructions
1.3 Use for intended purpose • Chain hoists are intended for lifting freely movable and guided loads that cannot
tilt. Depending on their design, they are for stationary or mobile use. If loads are to
be towed horizontally, or in the case of guided loads, automatic operation,
continuous deadweight or constantly repeated hoisting motions, the individual
application must be assessed. Contact the manufacturer in case of doubt.
• Runways, suspensions and endstops must be of suitable dimensions.
• Any fundamental alterations and modifications to the wire rope hoist, such as e.g
welding on load-bearing components, structural alterations to load-bearing com-
ponents, alteration of drives, alteration of speeds and motor outputs, replacing
trolleys, etc. must be authorised by the manufacturer, otherwise the declaration of
conformity/declartion of incorporation will be invalidated.
• Also any work on or additions to the control must be authorised by the manufactu-
rer. The manufacturer cannot accept any liability for malfunctioning after unautho-
rised work on the control.
• Load hoist only up to the maximum working load, following the data on the rating
plate. (Caution: danger of load falling)
• In the case of chain hoists with more than one load attachment device ensure that
the falls are evenly loaded. Any asymmetry arising must not exceed the load stated
on the corresponding S.W.L. plate
1.4 Inappropriate use • Use in areas with potentially explosive atmospheres
• Exceeding the maximum working load
• Transporting persons
•- Pulling loads loose, dragging or towing loads
• Pulling loads at an angle, dragging loads or moving vehicles with the load or load
suspension equipment are forbidden! Always lift, pull and tension in a straight line
between load and hoist.
• Do not knot load ropes or chains or shorten them with devices such as bolts,
screws or similar
• Removing the safety latch from suspension and load hooks is not permitted
• Manipulating the slipping clutch
• Operating the hoist with slack chain
• Touching the chain during the hoisting motion
• Operating a damaged hoist
• Operating the hoist with the chain twisted
• Approaching the emergency limit switch in normal operation
• If the product forms "part of a machine," the person placing it on the market must
ensure that the product meets the specific regulations of the application
07.10
www.hoistandwinch.co.uk

BA_ST_EN.FM
7
1 Safety instructions
1.5 Safety-conscious operation The ST chain hoists are constructed according to the state of the art and equipped
with a slipping clutch as overload protection. In spite of this, dangers may arise from
incorrect use or use for an unintended purpose.
• The user is responsible for ensuring that work is carried out with safety in mind
and avoiding risks, see page 2.
• Read the operating instructions before starting to work with the product.
• Standing under a suspended load is forbidden. Danger to life and limb!
• Observe the "Duties of crane operator", see page 20.
• Before starting work, find out where the emergency stop button is (usually in the
control pendant).
•Donot put your hand between edges which might pinch or cut.
• Do not grasp the moving chain
• Take note of the relevant instructions when attaching loads
• Do not stand between load and wall
• Start lifting the load carefully
• Never attempt to remedy a malfunction while the load is suspended
• Never use bent, open or distorted load hooks, or attempt to straighten them
• Never anneal the hook
• Never lock the buttons of the control switch in place
• Never allow the load to drop into the hoist’s load-bearing equipment
• Before lifting loads, ensure that the stated maximum working load is not exceeded
• When lifting and setting down loads, ensure that they are in a stable position in
order to avoid accidents due to the load toppling or overturning
• Secure the load if the power is cut
• Have a damaged hook safety latch repaired
• Do not kink or crush control cables
• Choose a safe place from which to operate the hoist
• Joining or mending hoist ropes, chains or belts is not permitted
• Never touch metal components that are colder than 0°C or hotter than 55°C
without wearing protective gloves
• Do not use the emergency limit switch (ultimate limit switch for highest and lowest
hook position) as an operational limit switch.
• Report damage and defects to the product (abnormal noises, impaired braking
function, deformations, ...) to the person responsible immediately. Do not use the
product until the faults have been eliminated.
• Do not remove information plates from the product. Replace illegible or damaged
plates.
• Have hoist inspected by the relevant authority before commissioning.
• Never expose control cables to tensile stress. It is strictly forbidden to move the
hoist by pulling on the control pendant.
1.6 Attaching load • Use only tested and approved slings for attaching the load
• The chain must not be wound around the load
• The load must always be suspended from the base of the hook. The tip of the hook
must not be sibjected to load
• Removing the safety latch from suspension and load hooks is not permitted
03.11
www.hoistandwinch.co.uk

BA_ST_EN.FM
8
1 Safety instructions
1.7 Organisational safety precautions • The employer may only employ insured persons to operate a crane single-
handedly (crane operator) or perform maintenance on a crane if they
1 have reached the age of 18
2 are capable both physically and mentally
3 have been instructed in operating and maintaining the crane and have shown him
proof of their competence
4 may be expected to perform the duties assigned them reliably
• At regular intervals, check that work is being carried out in a safety-conscious
manner.
•
Observe the intervals specified for periodic tests. File the test reports in the test logbook.
• Store the operating instructions within easy reach where the product is operated.
1.8 General regulations • Safety regulations and accident prevention regulations.
• National regulations
1.9 Electrical equipment Chain hoists can be supplied with various versions of electrical equipment.
The chain hoist functions with dangerous electrical voltages.
• Disconnect the chain hoist before opening covers marked with this symbol.
• The chain hoist may only be opened by qualified personnel (see page 2) or person-
nel having been instructed.
1.10Transport and storage Transport
• The product is delivered on a special pallet. This enables the it to be loaded and
unloaded safely with a fork-lift truck. I
• Do not allow the hoist to drop from a great height. The product should always be
set down on the ground correctly.
Storage
• Store the product and its accessories in a dry place
• Store it in a stable position, secure it against toppling or overturning
• Observe environmental protection laws for storage (do not allow oil etc. to leak)
• The ground must be firm and must not permit the machine to sink in
• Ensure the load is evenly distributed, support the hoist at several points
1.11Weight see factory certificate
07.12
www.hoistandwinch.co.uk

BA_ST_EN.FM
9
1 Safety instructions
1.12 Installation, commissioning,
maintenance and repairs
• Installation, commissioning, maintenance and repairs may be carried out by quali-
fied persons only, see page 2.
• We recommend having installation carried out by personnel engaged by the
manufacturer.
• Do not carry out any alterations or modifications.
• Additional fitments must be approved by the manufacturer.
(During welding work, electrode and ground must be in contact with the same
component!)
• Use only original spare parts for repairs.
• Dismantled guards must be screwed down again and locked.
If the chain hoist is constantly operated out of doors and exposed to the elements
without protection, we recommend fitting a small roof or at least "parking" the hoist
under a roof.
1.13 Warranty • The warranty will become invalid if these operating instructions are not observed
for installation, operation, inspection and maintenance.
• Repairs and elimination of faults within the scope of the warranty may only be per-
formed by qualified personnel (see page 2) after the manufacturer/supplier has
been consulted and has given his approval.
The warranty will become invalid if the product is modified or original spare parts
not used.
1.14Periodic tests Hoists and cranes must be inspected by a qualified person, see page 2, at least once
a year. The results of the test must be recorded and filed in the test log book.
The remaining service life of the hoist acc. to FEM 9.755 must also be established
during this inspection.
The periodic tests must be adapted to the hoist’s use. Intensive use entails shorter
maintenance intervals.
All tests must be initiated by the user, see page 2.
1.15 After sales service You have puchased a high-quality product. Our after sales service will give you
advice on its correct use.
In order to maintain the safety and constant availability of the product, we
recommend concluding a maintenance agreement on the basis of which we will
undertake the "periodic tests" on your behalf.
Repairs will be carried out professionally and quickly by our trained personnel.
1.16Declaration of conformity/
declaration of incorporation
see separate document.
07.12
www.hoistandwinch.co.uk

BA_ST_EN.FM
10
1 Safety instructions
Winches, hoisting and towing equipment are appliances which are used on their
own or in conjunction with other equipment for lifting, lowering, towing or compres-
sing loads or for tensioning or for lifting or lowering persons, and on which wire
ropes or chains are moved.
1 Chain drive
2 Motor
3 Gear
4 Slipping clutch
5 Brake
6 Panel box
7 Chain box
8 Plug for control pendant
9 Plug for travel drive
10 Plug for mains connection
11 Socket for control pendant
12 Socket for travel drive
13 Socket for mains connection
14 Suspension hook
15 Suspension eye
16 Rigid suspension
17 Bottom hook block, single fall
18 Load hook
19 Bottom hook block, 2-fall
20 Control pendant
21 Emergency off
Some illustrations include options
01.13
www.hoistandwinch.co.uk

BA_ST_EN.FM
11
3 Installation
Some illustrations include options
3.1 Installing stationary chain hoist Note installation position of suspension eye or suspension hook, see sketch!
(Tightening torque ST05 see page 17)
Danger from falling parts
Before commissioning check that the suspension is mounted correctly.
3.2 Installing trolley 3.2.1 Adjusting trolley to runway flange
1. Adjust play of wheel flanges, see sketch and table
2. Tighten nut with specified torque, see page 17
3. Fit screw retentions.
Danger from loosened screw joints
The chain hoist must not be operated without screw retentions.
Check that they are correctly fitted before commissioning.
Suspend the chain hoist in the centre of the trolley.
Grease wheel gearing.
Use only original spare parts for modifying the flange width.
DANGER
ST05 ST10 - ST60
DANGER
01.13
www.hoistandwinch.co.uk

BA_ST_EN.FM
12
3 Installation
3.3 Installing trolley on chain hoist 1. US-G 10 with ST05
Always suspend chain hoist from centre of trolley. See sketch, page 11
US-G 10 with ST10
Fit suspension piece with suspension bolt (a) to chain hoist. Note installation
position of suspension piece. Lock bolt (a) with washer (b) and cheese-head
screw (c). See sketch
KFN 10/32 with ST10/ST20-ST32; ST50 /ST60 1/1
Fit suspension piece with suspension bolt (a) to chain hoist. Note installation
position of suspension piece. Lock bolt (a) with locking plate (b) and cheese-head
screw (c). See sketch
Danger from falling parts
There is a danger that an unsecured bolt may become loose and the hoist fall.
Always secure the bolt.
2. Slide trolley onto runway or push on from below after swivelling the side cheeks
up.
3. Check that screws and nuts are tightened with specified torque, see page 17.
4. The screw retentions must be fitted!
DANGER
US-G10 with ST05 1/1 ... 2/1 US-G10 with ST10 1/1
KFN10/32 1/1 KFN10/32 2/1
03.10
www.hoistandwinch.co.uk

BA_ST_EN.FM
13
3 Installation
3.3 Installing trolley on chain hoist
(continued)
1. KFN 63
Fit suspension piece with suspension bolt (a) to chain hoist. Observe installation
position of suspension piece for 1/1 and 2/1 reeving! Lock bolt (a) with washer (b)
and circlip (c). See sketch
Danger from falling parts
There is a danger that an unsecured bolt may become loose and the hoist fall.
Always secure the bolt.
DANGER
a
b
c
fe
d
d
W0761
KFN 63 2/1
KFK ..
KE-T 22
10.09
www.hoistandwinch.co.uk

BA_ST_EN.FM
14
3 Installation
02.12
2. Slide trolley onto runway or push on from below after swivelling the side cheeks
up.
3. Check that screws and nuts are tightened with specified torque, see page 17.
4. The screw retentions must be fitted!
Danger from loosened screw joints
The chain hoist must not be operated without screw retentions.
Check that they are correctly fitted before commissioning.
KFK ..
5. Turn wheel (d) by means of cam (e) until it is in contact with the running surface of
the runway.
Tighten screw (f).
NOTICE
The guide roller must be flush with the wheels.
NOTICE
Danger of increased wear
Ensure that the trolley runs smoothly over the whole distance.
Poor beam quality or lopside running of the trolley may lead to increased wear.
3.4 Connecting electric trolley Plug connection cable into chain hoist and secure.
Wheel ∅Max. working load
[kg]
50 500
63 500 (KE-T)
63 1000
80 3200
125 6300
DANGER
www.hoistandwinch.co.uk

BA_ST_EN.FM
15
3 Installation
3.5 Fitting guide rollers
3.6 Mount support rollers
The support roller (a) must lie against the runway when mounted.
KFN / KFK 10/ 32: B ≥ 260
KFN / KFK 63 B: > 300
(a)
5Nm
(a)
W1088
KFN 10 / 32
KFN 63
ST 32 - ST 60
ST 10 - ST 30
01.13
www.hoistandwinch.co.uk

BA_ST_EN.FM
16
3 Installation
3.7 Runway endstop
Danger of falling parts
If there are no end stops, there is a danger of the trolley travelling over the end of the
runway.
Mount suitable end stops at the end of the runway before commissioning the hoist.
3.8 Fitting and securing chain box
Danger from falling chain
The chain hoist must not be operated without a chain stopper.
Check that the chain stopper is correctly fitted before commissioning.
NOTICE
Danger of damage to chain
The chain must not rub against other components.
Lubricate chain with the chain lubricant supplied!
Chain box must be able to move freely.
Max. length of chain see sticker on chain box.
DANGER
ST 10/ ST20/ ST30 ST 32/ ST50/ST60ST 05
ST10, ST20, ST30
W0686
STD10, STD30
ST10, ST20, ST30
STAHL
1600
kg
DANGER
02.12
www.hoistandwinch.co.uk

BA_ST_EN.FM
17
3 Installation
3.9 Fitting control pendant NOTICE
Ensure sufficient clearance of the cable to the chain by turning the plug if necessary
(±360°)! The cable must not touch the chain.
1. Plug in and secure cable.
2. Fit strain relief wire.
NOTICE
Danger from damage to cable
The control pendant must be suspended from the strain relief wire and not from the
cable!
If the customer connects the control cable by means of a plug kit, the circuit diagram
must be followed (parts marked "A" are supplied loose).
Prepare ends of cable acc. to sketch "Mains connection, plug-type".
For connecting control pendant without plug, see circuit diagram supplied. (Terminal
strip X1, terminals 1...9. Connection is via a cable gland.)
3.10Checking screw connections
• Chain guide attachment
• Distance bolt on trolley
• Trolley suspension
*1 Self-locking/self-tapping screws (ST05)
*2 Plug connection
*3 Cable gland (in plastic)
M.. [Nm] M.. [Nm]
M5
M5*1
M5*2
M5*3
M6
M8
M8*1
M10
M12
6
5
1,0
1,5
10
24
15
48
83
M16
M20
M20x1,5
M24
M27
M30
M36
120
300
300
320
470
640
1100
Danger of bodily injury damage
Unsuitable installation material and incorrect tightening torques
may lead to damage and accidents.
Use only original spare parts. Tighten screws with the prescribed
torque.
DANGER
02.12
www.hoistandwinch.co.uk

BA_ST_EN.FM
18
3 Installation
3.11Mains connection Danger from potentially lethal voltage
The chain hoist must connected by a skilled electrician (see page 2).
The mains power supply cable must meet the requirements given in the technical
data. The relevant safety and accident prevention regulations must be obeserved! (
3.12Dismantling Dismantling chain hoist
Danger from potentially lethal voltage
Before dismantling, switch off the main isolator and secure it against being switched
on again. Ensure that the hoist is deenergised before starting work.
1. Remove load from hoist
2. Disconnect chain hoist from mains at main isolator
3. Disconnect electrical connections
4. Remove chain hoist
5. Remove trolley, if any
6. Clean chain hoist and oil lightly
7. Seal air vent screw in gear.
DANGER
Mains connection with cable glandPlug-in mains connection
123
DANGER
03.10
www.hoistandwinch.co.uk

BA_ST_EN.FM
19
4 Commissioning
Danger of bodily injury damage
The test before first commissioning must be carried out by a qualified person, see
page 2.
This applies for all chain hoists with electric trolley.
An exception is made for chain hoists with maximum working load of <1000 kg with
push trolley or in stationary design.* (Monorail with push trolley, or stationary
mouting.)
Dynamic test: 1.1 x rated load
Static test: 1.25 x rated load
The test loads must be provided by the user
The following test steps must also be performed when recommissioning after a
period in storage or stop.
4.1 Checklist for commissioning Test steps
• Remove sticker from air vent screw in gear
• Check suspension hook or suspension (visual inspection)
• Check tightening torque of screw connections on hooks
• Check load chain
- clean and oiled
- must not be twisted on 2-fall reeving
• Check chain box
- attachment
• Attach chain stopper to chain with hook at floor level and check chain anchorage
• Measure and record hook aperture
• Check electrical connection
• Check runway
- clean, free of grease and paint, even
- end stops present
• Check tightening torque of screw connections of suspension piece or trolley sus-
pension.
• Open step of travel drive clean and greased.
During the following test steps, you must be able to activate the emergency off but-
ton at all times.
• Check function of chain hoist
- Direction of movement must correspond to the symbols on the control pendant.
If not, reverse two phases of the mains connection. (Do not open manufacturer’s
control.)
• Check function of slipping clutch without load, see page 24 after a long standstill
the coupling moment may have altered.
• Check function of brake, see page 26
• Check function of travel drive
- Direction of motion must correspond to the symbols on the control pendant.
- Check function of brake, see page 26.
• Check function of overload protection (slipping clutch, see page 24)
• Confirm correct commissioning in test logbook.
If required by national regulations, have chain hoist tested before commissioning by
a safety organisation (e.g. TÜV).
DANGER
02.12
*The above exceptions do not apply if the chain hoist is operated on a crane!
www.hoistandwinch.co.uk

BA_ST_EN.FM
20
5 Operation
5.1 Duties of crane operator Personal protective equipment to be provided by the user
• Safety shoes
• Gloves (only if there is no danger of them being drawn into equipment)
• Protective goggles
• Protective helmet
• Hearing protection
• Closely fitting clothes (danger of clothing being drawn into equipment)
• When operating hoist or standing close to hoist or wire rope there is a danger of
fingers, clothing, jewellery, etc. being drawn into equipment
Requirements for workplace
• The operator must not stand in the hazard area
• The hazard area must be clearly visible
• The movement of the load in all directions must be clearly visible
Danger of bodily injury damage
When working with chain hoists, the following points must be observed:
• The crane operator must observe the load, or if the crane is unloaded, the load
suspension equipment during all movements of the crane if they could cause dan-
ger. If it is not possible to observe the crane, the crane operator may only control
the crane by following signals from a signaller.
• The crane operator must give warning signals as necessary.
• Loads attached by hand may only be moved by the crane operator after an un-
ambiguous signal from the person attaching the load, the signaller or another per-
son responsible appointed by the user. If signals need to be used to communicate
with the crane operator they must be agreed between the person responsible and
the crane operator before being used.
• Every day before starting work, check brakes, load bearing elements and limit
switches and inspect the system for any visible defects.
• Stop working with the crane if there are any defects which might prejudice its
safety in operation.
• At close of work, secure cranes which are exposed to wind with the wind
safeguard mechanism.
• The rope drum must be free of coarse foreign matter.
• Do not move loads above people.
• Before starting work, ensure there is sufficient workspace.
• Do not leave suspended loads unattended, the control pendant must be within
easy reach.
• The slipping clutch is a safety device. It must not be activated in normal operation.
• Do not load above the permitted maximum working load.
• Pulling loads at angles, dragging loads, or towing vehicles with the load or load
suspension equipment is forbidden!
• Do not jerk free any loads which are jammed.
•Donot place your hands between edges which could pinch or cut.
• Approach final positions for hoisting, lowering and travel in normal operation only
if an operational limit switch is fitted.
• Inching operation (repeated brief activation of the motor to achieve small
movements) is not permissible. Motors and brakes could be subjected to an
impermissible temperature rise. This would lead to the temperature control
disconnecting and the load could then not be set down for some time. Switchgear
and motors could be damaged.
• Do not move in the opposite direction until the hoist has come to a stop.
• Observe the safety instructions, see page 5-9.
DANGER
02.12
www.hoistandwinch.co.uk
Other manuals for ST50
1
Table of contents
Other Stahl Chain Hoist manuals
Popular Chain Hoist manuals by other brands

RED ROOSTER
RED ROOSTER TMH-25T-CH user manual

Chicago Electric
Chicago Electric 40765 Set up and operating instructions

Tractel
Tractel Tralift Owner's operation and maintenance manual

misia
misia XM SERIES Installation, operation and maintenance manual

LEVEX
LEVEX SPB025 User instructions

William Hackett
William Hackett WH-C4 Safety information

KITO
KITO CF Series Original instruction

Drivecon
Drivecon XT Series Quick setup guide

PFAFF silberblau
PFAFF silberblau SILVERLINE 030834052 operating instructions

Hercules
Hercules H-F 1000 Original operating instructions

Shop Tuff
Shop Tuff STF-1010LH owner's manual

Pacific Hoists
Pacific Hoists U-MEGA Series Operations manual & parts list