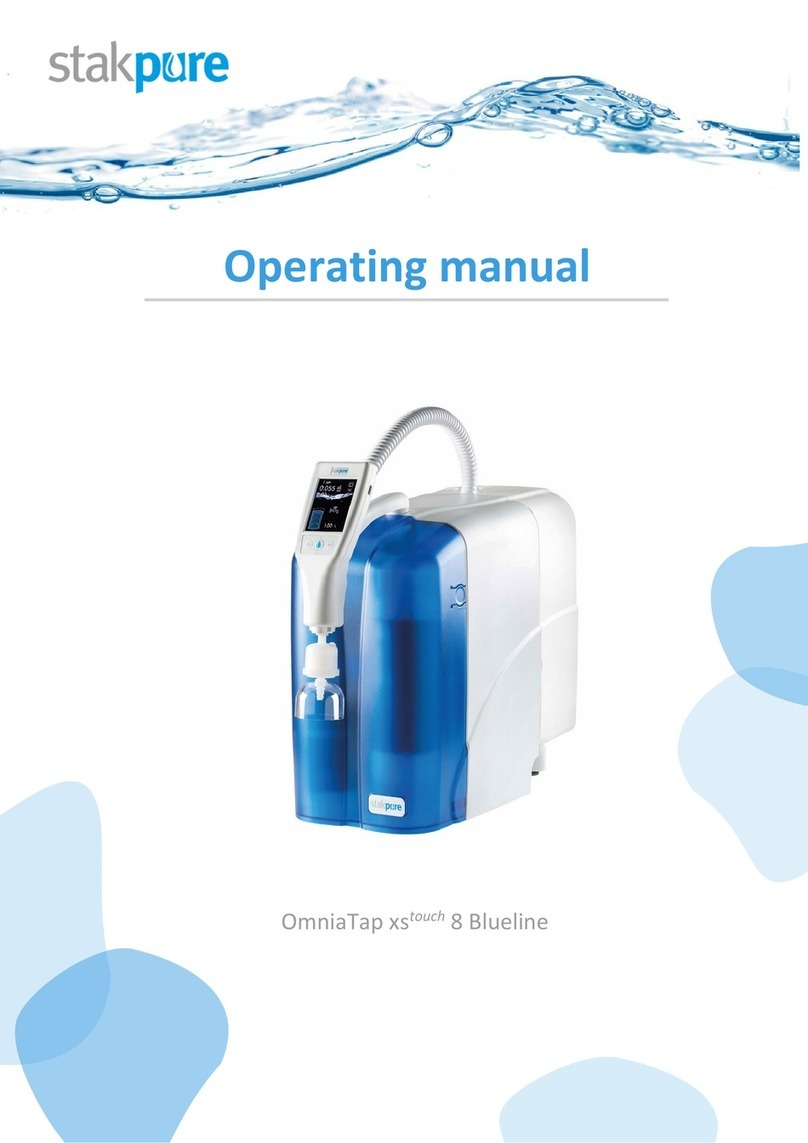
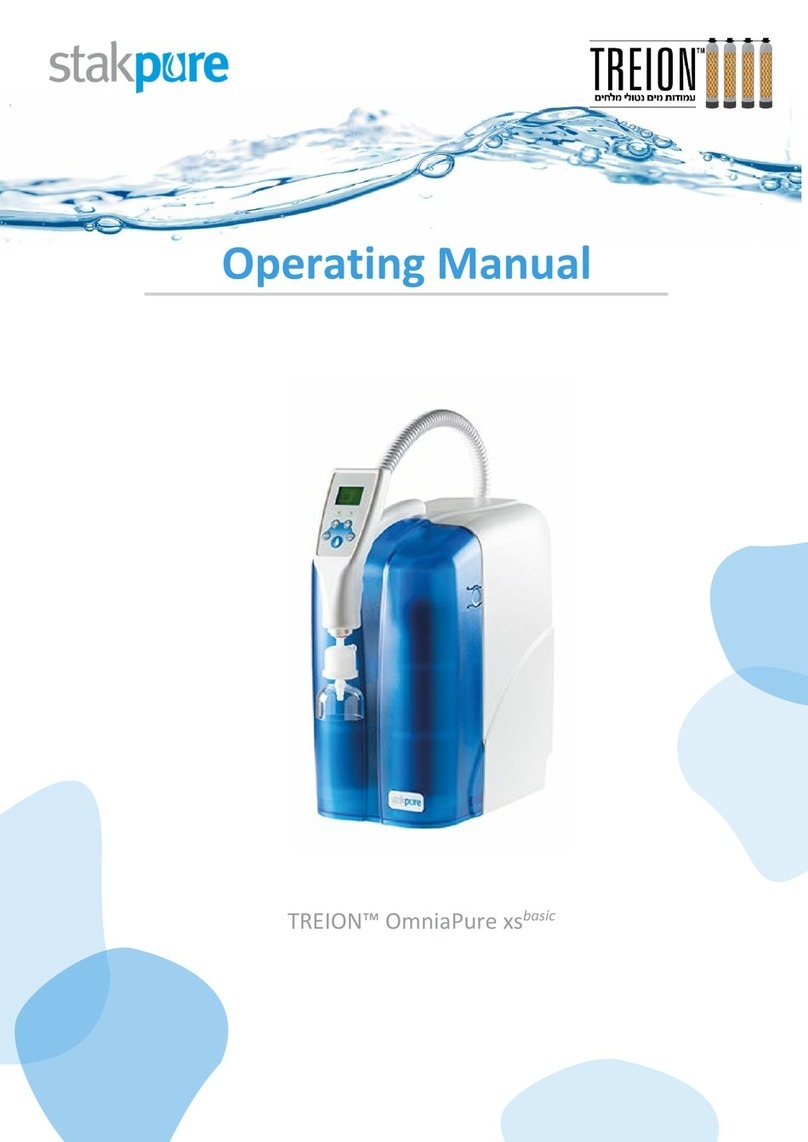
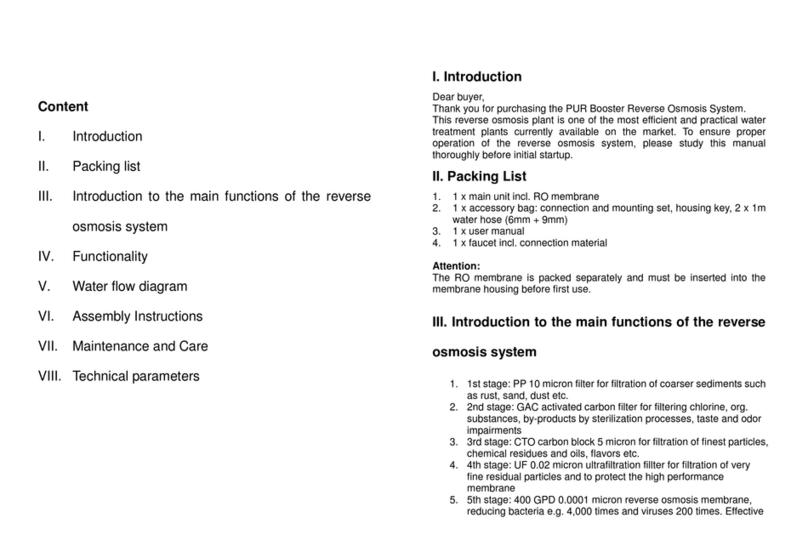
Stakpure Omnia Tap xs basic User manual

Operating manual
Omnia Tap xsbasic

2
_________________________________________________________________________________
OmniaTap xs
basic
; Version August 2023
Subject to technical changes

3
_________________________________________________________________________________
OmniaTap xs
basic
; Version August 2023
Subject to technical changes

4
_________________________________________________________________________________
OmniaTap xs
basic
; Version August 2023
Subject to technical changes
Foreword
Dear adies and Gentlemen,
The stakpure GmbH team thanks you for the trust you have placed in us.
By choosing this ultrapure water system from our company, you have opted for an innovative, high-
quality and durable product.
Before installing and starting up your ultrapure water system, please read the installation and
operating instructions in this operating manual carefully.
Note that only trained personnel are allowed to operate this system.
To ensure water quality, only use original accessories, spare parts and consumables from stakpure.
Please note that we as the manufacturer cannot assume any liability for any damage to the system
connected peripherals or buildings and persons in the event of improper use or improper assembly or
operation, or the use of third-party parts of any kind.
We wish you success with your new water treatment system
stakpure GmbH, September 2022.

5
_________________________________________________________________________________
OmniaTap xs
basic
; Version August 2023
Subject to technical changes
Table of Contents
1 User Notes ....................................................................................................................................... 7
2 Safety instructions ........................................................................................................................... 8
3 Intended Use ................................................................................................................................. 10
4 Transport and packaging ............................................................................................................... 11
5 Delivery package............................................................................................................................ 12
6 Technical data................................................................................................................................ 12
7 Flow charts .................................................................................................................................... 15
7.1 Flow chart OmniaTap xs
basic
................................................................................................... 15
7.2 Flow chart OmniaTap xs
basic
UV ............................................................................................. 15
8 System description ........................................................................................................................ 17
8.1 System structure ................................................................................................................... 17
8.2 System connections on the back ........................................................................................... 18
9 Function description ...................................................................................................................... 18
10 Assembly.................................................................................................................................... 19
10.1 Operating environment ......................................................................................................... 19
10.2 Assembly................................................................................................................................ 19
10.3 Wall mounting ....................................................................................................................... 22
10.4 Installation of an optional pump station ............................................................................... 24
11 Operating concept ..................................................................................................................... 25
12 Commissioning .......................................................................................................................... 27
13 Operating ................................................................................................................................... 28
13.1 Menu structure ...................................................................................................................... 28
13.2 Main display .......................................................................................................................... 29
13.3 Withdraw water / Withdrawal display .................................................................................. 29
13.4 Volume metered water withdrawal (optional) ..................................................................... 30
13.5 Menu / Settings ..................................................................................................................... 31
13.5.1 System ........................................................................................................................... 31
13.5.2 Setup .............................................................................................................................. 32
14 Maintenance.............................................................................................................................. 35
14.1 Maintenance / Care intervals ................................................................................................ 35
14.2 Changing the cartridges ......................................................................................................... 36
14.3 Disinfection ............................................................................................................................ 37
15 Decommissioning & Dismantling............................................................................................... 38

6
_________________________________________________________________________________
OmniaTap xs
basic
; Version August 2023
Subject to technical changes
16 Spare parts................................................................................................................................. 38
17 Consumables ............................................................................................................................. 39
18 Accessories ................................................................................................................................ 39
19 Malfunctions, causes & solutions .............................................................................................. 40
19.1 Automatic system monitoring ............................................................................................... 40
19.2 Faults table ............................................................................................................................ 42
20 Disposal ..................................................................................................................................... 44
21 EU declaration of conformity .................................................................................................... 46

7
_________________________________________________________________________________
OmniaTap xs
basic
; Version August 2023
Subject to technical changes
Symbols used
Warning notices with this symbol indicate a hazard which, if not avoided, could
result in death or serious injury.
Warning notices with this symbol indicate a hazard which, if not avoided, could
result in minor or moderate injury.
This symbol indicates a risk with possible property damage.
This symbol indicates useful information.
1 User Notes
Read this manual completely and carefully before installing and operating the OmniaTap xs system for
the first time. It is an important part of the product and contains basic information that must be
observed during installation, operation and maintenance.
The operating instructions must be available at the place of operation at all times. If you let other
people use the OmniaTap xs system, pass on also these Operating Manual.
The personnel for operation, maintenance, inspection and assembly must have the appropriate
qualifications for this type of work. The area of responsibility, competence and supervision of the staff
must be precisely regulated by the operator.
Not only the safety instructions listed in this section must be observed, but also the safety regulations
applicable to the installation site. In particular, the accident prevention regulations.

8
_________________________________________________________________________________
OmniaTap xs
basic
; Version August 2023
Subject to technical changes
2 Safety instructions
The safety instructions described below are for your own safety and help to prevent possible damage
to the OmniaTap xs system. Read the instructions before installation, commissioning and maintenance
and follow them carefully.
Danger of electric shock!
Improper electrical supply of the OmniaTap xs system can lead to an electric shock!
- For the electrical supply of the OmniaTap xs system, only use the wide-range
power pack included in the scope of delivery.
- For the electrical supply of the wide-range power pack of the OmniaTap xs system,
only use a properly grounded socket that provides an AC voltage of 100-240V with
50-60Hz.
- For maintenance work, the rear housing cover may only be opened when the
mains plug is unplugged.
Danger from falling!
Improper handling or attachment can cause the OmniaTap xs system to fall and
cause injury!
-
Always ensure that the system is in a secure position.
-
When mounting on a wall, ensure that the system is mounted in a correspondingly
stable manner.
-
When handling / transporting the system, observe the system's attachment
points, which you can find in this operating manual.
Danger from slipping!
Incorrect or faulty installation or operation as well as a leak in the system can lead
to the uncontrolled escape of liquid and thus to a risk of slipping!
- Always ensure that the system is operated correctly and always use a sufficiently
large container when withdrawing water.
- Make sure the inlet and outlet lines are tight.
-
Make sure that the rinsing water is drained into a drain without pressure.

9
_________________________________________________________________________________
OmniaTap xs
basic
; Version August 2023
Subject to technical changes
Danger of skin and eye injuries!
Contact with the disinfectant can lead to skin and eye irritation and or injuries!
- Always wear appropriate protective clothing (at least gloves & goggles) when
disinfecting the OmniaTap xs system to avoid contact with the disinfectant.
- Make sure that no disinfectant can escape uncontrolled from the OmniaTap
system, check the connection hoses for correct and tight fit.
- Follow the instructions that come with the disinfectant agent or disinfection kit.
Escaping UV radiation can cause skin and eye irritation or injuries!
- Only change the UV lamp of an OmniaTap xs system when it is switched off and
the mains plug is unplugged.
- When changing the UV lamp, make sure that the lamp is correctly seated in the
UV reactor.
Danger of crushing and pinching injuries!
Incorrect handling of the OmniaTap xs system can lead to crushing and pinching
injuries!
-
When handling / transporting the system, observe the system's attachment
points, which you can find in this operating manual.
-
When handling the movable dispenser arm, pay attention to possible pinch points
in the area of the joint on the main housing. Move the arm only by holding the
dispenser handle.
The safety instructions contained in these operating instructions, the existing national accident
prevention regulations and any internal work, operating and safety regulations of the operator must
be observed.
These operating instructions must be available at the place of operation at all times.
Installation, operation and maintenance of the system may only be carried out by trained specialist
personnel.
The CE mark loses its validity in the event of structural changes or the installation of accessories not
authorised by the manufacturer. Conversion and modification of the system are only permitted after
consultation with the manufacturer. Original spare parts and accessories authorised by the
manufacturer ensure safety.
Please note that the manufacturer is exempt from any liability for damage caused by improper use or
use that is not in accordance with the intended purpose.
Protect the system from frost. The ambient temperature at the installation site should be
at least +2°C.
Only operate the system within the range of the specified feed water pressure.
Access to the mains cable and the mains plug must always be freely accessible.
A safety device to protect against contamination of the drinking water according to DIN EN 1717 must
be used for the connection of water treatment systems.

10
_________________________________________________________________________________
OmniaTap xs
basic
; Version August 2023
Subject to technical changes
Depending on the country, a safety combination consisting of a backflow preventer and a system
separator may have to be available on the building side.
A DN 50 floor drain with free drainage is to be provided in the operating room. If there is no floor drain,
we recommend using a water monitor to prevent damage to the system and equipment as well as the
building. Otherwise, the manufacturer assumes no liability for any water damage that may occur.
The base of the system must have sufficient load-bearing capacity (for weight, see technical data).
When assembling, make sure that there is enough free space for problem-free operation, maintenance
and repairs.
Maintenance work may only be carried out by trained specialists.
3 Intended Use
The systems of the OmniaTap xs series are used for the direct treatment of drinking water into pure
and ultrapure water for laboratory use. In order to ensure maximum quality of the pure and ultrapure
water with the longest possible service life of the consumables, the OmniaTap xs system must be fed
with drinking water in accordance with DIN 2000. Any other use of the system is not permitted and is
considered improper use.
The pure / ultrapure water produced is used as a solvent or rinsing agent in a wide variety of analysis
methods such as high-performance liquid chromatography (HP C), ion chromatography (IC), atomic
absorption spectrometry (AAS), ultra-trace analysis, etc. It is also used in a variety of chemical and
biochemical applications such as preparing reagents, cultivating cells, etc.
The treated water is not suitable for consumption.
The system must not be used for the production of pharmaceuticals and is not a medical device.

11
_________________________________________________________________________________
OmniaTap xs
basic
; Version August 2023
Subject to technical changes
4 Transport and packaging
The OmniaTap xs systems are carefully inspected and packaged prior to shipment, however damage
may occur in transit.
Check the packaging and the system for possible transport damage. If you find any damage, please
contact the shipping or transport company responsible for the delivery directly.
For transport, only lift the device at holding points 1, 2 and 3.
Never lift the device by the dispenser hose point 4 or the dispenser arm point 5,
as this may damage the device.
X
X
2
1
3
4
5

12
_________________________________________________________________________________
OmniaTap xs
basic
; Version August 2023
Subject to technical changes
5 Delivery package
The scope of delivery of the OmniaTap xs system consists of the following parts:
Position
Number
Designation
01
1
OmniaTap xs
basic
System
02
1
Table power supply 48V 120W
03
1
Power cord
04
1
PE hose d8 2,5m
05
1
PE hose d8 incl. input protection filter and
Water connection adapter R ¾“ – d8
06
2
Insertion angle d8
07
1
Pretreatment cartridge
08
1
Ultrapure water cartridge
09
1
Sterile filter
10
1
Operating manual
6 Technical data
Feedwater
requirements
Source
Drinking water conf. to DIN 2000
Pressure [bar]
0.5
–
6
Temperature [°C]
2
–
35
Conductivity [µS/cm] at 25°C
< 2000
Colloid Index SDI
1
< 10
Dissolved CO
2
[ppm]
< 30
Free chlorine [ppm]
< 3
TOC [ppm]
< 1
Hardness [as CaCO
3
]
1
<
300
Silica [ppm]
< 30
pH area
4
–
10
1. In the case of higher values, a pre-treatment must be carried out beforehand.
Product water ASTM I
1
OmniaTap xs
basic
5
OmniaTap xs
basic
5 UV
Conductivity [µS/cm] at 25°C
0.055
0.055
Resistance [MΩ cm] at
25°C
18.2
18.2
TOC [ppb]
< 5
< 2
Particle > 0,2 µm [1/ml]
2
< 1
< 1
Bacteria [KBE/ml]
2
< 0.01
< 0.01
Flow [l/min]
Up to 2
Up to 2
1. The values given are typical and may vary depending on the quality of the feed water.
2. With sterile filter capsule 19100300.

13
_________________________________________________________________________________
OmniaTap xs
basic
; Version August 2023
Subject to technical changes
Product water ASTM II
OmniaTap xs
basic
5
OmniaTap xs
basic
5 UV
Conductivity [µS/cm] at 25°C
0.067
–
0.1
0.067
–
0.1
Resistance [MΩ cm] at 25°C
15
–
10
15
–
10
Retention rate for germs and particles
99 %
99 %
Permeate output / l/h at
15°C
5
5
Water connections
Feed water inlet
Hose AD 8mm
Waste water outlet
Hose AD 8mm
Threaded connection for sterile filter
G1/4“
Sterile filter outlet
Hose tail 6mm
Tank overflow
Hose AD 8mm
Electrical connection
Voltage
100
–
240 VAC
Frequency
50/60Hz
Power consumption (max.)
120W
Cell constants
Conductivity measuring cell F 1
0.1 cm
-
1
Conductivity measuring cell F 2
0.01 cm
-
1
Airborne noise emission
Sound pressure level
60 dB(A)
Environmental conditions
Operating area
Inside
Max. height above sea level
Up to 2000 m
Ambient temperature
min. +2°C to max. 40°C, 80% rel. F, non
-
condensing
Mains voltage fluctuation
Max ±10% of nominal voltage
Degree of pollution
2

14
_________________________________________________________________________________
OmniaTap xs
basic
; Version August 2023
Subject to technical changes
Dimensions & Weight
OmniaTap xs
basic
5
OmniaTap xs
basic
5 UV
Height [mm]
530
530
Depth [mm]
520
520
Width [mm]
253
253
Tank capacity (useful volume) [l]
7
7
Empty weight kg]
19
19
Operating weight [kg]
27
27
Materials of the components in contact with water
Solenoid valve input
POM, EPDM
Flush solenoid valve
POM, EPDM
Withdrawal solenoid valve
POM, EPDM
Pump head
Nylon, glass fiber reinforced
Conductivity cell
POM, stainless steel
Hoses
PE
Hose connection
POM
Seals
EPDM
UV reactor
Stainless steel
UV immersion tube
Quartz glass
Tank
PE

15
_________________________________________________________________________________
OmniaTap xs
basic
; Version August 2023
Subject to technical changes
7 Flow charts
7.1 Flow chart OmniaTap xsbasic
7.2 Flow chart OmniaTap xsbasic UV

16
_________________________________________________________________________________
OmniaTap xs
basic
; Version August 2023
Subject to technical changes
R+I
no.
Designation
R+I
no.
Designation
F1
Pretreatment cartridge
P2
Circulation pump
F2
Ultrapure water cartridge
T1
Pure
water tank
F3
Sterile filter
UV
UV Photooxidation
F4
Sterile ventilation filter
V1
Inlet solenoid valve
F5
Hat filter (in the connection hose)
V2
Rinsing solenoid valve
FI1
Flow meter (option)
V3
Pressure hold valve
F1
QIA conductivity cell
pretreatment
V4
Circulation solenoid valve
F1
TIA temperature sensor pretreatment
V5
Check valve
F2
QIA conductivity cell ultrapure water
V6
Check valve
F2
TIA temperature sensor ultrapure water
V7
Withdrawal solenoid valve
I1
evel sensor
V8
Sterile overflow
SZ1
eakage sensor
V9
Check valve
P1
Pressure booster pump

17
_________________________________________________________________________________
OmniaTap xs
basic
; Version August 2023
Subject to technical changes
8 System description
8.1 System structure
1:
Detachable OptiFill dispenser with integrated
control unit
2: Rotating dispenser arm
3: Snap closure
4: Removable cover hood
5: Pure water tank
6: Space for pre-treatment cartridge
(not in the picture)
7:
Ultrapure water cartridge
8: UV reactor
9: Dispenser admission
10: Tank opening with lid
11: Sterile ventilation filter
12: Sterile tank overflow
1
4
2
7
6
8
5
3
9
10
11
12

18
_________________________________________________________________________________
OmniaTap xs
basic
; Version August 2023
Subject to technical changes
8.2 System connections on the back
9 Function description
The systems of the OmniaTap xs series prepare drinking water directly into pure and ultrapure water
by using several treatment technologies. The produced ultrapure water meets the respective
requirements of the ASTM, ISO, USP and C SI standards.
For treatment, the feed water is fed into the OmniaTap xs system, which is pumped through the pre-
treatment cartridge with integrated reverse osmosis module by means of a pressure booster pump.
The quality of the appropriately pre-treated water and thus also the condition of the pre-treatment
cartridge are continuously monitored by the first conductivity measurement ( F1). The current values
of the conductivity measurement can be shown on the display of the operating/withdrawal unit
(OptiFill Dispenser) for checking purposes. In the next step, the water is passed through a UV reactor,
where it is disinfected with the help of UV radiation. The water then flows through the ultrapure water
cartridge, which removes the remaining ions, to remove a maximum of non-ionized compounds. The
quality of the ultrapure water and the condition of the consumables are monitored using a
temperature-compensated conductivity measurement ( F2). The conductivity values measured are
shown on the display of the OptiFill dispenser.
The treated water is first pumped into the tank up to the maximum level. To ensure consistently high
quality of the treated water, the water circulates periodically from the tank through the ion exchange
cartridge, and the UV reactor (only with OmniaTap xs UV) back into the tank with the help of the
circulation pump.
Ultrapure water can be dispensed directly from the OmniaTap xs system using the OptiFill dispenser.
In order to obtain maximum water quality, the water is pumped from the tank via the ultrapure water
cartridge, and the UV reactor (only with OmniaTap xs UV) to the OptiFill dispenser immediately before
it is withdrawn, with the aid of the circulation pump. As a final treatment stage, the ultrapure water
runs through a sterile filter attached to the OptiFill dispenser.
With an optionally available pump station, an external consumer can be supplied directly with pure
water from the tank.
Inlet:
Feed water connection
Drain: Flushing water connection
Power: Power supply connection

19
_________________________________________________________________________________
OmniaTap xs
basic
; Version August 2023
Subject to technical changes
10 Assembly
10.1 Operating environment
When selecting the installation location, observe the following requirements:
- The pressure of the feed water must be between 0.5 and 6 bar.
- The standing surface must be level.
- A suitable protective contact socket must be available for the electrical supply of the OmniaTap xs
system (see technical data).
- There must be sufficient free workspace for problem-free operation, maintenance and repairs.
- There must be sufficient space to operate the system.
- An on-site, lockable feed water connection with R¾" external thread is required.
The system is only intended for operation within an industrial environment. In other
environments, electromagnetic immunity cannot be guaranteed.
Temperatures below +2°C can damage the device due to frost!
The feed water pressure must be less than 6 bar, otherwise the system can be damaged!
If necessary, use a pressure reducer.
Make sure a free drain is available to avoid water damage!
A free outlet, primarily a funnel siphon DN 50, is to be provided for the rinsing water of
the OmniaTap xs system in the immediate vicinity of the location. The upper edge of the
outlet must not exceed a height of 300 mm above the level of the appliance in order to
ensure free outlet and thus flawless functionality of the drain. It must be ensured that the
flushing water line is neither closed nor throttled.
A DN 50 floor drain with free drainage is to be provided in the operating room. If there is
no floor drain, we recommend using a water monitor to prevent damage to the system
and equipment as well as the building.
10.2 Assembly
Set up the OmniaTap xs system at the operating site and make sure that the system is
standing securely. When transporting the system, never lift it by the dispenser arm, only
by the rear wall, bottom or side walls of the main body. See chapter "Transport and
packaging".
In order to protect the power pack from moisture, it must not be operated lying on the
table next to the device. Attach the power pack to a suitable wall near the device using
the bracket included in the scope of delivery.

20
_________________________________________________________________________________
OmniaTap xs
basic
; Version August 2023
Subject to technical changes
Water can escape through leaks. Therefore, always make sure that the floor in the area
of the work surface is dry to avoid accidents caused by slipping.
Use the connection accessories to connect the OmniaTap xs system to the feed water connection and
to the free drain. Observe the requirements for the feed water (see technical data). Connect the
connection hose with integrated hat filter with its R3/4" internal thread to the house feed water
connection. Now plug the free end of the 8mm hose into the 8mm quick connector labelled "Inlet" on
the back of the system (see System Connections). Then connect the second 8mm hose to the "Drain"
device connection and guide the free end of the hose into a drain, through which the rinsing water can
drain without pressure. Connect the sterile tank overflow with an 8mm hose to the free drain as well.
Screw the sterile ventilation filter into the thread provided on the back, top left of the tank.
Finally, open the shut-off valve on the building's feed water connection. Check the hose connections
for leaks.
Remove the cover of the OmniaTap xs system and place the pretreatment cartridge in the right slot
and the ultrapure water cartridge in the left slot. Connect the cartridges with the quick-release
couplings by pushing them on. The quick-release fasteners must audibly click into place.
See the illustration:
Ultrapure water
cartridge
cartridge
Pretreatment
cartridge
Table of contents
Other Stakpure Water Filtration System manuals
Popular Water Filtration System manuals by other brands

PREMIER TECH
PREMIER TECH REWATECH owner's manual
Lectranator Systems
Lectranator Systems ST 48 manual
Graf
Graf Optimax-XXL DN300 Installation and maintenance instructions
oventrop
oventrop Regumaq X-80 operating instructions

Tol Watertechniek
Tol Watertechniek Purusaqua TRO manual

EWS
EWS EWS Series Care and use manual
