manuals.online logo
Brands
  1. Home
  2. •
  3. Brands
  4. •
  5. StarTech.com
  6. •
  7. PCI Card
  8. •
  9. StarTech.com 21050-PC-SERIAL-CARD User manual

StarTech.com 21050-PC-SERIAL-CARD User manual

Quick-Start Guide
To view manuals, FAQs, videos, drivers, downloads, technical drawings, and more, visit www.startech.com/support.
Manual Revision: March 24, 2022
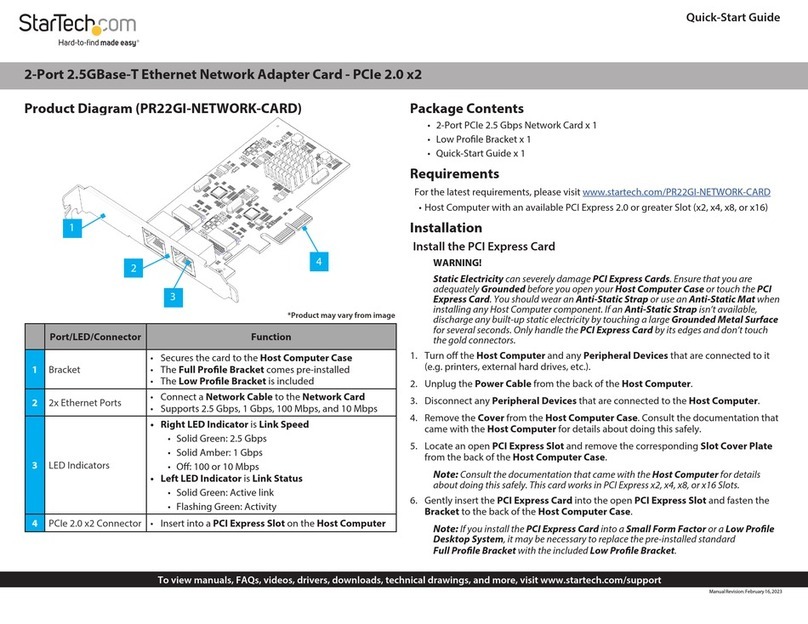
Product Diagram (21050-PC-SERIAL-CARD)
Port/LED/
Connector Function
1Bracket • Used to secure the card on the Host Computer
2Serial Ports DB-9 • Connect Serial Peripheral Devices
3Activity LEDs • Receive and Transmit LEDs illuminate Green when
there’s activity
4J2 Jumpers • Used to Enable or Disable Pin 9 power output. The
default position is Disable
5J5 Power
Connector
• Optional: connect the Host Computer Power Supply
(4 Pin SP4/Floppy power connector) to Provide Power
over PIN 9
6J3 Jumper
• Optional: used to change the voltage output of Pin 9
• PCI12V draws power from the PCIe slot. Outputs 12V
• AUX12V draws power from the J5 Power Connector.
Outputs 12V
• AUX5V draws power from the J5 Power Connector.
Outputs 5V
7PCIe 2.0 x1
Connector • Insert into a PCI Express Slot on the Host Computer
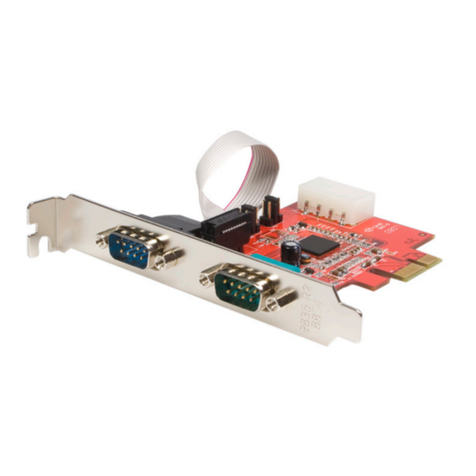
2-Port PCI Express Serial Card with COM Port Activity LEDs - 16C1050 UART
Package Contents
• Serial Parallel PCI Express Card x1
• Low-Prole Bracket x2
• Quick-Star Guide x1
Requirements
For the latest requirements, please visit www.startech.com/21050-PC-SERIAL-CARD
• Computer with an available PCI Express Slot (x1, x4, x8, or x16)
Installation
Install the PCI Express Card
WARNING!
PCI Express Cards can be severely damaged by static electricity. Ensure that you
are properly grounded before you open your Computer Case or touch the PCI
Express Card. You should wear an Anti-Static Strap when you install any computer
component. If an Anti-Static Strap isn’t available, discharge any built-up static
electricity by touching a large Grounded Metal Surface for several seconds. Only
handle the PCI Express Card by its edges and don’t touch the gold connectors.
1. Turn o your Computer and any Peripheral Devices that are connected to it (for
example, Printers, External Hard Drives, etc.).
2. Unplug the Power Cable from the back of your Computer.
3. Disconnect any Peripheral Devices that are connected to your Computer.
4. Remove the Cover from your Computer Case. Consult the documentation that
came with your Computer for details about how to do this safely.
5. Locate an open PCI Express Slot and remove the corresponding Slot Cover Plate
from the back of your Computer Case. Consult the documentation that came
with your Computer for details about how doing this safely. This card works in PCI
Express x1, x4, x8, or x16 slots.
6. Gently insert the PCI Express Card into the open PCI Express Slot and fasten the
Bracket to the back of the Computer Case.
Note:Note: If you install theIf you install the PCI Express CardPCI Express Card into ainto a Small Form FactorSmall Form Factor or aor a Low-ProleLow-Prole
Desktop SystemDesktop System, it’s necessary to replace the pre-installed standard, it’s necessary to replace the pre-installed standard Full-Full-HeightHeight
BracketBracket with the includedwith the included Low-Prole BracketLow-Prole Bracket. The. The Serial Port DB-9Serial Port DB-9 that uses thethat uses the
Ribbon CableRibbon Cable needs to be installed on a separateneeds to be installed on a separate Low-Prole BracketLow-Prole Bracket ..
5
7
1
2
6
4
3
3. Conrm that the Driver is installed and working as expected.
Verify Driver Installation (Linux)
1. Run lsmod | grep r8125 from the command line.
2. Verify that the Driver is present in the command line.
7. To provide power over Pin 9, connect a 4 Pin SP4/Floppy power connector from
the Host Computer Power Supply to the J5 Power Connector on the card.
a. To set the desired voltage, 5V or 12V, insert the jumper cap on the corresponding
labeled 2-pin connector on the J3 Jumper.
Note: Verify the Serial Peripheral Device supports additional voltage on Pin 9 before
making changes. Severe damage to the equipment can occur.
8. Change the jumper caps of J2 Jumpers from DIS (disabled) Pins 1-2 to PWR (power)
Pins 2-3.
9. Return the Cover onto your Computer Case.
10. Reconnect the Power Cable to the back of your Computer.
11. Reconnect all of the Peripheral Devices that were disconnected in Step 3.
12. Turn on your Computer.
Install the Driver
1. Navigate to www.startech.com/21050-PC-SERIAL-CARD
2. Click the Drivers/Downloads tab.
3. Under Driver(s), download the Driver Package for your operating system.
4. Open the Driver Package and locate the corresponding folder for the Operating
System Version.
5. Execute the Setup File to install the driver package to your computer.
Verify Driver Installation (Windows)
1. Navigate to the Device Manager.
2. Under Ports (COM & LPT), right-click AX99100 PCIe to High Speed Serial Port and
click Properties.
Regulatory Compliance
FCC - Part 15
This equipment has been tested and found to comply with the limits for a Class B digital device, pursuant to part 15 of the FCC
Rules. These limits are designed to provide reasonable protection against harmful interference in a residential installation.
This equipment generates, uses and can radiate radio frequency energy and, if not installed and used in accordance with the
instructions, may cause harmful interference to radio communications. However, there is no guarantee that interference will
not occur in a particular installation. If this equipment does cause harmful interference to radio or television reception, which
can be determined by turning the equipment o and on, the user is encouraged to try to correct the interference by one or
more of the following measures:
• Connect the equipment into an outlet on a circuit dierent from that to which the receiver is connected.
• Consult the dealer or an experienced radio/TV technician for help
This device complies with part 15 of the FCC Rules. Operation is subject to the following two conditions:
(1) This device may not cause harmful interference, and (2) this device must accept any interference received, including
interference that may cause undesired operation. Changes or modications not expressly approved by StarTech.com could
void the user’s authority to operate the equipment.
Industry Canada Statement
This Class B digital apparatus complies with Canadian ICES-003.
Cet appareil numérique de la classe [B] est conforme à la norme NMB-003 du Canada.
CAN ICES-3 (B)/NMB-3(B)
This device complies with Industry Canada licence-exempt RSS standard(s). Operation is subject to the following two
conditions:
(1) This device may not cause interference, and (2) This device must accept any interference, including interference that may
cause undesired operation of the device.
Le présent appareil est conforme aux CNR d’Industrie Canada applicables aux appareils radio exempts de licence. L’exploitation
est autorisée aux deux conditions suivantes:
(1) l’appareil ne doit pas produire de brouillage, et (2) l’utilisateur de l’appareil doit accepter tout brouillage radioélectrique
subi, même si le brouillage est susceptible d’en compromettre le fonctionnement.
Warranty Information
This product is backed by a two-year warranty.
For further information on product warranty terms and conditions, please refer to www.startech.com/warranty.
Limitation of Liability
In no event shall the liability of StarTech.com Ltd. and StarTech.com USA LLP (or their ocers, directors, employees or agents)
for any damages (whether direct or indirect, special, punitive, incidental, consequential, or otherwise), loss of prots, loss
of business, or any pecuniary loss, arising out of or related to the use of the product exceed the actual price paid for the
product. Some states do not allow the exclusion or limitation of incidental or consequential damages. If such laws apply, the
limitations or exclusions contained in this statement may not apply to you.
FR: startech.com/fr
DE: startech.com/de
ES: startech.com/es
NL: startech.com/nl
IT: startech.com/it
JP: startech.com/jp
StarTech.com Ltd.
45 Artisans Crescent
London, Ontario
N5V 5E9
Canada
StarTech.com Ltd.
Unit B, Pinnacle 15
Gowerton Road
Brackmills,
Northampton
NN4 7BW
United Kingdom
StarTech.com LLP
4490 South Hamilton
Road
Groveport, Ohio
43125
U.S.A.
StarTech.com Ltd.
Siriusdreef 17-27
2132 WT Hoofddorp
The Netherlands
This manual suits for next models

1

Other StarTech.com PCI Card manuals

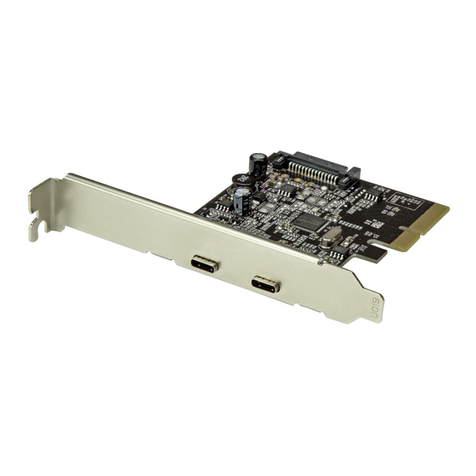
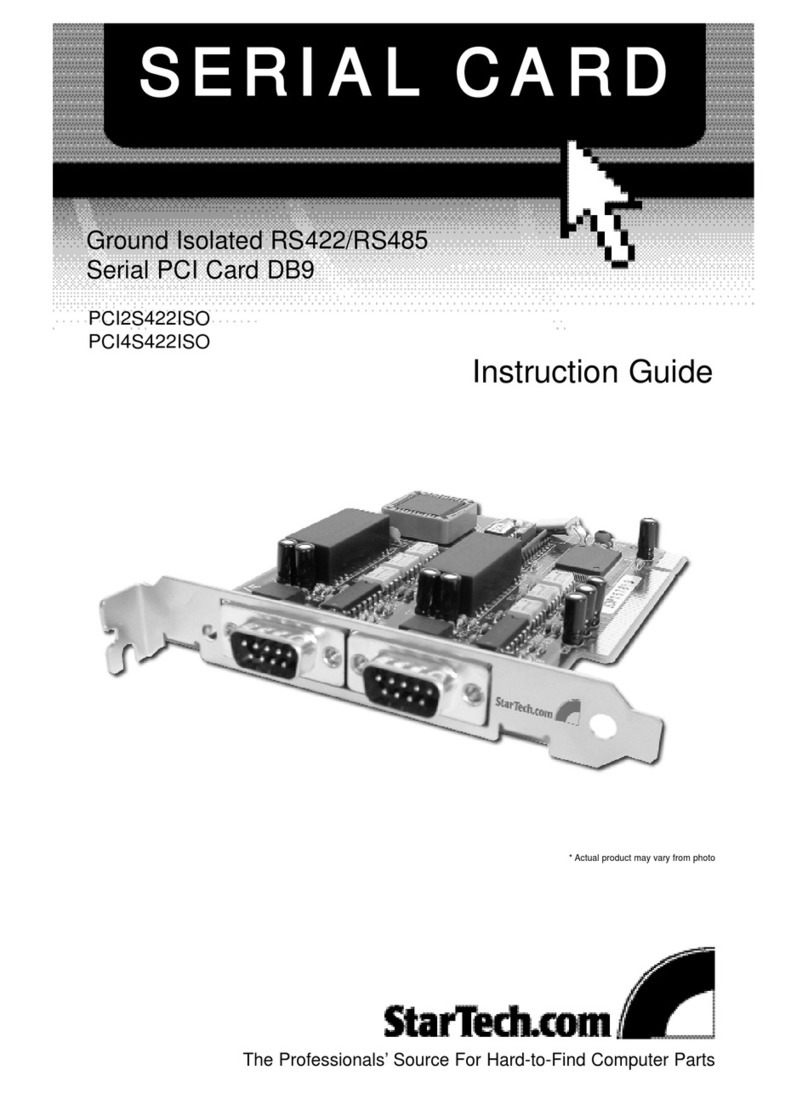
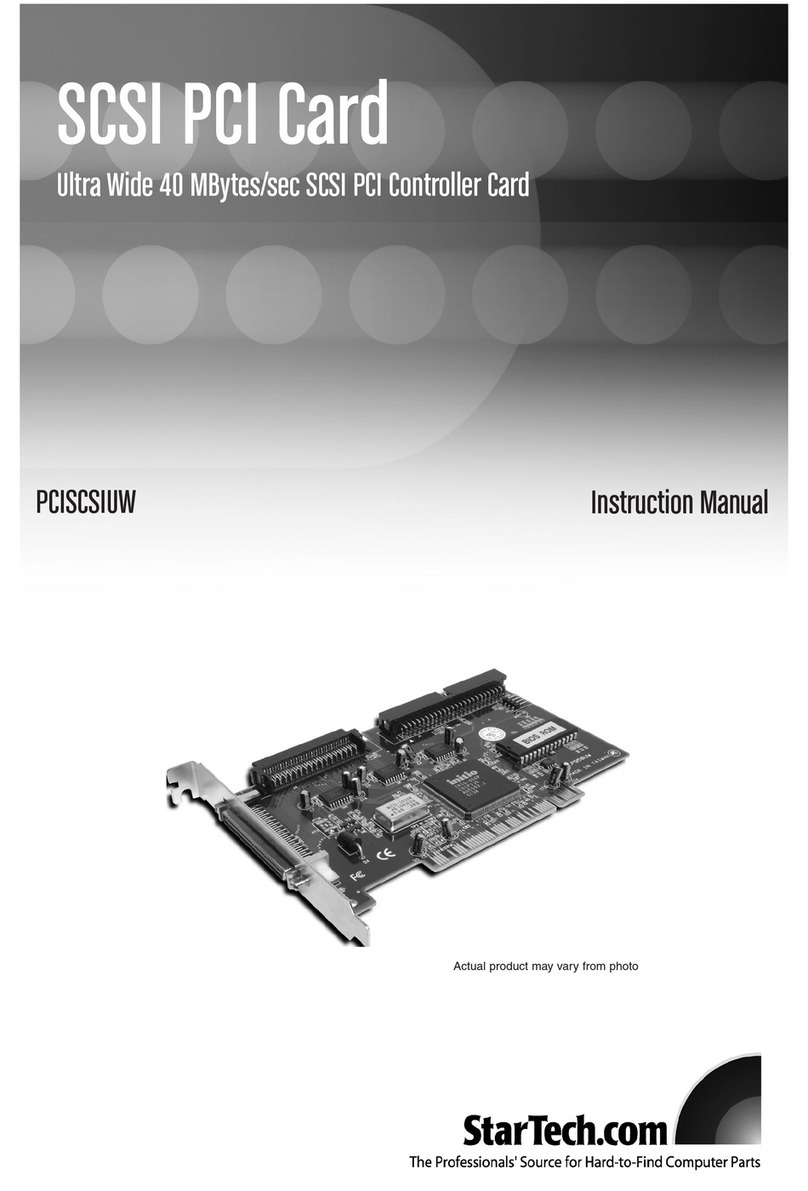
StarTech.com PCIIDE2 System manual

StarTech.com

StarTech.com PCIIDE2 System manual

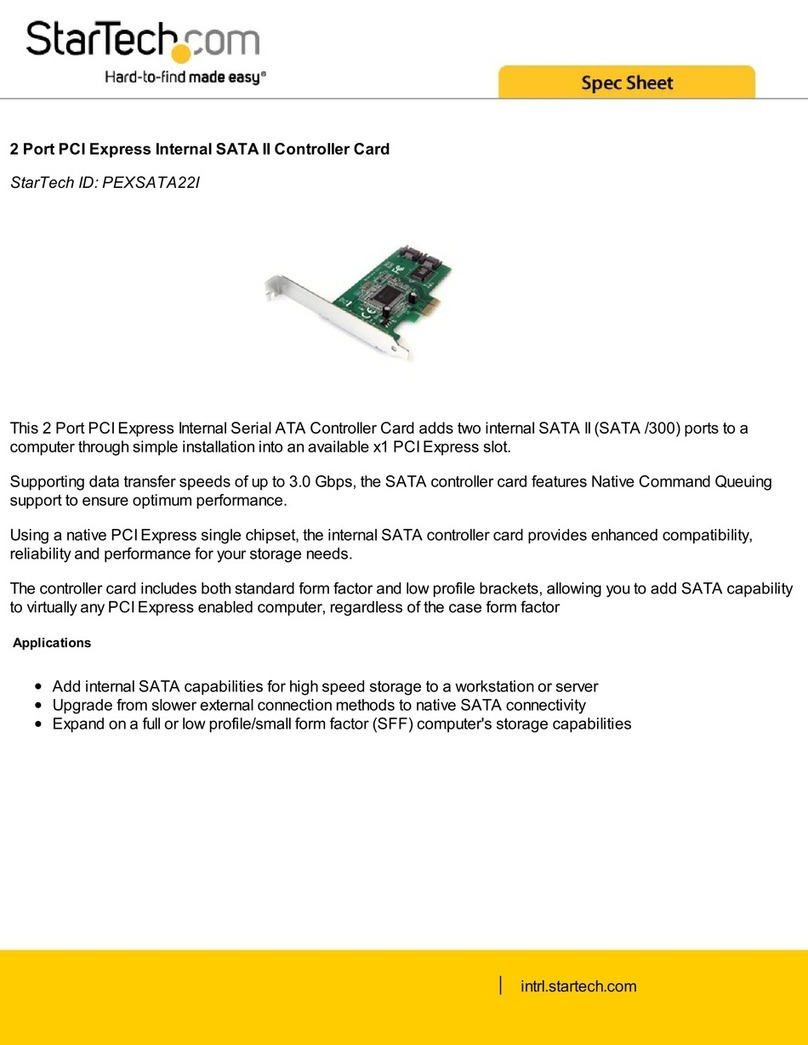
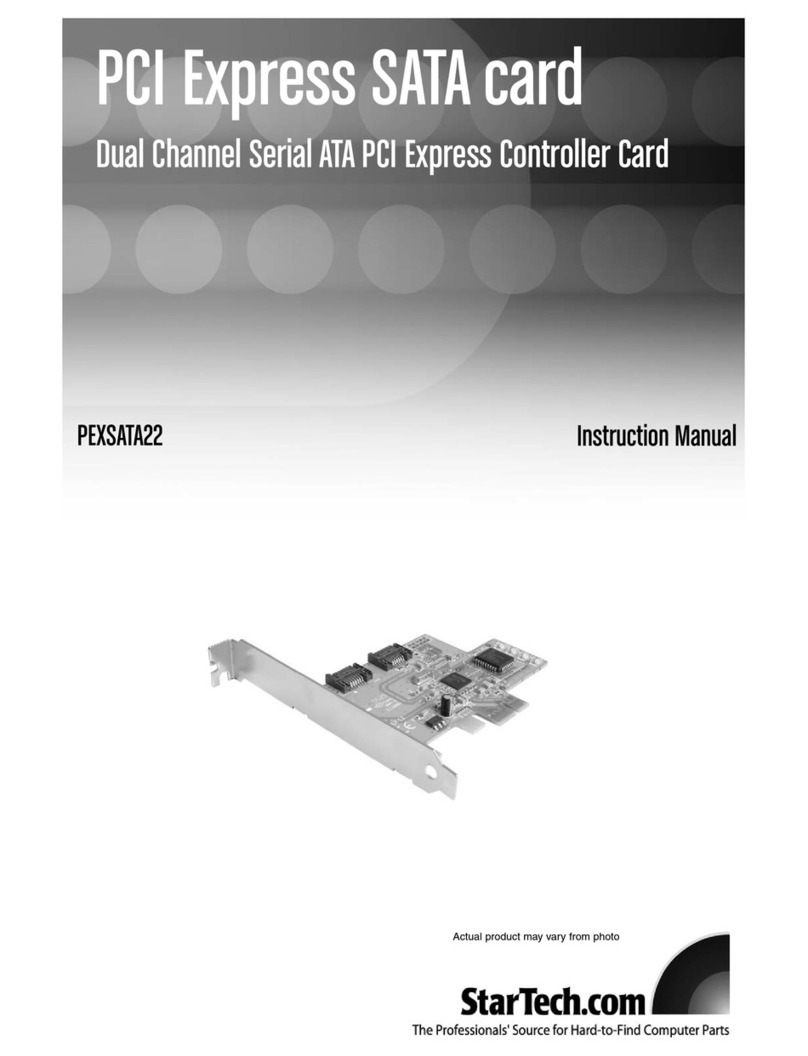
StarTech.com PEXSATA22I System manual

StarTech.com

StarTech.com PEXSATA22I System manual

StarTech.com PEXUSB3S42V User manual

StarTech.com

StarTech.com PEXUSB3S42V User manual

StarTech.com USB2HDCAPM User manual

StarTech.com

StarTech.com USB2HDCAPM User manual

StarTech.com PCI1S950DV User manual

StarTech.com

StarTech.com PCI1S950DV User manual

StarTech.com PEX1000MMSC2 User manual

StarTech.com

StarTech.com PEX1000MMSC2 User manual

StarTech.com PCI2S232485I User manual

StarTech.com

StarTech.com PCI2S232485I User manual

StarTech.com MPEX300WN2X2 System manual

StarTech.com

StarTech.com MPEX300WN2X2 System manual

StarTech.com PCISOUND5LP User manual

StarTech.com

StarTech.com PCISOUND5LP User manual

StarTech.com PCISCSIUW User manual

StarTech.com

StarTech.com PCISCSIUW User manual

StarTech.com PEXSATA24E User manual

StarTech.com

StarTech.com PEXSATA24E User manual

StarTech.com PEXUSB3S2E2I User manual

StarTech.com

StarTech.com PEXUSB3S2E2I User manual

StarTech.com PEXUSB3S25 User manual

StarTech.com

StarTech.com PEXUSB3S25 User manual

StarTech.com PCI2S1P User manual

StarTech.com

StarTech.com PCI2S1P User manual

StarTech.com PEXSATA22I User manual

StarTech.com

StarTech.com PEXSATA22I User manual

StarTech.com PCI1S550 User manual

StarTech.com

StarTech.com PCI1S550 User manual

StarTech.com PEXUSB3S400 User manual

StarTech.com

StarTech.com PEXUSB3S400 User manual

StarTech.com PEX2S553B System manual

StarTech.com

StarTech.com PEX2S553B System manual

StarTech.com 8STPEX2S953LP User manual

StarTech.com

StarTech.com 8STPEX2S953LP User manual

StarTech.com 8STPEX1S953LP User manual

StarTech.com

StarTech.com 8STPEX1S953LP User manual

StarTech.com PCIESATA2I User manual

StarTech.com

StarTech.com PCIESATA2I User manual

StarTech.com PCIE1RIS User manual

StarTech.com

StarTech.com PCIE1RIS User manual

StarTech.com PCIESATA2I User manual

StarTech.com

StarTech.com PCIESATA2I User manual

StarTech.com PEX1S1PMINI User manual

StarTech.com

StarTech.com PEX1S1PMINI User manual

Popular PCI Card manuals by other brands
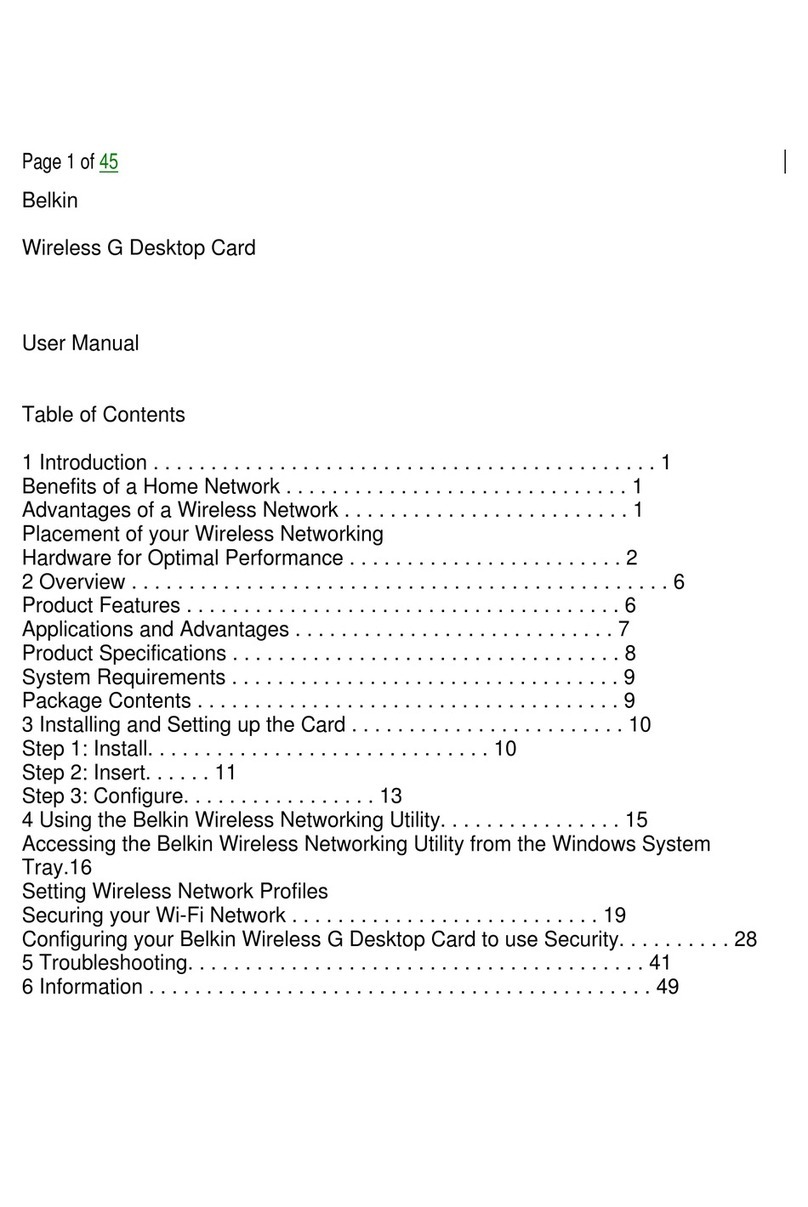
Edimax EN-9235TX-32 Specifications

Edimax

Edimax EN-9235TX-32 Specifications

Exsys EX-16450 manual

Exsys

Exsys EX-16450 manual

Digitus ds-33000-1 Quick installation guide

Digitus

Digitus ds-33000-1 Quick installation guide

Titan Electronics PCIe-800 user manual

Titan Electronics

Titan Electronics PCIe-800 user manual

SIIG Cyber 2S1P PCI Quick installation guide

SIIG

SIIG Cyber 2S1P PCI Quick installation guide

ZALMAN ZM-PC302 U3 user manual

ZALMAN

ZALMAN ZM-PC302 U3 user manual

Lava Parallel-PCIe/LP datasheet

Lava

Lava Parallel-PCIe/LP datasheet

Acromag PMC440 Series user manual

Acromag

Acromag PMC440 Series user manual

HBAVLINK HB-C10 user manual

HBAVLINK

HBAVLINK HB-C10 user manual

Inventa Australia Pty Ltd VoverlaX user manual

Inventa Australia Pty Ltd

Inventa Australia Pty Ltd VoverlaX user manual

NETGEAR WG311T installation guide

NETGEAR

NETGEAR WG311T installation guide

Hercules HWNP-300 quick start guide

Hercules

Hercules HWNP-300 quick start guide

Extreme Networks QXO-AP3825E user manual

Extreme Networks

Extreme Networks QXO-AP3825E user manual

MikroTik LR mini PCIe card Series quick guide

MikroTik

MikroTik LR mini PCIe card Series quick guide

Belkin F5U198 user manual

Belkin

Belkin F5U198 user manual

Acer NeWeb Warplink 2402 user manual

Acer NeWeb

Acer NeWeb Warplink 2402 user manual

EVGA XR1 PRO quick guide

EVGA

EVGA XR1 PRO quick guide

Gateway Mini 802.11 manual

Gateway

Gateway Mini 802.11 manual

manuals.online logo
manuals.online logoBrands
  • About & Mission
  • Contact us
  • Privacy Policy
  • Terms and Conditions

Copyright 2025 Manuals.Online. All Rights Reserved.