STATESMAN SKAF05015BK User manual
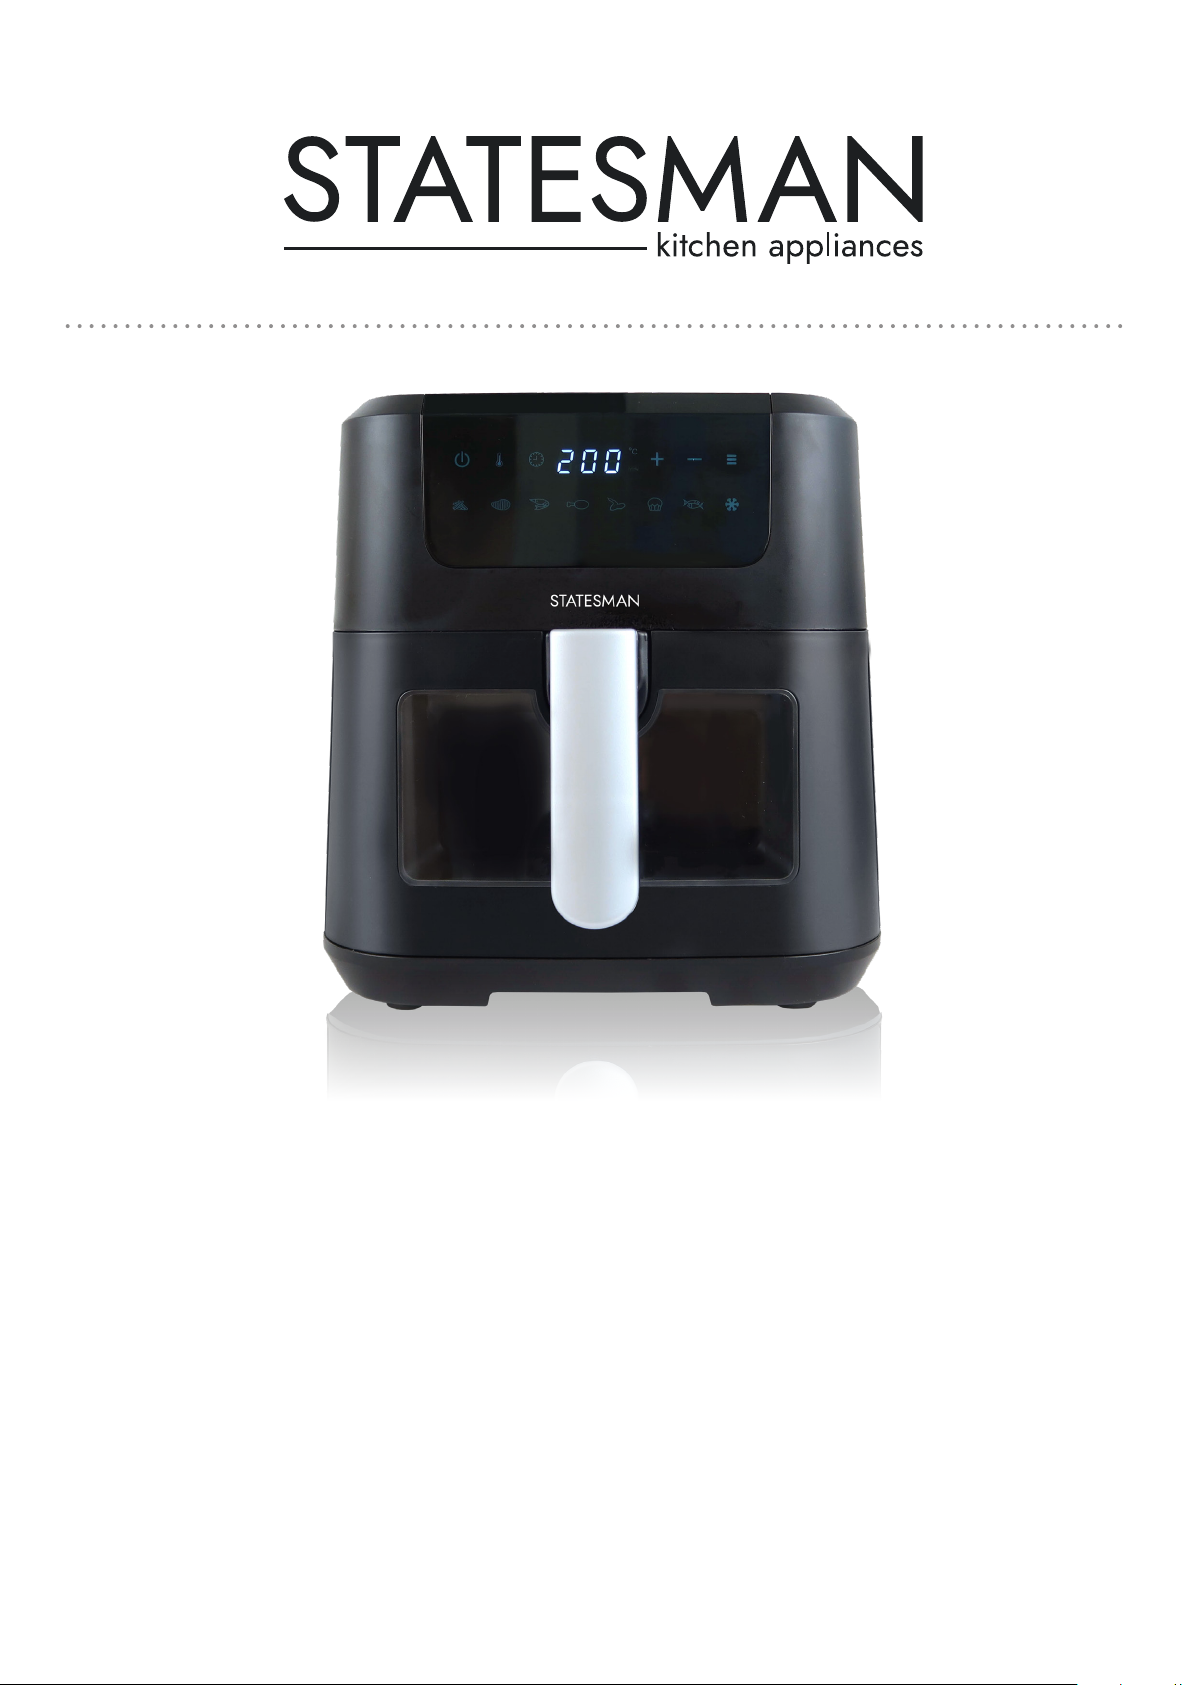
SKAF05015BK
5 LITRE DIGITAL AIR FRYER
Instruction Manual
Please read these instructions carefully before use and retain for future reference.
Before switching on your appliance – Always check for any damage that may have
been caused in transit.

2
CONTENTS
Important Safety Instructions ................................ 3-5
Air Frying Tips..............................................................6
Cooking Guide Table ...................................................7
Product Overview .................................................... 8-9
Operating Instructions ........................................ 10-12
Cleaning & Maintenance...........................................13
Troubleshooting Guide........................................ 14-15
Mains Plug Fuse Replacement.................................17
Disposal Information.................................................17
Statesman Warranty/Guarantee Information..........18

3
SAFETY INSTRUCTIONS
Please ensure you read all instructions and warnings in this user guide prior to rst
use.
Keep this user guide for future reference.
Please handle this product with care and check it regularly to ensure it is in good
working order.
If the product, power supply cord or plug shows any signs of damage: stop using it
immediately or do not use. Unplug product and contact a qualied technical engineer
or service agent.
• This appliance can be used by children aged from 8 years and above if they have
been given supervision or instruction concerning the use of the appliance in a safe
way and understand the hazards involved
• Cleaning and user maintenance shall not be made by children
• Keep the appliance and its cord out of reach of children aged less than 8 years
• Children shall not play with the appliance
• This appliance can be used by persons with reduced physical, sensory or
mental capabilities or lack of experience and knowledge if they have been given
supervision or instruction concerning use of the appliance in a safe way and
understand the hazards involved
• When operating, the air fryer basket and crisping rack will be hot. Do not touch.
Use the handle on the air fryer to remove the basket with food
• Use oven mitts or clothes when handling the air basket as it will retain some
residual heat. This will prevent potential burns
• This air fryer is intended for indoor household use. Do not use outdoor for any
purpose
• The power cord to the air fryer should be plugged into and 200-240V AC electrical
out only
• If this air fryer begins to malfunction during use, press the basket release button
and pull active fryer basket out of the air fryer. Unplug the power cord and stop use
immediately. Contact a qualied technical engineer or service agent.
• Only place the air fryer on a dry, at, stable and heat resistant surface
• Do not place the air fryer on or near a hot gas or electrical burner or heated oven
• Be sure to use on a heat resistant and even surface. If you don’t have a heat
resistant surface, please use a heat proof mat. Keep the appliance at least 10cm
away from the wall, furniture or other ammable objects
• Do not place anything on top of the appliance
• Do not immerse the power cord, plug or air fryer unit in water or any other liquids
• Do not allow the power cord to hang over the edge of a table, counter or touch any
hot surfaces

4
• Only connect the appliance to an earthed wall socket. Always make sure that the
plug is inserted into the wall socket properly. To disconnect, turn any control to
“o”, then remove plug from wall outlet
• If the power cord is damaged stop use immediately and contact a qualied
technical engineer or service agent
• Do not attempt to repair the air fryer yourself. Contact a qualied technical
engineer
• Do not obstruct the air ow inlets and outlets. These are located on the back and
top of the air fryer
• Do not use any third-party attachments and accessories with this air fryer. It may
lead to malfunctions or injuries
• When using the crisping rack ensure it is properly inserted into the air fry basket
before adding food and cooking
• Always use the handles on the air fry basket to pull out basket. Please remember
to press the release button before pulling
• Allow the air fryer to cool before cleaning or removing air fry baskets or crisping
racks
• Unplug the power cord of the air fryer before cleaning and when it is not in use
• Never operate or store the unit in direct sunlight
• This appliance is designed to be used at ambient temperatures between 5°C and
40°C
• Always put the ingredients in the basket, to prevent them from coming into contact
with the heating elements.
WARNING: This air fryer is not intended to be operated by means of an
external timer or separate remote control system
WARNING: Never move the air fryer unit when hot or when containing hot food
WARNING: The air fryer will not operate unless the active air fry basket is fully
inserted into the main air fry unit
WARNING: This air fryer should not be used to boil water
WARNING: This air fryer should never be used to deep fat fry food
WARNING: Under lling or over lling the air basket may damage the air fryer
and result in serious injuries
CAUTION: Hot oil can collect at the base of the basket. Use with caution when
removing the cooked food to avoid splashes and burns
WARNING: After operating, the air fryer basket and crisping rack will retain
some residual heat. Let cool before washing or handling

5
WARNING: This appliance is intended to be used in household and similar
applications such as:
• Sta Kitchen areas in shops, oces and other working environments
• Farm houses
• By client in hotels, motels and other residential type environments
• Bed and breakfast type environment
WARNING: Extreme caution must be taken when handling any hot fryer basket
or crisping rack. Careful when opening basket to avoid escaping steam from
fryer and food

6
AIR FRYING TIPS
• Please check on the cooking of your food as our air fryer cooking technology will
cook food quicker than that of convectional ovens
• Pat the food dry before cooking to encourage browning and to avoid excess
smoke
• To ensure even cooking/browning, always open the active basket halfway through
the cook time and check, turn or shake foods in the air fryer basket. Some recipes
call to brush or spray oil halfway through cooking. Adjust the temperature or time if
needed
• Frying small batches will require shorter cooking times and yield crispier results.
• To avoid excess smoke when cooking foods high in fat (e.g bacon, chicken wings
or sausages), it may be necessary to empty the fat gathered in the air fryer basket
between batches
• Create a more spaced out surface area to allow more air to pass through by cutting
food into smaller pieces. This can yield crispier foods
• Press breading/coating onto food to help it adhere. Refrigerate breaded foods for
at least 30 minutes before frying. This allows the coating to be slightly absorbed
and ensures the coating sticks to foods when cooking
• To improve crispiness in meat, coat the meat lightly with cornour or rice our and
spray with oil
• Arrange breaded coated foods in air fryer basket so that food is not touching to
allow air ow on all surfaces
• Spray oils works best with this air fryer. The spray distributes the oil more evenly
and less oil generally needed. However, canola, olive, avocado, coconut, grape
seed, peanut or vegetable oil work well too
• When baking or using wetter foods it is best to use parchment paper to line the
basket
• Place a baking tin or oven dish in the air fryer basket if you want to bake a cake or
quiche or if you want to fry fragile foods
• For best results with fresh chips use King Edward, Maris Piper, Romano, Désirée,
or Russet potatoes. Make sure they have been washed and dried. this will help
create a crispier chip
Air frying Pre-Packaged Frozen Foods
• Depending on the type and amount of food being cooked, suggested cook times
may dier. Always check food halfway through cooking time to determine the nal
cook time and temperature
• Once the time is up, ensure the food is fully cooked

7
COOKING GUIDE TABLE
In the table below, we have suggestions to help you to select the basic settings
for some favorite foods. Note: Keep in mind that these settings are indications. As
ingredients dier in origin, size, shape as well as brand, we cannot guarantee the best
setting for your ingredients.
Note: Add around 3 minutes to the cooking time or pre heat the air fryer when you
start cooking.
Amount
(g)
Time
(min.)
Temperature
(℃) Remark
Potato & fries
Frozen French fries 300-500 15-20 200 Shake during cooking
Fresh French fries 300-500 20-30 180 Shake during cooking
Potato gratin 300-600 20-30 200 Shake during cooking
Meat & Poultry
Steak 100-500 10-20 200 Turn over during cooking
Pork chops 100-500 10-20 200 Turn over during cooking
Hamburger 100-500 10-15 180
Chicken wings/
drumsticks 100-500 15-25 200 Turnover/shake during
cooking
Chicken breast 100-500 15-20 200 Turn over during cooking
Snacks
Spring rolls 100-500 8-15 200 Use oven-ready. Turn over
during cooking
Frozen chicken
nuggets 100-500 8-15 200 Use oven-ready. Turn over
during cooking
Frozen sh ngers 100-500 6-15 200 Use oven-ready. Turn over
during cooking
Vegetables 100-500 8-15 160
Baking
Cake 400 20-25 160 Use baking tin
Quiche 500 20-25 180 Use baking tin/oven dish
Mufns 400 15-20 160 Use baking tin
Sweet snacks 500 15-20 160 Use baking tin/oven dish

8
PRODUCT OVERVIEW
A. Crisping Rack
B. Fry Basket
Air Fryer
C. Fry Basket Handle
D. Touch Control Panel
E. Power Cord/Plug
Air Fryer Inlets and Outlets
Air Flow Outlet
(caution hot air)
Air Flow Inlet
A
B
C
D
E

9
Touch Control Panel
1. On/O/Start
2. Temperature setting
3. Cooking time setting
4. “+” increasing the cooking temperature or cooking time
5. “-“ decreasing the cooking temperature or cooking time
6. Menu button. Press this button to choose the correct functions from 8-15.
7. Digital display. Will show the cooking time and temperature alternately.
8. Preset functions
8
1 2 3 7 4 5 6
Preset Functions
Air Fry - Fries option see table on page 12
Grill - Steak option see table on page 12
Air Fry - Shrimp option see table on page 12
Roast - Chicken option see table on page 12
Air Fry - Wings option see table on page 12
Bake - Cake option see table on page 12
Grill - Fish option see table on page 12
Defrost/ Keep Warm option see table on page 12

10
Instruction For Use
This is an air fryer that works on hot air. Do not ll the fry basket with oil or frying
fat.
• Put the plug in the wall socket.
• Carefully pull the fry basket out of the air fryer and ensure the crisping rack is
inside.
• Add ingredients into the basket
Note: The air fryer can prepare a large range of foods. Refer to the food table (see p.5)
for the right quantities and cooking time.
OPERATION INSTRUCTIONS
Before First Use
Remove all packaging and labels from the inside and outside of the air fryer.
Air fryer comes with a crisping rack which is located on top of poly packaging.
Ensure you wash the rack and basket with hot soapy water. Wipe the air fryer
main unit with a damp cloth.
DO NOT IMMERSE THE AIR FYER MAIN UNIT IN WATER OR ANY LIQUIDS
1. Insert the crisping rack into the basket so that the rubber sides t and lock in
comfortably into the basket
PLEASE NOTE the rubber may be sti the rst few times of using and placing in
2. Insert the baskets into the main body
PLEASE NOTE ensure that basket is fully inserted otherwise air fryer will not
operate
Note: During initial use, the air fryer may give o a slight odour. This is normal and
should not aect your food.

11
• Slide the fry basket back into the air fryer unit. PLEASE NOTE ensure that basket
is fully inserted otherwise air fryer will not operate
• Press On/o button to switch on the air fryer
• Press Menu button to select the desired cooking mode. Keep pressing the mode
button until the desired pre-set cooking programme icon ashes
• The default cooking temperature will be displayed, to alter press (+ / -) to increase
or decrease. Once the selected temperature is displayed on the control panel it will
ash for 5 seconds then change to time.
Note: if you want to return to change the temperature press the temperature button
• The default cooking time will be shown, to alter press (+ / -) to increase or
decrease.
Note: if you want to return to change the time press the time button
• Press On/O/Start button to start cooking. The display will show the remaining
cooking time.
Note: Add 3 minutes to the preparation time when the appliance is cold. If you want,
you can also let the appliance preheat without any ingredients inside. In that case,
choose the 1st Pre set function and set the time in 3 mins and start.
• Some ingredients require shaking halfway through the cooking time. To shake the
ingredients, pull the pot out of the appliance by the handle and shake it. Then slide
the pot back into the fryer. Remember to replace the basket back correctly.
Caution: Do not touch the basket during shaking as it’s very hot only use the
handle. Also excess oil from some ingredients could have collected on the
bottom of the fry basket. Take care when shaking and don’t shake too hard as
oils could splash.
• When you hear the BEEP sound, the set cooking time has elapsed.
• Pull the fry basket out of the appliance and place it on a heat-resistant surface.
• Check if the ingredients are ready and cooked thoroughly. If the ingredients are not
ready yet, simply put the basket back into the appliance and cook for a few extra
minutes.
Note: After use, the fry basket, the rack, and the ingredients are hot. Steam may
also escape, this is normal.
• Empty the contents of the fry basket into a bowl or onto a plate. It’s
recommended that you use a pair of tongs to lift the ingredients out. This will
avoid potential splashing of oil.

12
COOKING MODES
The table below outlines the 8 pre-set cooking programmes available with this air fryer
along with the cooking times and temperatures:
Remember to set the time based on the weight and on the thickness of the food to
cook or from its packaging instructions.
With Defrost function ensure the food is thawed all the way through but not started
cooking.
Note: Defrost/keep warm function can also be used to DEHYDRATE. To
Dehydrate you must keep resetting the timer as it will only go up to 90mins and
dehydration can take 4-9 hours dependent on the food.
Note: You can also use the air fryer to reheat food. To reheat food, set the
temperature to 150℃ for up to 10 minutes. Check foods are reheated thoroughly.
Function
Default
cooking
time
Default
cooking
temperature
Adjustable
time range
Adjustable
temperature
range
Air Fry - Fries 15 mins 200℃ 65℃-200℃ 1min-90mins
Grill - Steak 25 mins 180℃ 65℃-200℃ 1min-90mins
Air Fry - Shrimp 12 mins 160℃ 65℃-200℃ 1min-90mins
Roast - Chicken 20 mins 185℃ 65℃-200℃ 1min-90mins
Air Fry - Wings 15 mins 200℃ 65℃-200℃ 1min-90mins
Bake - Cake 25 mins 160℃ 65℃-200℃ 1min-90mins
Grill - Fish 15 mins 165℃ 65℃-200℃ 1min-90mins
Defrost/Keep Warm 20 mins 60℃ 30℃-80℃ 1min-90mins

13
CLEANING & MAINTENANCE
Clean air fryer after every use.
DO NOT CLEAN WHILST STILL HOT
Unplug unit from the electrical outlet and allow each part to cool down before starting
any cleaning procedure. Remove container to make the unit cool down faster.
Do not place air fryer in water. Try to prevent splashes of water or other liquids from
reaching the unit.
Do not use any abrasive or harsh chemicals.
• Wipe the outside of the appliance with a damp cloth
• Wash air fryer basket and crisping rack in hot soapy water or you can add to
dishwasher. If cleaning in dishwasher do not put on higher setting than 50º and on
top rack
• Clean the heating element with a cleaning brush to remove any food residues
• Clean the inside of the appliance with hot water and non-abrasive sponge. Basket
and rack can be washed as normal non-stick pans, but we suggest to use a low
dishwasher setting
Do not use metal kitchen utensils, abrasive sponges or abrasive cleaning
materials to clean them, as this may damage the non-stick coating.
Storage
• Ensure air fryer is unplugged and all parts are clean and dry
• Do not store if still hot or wet
• Insert clean and dry crisping rack into basket and insert fully in to air fryer main unit
correctly before storing
• Try to store covered and in dry cool place. Recommend in its original box
If your air fryer is not working contact a qualied technical engineer or service agent.

14
If you are having problems with your appliance, please use our troubleshooting
guide below. If you are unable to resolve the issue using this guide, please ring our
Customer Service Department on 0844 848 5861. Please have the model code and
purchase information available.
TROUBLESHOOTING GUIDE
Problem Possible Cause Possible Solution
The air fryer does
not work
The appliance is not plugged in. Put the mains plug in an
earthed wall socket.
You have not pressed START. Press the START button after
selecting the menu, to start
cooking.
Check the basket is fully
inserted to the main air fry unit
Several appliances are
connected to one socket.
Try a dierent socket and
check the fuses. The air fryer
has a power of 1500W.
The outside of the
appliance becomes
warm during use.
The outside of the appliance
becomes hot because the heat
inside radiates to the outside
walls.
This is normal. However, the
handles and panel that you
need to touch during use
will still stay cool enough to
touch.
Food is
undercooked.
The amount of ingredients in the
fry basket is too big.
Put smaller batches of
ingredients in the fry basket.
Smaller batches are fried
more evenly and quickly.
The set temperature is too low. Check cooking temperature
and increase accordingly
Cooking time is too short. Check cooking time and
increase the cooking time
accordingly.
Food is cooking
unevenly.
Certain types of foods need to
be shaken.
Shake halfway through the
cooking time.

15
Air fried foods are
not crispy when
they are nished
cooking
Check type of food as it may
only be prepared in a traditional
deep fryer.
Otherwise see air fry tips
I cannot slide the
basket into the
appliance properly.
There is too much food in the
basket.
Do not ll the pot beyond 2/3
of its capacity.
White smoke
comes out of the
appliance.
You are preparing greasy
ingredients.
When you fry greasy
ingredients in the air fryer, a
large amount of oil will leak
into the basket. These oils
may produce white smoke
and the fry basket may heat
up more than usual. This
does not eect the appliance
or the end result. Be careful
when opening basket and
smoke escapes.
The fry basket still contains
grease residues from previous
use.
Smoke is caused by grease
heating up in the basket.
Make sure you clean the pan
properly after each use.
Fresh chips are
fried unevenly or
not crispy in the air
fryer.
You did not use the right potato
type.
See air fryer tips
You did not rinse the potato
sticks properly before you fried
them.
See air fryer tips
The crispiness of the fries
depends on the amount of oil
and water in the fries.
Make sure you dry the potato
sticks properly before you
add the oil.
Cut the potato sticks smaller
for a crispier result.
Add slightly more oil for a
crispier result.

16
DISPOSAL OF OLD ELECTRICAL APPLIANCES
The European Directive 2002/96/EC on Waste Electrical and Electronic
Equipment (WEEE), requires that old household electrical appliances
must not be disposed of in normal unsorted municipal waste. Old
appliances must be collected separately in order to optimise the
recovery and recycling of the materials they contain and reduce
the impact on human health and the environment. The crossed out
“wheeled bin” symbol on the product reminds you of your obligation,
that when you dispose of the appliance it must be separately
collected. Consumers should contact their local authority or retailer for
information concerning the correct disposal of their old appliance.
MAINS PLUG FUSE REPLACEMENT Fuse Cover
Fuse Replacement (Class I)
This appliance must be earthed. Remove the fuse cover
with a small at head screw driver. Take out the fuse and
replace with a new fuse of the same Amp. Replace the
fuse cover and push back into place.

17

18
STATESMAN WARRANTY/GUARANTEE TERMS & CONDITIONS
THANK YOU FOR CHOOSING STATESMAN
As a valued customer we would like to oer you a FREE 2-year warranty to cover
your product against any electrical or mechanical defects.
This means that in the unlikely event you develop a fault or problem with your product
we will happily repair or replace the item free of charge.
To qualify for the guarantee, the product must be used for domestic household use
only and in accordance with the instructions in the user manual. Any misuse of the
product will result in the warranty being void.
The guarantee does not cover accidental damage, misuse, neglect, tampering or
incorrect adjustment or installation.
The guarantee will be rendered invalid if the product is resold, has had its serial
number or rating label removed (or has an invalid serial number or rating label), or if an
unauthorised person has carried out any repairs or alterations.
The warranty does not cover accessories or consumable parts that require
replacement under normal use. This includes shelving, dials, lters, belts and trays
etc.
In the unlikely event of a breakdown please refer to the Troubleshooting Guide in your
user manual and check all plugs, fuses and the electricity supply.
If you still require assistance, please contact our Customer Service Department on
01473 271 272 or write to us at the following address:
Customer Service Department
38 Bluestem Road, Ransomes Industrial Estate, Ipswich, IP3 9RR
Please quote the Product Code and the PO number on the rating label and give
details of the exact fault. We will then decide whether to replace the item.
IMPORTANT NOTE: Before we arrange the replacement, you will be required to
return a copy of your proof of purchase. Please retain your original.
If an item is replaced within the agreed warranty period, the warranty for the
replacement item will be calculated from the purchase date of the original.
In the event that the product is inspected, and no fault is found, or the product is not
within the guarantee period you will be charged for the repair and any carriage costs.

19

0844 848 5861
38 Bluestem Road, Ransomes Europark, Ipswich, IP3 9RR
EU: Castle Electrical Factors Ltd., Dundalk, A91 KA9R, IR
Table of contents
Other STATESMAN Fryer manuals