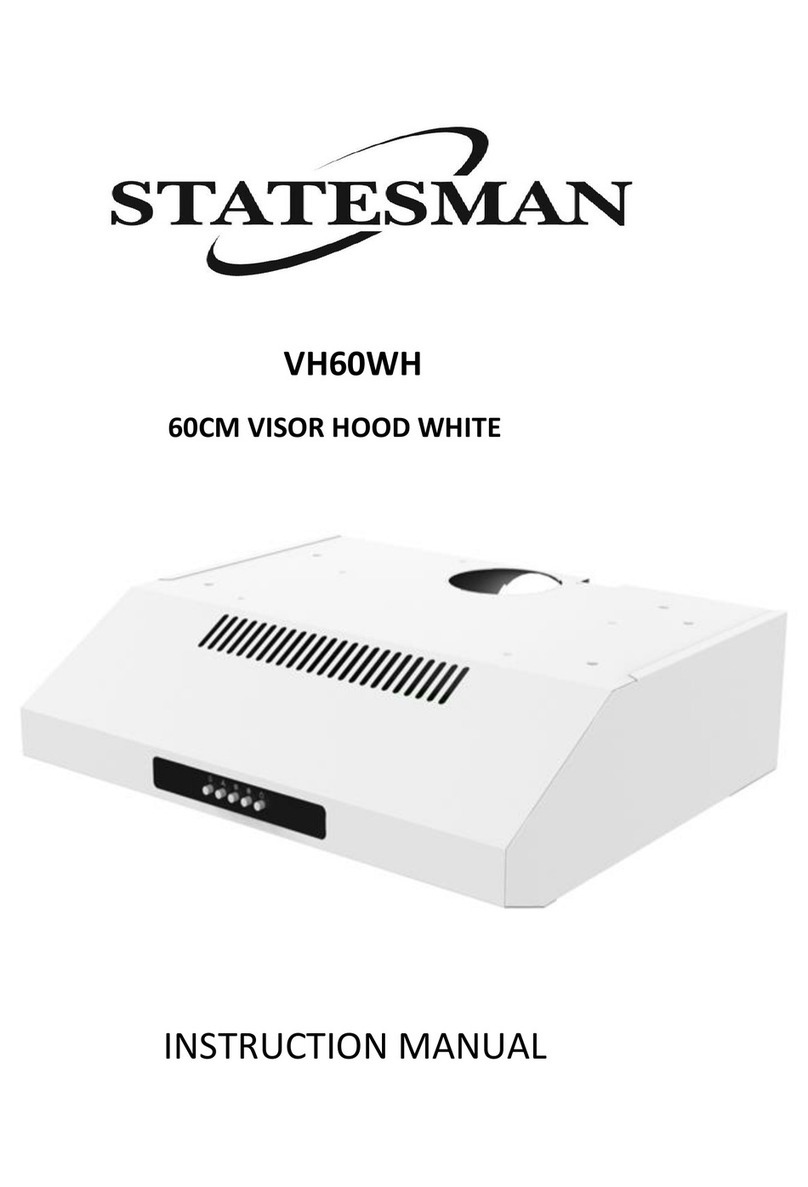
STATESMAN ACH60BL User manual

Please read these instructions carefully before use and retain for future reference.
Before switching on your appliance – Always check for any damage that may have been caused in transit.
Instruction Manual
Serial number:
ACH60BL
60CM ANGLED CHIMNEY COOKER HOOD
BLACK GLASS

2
CONTENTS
Safety Instructions........................................................ 3-5
Appliance Overview...................................................... 5-6
Installation .................................................................. 7-11
Operating Instructions....................................................11
Cleaning and Maintenance....................................... 12-13
Fuse Replacement .........................................................13
Troubleshooting..............................................................14
Service & Disposal Information ......................................15

3
Thank you for purchasing our product. We hope you enjoy
using the many features and benets it provides. Before
using this product please study this entire Instruction
Manual carefully. Keep this manual in a safe place for future
reference. Ensure that other people using the product are
familiar with these instructions as well.
SAFETY INSTRUCTIONS
• Theinstallationandrepairworkmustbeundertakenbya
qualiedandcompetentperson.
• Themanufacturerdisclaimsallliabilityforanydamageor
injury caused as a result of not following the instructions
of installation.
• Thecookerhoodsupplyshouldbe220V-240V~50Hz-60Hz
• Childrenlessthan8yearsofageshallbekeptawayunless
continuously supervised.
• Thisappliancecanbeusedbychildrenagedfrom8yearsand
above and persons with reduced physical, sensory or mental
capabilitiesorlackofexperienceandknowledgeifthey
have been given supervision or instruction concerning use of
theapplianceinasafewayandunderstandthehazards
involved. Children shall not play with the appliance. Cleaning
and user maintenance shall not be made by children without
supervision.
• Cleaningandusermaintenanceshallnotbemadebychildren
without supervision.
• Whenthehoodisinrepair,maintenance,replacementof
parts, please pull out the plug to ensure the safety of people.
• Plugthepowercordintothepowersocketoutletwith
earthing continuity terminal.
• Thecookerhoodisforhomeuseonly,notsuitablefor
commercial purposes.

4
• Thecookerhoodanditsltermeshshouldbecleaned
regularly according to the instructions.
• Donotuseopename,orallowoiltogobeneaththe
appliance.
• Donotcheckthatstatusofthelterswhilstthecookerhoodis
operating.
• Donottouchthelightbulbwithinhalfanhourafterappliance
is used.
• Ifanyfaultoccurswiththeappliance,pleasecallafter-sale
service department.
• Pleasekeepthekitchenwellventilatedwheninuse.
• Priortoanymaintenanceorcleaning,ensurethepoweriso.
• Constantlycheckfoodfryingtoavoidtheoverheatingofoil
whichmaybecomearehazard.
• Ifthesupplycordisdamaged,itmustbereplacedbythe
manufacturer,serviceagentorsimilarlyqualiedpersonin
ordertoavoidahazard.Thereplacedpowercordshould
be provided by manufacturer or seller.
• Iftheplugorcordisdamaged,pleasecallafter-saleservice
centre.
• Thereisareriskifcleaningisnotcarriedoutinaccordance
with the instructions.
• Incaseofadamagedconnectingwire,pleaserefertothe
manufacturer,after-saleservicepersonnelorotherqualied
technicians.
• Usetheunitaccordingtotheinstructionstoavoidrehazard.
• Thereshallbeadequateventilationoftheroomwhenthe
range hood is used at the same time as appliances burning
gas or other fuels.
• Thereisareriskifcleaningisnotcarriedoutinaccordance
with the instructions.
• Donotambéundertherangehood
• Theairmustnotbedischargedintoauethatisusedfor

5
exhaustingfumesfromappliancesburninggasorotherfuels.
• Toprotectthemainbodyfromcorrosionofthelongterm
accumulationofdirt,thecookerhoodshouldbecleanedwith
hot water & non-corrosive detergent every 2 months.
CAUTION: Accessible parts may become hot when used with a
cookingappliance
APPLIANCE OVERVIEW
2a.
2b.
1.
3.
4.
5.
6.
6.
No. Qty. Component
1. X1 HoodBody,completewith:Controls,
Light,Blower,Filter.
2a. X1 Lower Decorative Chimney (optional)
2b. X1 UpperDecorativeChimney(optional)
3. X1 Flange (optional)
4. X1 ExhaustPipe
5. X2 TheActivatedCharcoallter(optional)
6. X7 Screws5x50
7. X7 WallPlugs
8. X6 Screws4.2x9.5
9. X2 MountingBracket
10. X1 Hoodxingbracket(optional)
11. X1 Chimneyxingbracket(0/1optional)
7.
7.
8.
8.
9.
10.
11.

6
Dimensions

7
INSTALLATON
Wall Drilling and Bracket Fixing
6.
7.
6.
7.
10.
6.
7.
11.
8.
As a rst step, proceed with the following drawings:
• Averticallineuptotheceilingoruptotheupperlimit,atthecenterof
theareainwhichthehoodistobetted.
• AhorizontallineAat1270–1560mmabovethecookertop.
• AhorizontallineBataminimum887(840optional)mmabovethe
cookertop.
• AhorizontallineCataminimum717mmabovethecookertop.
Mark Points:
• Markapoint(1)onthehorizontallineA,40mmtotherightofthevertical
reference line.
• Repeatthisoperationontheotherside,checkingthatthetwomarksare
leveled.

8
• Markapoint(2)onthehorizontallineB,80(135optional)mmtotheright
of the vertical reference line.
• Repeatthisoperationontheothersideandontheverticalreferenceline,
checkingthatthethreemarksareleveled.
• Markapoint(3)onthehorizontallineC,112.5mmtotherightofthe
vertical reference line.
• Repeatthisoperationontheotherside,checkingthatthetwomarksare
onthesamehorizontalline.
Fix the brackets (Optional):
• Drillatthemarkedpoints(1)(2)(3),usingaɸ10mmdrillbit.
• InserttheWallPlugs11intotheholes(1)(2)(3).
• Fixthehoodxingbracket20with3screws10(5x50)suppliedwith
the hood.
• FixaChimneyxingbracket11withX2screws10(5x50)suppliedwith
the hood.
Hook the hood body:
• Openthepanel.
• RemovetheMetalgreaselterusingthehandlesprovided.
• Hookthehoodbodytothebracket11.
• Levelthehoodbodyitself.
• Fromtheinsideofthehoodbody,xthescrews6toWallPlugs7at
the points (3).
• Fitthelterintothehood.
• Closethepanel.
Right Wrong

9
Recirculation mode Extraction-airmode
Connections
DUCTEDVERSIONAIREXHAUSTSYSTEM
Wheninstallingtheductedversion,connectthehoodtothechimneyusing
eitheraexibleorrigidpipeɸ150orɸ120mm,thechoiceofwhichisleftto
the installer.
• Toinstallaɸ120mmairexhaustconnection,
insertthereducerange
3 on the hood body outlet.
• Fixthepipe4inpositionusingsucientpipe
clamps (not supplied).
• Removepossiblecharcoallters.
Choose a venting mode
Therearetwoventingmodes–extraction-airmodeandrecirculationmode.
Beforeinstallingselectonemode.
Extraction-airmode,theairisdischargedoutofthehousebyapipe.
Recirculationmode,theairispuriedanddischargedintothehousethrough
two rows of holes on the adjustable decorative cover.
Note: Forrecirculationmodenopipeisneeded;insteadinstallacarbonlter.
Suctionpowerwillbeloweredwhenacarbonlterisattached.

10
Chimney Assembly
Thechimneycanonlybeinstalledwithexhaustinghood.LowerDecorative
Chimney
• FixaChimneyxingbracket11ontotheLowerDecorative
ChimneywithX2screws8(4.2x9.5)suppliedwiththehood.
11.
11.
11.
• Hookthebrackets9ontothehoodbody,andxthemwithX2screws8
(4.2x9.5),makingsurethattheyarewellseated.
• Slightlywidenthetwosidesofthelowerchimneyandhookthenbetween
thebrackets9,xthelowerchimneyontothebrackets9withX2screws
8(4.2x9.5)suppliedwiththehood.

11
Upper Decorative Chimney
• Slightlywidenthetwosidesoftheupperchimneyandhookthembetween
thewallandthebracket11whichisxedontheLowerDecorative
Chimney.
• Fixtheupperchimneyontothebracket11withX2screws8(4.2x9.5)
supplied with the hood.
OPERATING INSTRUCTIONS
OFFMOTORSWITCH:Pressonthisswitchtostopthemotoroperation.
SPEEDSWITCH:Pressonthisswitch,themotorrunsatLOWspeed.
SPEEDSWITCH:Pressonthisswitch,themotorrunsatMEDIUMspeed.
SPEEDSWITCH:Pressonthisswitch,themotorrunsatHIGHspeed.
ON/OFFLIGHTINGSWITCH:Pressonthisswitchtoturnonthelights,
andpressagaintoturnthemo.

12
• Theltersmustbecleanedevery2monthsof
operation, or more frequently for particularly
heavy usage, and can be washed in a
dishwasher.
• Pullthecomfortpanelstoopenthem.
• Removetheltersonebyonepushingthem
towardsthebacksideofthehoodunitand
simultaneously pulling downwards.
• Anykindofbendingoftheltershastobe
avoidedwhenwashingthem.Beforetting
themagainintothehoodmakesurethatthey
arecompletelydry.(Thecolorofthelter
surface may change throughout the time but
thishasnoinuenceontheltereciency).
CLEANING & MAINTENANCE
Grease Filters:
Cleaning Metal Self-Supporting Grease Filters
• Whenttingtheltersintothehoodpayattentionthattheyaremountedin
correct position the handle facing outwards.
• Closethecomfortpanel.
Activated Charcoal Filter (Recirculation Version)
Theseltersarenotwashableandcannotberegenerated,andmustbe
replacedapproximatelyevery4monthsofoperation,ormorefrequentlywith
heavy usage.
Replacing The Activated Charcoal Filter
• Openthecomfortpanelspullingthem
downwards.
• Removethemetalgreaselters
• Removethesaturatedactivated
charcoallter.
• Fitthenewlters.
• Replacethemetalgreaselters.
• Closethecomfortpanel

13
MAINS PLUG FUSE REPLACEMENT
Fuse Replacement (Class I)
This appliance must be earthed. Remove the central screw
ontheplugandopentheshell.Takeoutthefuseandreplace
with a new fuse of the same Amp. Install the shell again and
tighten the screws.
Bulb Replacement
1.5WLEDlight.
• Switchotheextractorhoodandisolatetheextractorhoodbypulling
outthemainsplugorswitchingothefuse.
• Removethegreaselter.
• Removethelightbyleveringitsttingfromthehoodbody(thismayrequire
pressure or force to be applied).
MaxPower Voltage Picture Lamp Cap ILCOS D code
Square/Diameter
:33.2mmx120mm 1.5W 220-240V —— DSS-1.5-S-33.2
/120
• Disconnecttheconnectorofthelight.
• Replacethelightwithanewoneofthesametype,
makingsurethatyouconnectthelightwith
the light cable correctly.
• Reinstallthelightbacktothehoodbody.

14
TROUBLESHOOTING
Fault Cause Solution
Light on, but motor does
notwork
Bothlightandmotordo
notwork
Thebladesareblocked
The capacitor is damaged Replace capacitor
The motor is damaged Replace motor
The internal wiring of motor
iscuto/disconnected.An
unpleasant smell may produce
Replace motor
Apartfromtheabovementioned,checkthefollowing:
Light damaged Replace lights
Powercordloose Connect the wires as per
the electrical diagram
Vibration
InsucientSuction
The machine inclines
The blade, if damaged, can
cause vibrating
Replace the blade
The motor is not tightly fastened Fasten the motor tightly
Thecookerhoodisnottightly
xed
Fixthecookerhoodtightly
Too much ventilation from open
doors or windows
Choose a new place to
install the appliance or close
somedoors/windows
Thexingscrewsarenottight
enough
Tightenthexingscrew
andmakeithorizontal
The hanging screws are not
tight enough
Tighten the hanging screw
andmakeithorizontal
Thedistancebetweenthecooker
andthecookertopistoolarge
Readjust the distance
If you are having problems with your appliance, please use our
troubleshooting guide below. If you are unable to resolve the issue using
thisguidepleaseringourCustomerServiceDepartmenton08448485861.
Pleasehavethemodelcodeandpurchaseinformationavailable.
Note:Anyrepairsshouldbedonebyaqualiedtechnician.
Removeblockage

15
SERVICE AND SPARE PARTS
ShouldyouexperienceanydicultyinusingyourStatesmanapplianceat
any time, you may contact your Statesman Retailer or call our Customer
Service Department on:
0844 848 5861
Disclaimer:Updatestohardwarecomponentsaremaderegularly.Thereforesomeofthe
instructions,specicationsandpicturesinthisdocumentationmaydierslightlyfromyour
particular situation. All items described in this guide are for illustration purposes only and may
not apply to your particular situation. No legal right or entitlements may be obtained from the
description made in this manual.
SparePartsinformation
can be obtained by
callingourSpareParts
Department on:
0844 848 5862
Pleasehavethefollowingdetailsready;
• ModelName/ModelNumber
• Serial Number
• DateofPurchase
• WherePurchased
• Customer Name and Address including
PostCode
• Contact Telephone Number
• Accurate description of the fault
Disposal of Old Electrical Appliances
TheEuropeanDirective2012/19/EUonWasteElectricaland
ElectronicEquipment(WEEE),requiresthatoldhousehold
electrical appliances must not be disposed of in normal unsorted
municipal waste.
Old appliances must be collected separately in order to optimise
the recovery and recycling of the materials they contain and
reduce the impact on human health and the environment.
The crossed out “wheeled bin” symbol on the product reminds you of your
obligation, that when you dispose of the appliance it must be separately
collected. Consumers should contact their local authority or retailer for
information concerning the correct disposal of their old appliance.

0844 848 5861
38 Bluestem Road,
Ransomes Europark
Ipswich, IP3 9RR
Disclaimer: Statesman operate a policy of continual improvement and development.
We therefore reserve the right to change/alter the specication and appearance of our appliances without prior notice.
All diagrams and images shown in this manual are for illustration purposes only.
Table of contents
Other STATESMAN Ventilation Hood manuals
Popular Ventilation Hood manuals by other brands
Amica
Amica 60311 operating instructions

Elba
Elba STELLA 90-IS BGX Installation guide and operation manual

Atag
Atag WV6111AM Instructions for use and installation

ELICA
ELICA CONCETTO SPAZIALE Instruction on mounting and use

Electrolux
Electrolux EFP129X user manual

TESY
TESY CH20060IX Instructions for use and maintenance

Galvamet
Galvamet LINE-UP230 Vac 50 Hz Installation, Operating and Maintenance Instruction

Beko
Beko CWB 9560 X user manual

Whirlpool
Whirlpool UXT2030AAW installation instructions

Miele
Miele DA 5381 W Operating and Product dimensions

Bertazzoni
Bertazzoni KIN Series Installation and user manual

Electrolux
Electrolux EFG 535 user manual