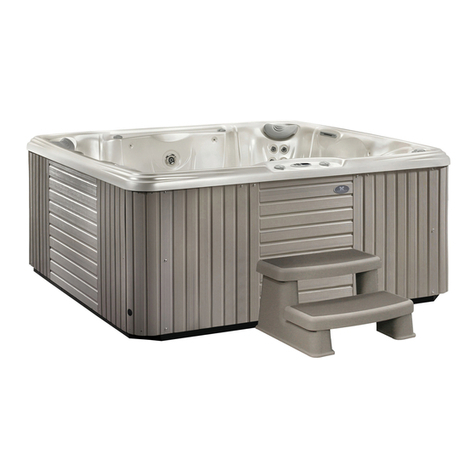
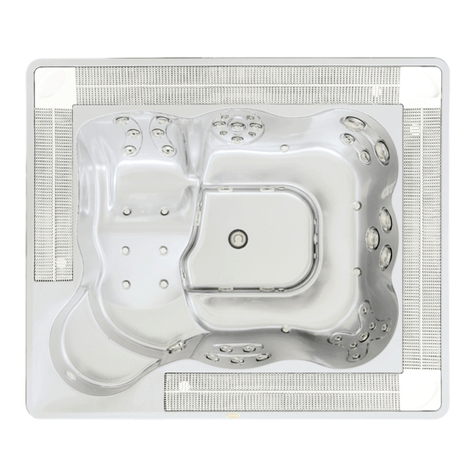
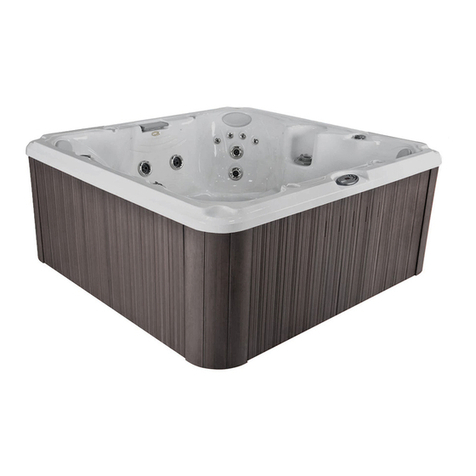
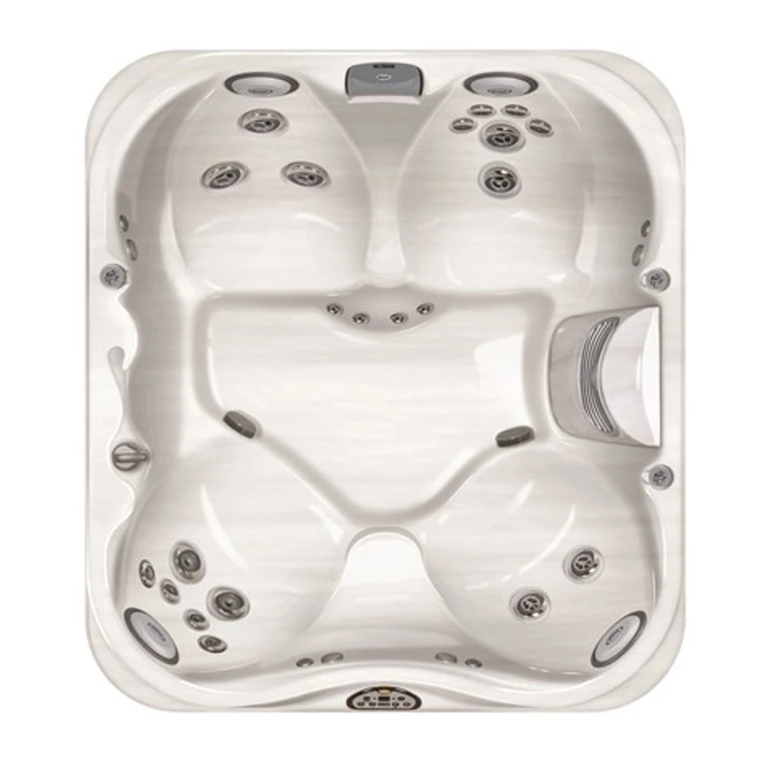
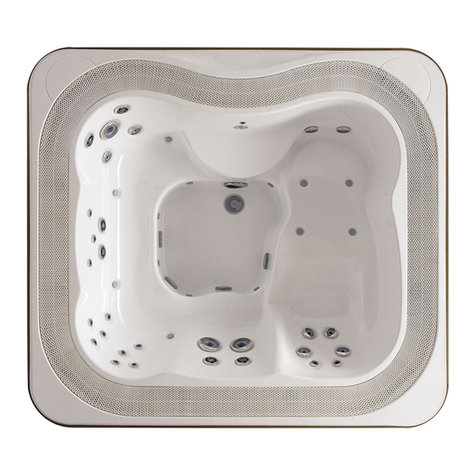
Steam Planet M-G014 User manual

Installation Manual for M
M
-
G014
Installation Manual for M
-
G014 & M
M
-
G015
1
G014 & M
-
G015

2
Contents
1.
Electrical specifications
2.
Plumbing
3.
Installation of Water connections
4.
Installation of Drain
5.
Operation of Bathtub
6.
Troubleshooting
7.
Cleaning and Maintenance
GENERAL INFORMATION
Note:
All tubs need to be leveled in its final resting position and have all feet touching
the ground.
It is advised to have tub onsite before preparing drain location.
Manufacturer reserves the right to change specs or features at anyt
ime. Please
check to confirm details. 1
-
866
-
783
-
2661

3
Electrical Parameters
Rated Voltage
Frequency
Motor Power
Voltage of Control
Circuit
110V~1
2
0v
60HZ
0.745KW(1HP)/1.0KW
5.5
-
6.5 Amps
DC12V
E
lectrical Requirements
1 dedicated 12
-
2
or 12
-
3
line for
water pump (line 1,
ground and neutral)
110 volt,
15
-
20 amp GFCI breaker
There is a length of wire
supplied to connect to power source
Optional: inline heater 110V/12
-
15 Amp
/ 30AMP total REQUIRED for Motor & Heater
P
lumbing Requirements
The unit is equipped with hot and cold, metal braided ½ inch water supply hose with ½ national pipe
thread.
Need to install hot and cold shutoffs with ½
-
male national pipe thread (not included).
Supply hoses are to connect from the faucet manifold on the
unit to the shutoff valves.
All water jet features are pre plumbed with reinforced braided flexible supply hose
All fixtures and fittings should be checked for tightness as they may have been loosened during
transport
. Access panel area advised.
Tub Inst
allation
A.
Water Head: One
cold water
supply pipe, one
hot water
supply
pipe.
B.
Drainage: The diameter of the drain should be
(greater than or equal to) 40mm
. This drainage can
be at a distance of 300
-
400mm from th
e location we show on the chart.
1.
Unpack the
bathtub and move it into the desired position. Adjust the floor bolts to
completely remov
e water from the drainer and secure
the nut
. All feet need to be
touching the floor and tub needs to be level.
2.
Insert the skirt into the
upper slot of the bathtub, then press the flat
-
head on the
bathtub r
ack onto the skirt. Tighten
bolts.
3.
Install and fix the sprayer, storage rack, and other external parts.
4.
Carefully ground the bathtub.

4
Installation of Water Inlet
Connect one T
-
pie
ce in the bathroom near the bathtub and then install two switches.
Connect the outlet of the switches with the cold and hot water pipes of the water heater.
Refer to the below diagram.
Installation of Drain
Below is a diagram if flexible hose is used:

1.
Check the power supply and
power supply socket
or hardwire in a work box.
2.
Please turn on the cold and hot water pipes, and then turn on the handle of the cold
and hot wat
er faucet to mix the water to a desirable temperature.
3.
Operation of the faucets
:
an on/off valve
bath. Turn diverter
to switch between water faucet and sprayer functions.
4.
Whirlpool bath massage:
Turn valve on.
level.
Water pump valve controls the whirlpool massage pump and jets.
1.
Drain water for about 10 minutes
water leaks.
2.
After using, cut off water and po
Trouble
No Power Supply
1.
Power plug is not
connected to the socket
2.
Protection switch is cut
off
Water
pipe leaks
1.
Poor seal ring
2.
Poor joint connection
3.
Water pipe is broken
Water lamp doesn’t work
1.
Bulb is damaged
2.
Wires are cut off
Operation of Bathtub
Check the power supply and
GFCI
protection. Insert the bathtub plug into an interior
or hardwire in a work box.
Please turn on the cold and hot water pipes, and then turn on the handle of the cold
er faucet to mix the water to a desirable temperature.
an on/off valve
has been set for the sh
ower and whirlpool
to switch between water faucet and sprayer functions.
Turn valve on.
Tur
n off the water when it reaches the water
Water pump valve controls the whirlpool massage pump and jets.
Drain water for about 10 minutes
after installation to clear drain lines and test for
After using, cut off water and po
wer supply.
Troubleshooting
Reason
Solution
Power plug is not
connected to the socket
Protection switch is cut
off
1.
Tightly connect the plug with
the socket.
2.
Find and remove
connect the protection switch.
Poor seal ring
Poor joint connection
Water pipe is broken
1.
Replace
2.
Connect it again
3.
Replace
Bulb is damaged
Wires are cut off
1.
Replace (remove the nut and
install a new bulb, then
tighten it)
2.
Connect the wire
5
protection. Insert the bathtub plug into an interior
Please turn on the cold and hot water pipes, and then turn on the handle of the cold
er faucet to mix the water to a desirable temperature.
ower and whirlpool
to switch between water faucet and sprayer functions.
n off the water when it reaches the water
Water pump valve controls the whirlpool massage pump and jets.
after installation to clear drain lines and test for
Solution
Tightly connect the plug with
the socket.
Find and remove
short circuit,
connect the protection switch.
Connect it again
Replace (remove the nut and
install a new bulb, then
Connect the wire

6
Cleaning and Maintenance
1.
Clean the bathtub with ordinary liquid detergent and a soft cloth. Don’t sterilize the
bathtub with cleaning products containing acetone or ammonia. Do not disinfect
using agents with formic acid or formaldehyde.
2.
If scratched t
re
at the surface with
an acrylic rubbing
polish.
3.
Wipe off the dirt and stains on surface with toothpaste and a soft cloth.
4.
Grind the light scratches or stains with 2000# sand paper, and then polish with
polishing wax.
5.
If water is hard, it is suggested to cle
an the massage the device twice a year according
to this following method:
a.
Feed 40
C warm water into the bathtub
until
it reaches the lowest water level.
b.
Mix 2g of liquid detergent for every liter of water, pour in and start the water
force massage device
and allow it to run for about 5 minutes.
c.
Stop the water pump and drain out the water.
d.
Fill
the bathtub
again
with cold water and start
the massage jets
for about for
3
more
minutes.
e.
Stop the water pump, drain out the water, and clean the bathtub.
This manual suits for next models
1
Table of contents
Other Steam Planet Hot Tub manuals