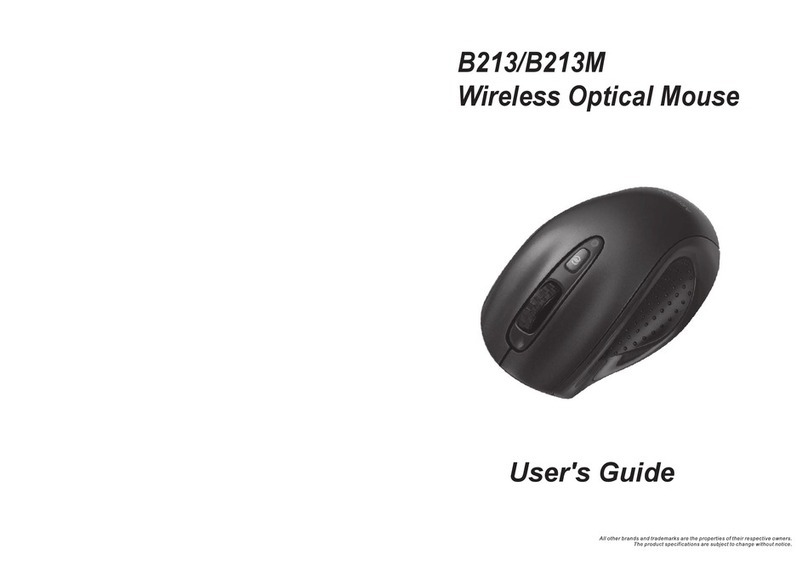
Before using your new Wireless Mouse, please read
this instruction manual to prevent any damage. Put it
away in a safe place for future references.
IMPORTANT
Clean only with a soft, dry cloth.
Warranty is void if you try to open the device.
Do not use or store the equipment near wet places.
Check the batteries regularly.
When the equipment will not to be used for a long
time, remove the batteries.
Try to use the mouse as closer as possible from the
receiver, avoiding a poor performance. Maximum
operating distance is 1,5 metres between mouse and
receiver.
Do not use the mouse over glasses, mirrors or white
surfaces.
If you do not follow the instructions, interferences
may appears in electrical devices
•
•
•
•
•
•
•
•
efore usin
our new Wireless Mouse, please read
his instruction manual to prevent an
dama
e. Put it
way in a safe place for future references
ENGLISH
ENGLISH-2
FEATURES
RF wireless system
Plug & Play
OS supports: Windows 98, Windows ME, Windows
2000, Windows XP, Windows Vista
Radio frequency of 27MHz
Resolution of 800dpi
Drivers are not required
256 ID codes, there’s no exist interference between
different plugged mice, at the same time (if any
interference exist between this device and other
mice, please repeat the installation process to assign
a new code)
•
•
•
•
•
•
•
ENGLISH
ENGLISH-3
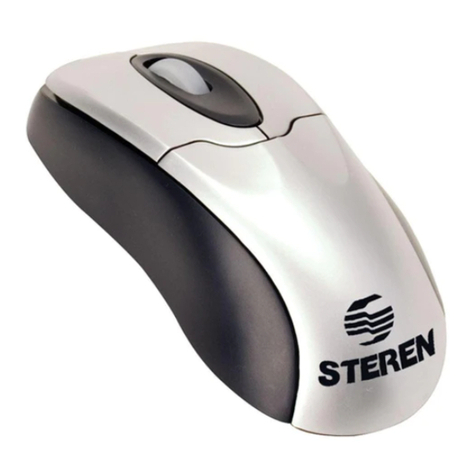
CONTROLS
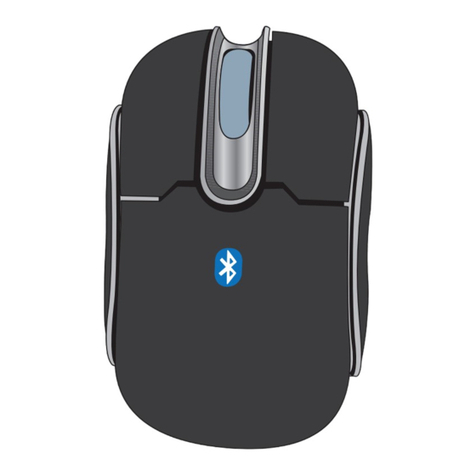
Mouse
1.- Right button
2.- Left button
3.- Scroll
4.- Lateral buttons
5.- Battery compartment
6.- Optical lens
7.- ID button
8.- USB connector
ENGLISH
ENGLISH-4
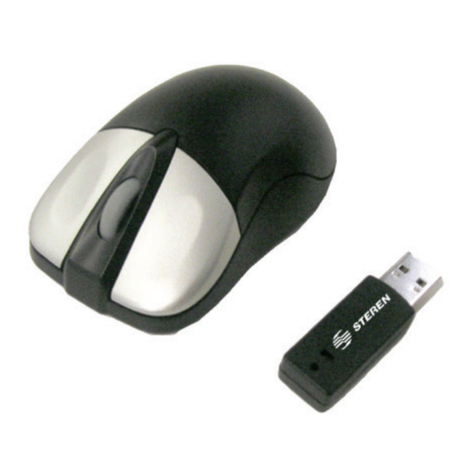
Receiver
1.- Indicador Light
2.- ID button
3.- USB connector
HOW TO INSTALL BATTERIES
This mouse can use alkaline or rechargeable batteries
(even the rechargeable batteries can be charged into the
mouse). To install alkaline batteries, follow these steps:
1.- Remove the battery compartment cover.
2.- Place 2 AAA alkaline batteries; please pay attention to
polarity.
3.- Replace the cover.
If you want to use rechargeable batteries:
4.- Plug the USB cable to the mouse and the computer.
5.- Recharge the batteries from 8 to 10 hours. Then,
unplug the cable.
ENGLISH
ENGLISH-5
ENGLISH
ENGLISH-6
You will have 10 seconds after removing the batteries
to place the new ones. Otherwise the configuration
will be deleted and you must repeat the configuration
process.
HOW TO CONFIGURE THE MOUSE
1.- Power the computer on.
2.- Plug the receiver into an available USB port.
The indicator will light on.
3.- Press the ID button in the receiver. The light indicator
flashes.
4.- Press the ID button in the mouse, once. The indicator in
the receiver will flash quickly.
5.- Move the mouse near the receiver (from 1 to 1,5 metres
away).
6.- When the indicator stops, the installation will be
completed.
7.- Now the mouse is ready to use.
8.- To set the mouser parameters, open Control Panel /
Mouse menus.
The computer will detect the new device; in XP, the
system will install the required files automatically. In
other systems it is possible that New Hardware found
wizard appears, please follow the instructions. The
required files are supplied by Windows.
Do not place the mouse more than 1,5 metres away
from the receiver, may not work correctly.
ENGLISH
ENGLISH-7
Press and hold ID button 2 seconds in order to power
off the mouse. Press ID button once again to turn it on.
The functions of the buttons are predetermined by
default. Left and right buttons and the scroll have the
same functions as other mice, lateral buttons can be
used to move Web pages.
Control panel menu is located in Start menu.
SPECIFICATIONS
Input: 5V 15mA (through USB)
3V 35mA (2xAAA)
Resolution: 800DPI
Radio frequency: 27MHz (256 codes)
Product design and specifications are subject to
change, without notice.
ENGLISH
ENGLISH-8
Antes de utilizar su nuevo Mouse Óptico Inalámbrico
lea este instructivo para evitar cualquier mal
funcionamiento. Guárdelo para futuras referencias.
IMPORTANTE
Siempre utilice un paño suave, limpio y seco para
limpiar el equipo.
No intente abrir el equipo, puede ocasionar
malfuncionamiento y anulación de la garantía.
No use ni almacene este equipo en lugares donde
existan goteras o salpicaduras de agua.
Revise las baterías periódicamente.
Cuando no vaya a utilizar el equipo por un período
de tiempo prolongado retire las baterías.
Trate de utilizar el ratón lo más cercano posible al
receptor a fin de evitar un desempeño pobre. La
distancia máxima de operación es de 1,5 metros
entre el ratón y el transmisor.
No utilice el ratón en superficies como vidrios,
espejos o superficies blancas.
Si no se utiliza de forma correcta, podría causar
interferencias con equipos de radio o televisión.
•
•
•
•
•
•
•
•
ntes de utilizar su nuevo Mouse Ó
tico Inalámbrico
ea este instructivo
ara evitar cual
uier mal
uncionamiento. Guárdelo para futuras referencias
ESPAÑOL
ESPAÑOL-2
CARACTERÍSTICAS
Sistema inalámbrico de Radio Frecuencia
Plug & Play
Soporta Windows 98, Windows ME, Windows 2000,
Windows XP, Windows Vista
27MHz de radio frecuencia
800 dpi de resolución
No requiere drivers
256 códigos de identificación, lo que hace que
no exista interferencia aún si hay varios ratones
conectados al mismo tiempo (en caso de que exista
interferencia con algún otro ratón por favor repita el
proceso de instalación para asignar un nuevo código)
•
•
•
•
•
•
•
ESPAÑOL
ESPAÑOL-3
CONTROLES
Ratón
1.- Botón Derecho
2.- Botón izquierdo
3.- Rueda de desplazamiento
4.- Botones laterales
5.- Compartimiento de baterías
6.- Lente óptico
7.- Botón de Identificación
8.- Conector USB
ESPAÑOL
ESPAÑOL-4
Receptor
1.- Luz indicadora
2.- Botón de identificación
3.- Conector USB
INSTALACIÓN DE BATERÍAS
El ratón permite utilizar baterías alcalinas o baterías
recargables (las cuales también pueden ser recargadas
con el ratón). Para la instalación de baterías alcalinas, siga
estos pasos:
1.- Quite la tapa del compartimiento de baterías que se
localiza en la parte inferior del ratón.
2.- Coloque dos baterías AAA alcalinas dentro del
compartimiento, poniendo atención a la polaridad.
3.- Coloque nuevamente la tapa del compartimiento de
baterías.
ESPAÑOL
ESPAÑOL-5
1
2
3
4
8
5
67
1
2
3
WARRANTY
This Steren product is warranted under normal usage against defects in
workmanship and materials to the original purchaser for one year from the
date of purchase.
CONDITIONS
1.- This warranty card with all the required information, invoice or purchase
ticket, product box or package, and product, must be presented when
warranty service is required.
2.- If the product stills on the warranty time, the company will repair it free of
charge.
3.- The repairing time will not exceed 30 natural days, from the day the claim
was received.
4.- Steren sell parts, components, consumables and accesories to costumer,
as well as warranty service, at any of the addresses mentioned later.
THIS WARRANTY IS VOID IN THE NEXT CASES:
If the product has been damaged by an accident, acts of God, mishandling,
leaky batteries, failure to follow enclosed instructions, improper repair by
unauthorized personnel, improper safe keeping, among others.
a) The consumer can also claim the warranty service in the purchase
establishment.
Product: Wireless Optical Mouse
Part number: COM-556
Brand: Steren
b) If you lose the warranty card, we can reissue it, if you show the invoice or
purchase ticket.
RETAILER INFORMATION
Name of the retailer
Address
Product
Brand
Part number
Serial number
Date of delivery
In case your product fails or have questions, please contact your
nearest dealer. If you are in Mexico, please give a call to our Call Center.
Call Center
01 800 500 9000
he com
uter will detect the new device; in XP, the
stem will install the required files automaticall
. In
ther s
stems it is possible that New Hardware found
izard a
ears,
lease follow the instructions. The
equired files are supplied b
Windows
o not place the mouse more than 1,5 metres awa
rom the receiver, may not work correctly
roduct design and specifications are subject to
an
e, w
t
out not
ce
ou will have 10 seconds after removin
the batteries
o place the new ones. Otherwise the confi
uration
will be deleted and
ou must repeat the confi
uration
Press and hold ID button 2 seconds in order to
ower
ff the mouse. Press ID button once a
ain to turn it on
he functions of the buttons are predetermined b
default. Left and right buttons and the scroll have the
same functions as other mice, lateral buttons can be
sed to move Web pa
es
Control
anel menu is located in Start menu
1
2
3
4
8
5
67
1
2
3
