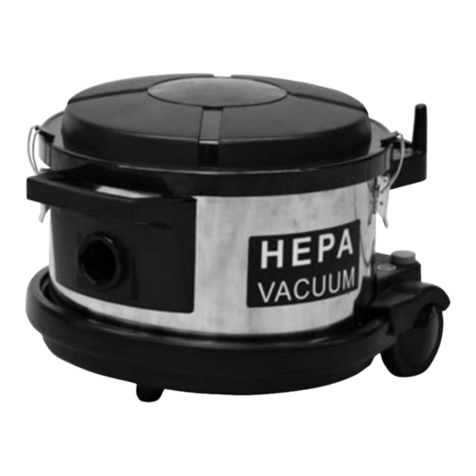
Sterling 10BB User manual

Backpack HEPA Vacuum
Model: HEPAPro 10BB
Congratulations on your purchase of a HEPAPro product. You have purchased a high qual-
ity commercial vacuum cleaner with a tested and certied HEPA lter. For your safety and
continued satisfaction with this product, please read this owner’s manual carefully before
using. For your information, all parts used in the manufacturing of this vacuum cleaner
meet or exceed rigid quality control standards. We stand behind all our products and are
available to assist you with a knowledgeable and dedicated sta. If we can help you in any
way, please call Customer Service at 844-822-7787.
We also recommend that you visit our website www.sterlingna.com for the fastest most
ecient way to complete your product registration and see other Sterling products and
accessories to meet your cleaning needs.
About the Machine
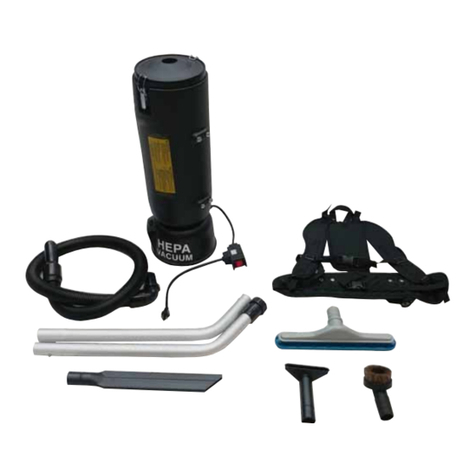
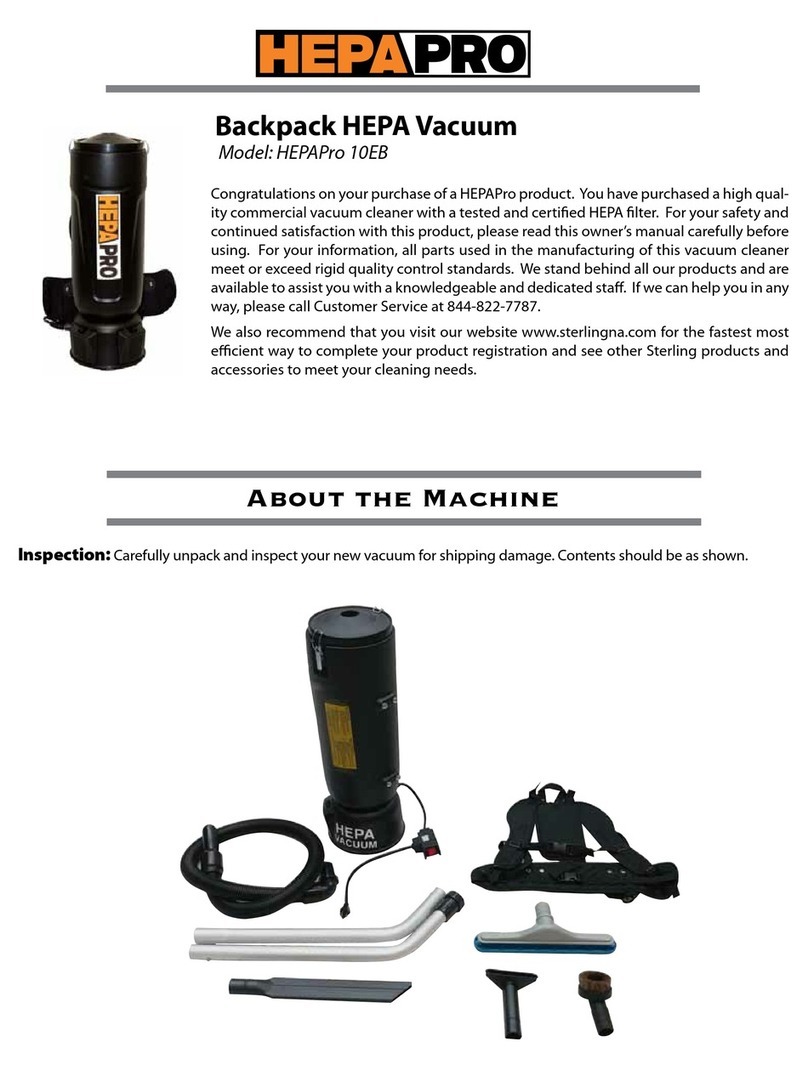
Inspection: Carefully unpack and inspect your new vacuum for shipping damage. Contents should be as shown.

Harness Assembly: Remove four (4) screws from vacuum housing inserts. Position harness
on vacuum housing. Align harness back plate with mounting holes to the vacuum body. Re-
insert four (4) screws through harness and tighten.
Adjusting Backpack Harness: Loosen waist and chest belt latches. Slide arms through shoulder straps. Adjust
shoulder straps to raise or lower backpack so that the weight is evenly distributed between the back and hips, and the
waist and chest belt latches comfortably. For signicantly shorter or taller operators, it may be necessary to adjust the
harness back-plate to nd a comfortable position. The back-plate can be re-positioned by removing and relocating the
four (4) screws to the vacuum housing.
To Operate:
(1) Pass the pigtail cord through the strap outside the left side of the waist belt. Pass your exten-
sion power cord (not provided with vacuum) through the plastic retaining clip hanging from
the harness. This will prevent the pigtail and extension power cord from separating during
operation.
(2) Place the pigtail switch box under the sewn strap and fasten the other strap around
the switch box.
(3) Fasten the waist belt and chest belt snugly and make sure the weight is resting com-
fortably on your hips. Again, the back plate is adjustable up or down by removing the
four screws that attach to the vacuum’s body.
(4) To attach battery holster to harness, fasten two (2) chrome clips located on top of holster to eyelets located on
left side of harness belt. Battery holster should be positioned on operator’s left hip/thigh area and secured using
Velcro strap around thigh.
(5) Connect the two (2) Anderson electrical connectors (blue) to deliver battery power to the backpack unit. Use the
rocker on/o switch on the pigtail switchbox to activate vacuum motor.
(6) Plug the charger into an appropriate outlet before connecting the battery pack to charger. Each
lithium battery will take approximately 3 hours to fully charge. Press button on battery pack to
show status of battery life. The completion of charge is indicated by four (4) green LED lights. Re-
charge discharged batteries as soon as possible after use or battery life may be greatly diminished.
For longest battery life, do not discharge batteries fully.
Thermal Protection: The motor in this vacuum is protected with a thermal cuto device. If an excessive
high operating temperature is detected, power to the motor will be cuto. Excessive operating temperature
can be caused by a blocked vacuum hose or clogged lters. If thermal cuto occurs, immediately turn o the vacuum
and inspect for hose blockage or full lter bag. Remove blockage and/or replace lter bag, then allow a few minutes for
the vacuum to cool down to reset thermal cuto device before turning vacuum on.

The vacuum cleaner is warranteed for 1 year from the date of purchase. Parts not covered under warranty are lters,
motor brushes and squeegee blades. The warranty covers only failure due to defective parts or workmanship and will
be invalidated by improper application and abuse.
Under no circumstances should you return a failed unit to the factory. If you experience any problems with your vacuum
during the warranty period, contact the Customer Service Department.
Limited Warranty
Proper Storage: When the vacuum is not in use, it should be stored in a dry place.
Filter Maintenance:
(1) Prior to use, check the condition of the disposable paper lter bag. A clogged lter bag will restrict airow,
reducing vacuum performance and increasing the likelihood of motor overheating. Note: To avoid tearing the
disposable paper lter bag, lift both the disposable paper lter bag and cloth bag at the same time. This is espe-
cially necessary when the disposable paper lter bag is full.
(2) When necessary, hand or machine wash the cloth dust bag and let air-dry before replacing inside the vacuum.
DO NOT put dust bag inside machine dryer.
(3) Do not attempt to clean HEPA lter. If there is a lack of airow after replacing the disposable paper lter bag and
cloth dust bag, it will be necessary to replace the HEPA lter.
(4) Rinse clean and air-dry the foam lter (below motor) when clogged. A damaged foam lter should be replaced
before operating the vacuum.
WARNING
• Donotlubricatethemotor;itisequippedwithsealedbearings.
• Thevacuumhasnouserserviceableparts.
• Donotvacuumliquidsorexposethecanistervacuumtorainorwater.
• DonotvacuumhazardousortoxicmaterialswithoutHEPAinplace.
• Donotusetopickupammable.
Tool Kit
Part No. Description Qty.
122-3025-14 -1 Wand Aluminum 5’ 2-Piece Button-Lock 1
122-3030-14 Dusting Brush Plastic 2” x 1.5” 1
122-3060-14 Crevice Tool Plastic 17” x 1.5” 1
122-3070-14 Upholstery Tool Plastic 4”x 1.5” 1
122-3044-14 Floor Tool Multi-Surface Plastic 14”x 1 9/16” 1
122-3012-14 Hose Crushproof 6’x 1.5” Swivel Cus 1

7545 Irvine Center Dr., Ste. 200 •Irvine, CA 92618
Toll Free: 844 VACS R US or 844-822-7787 •Fax: 949-623-8305
SterlingNA.com
Replacement Parts
Ref. Part No. Description Qty.
1 124-7332-14 Lid Plastic 1
2 124-3228-14 Bag Disposable Filter 1
3 122-3230-14 Bag Cloth Filter 1
4 127-3321-14 HEPA Filter 1
5 124-7342-14 Cord Pigtail 1
6 124-7310-14 Switch On/O 1
7 Not Available Screw Steel Self-Tapping 4
8 124-7408-14 Noise Suppression Upper 1
9 124-7409-14 Gasket Motor Seal 1
10 124-7410-14 Seal Ring Noise Suppression 1
11 124-7302-13 Motor 1
12 124-7413-14 Noise Suppression Lower 1
13 124-7414-14 Gasket Motor Mount 1
14 124-7432-14 Clamp Steel 2
15 124-7416-14 Housing Plastic 1
16 Not Available Screw Steel 4
17 Not Available Washer 4
Ref. Part No. Description Qty.
18 124-7343-14 Cover Exhaust 2
19 124-7344-14 HEPA Filter Exhaust 2
20 124-7338-14 Fastener Assy Exhaust 2
21 124-7419-14 Plate Motor 1
22 124-7422-14 Seal Ring Motor 1
23 124-7423-14 Base Spring 1
24 124-7424-14 Spring Damping 2
25 Not Available Screw Self-Tapping 4
26 124-7425-14 Guard Plastic Upper 1
27 Not Available Screw Steel Self-Tapping 2
28 124-7339-14 Sealing Assy 1
29 124-3333-14 Harness 1
30 124-7333-14 Belt 1
31 124-7335-14 Clip 4
32 122-3004-14 Holster 2
33 122-3002-14 Lithium Ion 2
34 122-3003-14 Charger 1
Other Sterling Vacuum Cleaner manuals
