Stirling TF4601TR-S User manual

Other Stirling Fan manuals

Stirling
Stirling FS1-40DCWIFI User manual

Stirling
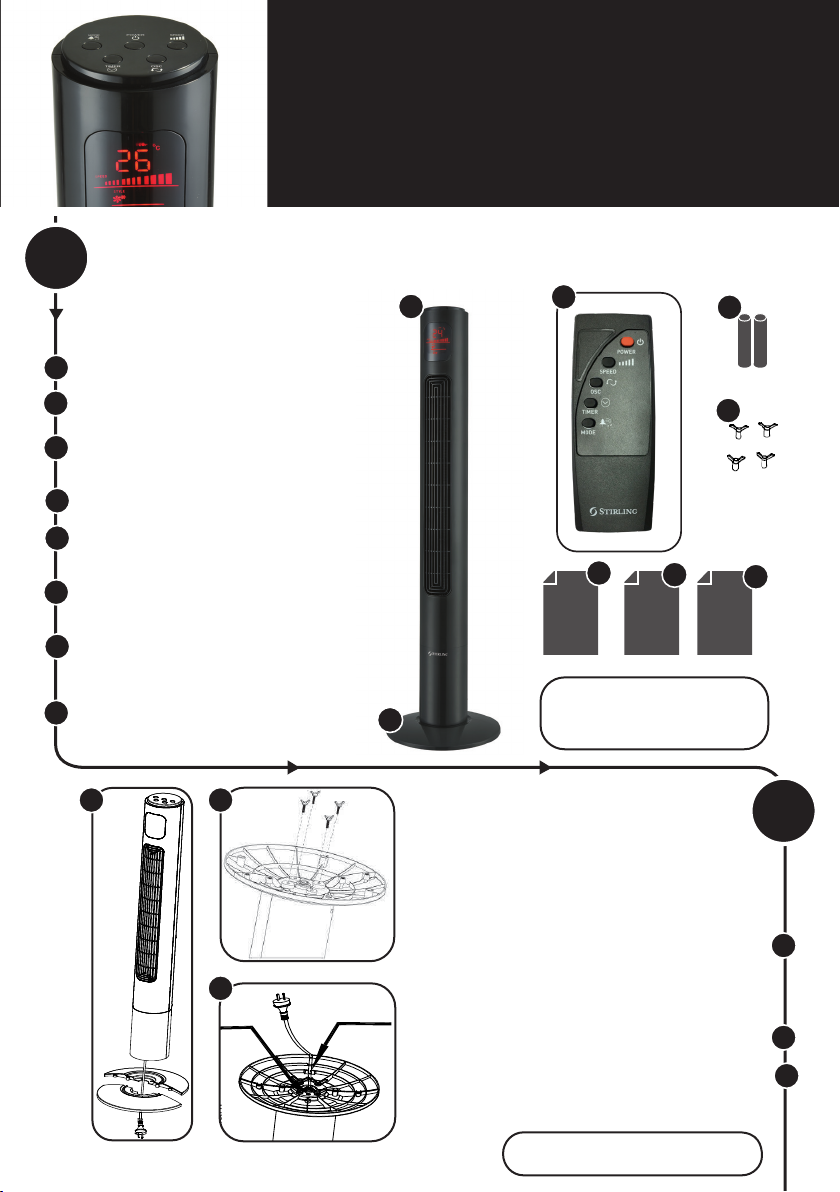
Stirling FS1-40DC User manual

Stirling
Stirling Black DL-20-4A User manual

Stirling
Stirling SFTF36B-LED User manual

Stirling
Stirling Black DL-20-4A User manual

Stirling
Stirling TF4602WIFI User manual

Stirling
Stirling SVS4A-40CR User manual

Stirling
Stirling EE-5612 User manual

Stirling
Stirling FS1-40DC User manual

Stirling
Stirling FTF36B-LED User manual


Popular Fan manuals by other brands

Global
Global 246340 Operation manual

Mitsubishi Electric
Mitsubishi Electric VL-250CZPVU-L-ERT Handbook

Kendal Lighting
Kendal Lighting AC-22160 Installation and operation manual

Gallet
Gallet VEN 29T instruction manual

AEG
AEG VL 5526 M N instruction manual

Maico
Maico GRD 22 Mounting and operating instructions

STIEBEL ELTRON
STIEBEL ELTRON VCR 180 MC Operation and installation

Rubine
Rubine RCF-NAUSCA54 Series user manual

ARDES
ARDES AR5M39 Instructions for use

Amana
Amana A/GPG14M Series Installation & operating instructions

Vallox
Vallox 51 MV manual

Vent-Axia
Vent-Axia Silhouette 100B Installation and wiring instructions


