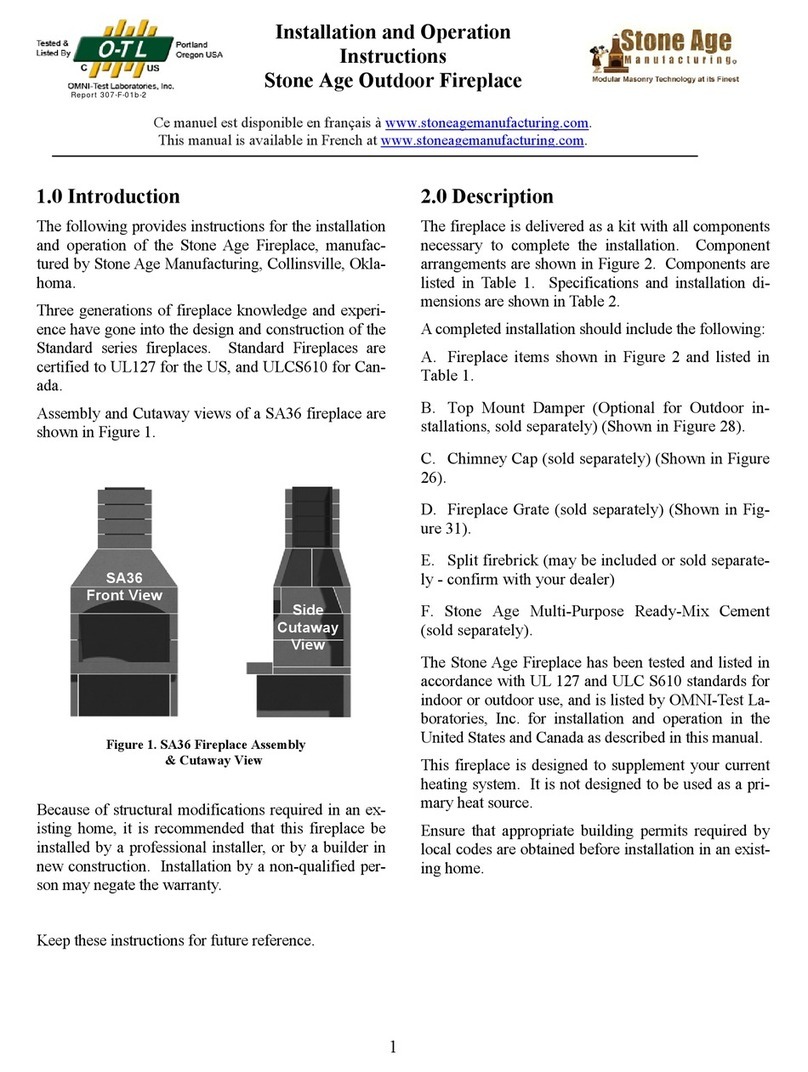
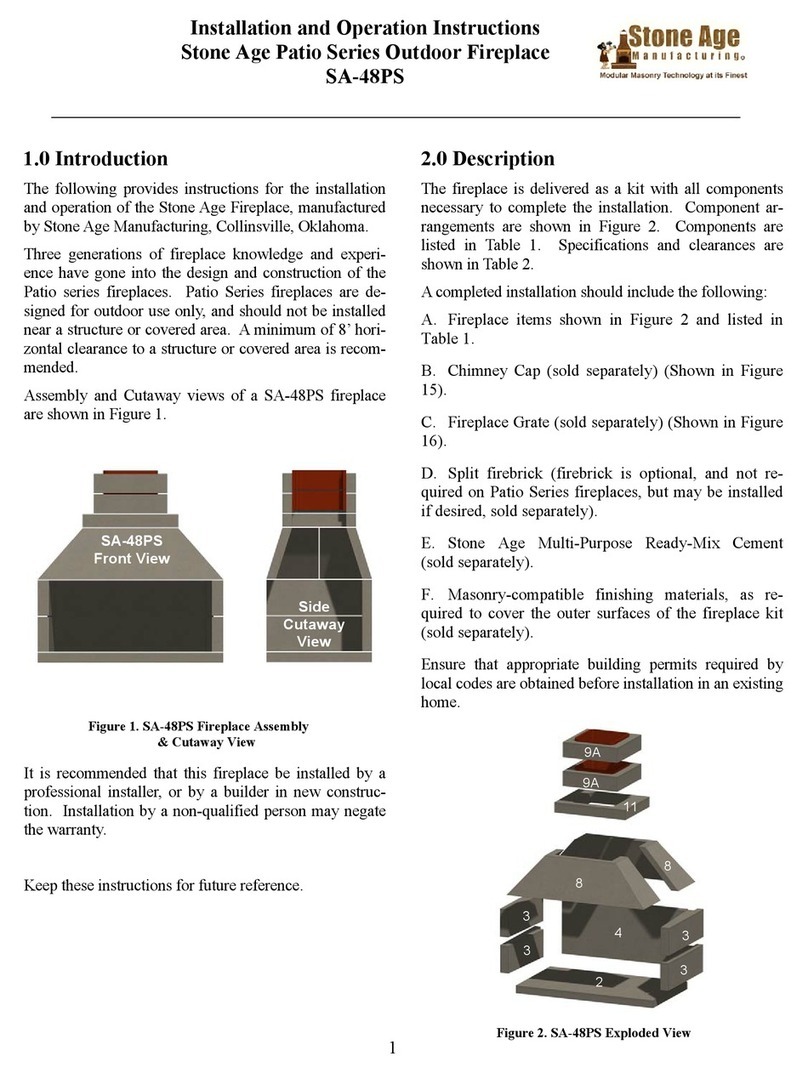
StoneAge Square Fire Pits User manual

1
Installation and Operating Instructions
Stone Age Square Fire Pits
1.0 Introduction
The purpose of this manual is to provide
instructions for the assembly, operation and
maintenance of Stone Age Square Fire Pits,
manufactured by Stone Age Manufacturing,
Collinsville, Oklahoma.
Three generations of fireplace knowledge and
experience have gone into the design and
construction of the square fire pit. Designed for a
patio or back yard installation, it will bring years of
pleasure to you provided it is used and maintained
properly. A square fire pit, finished out in a veneer
rock facing, is shown in Figure 1.
Figure 1. Square Fire Pit
1.1 Description
Outside dimensions of the square fire pit are 42” x
42”. It is 15 inches tall without feet, or 17.5 inches
with feet. Extension kits are available to extend the
size by 12 inches in one direction if the feet are not
used. The fire pit weighs approximately 650
pounds. Use of the extension kit will add another
100 pounds.
The fire pit consists of 5 sections which are
assembled together, or 8 sections if an extension kit
is used.
The fire pit is delivered on a pallet as shown in
Figure 2.
Figure 2. Fire Pit Kit on a Delivery Pallet
2.0 Preparations
The first thing to do is to review local codes
(city/county ordinances, homeowner association
regulations, etc.) to make sure that open fires are
permitted.
2.1 Select Location
In selecting a location, first decide whether you
want to make that location permanent or not. If you
want the fire pit to be movable, you will want to
use the feet, thus requiring a firm, level surface.
A. Select a location at least 8 feet away
horizontally from any combustible
materials, i.e., outside wall, trellis, etc. If
the fire pit will be wood burning, do not
place under a combustible covered area or
structure. If the fire pit will be burning
natural gas or lp gas, it may be placed
under a covered area that is open on at
least 3 sides, with a minimum of 6’
clearance to combustibles overhead, and
8’ clearance horizontally. Check local
building codes for minimum clearances,
follow the applicable local codes.
B. Check the prevailing wind (breezes). You
won’t want a location where smoke is
always blowing into the house.
C. If it is to be plumbed for natural gas,
select an area where the gas line can be
buried.

2
D. Select a location where it is a safe
distance from any vertical vegetation
(plants, flowers, bushes).
E. It is recommended that it not be installed
on a patio where there is a roof overhead.
3.0 Installation
The Do-It-Yourselfer can easily install the Stone
Age fire pit. He will need some assistance in
handling the weights of the components as they are
in excess of 100 pound each.
It is recommended, however, that you contract with
a stone mason to apply the decorative finish.
The fire pit is installed in components, as shown in
Figure 3 or Figure 4.
Figure 3. Construction Diagram for Square Fire Pit
Figure 4. Construction Diagram for Fire Pit with
Extension Kit
A. Remove the sidewalls (item 2) from the
base.
B. Orient the base (item 1) with the feet
either up or down, depending on your
choice. If installing on the ground (feet
up), consider just a slight slope to permit
drainage. Shown in Figure 5 is one of the
feet on the base plate.
Figure 5. Fire Pit Foot
C. If using an extension kit, install the base
with the feet up and position the base
extension (1A) along the desired side of
the base.
D. If using gas, plumb the gas line
underneath the base and up through the
hole in the middle,
Note: If using a canned gas such as
propane, a special conversion kit will be
required to connect to a Stone Age burner
kit.
E. Once the base is positioned, apply a 2-
inch bead of refractory tolerant cement, or
Stone Age Multi-Purpose Ready-Mix
around the flat edge of the base.
F. Position the walls (2) in place around the
edge of the base. Apply cement to join the
sections together. It is recommended that
a slight opening be left at the bottom of
each joint to permit moisture drainage.
G. When the primary use of the fire pit will
be for burning wood, it is recommended
that the inside of the fire pit be lined with
firebrick, because a wood fire is much

3
hotter than a gas fire. If a gas ring is to be
used, there is not need to line it with
brick, except for appearance.
H. Select desired finish materials. The
exterior finish may be either fabricated
stone, thin veneer, natural stone, stain,
tile, brick or stucco. Surface area to be
covered is 20 square feet and 14 linear
feet of coping. An extension kit adds 3
square feet of surface and 2 linear feet of
coping.
I. Contract with a stone mason to finish the
exterior. Make sure that refractory cement
is used.
J. The most common use of gas is with a
burner ring and gas logs. If using natural
gas, install Stone Age burner kit and
connect to the gas line. Sample burner
kits are shown in Figure 6.
K. For an attractive fire, the burner ring can
be covered with lava rock or decorative
glass. Or, gas logs may be installed on a
grate. In this case, it is not necessary to
install fire brick
Fire Pit Burner it
Fire Pit Ring Burner Kit FireStar Burner
Figure 6. Fire Pit Burner Kits
4.0 Use
Once the fire pit is completed, wait at least 28 days
before building a fire to give the cement adequate
time to cure. This will provide ample time for any
water residue to evaporate, eliminating the adverse
reaction of the combination of water and fire.
During this time, keep a cover over the fire pit to
prevent collection of additional moisture.
Recommend using a grate in the fire pit when
burning wood. This will permit air to circulate
under the fire, resulting in complete burning.
WARNING: Never use gasoline, gasoline-type
lantern fuel, kerosene, charcoal
lighter fluid or similar liquids to
start or “freshen up” a fire. Keep
all such liquids well away from
the fireplace while it is in use.
4.1 Selection of Wood
A. Use of cured or seasoned wood is preferred.
B. Most any kind of scrap wood can be used.
However, scrap wood will produce sparks so
use of a spark arrestor screen is recommended.
C. Treated or painted wood, coal, or woods
dipped in pine tar should not be used because
they will leave a combustible residue.
4.2 Starting a Fire
A fire pit can bring many hours of enjoyment,
comfort and warmth if operated and maintained
properly. Certain safety precautions must be
observed to eliminate the dangers associated with
fire and provide a satisfactory, smoke free fire.
A. Keep combustible furniture/pillows at least
four feet from the fire pit.
B. Never leave the fire unattended.
C. Be extremely careful when adding wood and
handling fireplace tools.
D. Remove any excess ash from the fireplace.
Excessive ash may reduce airflow. Some
owners prefer to leave a small layer to insulate
the cold refractory below the grate, helping
fire starting.
E. Crumble several newspapers across the fire
area underneath the grate. Criss-cross kindling
wood on top of the grate, above the
newspaper.
F. Lay three logs on the grate; two side by side
and the third in pyramid fashion on top. Split
logs will start faster. Make sure there is space
between the logs for air circulation. As the air
is heated, it is drawn upwards through the
space between the logs, creating more
combustion.

4
G. As much as possible burn fire in the center of
the fire pit and not directly against the walls.
This will allow better airflow for the fire and
help prevent over firing the unit.
CAUTION: Be extremely careful when adding
wood to the fire. Do not permit wood to
be higher than the edge of the fire pit.
Use proper fireplace tools and wear
gloves.
5.0 Cleaning, Inspection and
Maintenance
As is the case with most other equipment,
cleanliness is the best maintenance practice and
will contribute to many hours of pleasure.
A. Disposal of ashes - Do not let ash build up in
the fire pit. Remove it at least after every other
fire. Ashes should be placed in a metal
container with a tight-fitting lid. The closed
container of ashes should be placed on a
noncombustible floor or on the ground, well
away from all combustible materials, pending
final disposal. If the ashes are disposed of by
burial in soil or otherwise locally dispersed,
they should be retained in the closed container
until all cinders have thoroughly cooled.
B. If the fire pit has been lined with firebrick,
spot check the refractory bricks and mortar for
small cracks. It will expand slightly with the
heat, then contract as it cools. Replace
refractory bricks when the cracks open more
than ¼”; or when pits become extensive and
deeper than 3/16”; or when any piece of
refractory larger than 2 inches in diameter
becomes dislodged.
C. Make sure the fire is extinguished before
leaving the area. NEVER extinguish fire with
water or any other liquid. Let the fire die out
naturally or cover opening before leaving the
firepit unattended directly after use until the
fire and coals have completely went out and
have been extinguished.
D. Keep a cover over the fire pit when not in use
to prevent collection of moisture. If the firepit
has been exposed to excessive moisture or
cold temperatures burn a small fire long
enough to slowly dry the moisture absorbed
into the concrete and masonry and slowly heat
the unit up to normal operating temperatures.
Sample Fire pit with cover is shown in Figure
7.
Figure 7. Fire Pit Cover
(Round Fire Pit Shown in This Example)
E. It’s recommended to water seal the exterior of
the fire pit once construction is complete to
protect the unit from absorbing moisture.

5
LIMITED WARRANTY
The products of Stone Age Manufacturing, Inc. (“Stone Age”) have been carefully manufactured
and the components assembled to give the customer a quality product. Stone Age warrants to the
original purchaser the materials that it provides to the customer against defects in manufacture for
a period of twenty-five (25) years from the date of purchase on UL-127 listed fireplaces, for a
period of five (5) years from the date of purchase on all unlisted fireplaces, fire pits, and other
masonry components. Other accessory items or components offered, but not produced by Stone
Age Manufacturing, Inc., shall be covered by their manufacturer’s warranties. This Limited
Warranty covers only actual manufacturing defects in the Stone Age product and does not cover
defects or faulty workmanship in the installation of the product or the masonry or other structure
in which it is installed. Also this warranty does not cover items that have been damaged due to
over-heating, modification, improper storage or maintenance. Stone Age shall repair or replace, at
its option, any defective Stone Age product component upon receipt of written notice addressed
to Stone Age. This Limited Warranty covers only replacement of any defective components
within the product itself occurring during the warranty period and does not cover the cost of
installation or removal from a fixed location. NO OTHER WARRANTIES, EXPRESS OR
IMPLIED, ARE MADE, INCLUDING IMPLIED WARRANTIES OF MERCHANTABILITY
AND FITNESS FOR PARTICULAR PURPOSES WHICH ARE SPECIFICALLY
DISCLAIMED. Stone Age is not liable for damages or injury to persons or property or other
incidental or consequential damages.
Stone Age Manufacturing, Inc.
11107 E. 126th St. N., Collinsville, OK 74021
www.stoneagemanufacturing.com
Stone Age Manufacturing
Square Fire Pit Instructions
July 2013
Printed in USA Copyright 2013
All Rights Reserved
Stone Age Manufacturing, Inc.
Table of contents
Other StoneAge Outdoor Fireplace manuals
Popular Outdoor Fireplace manuals by other brands

The Fireplace
The Fireplace JETMASTER 700 D installation instructions

Superior
Superior VRE4543EN Installation and operation instructions

Napoleon
Napoleon PATIOFLAME GPFN Installation and operation instructions

Endless Summer
Endless Summer Dakota GAD19101ES owner's manual

Vermont Castings
Vermont Castings ODGSR36A Homeowner's installation and operating manual

FEUERHAND
FEUERHAND PYRON user manual
