manuals.online logo
Brands
  1. Home
  2. •
  3. Brands
  4. •
  5. Storage 4 Crafts
  6. •
  7. Indoor Furnishing
  8. •
  9. Storage 4 Crafts storaway Allstore Arlington User manual

Storage 4 Crafts storaway Allstore Arlington User manual

Arlington
Allstore
store
away
Assembly Instructions
revised 0620 - 1.0
It is strongly recommended to have two persons present when
assembling this item. We advise that you unpack the boxes in
the order shown in these instrucons and follow the assembly
instrucons carefully.
Please be careful during construcon as secon of the cupboard
may be unstable unl construcon is complete.
Your hardware pack should contain the following:
CONNECTING
BOLT (CB1)
X 56
CONNECTING
LOCK (CL1)
X 56
MINI
CONNECTING
LOCK (CB2)
X 12
SHELF
PEG (SP1)
X 96
BLACK
CASTOR (C2)
X 8
SCREW (S10)
X 18
FOLDING LEG
BRACKET (FLB1)
X 2
SCREW (35-17D)
X 80
WHITE
CASTOR (C1}
X 4
SCREW (CHSC-10}
X 16
WASHER (W1}
X 16
ANGLE BRACKET
(AB1) X 12
KNOB
(K2) X 2
SCREW
(S30) X 2
CABLE
OUTLET
X 1
BOLT
(BB1) X 4
SCREW (35-15S)
X 14
CONNECTING
PLATE
X 2
HINGE
(H2) X 6 SCREW
(30-15S) X 44
TABLE
HINGE
X 2
SA-ARL-M
RHS
SA-ARL-M
LHS
SA-ARL-1S
STEP 1
You will need to open box -
Use:
- Angle Bracket AB1
- Screw 35-17D
screw in to
this point
CB1
Screw CB1 Bolts into all
the holes marked with
a red circle
Screw CB2 Bolts into all
the holes marked with
a red circle
Insert CL1 Locks into
the holes as indicated
SA-ARL-
BSH
STEP 2
You will need to open box -
From this box you will require panel MBOT
SA-LYD
MBOT
Insert CL1 Locks into
the holes as indicated
+ + Aach the White Castors C1
to the base using washer W1
and Screw CHSC-10 - castor
locaons are marked in orange
SA-2B
STEP 3
You will need to open box -
Insert CL1 Locks into the holes in the 2 panels from this box.
BACK EDGE
STEP 4
With the SA-ARL-M-LHS laying on the solid flat clean surface (we recommend the floor) aach the two
back panels and the base. Secure by turning all of the connecng locks in the backs and the base approx
one half turn. Then screw the remaining 35-17D screws into the angle brackets to secure the side to the base.
SA-LYD-M
LHS
BACK EDGE
SA2B
SA2B
SA-LYD-M
LHS
STEP 5
With the unit sll laying on the floor place the SA-ARL-M-RHS onto the top and secure all the connecng
locks and angle brackets. Then carefully stand the unit onto its wheels. IT IS HIGHLY RECOMMENDED TO HAVE
TWO PEOPLE TO COMPLETE THIS STEP TO AVOID INJURY OR DAMAGE TO THE PRODUCT.
BACK EDGE
SA2B
SA2B
SA-LYD-M
LHS
SA-ARL
DSK&MSH
STEP 6
You will need to open box -
SA-ARL
MTOP
screw in to
this point
CB1
Screw CB1 Bolts into all
the holes marked with
a red circle
Once you have screwed the bolts into the panel place it carefully to one side.
SA2B
SA2B
SA-LYD-M
RHS
STEP 7
SA-LYD-M
LHS
BACK EDGE
screw in to
this point
CB1
Screw CB1 Bolts into all
the holes marked with
a red circle
STEP 8
You will require the BCD from box SA-ARL-CD-SH. Fit the boom centre divider as shown
below using connecing locks and the bolts you have already fied to the base.
SA2B
SA2B
SA-LYD-M
RHS
SA-LYD-M
LHS
BACK EDGE
STEP 9
You will require ARL-DSH from box SA-ARL-BSH you have already opened. Fit the table hinges
and connecng bolts as shown below.
screw in to
this point
CB1
Screw CB1 Bolts into all
the holes marked with
a red circle
OTHER SIDE OF PANEL
Use screws 35-15S to attach the table hinges
STEP 10
Fit the desk shelf and ghten all of the connecng locks including those pre-fied into the underside
of the desk shelf.
SA2B
SA2B
SA-LYD-M
RHS
SA-LYD-M
LHS
BACK EDGE
STEP 11
You will require SA-ARL-TCD. Fit the top centre divider as shown below using connecing
locks and the bolts you have already fied to the desk shelf.
SA2B
SA2B
SA-LYD-M
RHS
SA-LYD-M
LHS
BACK EDGE
STEP 12
Fit the SA-ARL-MTOP to the unit by ghtening all of the connecng locks.
SA2B
SA2B
SA-LYD-M
RHS
SA-LYD-M
LHS
BACK EDGE
STEP 13 - You will panels from box
You will require SA500-DESK, SA-LBAR and 2 x SA-TLEG
SA500-DESK
Aach Bolts BB1 with
Screws 30-15S
Aach Connecng Plates
with Screw S10
SA-LBAR
SA-TLEG
SA-TLEG
SA-TLEG
Aach the SA-LBAR to the SA-TLEGs
by pushing the panels together and
aaching with the dowels that are
already inserted
Aach the constructed leg secon to the SA500-DESK using the Folding Leg Bracket (FLB1) and screws
S10 (to fix into the brass inserts) and screws 35-15S (to fix into the pre-drilled holes)
+
SA-LBAR
SA-ARL
DSK&MSH
STEP 14
Aach the complete desk to the main secon using the table hinge that you have already aached to the desk
desk shelf use screws 35-15S. Once in place ensure it is secured with bolts supplied.
IMPORTANT
WHEN USING THE DESK
ALWAYS MAKE SURE TO
HAVE FOLDED OUT THE
LEG BEFORE UNDOING
THE BOLT AND FOLDING
THE DESK DOWN.
FAILURE TO DO THIS MAY
RESULT IN DAMAGE TO
THE HINGES AND THE UNIT
THIS COMPLETES CONSTRUCTION OF THE
CENTRE SECTION OF YOUR UNIT
SA2B
SA2B
SA-LYD-M
RHS
SA-LYD-M
LHS
BACK EDGE
SA-ARL
2STB
STEP 15
You will need to open both boxes -
LEFT HAND DOOR SECTION RIGHT HAND DOOR SECTION
Use:
- Angle Bracket AB1
- Screw 35-17D
SIDE
2
SIDE
1
SIDE
2
SIDE
1
Screw CB1 Bolts into all
the holes marked with
a red circle
CB1
Insert CL1 Locks into
the holes as indicated
STEP 16
Insert CL1 connecng locks into the SA-ARL-DTOP and the SA-ARL-DBOT as shown below. Then aach the C2
casters to the SA-ARL-DBOT using screws 35-17D as shown below. Repeat this process for both top and base
panels.
Aach Castor C2 to
SA35-BASE using
35-17D Screws
Insert CL1 Locks into
the holes as indicated
SA-ARL-DBOT
SA-ARL-DTOP
STEP 17
With the Side 1 laying on the solid flat clean surface (we recommend the floor).
Aach the Side 1 and Side 2 to the SA-ARL-DBOT and SA-ARL-DTOP and secure by
ghtening the locks you have already fied. Then fix the angle brackets to the base
using screw 35-17D.
LEFT HAND SIDE DOOR SECTION RIGHT HAND SIDE DOOR SECTION
SA35
190S1
SA35-BASE
SA35
190S1
SA35-BASE
STEP 18
With the Door Fascia Panel SA-ARL-FASCIA laying on the solid flat clean surface (we recommend the floor).
Aach the secon that you have already assembled and secure by ghtening the locks which you have already
inserted into the panels.
Door handle holes
TOP TOP
Screw CB1 Bolts into all
the holes marked with
a red circle
screw in to
CB1
LEFT HAND SIDE DOOR SECTION RIGHT HAND SIDE DOOR SECTION
Door handle holes

Other Storage 4 Crafts Indoor Furnishing manuals
Storage 4 Crafts fold away Petite Salcombe Edition Hutch User manual
Storage 4 Crafts

Storage 4 Crafts fold away Petite Salcombe Edition Hutch User manual

Storage 4 Crafts G100/30 User manual

Storage 4 Crafts

Storage 4 Crafts G100/30 User manual
Storage 4 Crafts store away Studio Hutch User manual

Storage 4 Crafts

Storage 4 Crafts store away Studio Hutch User manual

Storage 4 Crafts storeaway allstore Lydford User manual
Storage 4 Crafts

Storage 4 Crafts storeaway allstore Lydford User manual

Storage 4 Crafts storeaway Clovelly User manual
Storage 4 Crafts

Storage 4 Crafts storeaway Clovelly User manual

Storage 4 Crafts storeaway Assembly Instructions User manual

Storage 4 Crafts

Storage 4 Crafts storeaway Assembly Instructions User manual

Storage 4 Crafts storeaway Allstore Hartland User manual
Storage 4 Crafts

Storage 4 Crafts storeaway Allstore Hartland User manual

Storage 4 Crafts storeaway Knighthayes Edition 2.0 User manual

Storage 4 Crafts

Storage 4 Crafts storeaway Knighthayes Edition 2.0 User manual

Popular Indoor Furnishing manuals by other brands

Safavieh Furniture Atlantes MED9614 manual
Safavieh Furniture

Safavieh Furniture Atlantes MED9614 manual

KINWELL BSC082-BT Assembly instruction
KINWELL

KINWELL BSC082-BT Assembly instruction

Kohler K-11750 Installation and care guide
Kohler

Kohler K-11750 Installation and care guide

Cosmopolitan COSMOLIVING DL8881 manual

Cosmopolitan

Cosmopolitan COSMOLIVING DL8881 manual

Habitat Ivy 808079 manual

Habitat

Habitat Ivy 808079 manual
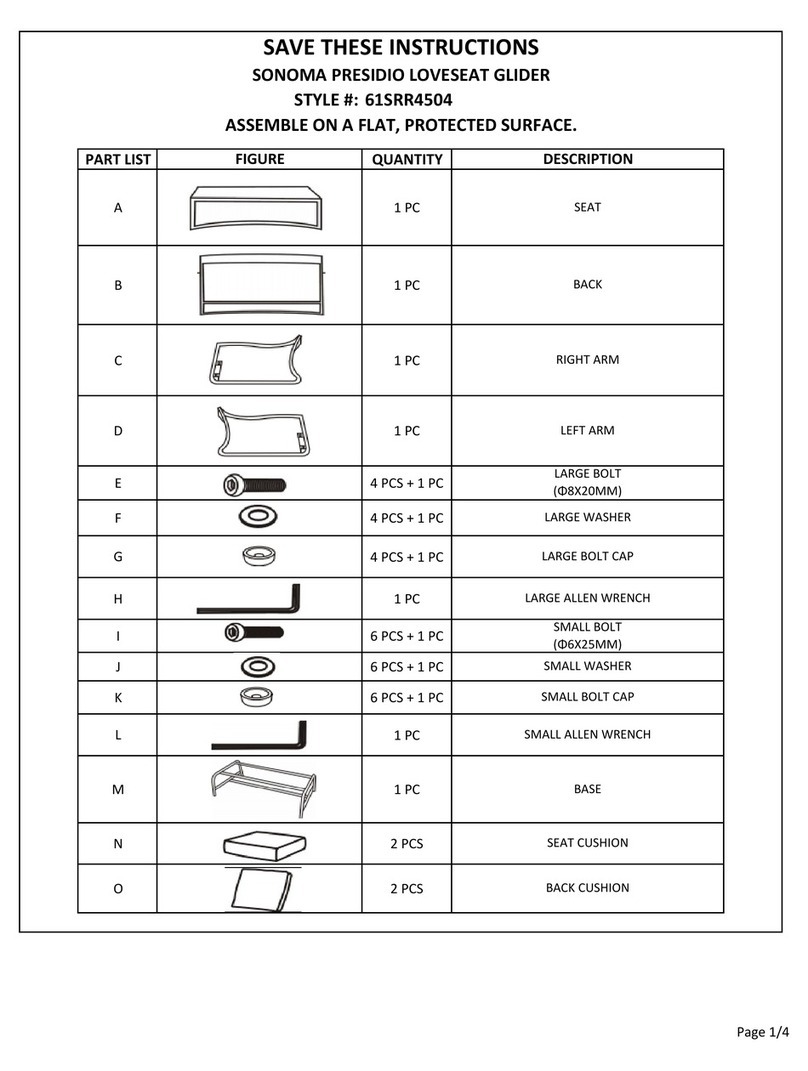
Kohl's SONOMA PRESIDIO LOVESEAT GLIDER 61SRR4504 Assembly instructions
Kohl's

Kohl's SONOMA PRESIDIO LOVESEAT GLIDER 61SRR4504 Assembly instructions

WATSON Bahn Assembly instructions

WATSON

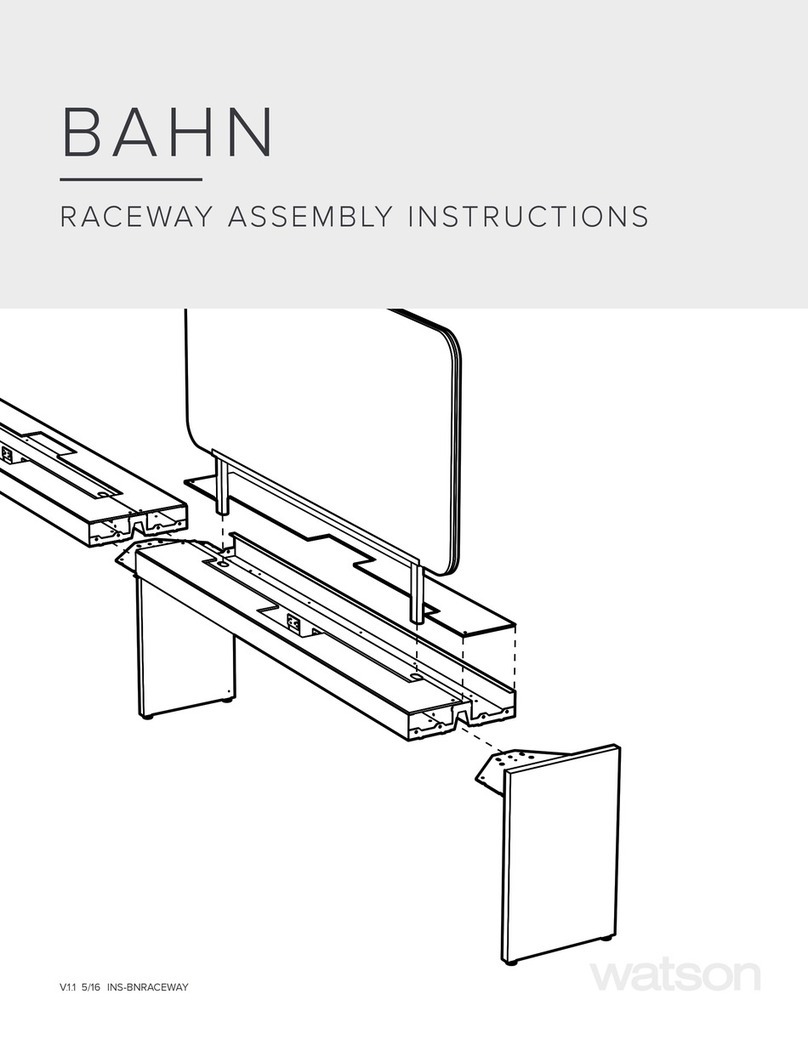
WATSON Bahn Assembly instructions

Ameriwood HOME 6743900COM manual

Ameriwood HOME

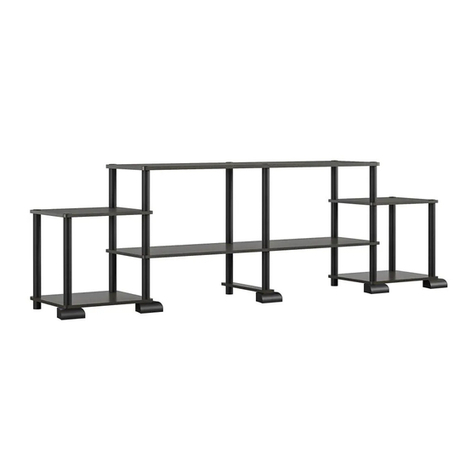
Ameriwood HOME 6743900COM manual

PawHut D06-158V00 manual

PawHut

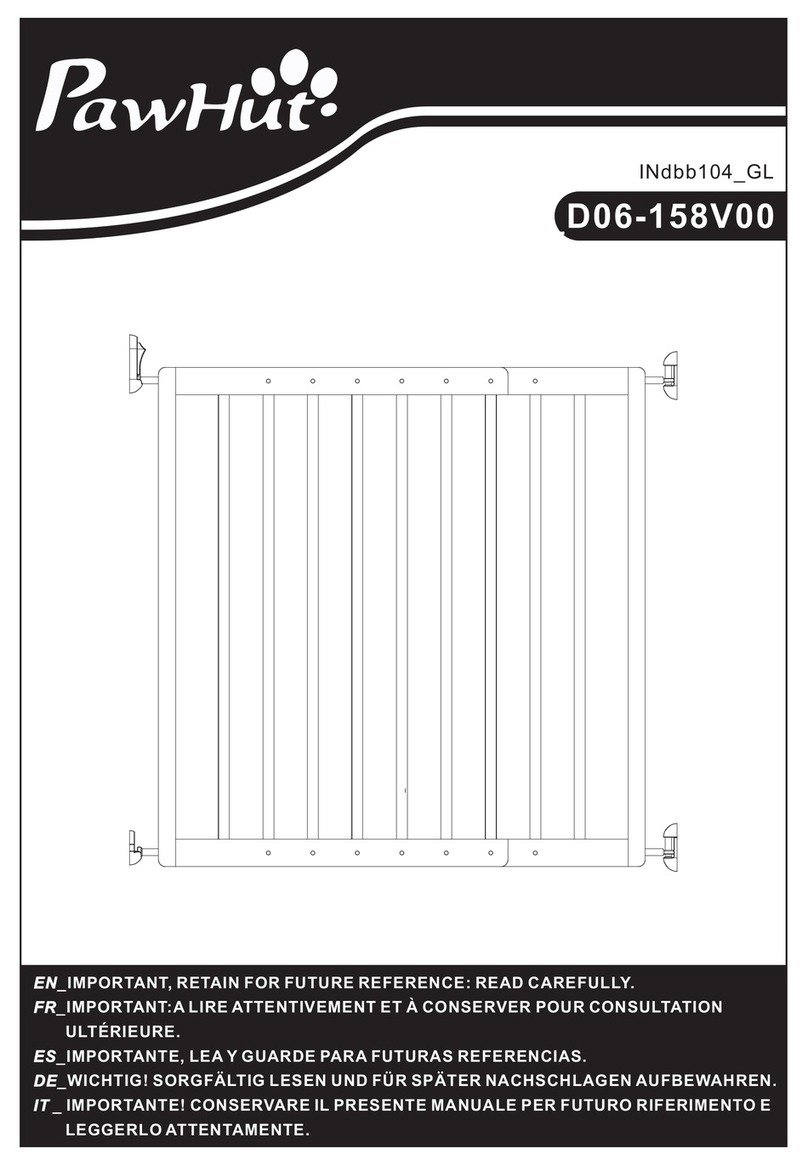
PawHut D06-158V00 manual

Ameriwood HOME Colebrook 5555555COM manual

Ameriwood HOME

Ameriwood HOME Colebrook 5555555COM manual

Dorel Home Products DA9005509 manual

Dorel Home Products

Dorel Home Products DA9005509 manual

Living & Co AUSTIN 9401063126606 instruction manual

Living & Co

Living & Co AUSTIN 9401063126606 instruction manual

Homak BK07062400 Owner's and operator's manual

Homak

Homak BK07062400 Owner's and operator's manual

Manhattan Comfort GRANVILLE DR-501 manual
Manhattan Comfort

Manhattan Comfort GRANVILLE DR-501 manual

Lippert Components Solera Super Shade Installation and owner's manual
Lippert Components

Lippert Components Solera Super Shade Installation and owner's manual

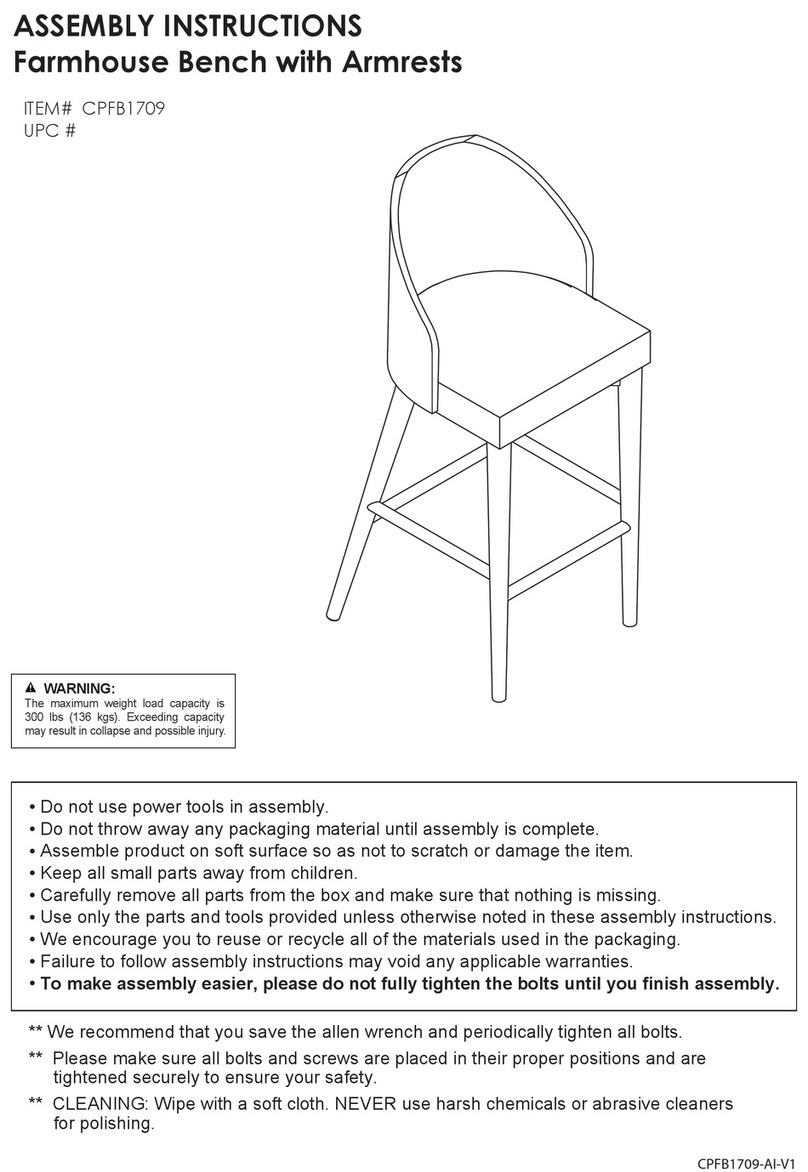
Cheyenne Products CPFB1709 Assembly instructions

Cheyenne Products

Cheyenne Products CPFB1709 Assembly instructions

Balmani Mitra installation guide

Balmani

Balmani Mitra installation guide
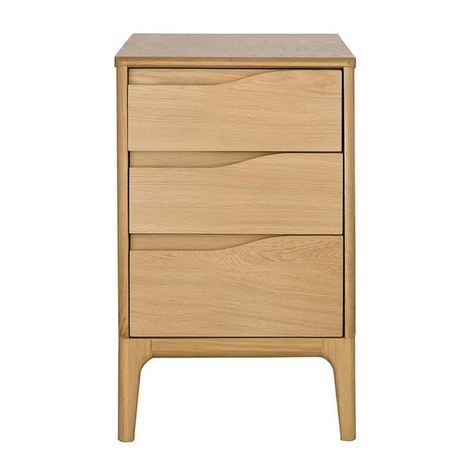
Ercol Rimini quick start guide

Ercol

Ercol Rimini quick start guide

manuals.online logo
manuals.online logoBrands
  • About & Mission
  • Contact us
  • Privacy Policy
  • Terms and Conditions

Copyright 2025 Manuals.Online. All Rights Reserved.