manuals.online logo
Brands
  1. Home
  2. •
  3. Brands
  4. •
  5. Storage 4 Crafts
  6. •
  7. Indoor Furnishing
  8. •
  9. Storage 4 Crafts storeaway Allstore Hartland User manual

Storage 4 Crafts storeaway Allstore Hartland User manual

Hartland
Allstore
store
away
Assembly Instructions
revised 0520 - 1.0
It is strongly recommended to have two persons present when
assembling this item. We advise that you unpack the boxes in
the order shown in these instrucons and follow the assembly
instrucons carefully.
Please be careful during construcon as secon of the cupboard
may be unstable unl construcon is complete.
Your hardware pack should contain the following:
CONNECTING
BOLT (CB1)
X 32
CONNECTING
LOCK (CL1)
X 32
MINI
CONNECTING
LOCK (CB2)
X 4
SHELF
PEG (SP1)
X 76
BLACK
CASTOR (C2}
X 4
SCREW (35-17D}
X 32
HANDLE
X 2
SCREW
(S30) X 3
CABLE
OUTLET
X 1
SCREW (35-15S}
X 4
AXIMAT HINGE
(AXI-HINGE)
X 4
ANGLE BRACKET
(AB1) X 8
SA-HART
LHS
SA-HART
LHS
SA-HART-1S
STEP 1
You will need to open box -
Use:
- Angle Bracket AB1
- Screw 35-17D
screw in to
this point
CB1
Screw CB1 Bolts into all
the holes marked with
a red circle
Screw CB2 Bolts into all
the holes marked with
a red circle
Insert CL1 Locks into
the holes as indicated
Attach hinges using the
screws that are pre-tted
to the hinges and 35-15S
screws as shown below
ready to attach doors to
the unit.
SA-HART
TCBB&SH
STEP 2
You will need to open box -
From this box you will require panel SA-HART-BASE
SA-HART
BASE
Insert CL1 Locks into
the holes as indicated
SA-2BT
STEP 4
You will need to open box -
Insert CL1 Locks into the holes in the SA-HART-MB1 and SA-HART-MB2 panels from this box.
BACK EDGE
STEP 3
Insert CL1 Locks into the holes in the SA-HART-MB3 panel from the box you have just
opened.
Aach Castor C2 to
the base using
35-17D Screws to
all posions marked with
a red circle
STEP 5
With the SA-HART-LHS laying on the solid flat clean surface (we recommend the floor) aach the three
back panels and the base. Secure by turning all of the connecng locks in the backs and the base approx
one half turn. Then screw the remaining 35-17D screws into the angle brackets to secure the side to the base.
SA-HART
LHS
BACK EDGE
SA-HART
MB1
SA-HART
MB2
SA-HART
MB3
SA-HART-MB3
SA-HART-MB2
SA-HART-MB1
NOTE THE POSITION OF
THE CABLE OUTLET HOLE
SA-LYD-M
LHS
STEP 6
With the unit sll laying on the floor place the SA-HART-RHS onto the top and secure all the connecng
locks and angle brackets. Then carefully stand the unit onto its wheels. IT IS HIGHLY RECOMMENDED TO HAVE
TWO PEOPLE TO COMPLETE THIS STEP TO AVOID INJURY OR DAMAGE TO THE PRODUCT.
BACK EDGE
SA2B
SA2B
SA-LYD
MBACK
SA-LYD-M
LHS
STEP 7
You will need box -
SA-HART
TOP
screw in to
this point
CB1
Screw CB1 Bolts into all
the holes marked with
a red circle
Remove the SA-HART-TOP from the box and fit the CB1 bolts as shown below
SA-2BT
SA-HART-TOP
Once you have screwed the bolts into the panel place it carefully to one side.
SA-LYD-M
RHS
STEP 8
SA-LYD-M
LHS
BACK EDGE
screw in to
this point
CB1
Screw CB1 Bolts into all
the holes marked with
a red circle
SA2B
SA2B
SA-LYD
MBACK
SA-LYD-M
RHS
SA-LYD-M
LHS
BACK EDGE
Fit the boom centre dividers as shown below using connecing locks and the bolts you
have already fied to the base.
SA-HART
BCD&SH
STEP 9
You will need to open box -
From this box you will require panels SA-HART-BCD
STEP 10
You will require SA-HART-MSH from box SA-HART-TCBB&SH you have already opened. Fit the connecng
bolts as shown below.
screw in to
this point
CB1
Screw CB1 Bolts into all
the holes marked with
a red circle
OTHER SIDE OF PANEL
STEP 11
Fit the main shelf and ghten all of the connecng locks including those pre-fied into the underside
of the desk shelf.
SA-LYD-M
RHS
SA-LYD-M
LHS
BACK EDGE
STEP 12
You will require SA-HART-TCD from box SA-HART-TCBB&SH you have already opened. Fit the top
centre divider as shown below using connecing locks and the bolts you have already fied to the main
shelf.
SA-LYD-M
RHS
SA-LYD-M
LHS
BACK EDGE
STEP 13
Fit the SA-HART-TOP to the unit by ghtening all of the connecng locks.
SA-LYD-M
RHS
SA-LYD-M
LHS
BACK EDGE
STEP 14
Now attach the doors handles using the screws provided to your doors and then attach the doors to unit. This
is done by sliding the hinge part which is pre attached to the door on to the hinge which you have xed to
the side. Then tighten the screw in the centre to secure. You may nd that you need to loosen the screws in
the hinge part which is pre attached to the door to allow the two parts to slot togther fully.
SA-LYD-M
RHS
SA-LYD-M
LHS
BACK EDGE
A standard layout of boxes is shown below. The best way to fit the boxes is to start at the boom of each secon,
insert a box then add shelf pegs (SP1) and a shelf above then connue unl the secon is full. Use shelves as
indicated below and SP1 shelf pegs as supplied.
The setup of shelves and boxes shown here is only one opon, the shelves are adjustable to suit a range of box
configuraons.
STEP 21
Suggested box layout
10L
10L
10L10L
10L
10L
18.5L
5.5L 5.5L5.5L
5.5L
5.5L
Hartland
Allstore
store
away
The Storeaway Hartland Allstore unit is designed and manufactured in the UK by:
CRAFTS
storage
www.storage4crafts.co.uk

Other Storage 4 Crafts Indoor Furnishing manuals
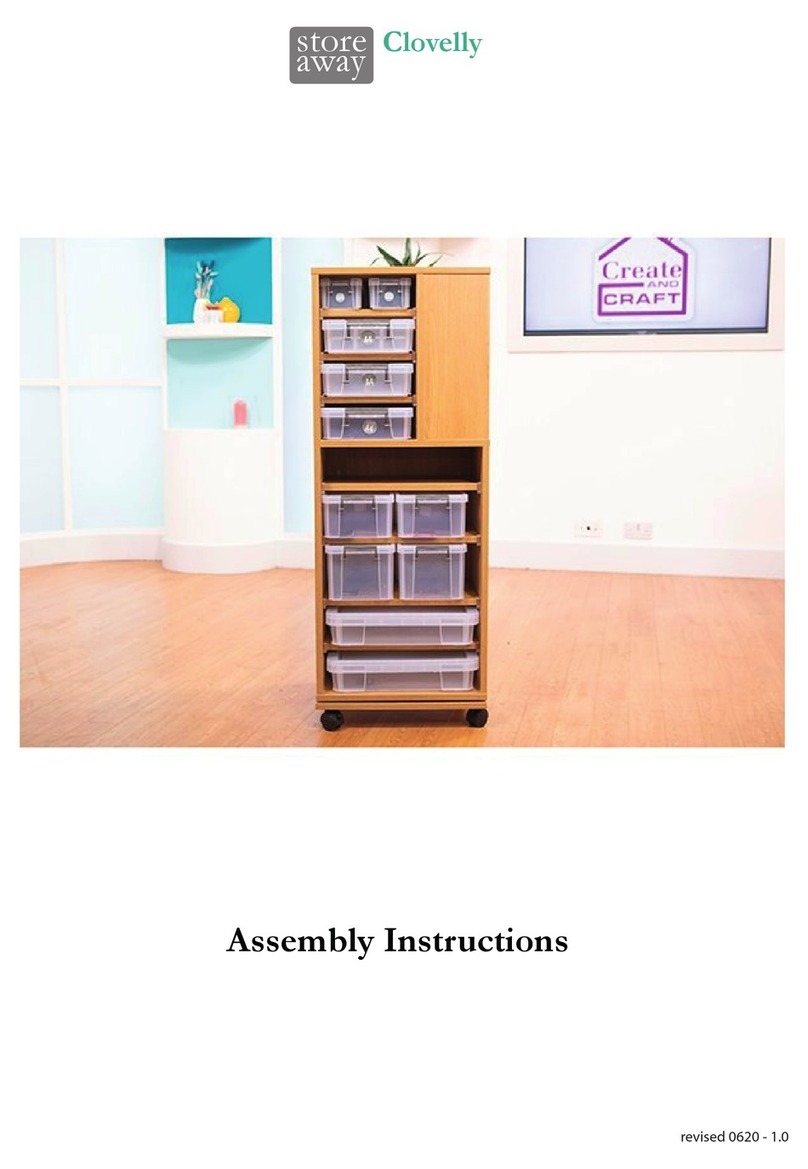
Storage 4 Crafts storeaway Clovelly User manual

Storage 4 Crafts

Storage 4 Crafts storeaway Clovelly User manual

Storage 4 Crafts storeaway allstore Lydford User manual
Storage 4 Crafts

Storage 4 Crafts storeaway allstore Lydford User manual

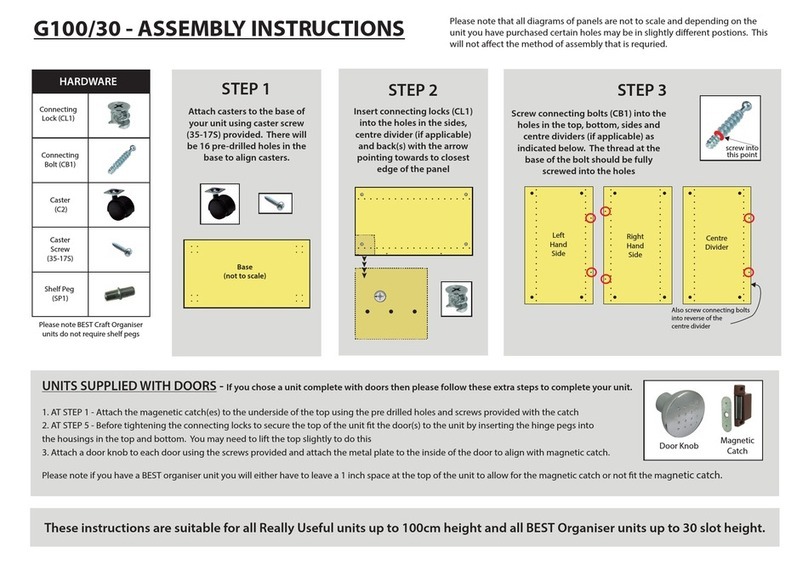
Storage 4 Crafts G100/30 User manual

Storage 4 Crafts

Storage 4 Crafts G100/30 User manual
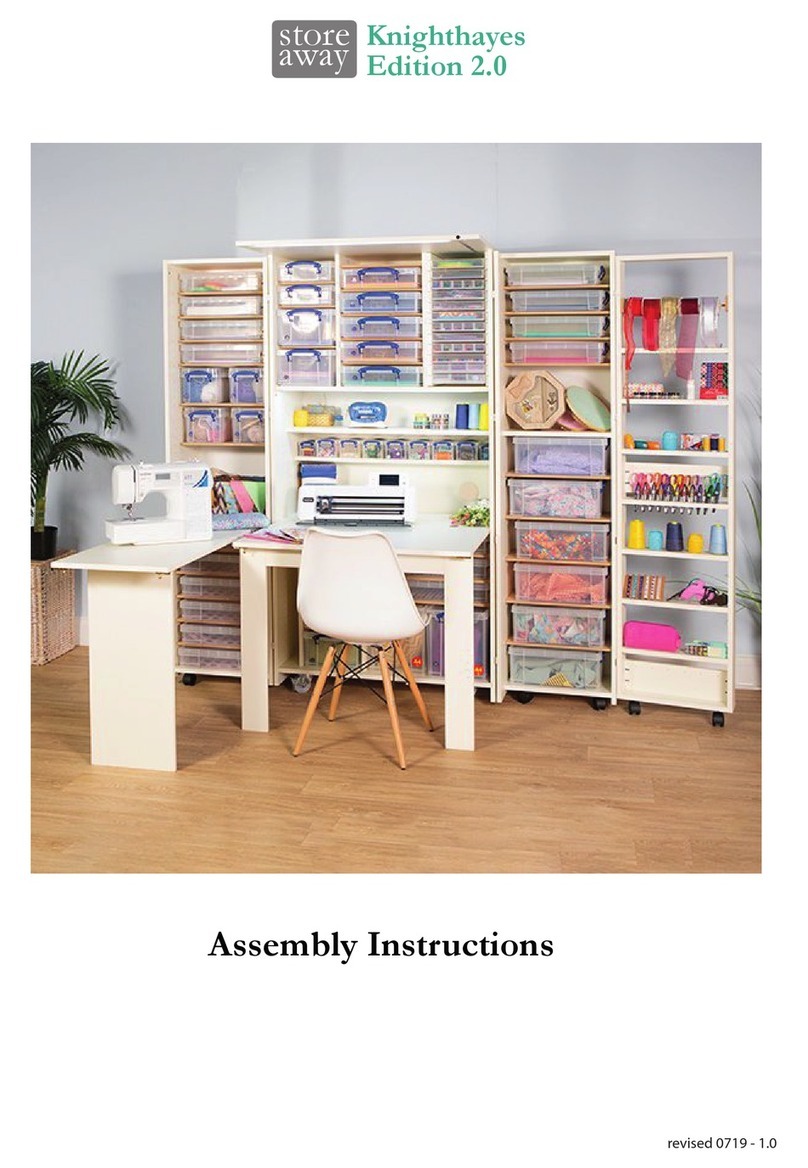
Storage 4 Crafts storeaway Knighthayes Edition 2.0 User manual
Storage 4 Crafts

Storage 4 Crafts storeaway Knighthayes Edition 2.0 User manual

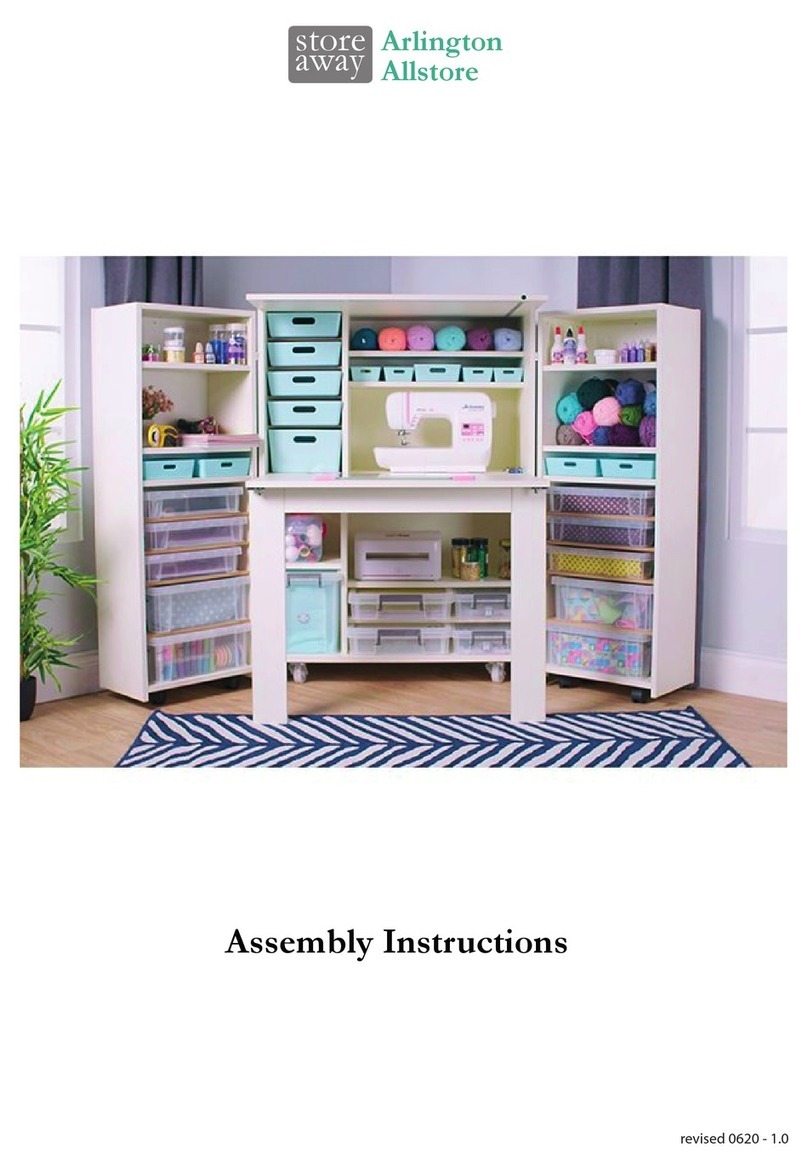
Storage 4 Crafts storaway Allstore Arlington User manual
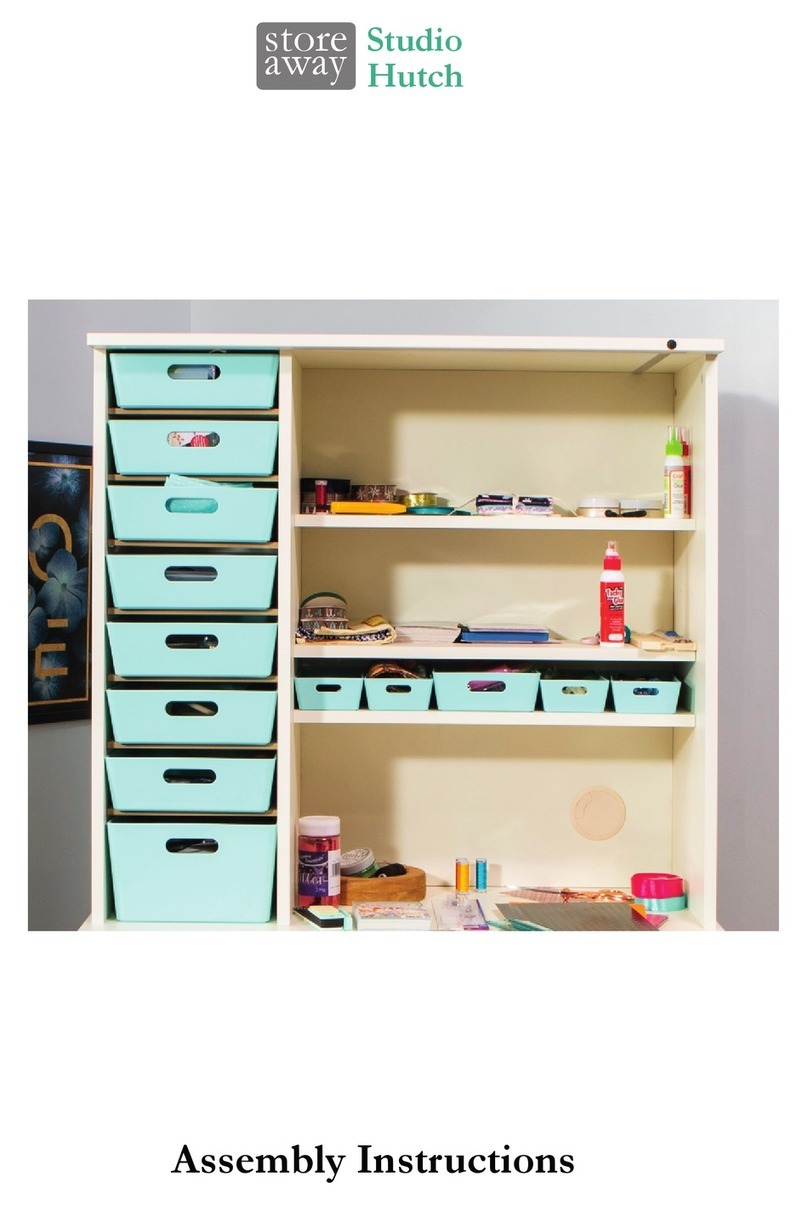
Storage 4 Crafts

Storage 4 Crafts storaway Allstore Arlington User manual

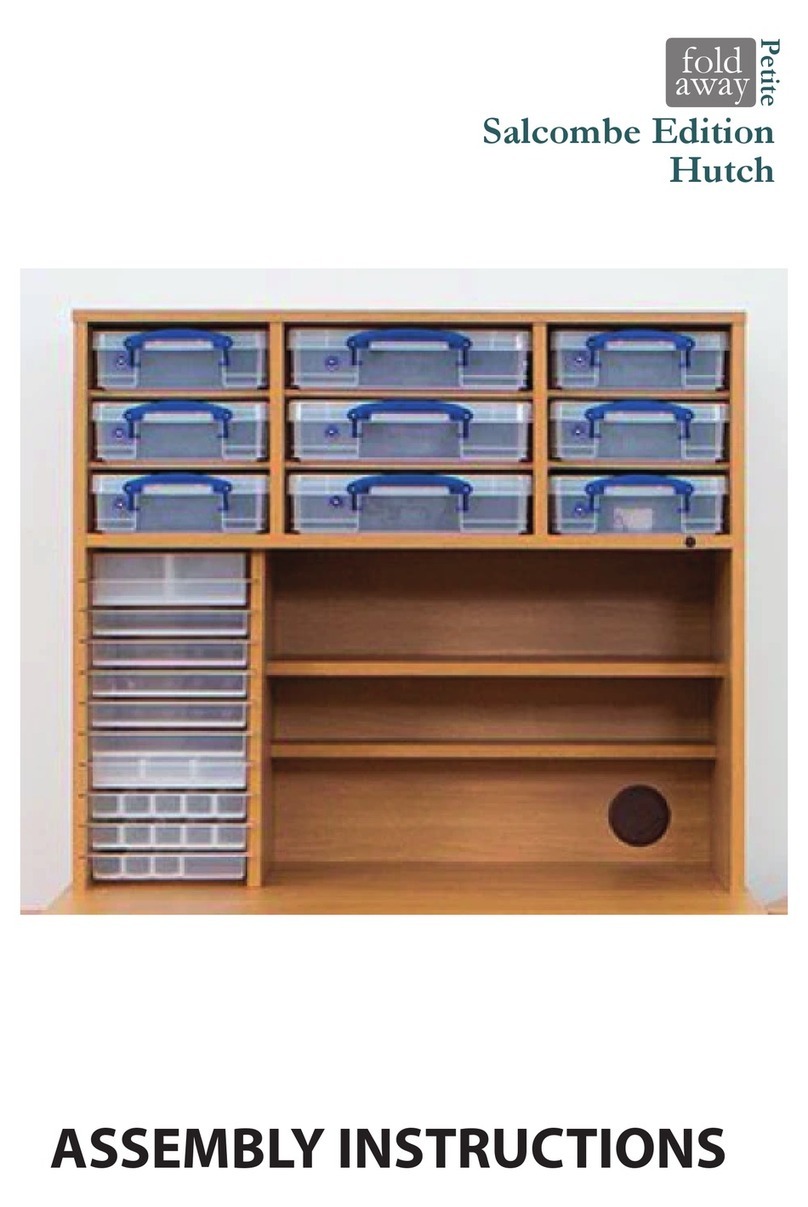
Storage 4 Crafts store away Studio Hutch User manual
Storage 4 Crafts

Storage 4 Crafts store away Studio Hutch User manual

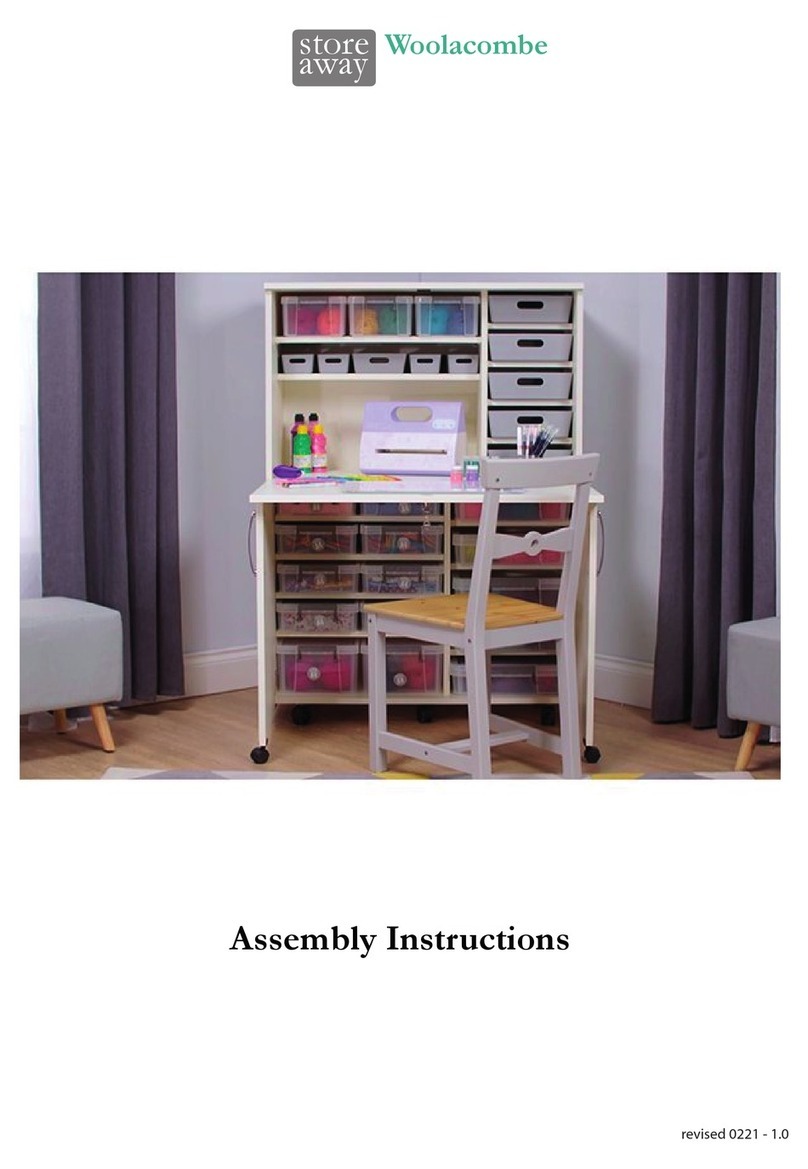
Storage 4 Crafts fold away Petite Salcombe Edition Hutch User manual

Storage 4 Crafts

Storage 4 Crafts fold away Petite Salcombe Edition Hutch User manual
Storage 4 Crafts storeaway Assembly Instructions User manual

Storage 4 Crafts

Storage 4 Crafts storeaway Assembly Instructions User manual

Popular Indoor Furnishing manuals by other brands
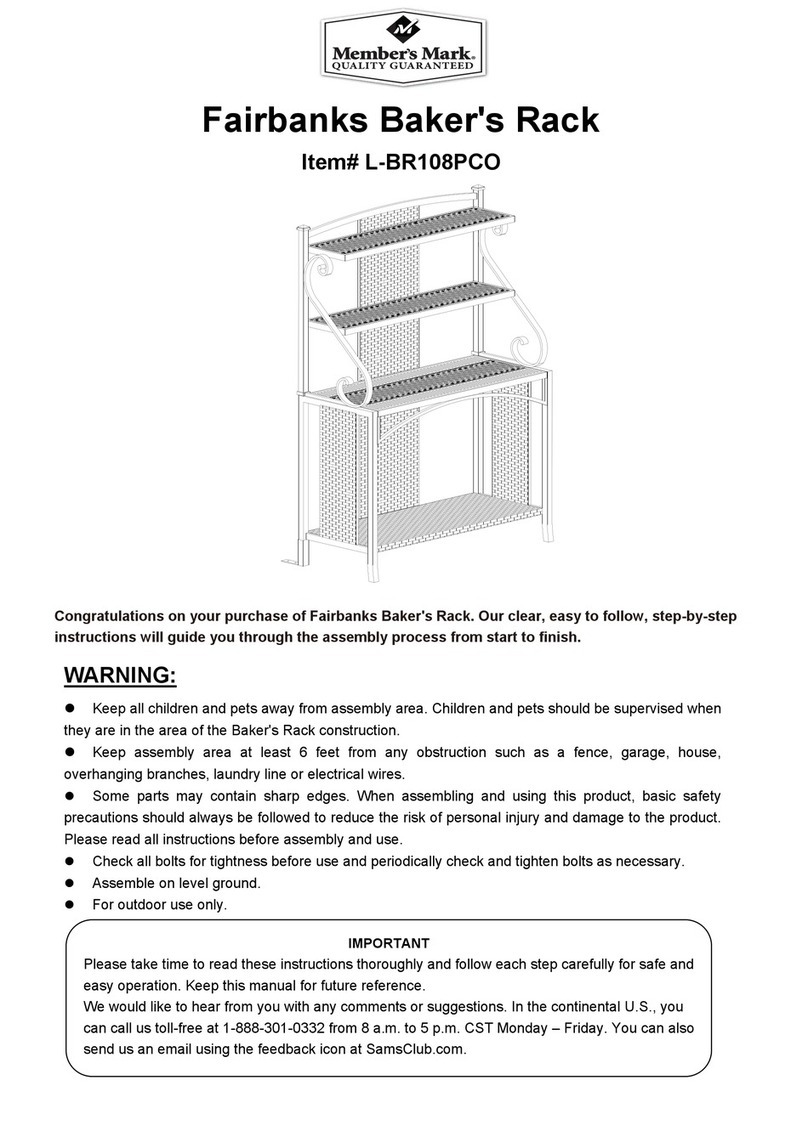
Members Mark Fairbanks Baker's Rack L-BR108PCO manual
Members Mark

Members Mark Fairbanks Baker's Rack L-BR108PCO manual

Konig + Neurath LIFE.S operating instructions
Konig + Neurath

Konig + Neurath LIFE.S operating instructions

Happy Beds Stockwell 4 Drawer Chest Assembly instructions
Happy Beds

Happy Beds Stockwell 4 Drawer Chest Assembly instructions

SouthShore 120 Assembly instructions

SouthShore

SouthShore 120 Assembly instructions
Happy Beds Brompton Fabric Bed 5ft Assembly instructions
Happy Beds

Happy Beds Brompton Fabric Bed 5ft Assembly instructions

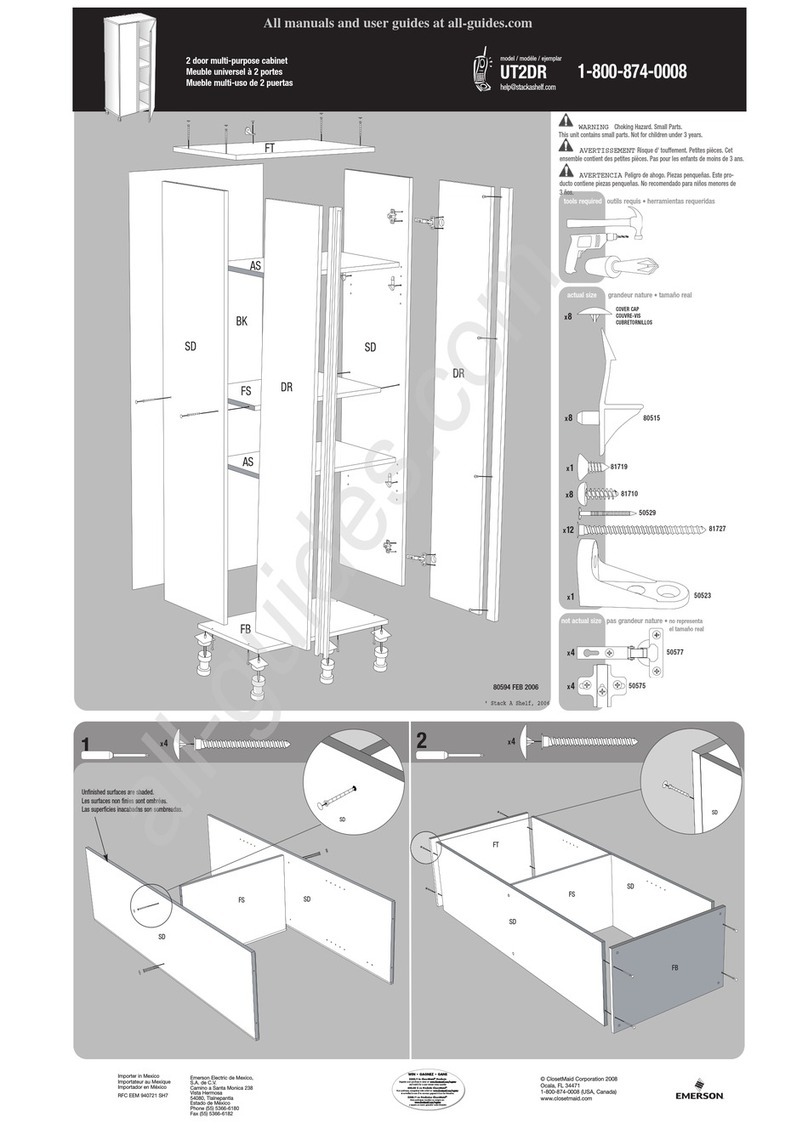
Closet Maid UT2DR manual

Closet Maid

Closet Maid UT2DR manual

Fromm&Starck STAR-SEAT-04 user manual

Fromm&Starck

Fromm&Starck STAR-SEAT-04 user manual

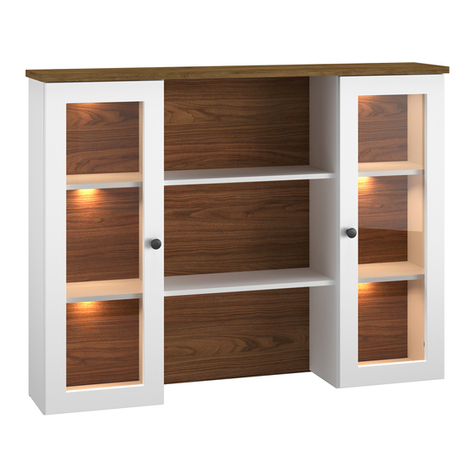
feather&black Noah Trundle Bed Assembly instructions
feather&black

feather&black Noah Trundle Bed Assembly instructions

mlmeble LILLE 07 Assembling Instruction

mlmeble

mlmeble LILLE 07 Assembling Instruction

Happy Beds DURHAM Wooden Bunk Bed Assembly instructions
Happy Beds

Happy Beds DURHAM Wooden Bunk Bed Assembly instructions

Nowy Styl XIO 2.0 Original user guide

Nowy Styl

Nowy Styl XIO 2.0 Original user guide
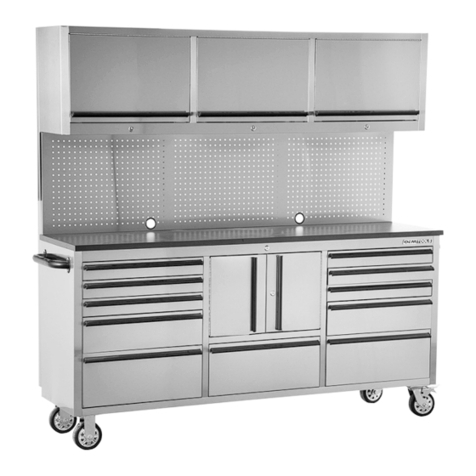
OEM Tools OEM24615 operating instructions

OEM Tools

OEM Tools OEM24615 operating instructions

Closet Maid Impressions 14815 installation instructions

Closet Maid

Closet Maid Impressions 14815 installation instructions

HOMEDEPOT CYXX02 Assembly instructions
HOMEDEPOT

HOMEDEPOT CYXX02 Assembly instructions

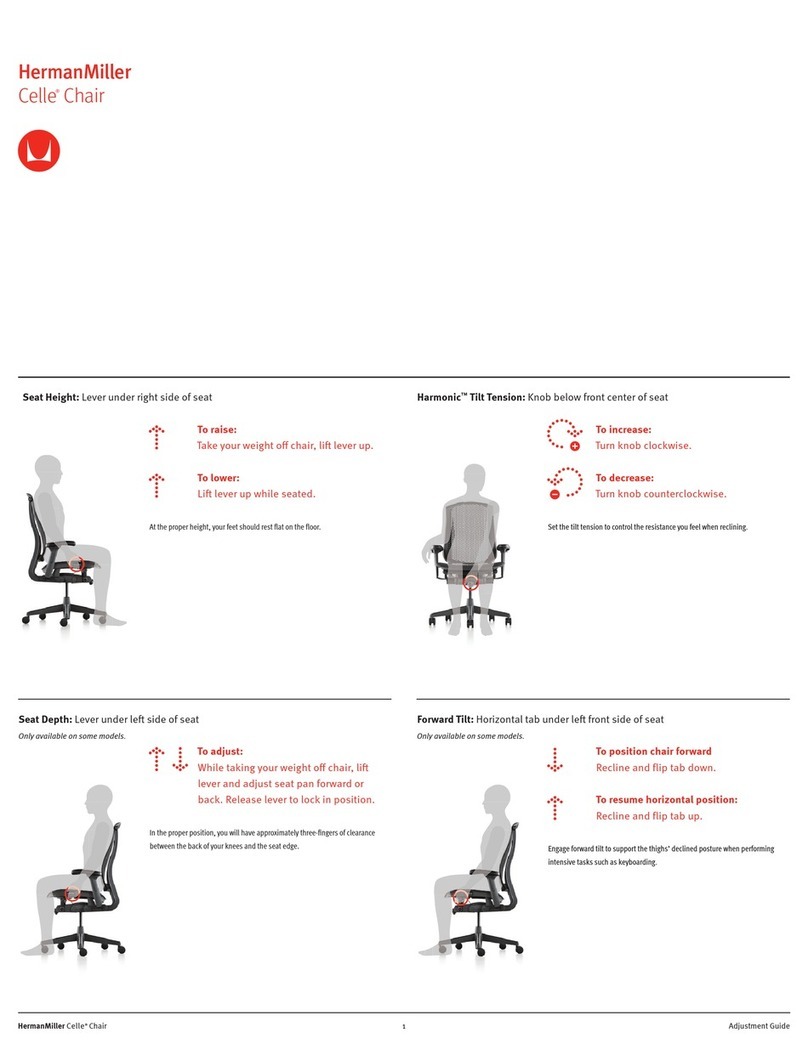
Herman Miller Celle manual

Herman Miller

Herman Miller Celle manual
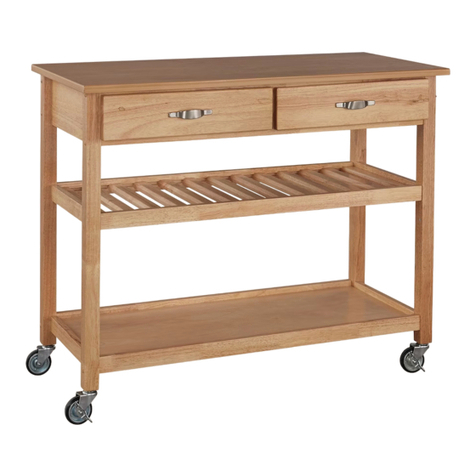
Home Styles 5216-95 quick start guide

Home Styles

Home Styles 5216-95 quick start guide

Happy Beds Hannover Ottoman Bed 5FT Assembly instructions
Happy Beds

Happy Beds Hannover Ottoman Bed 5FT Assembly instructions

Polywood 4103X Assembly instructions

Polywood

Polywood 4103X Assembly instructions

manuals.online logo
manuals.online logoBrands
  • About & Mission
  • Contact us
  • Privacy Policy
  • Terms and Conditions

Copyright 2025 Manuals.Online. All Rights Reserved.