manuals.online logo
Brands
  1. Home
  2. •
  3. Brands
  4. •
  5. Storage 4 Crafts
  6. •
  7. Indoor Furnishing
  8. •
  9. Storage 4 Crafts storeaway Knighthayes Edition 2.0 User manual

Storage 4 Crafts storeaway Knighthayes Edition 2.0 User manual

Knighthayes
Edition 2.0
store
away
Assembly Instructions
revised 0719 - 1.0
It is strongly recommended to have two persons present when
assembling this item. We advise that you unpack the boxes in
the order shown in these instructions and follow the assembly
instructions carefully.
Please be careful during construction as section of the cupboard
may be unstable until construction is complete.
Your hardware pack should contain the following:
CONNECTING
BOLT (CB1)
X 68
CONNECTING
LOCK (CL1)
X 68
MINI
CONNECTING
LOCK (CB2)
X 60
SHELF
PEG (SP1)
X 136
BLACK
CASTOR (C2}
X 10
SCREW (S10}
X 26
FOLDING LEG
BRACKET (FLB1)
X 4
SCREW (35-17D}
X 88
WHITE
CASTOR (C1}
X 4
SCREW (CHSC-10}
X 16
WASHER (W1}
X 16
ANGLE BRACKET
(AB1) X 12
KNOB
(K1) X 2
SCREW
(S30) X 2
TRANSFORMER
(TRANS1)
X 1
PLUG
(PLUG1)
X 1
CABLE
OUTLET
X 1
BOLT
(BB1) X 4
SCREW (35-15S}
X 4
SCREW
(30-15G) X 16
DOWEL
X 45
CONNECTING
PLATE
X 2
HINGE
(H2) X 12 SCREW
(30-15S) X 72
SHELF PEG
WITH PIN (SP2)
X 36
SELF ADHESIVE
SHELF STOP (DB1)
X 25
SA433/190-1S
STEP 1
You will need to open box -
SA433-
190RHS
SA433-
190LHS
Use:
- Angle Bracket AB1
- Screw 35-17D
screw in to
this point
CB1
Screw CB1 Bolts into all
the holes marked with
a blue circle
Screw CB2 Bolts into all
the holes marked with
a red circle
Insert CL1 Locks into
the holes as indicated
SA433/2BCB
STEP 2
You will need to open box -
From this box you will require panel SA433-BASE
SA433-
BASE
Insert CL1 Locks into
the holes as indicated
+ + Attach the White Castors C1
to the base using washer W1
and Screw CHSC-10 - castor
locations are marked in orange
SA-2B
STEP 3
You will need to open box -
Insert CL1 Locks into the holes in the 2 panels from this box.
BACK EDGE
SA433-
190LHS
STEP 4
With the SA433/190LHS laying on the solid at clean surface (we recommend the oor) attach the two
back panels and the base. Secure by turning all of the connecting locks in the backs and the base approx
one half turn. Then screw the remaining 35-17D screws into the angle brackets to secure the side to the base.
SA2B
SA2B
BACK EDGE
STEP 5
With the unit still laying on the oor place the SA433/190RHS onto the top and secure all the connecting
locks and angle brackets. Then carefully stand the unit onto its wheels. IT IS HIGHLY RECOMMENDED TO HAVE
TWO PEOPLE TO COMPLETE THIS STEP TO AVOID INJURY OR DAMAGE TO THE PRODUCT.
SA433-
190LHS
BACK EDGE
SA2B
SA2B
SA433/35-
TOP
STEP 6
You will need to open box -
SA433/
35TOP
screw in to
this point
CB1
Screw CB1 Bolts into all
the holes marked with
a blue circle
Place the SA433/35-TOP onto the top of the section you have already constructed and tighten the
connecting locks to secure.
SA433-
190LHS
SA433-DS
STEP 7
You will need to open boxes -
You will require SA-LSH from box SA190/2TCB for this step keep the other panels to one side.
SA433-
190LHS
BACK EDGE
SA433-DS
SA-LSH
Fit the SA-LSH and SA433-DS into the unit as indicated.
Then secure by tightening the locks which are tted into
the panels
SA190/2TCB
SA433-
190LHS
STEP 8
You will require SA190-BACK from SA190/2TCB for this step.
SA433-
190LHS
BACK EDGE
SA433-DS
SA-LSH
Fit SA190-BACK and tighten the locks which
are pre-tted to the panel.
Screw CB2 Bolts into all
the holes marked with
a red circle
SA433-
190LHS
SA433-
190LHS
STEP 9
You will require 2 x SA190-TCD and 2 x SA-BCD from boxes you have already opened. Ensure the
centre dividers are the correct way up with the label indicating the top of the panel at the top.
BACK EDGE
SA433-DS
SA-LSH
Fit the SA-BCD and SA190-TCD Panels as indicated and
secure by tightening the locks which are tted into the
panels
SA-BCD
SA190-TCD
SA190-TCD
SA-BCD
SA433-
190LHS
SA433-
190LHS
STEP 10
BACK EDGE
SA433-DS
SA-LSH
SA-BCD
SA190-TCD
SA190-TCD
SA-BCD
Optional shelves SA-SH and SA-SSH
(found in box SA-DESK)
can be tted into this section if requried,
you can use either shelf pegs SP1 or
mini connecting locks CB2 to x the shelves
SA-SH
SA-SSH
STEP 11 - You will need to open box
You will require SA500-DESK, SA-LBAR and 2 x SA-TLEG from
box SA-DESK which you may have already opened.
SA500-DESK
Attach Bolts BB1 with
Screws 30-15G
Attach Connecting Plates
with Screw S10
SA-LBAR
SA-TLEG
SA-TLEG
SA-TLEG
Add a small quantity of PVA glue
into each hole marked with a red circle.
Complete this on both
SA-TLEG
Attach the SA-LBAR to the SA-TLEGs
by pushing the panels together and
attaching with the dowels that are
already inserted
Attach the constructed leg section to the SA500-DESK using the Folding Leg Bracket (FLB1) and screws
S10 (to x into the brass inserts) and screws 35-15S (to x into the pre-drilled holes)
+
SA-DESK
SA-LBAR
STEP 12
Attach the complete desk to the main section using the two part hinges that are already attached to the desk
and the desk shelf. The hinges can be adjusted to ensure the desk is level by turning the small adjustment
screw clockwise or counter clockwise. Once in place ensure it is secured with bolts supplied.
IMPORTANT
WHEN USING THE DESK
ALWAYS MAKE SURE TO
HAVE FOLDED OUT THE
LEG BEFORE UNDOING
THE BOLT AND FOLDING
THE DESK DOWN.
FAILURE TO DO THIS MAY
RESULT IN DAMAGE TO
THE HINGES AND THE UNIT
SA433-
190LHS
SA433-
190LHS
BACK EDGE
SA433-DS
SA-LSH
Fit the SA-BCD and SA190-TCD Panels as indicated and
secure by tightening the locks which are tted into the
panels
SA-BCD
SA190-TCD
SA190-TCD
SA-BCD
THIS COMPLETES CONSTRUCTION OF THE
CENTRE SECTION OF YOUR UNIT
SA190/35
2STB
STEP 13
You will need to open box -
SA35
190S1
SA35
190S2
Before you start to construct this section you need to decide if you would like it to be tted to the
Left Hand side or the Right Hand side of the centre section. The standard conguration is to t it to the
Left Hand Side.
OPTION 1 - To t to the LEFT HAND SIDE
SA35
190S1
SA35
190S2
OPTION 2 - To t to the RIGHT HAND SIDE
Screw CB1 Bolts into all
the holes marked with
a blue circle
Use:
- Angle Bracket AB1
- Screw 35-17D
screw in to
this point
CB1
Insert CL1 Locks into
the holes as indicated
STEP 14
SA35-BASE
Attach Castor C2 to
SA35-BASE using
35-17D Screws
SA35-TOP
Insert CL1 Locks into
the holes as indicated
Insert CL1 connecting locks into the SA35-TOP and the SA35-BASE as shown below. Then attach the C2
casters to the SA35-BASE using screws 35-17D as shown below.
STEP 15
SA35
190S1
SA35-TOP
SA35-BASE
With the SA35-190S1 laying on the solid at clean surface (we recommend the oor).
Attach the SA35-190S1 and SA35-190S2 to the SA35- BASE and SA35-TOP and secure by
tightening the locks you have already tted. Then x the angle brackets to the base
using screw 35-17D.
SA35
190S1
SA35-TOP
SA35-BASE
OPTION 1 - To t to the LEFT HAND SIDE OPTION 2 - To t to the RIGHT HAND SIDE
STEP 16
With the Door Fascia Panel SA190-FASCIA laying on the solid at clean surface (we recommend the oor).
Attach the section that you have already assembled and secure by tightening the locks which you have already
inserted into the panels.
Door knob hole Door knob hole
OPTION 1 - To t to the LEFT HAND SIDE OPTION 2 - To t to the RIGHT HAND SIDE
TOP TOP
Screw CB1 Bolts into all
the holes marked with
a blue circle
screw in to
CB1
SA35
190S1
SA35-BASE
STEP 17
Using Hinge H2 and Screws 30-15S attach the completed door section to the centre section you have already
constructed.
SA433-
190LHS
SA433-
190LHS
BACK EDGE
SA433-DS
SA-LSH
Fit the SA-BCD and SA190-TCD Panels as indicated and
secure by tightening the locks which are tted into the
panels
SA-BCD
SA190-TCD
SA190-TCD
SA-BCD
STEP 18
You will need to open:
Screws 30-15G
SA-DLEG
S10 (to fix into the brass inserts) and screws 35-15S (to fix into the pre-drilled holes)
+
SA190
DOOR DESK
SA190-DOOR DESK

Other Storage 4 Crafts Indoor Furnishing manuals
Storage 4 Crafts store away Studio Hutch User manual

Storage 4 Crafts

Storage 4 Crafts store away Studio Hutch User manual

Storage 4 Crafts storeaway allstore Lydford User manual

Storage 4 Crafts

Storage 4 Crafts storeaway allstore Lydford User manual

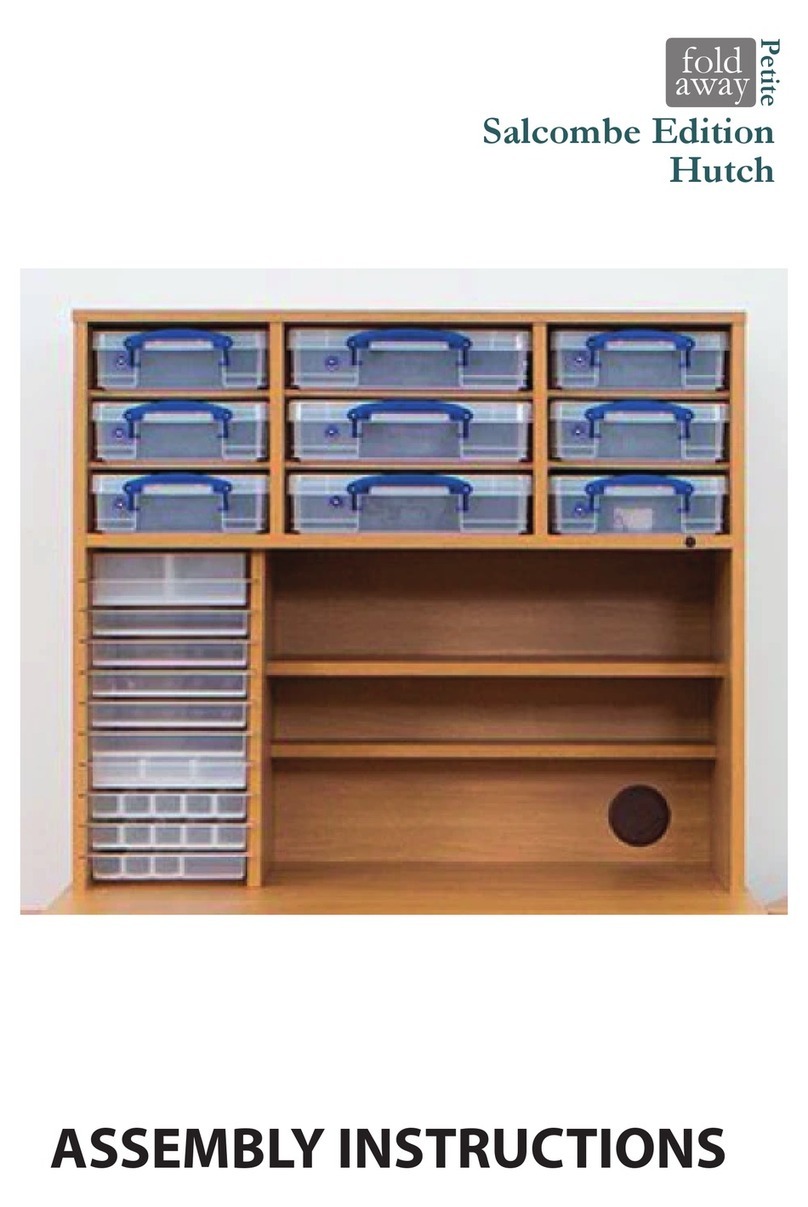
Storage 4 Crafts fold away Petite Salcombe Edition Hutch User manual

Storage 4 Crafts

Storage 4 Crafts fold away Petite Salcombe Edition Hutch User manual

Storage 4 Crafts storeaway Assembly Instructions User manual
Storage 4 Crafts

Storage 4 Crafts storeaway Assembly Instructions User manual

Storage 4 Crafts storeaway Clovelly User manual

Storage 4 Crafts

Storage 4 Crafts storeaway Clovelly User manual

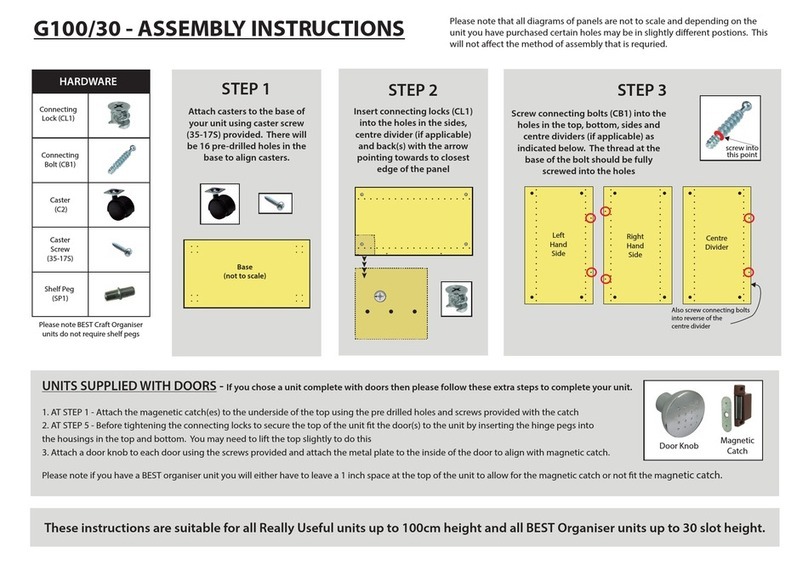
Storage 4 Crafts G100/30 User manual

Storage 4 Crafts

Storage 4 Crafts G100/30 User manual

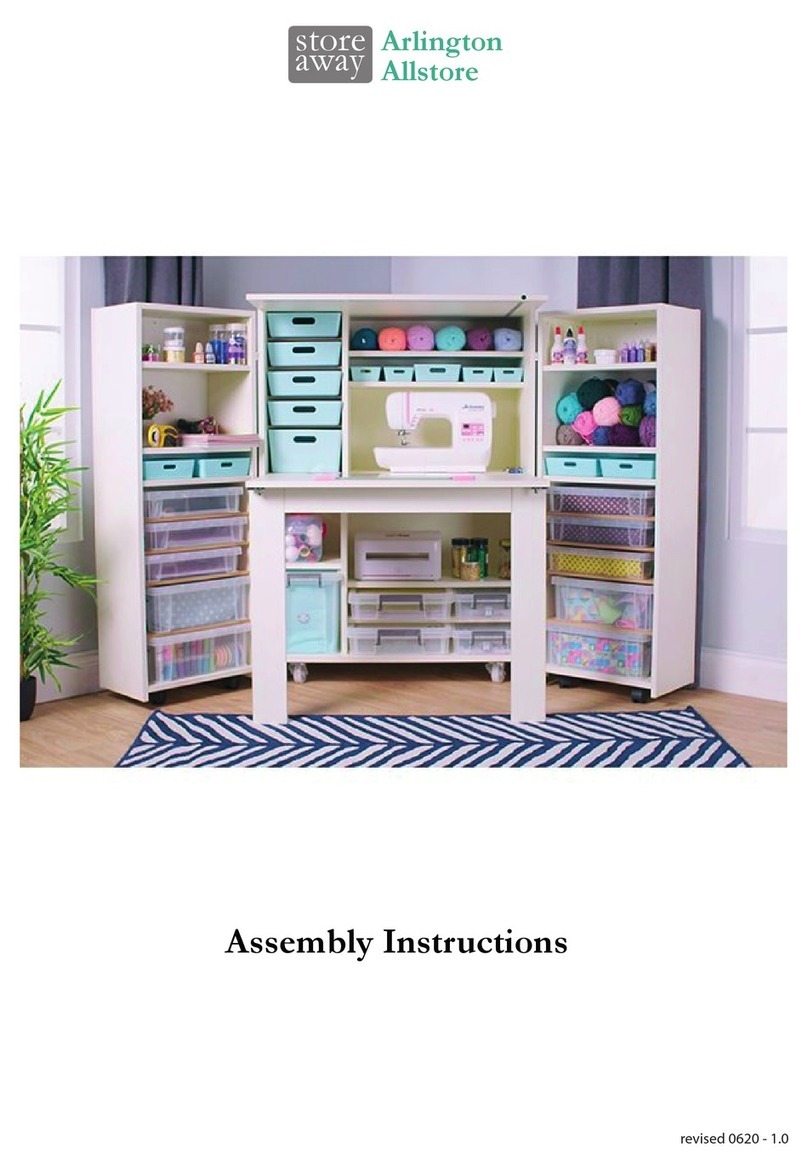
Storage 4 Crafts storaway Allstore Arlington User manual

Storage 4 Crafts

Storage 4 Crafts storaway Allstore Arlington User manual

Storage 4 Crafts storeaway Allstore Hartland User manual
Storage 4 Crafts

Storage 4 Crafts storeaway Allstore Hartland User manual

Popular Indoor Furnishing manuals by other brands

Sauder Whitaker Point 429369 manual

Sauder

Sauder Whitaker Point 429369 manual

KidKraft Avalon 16601C Assembly instructions

KidKraft

KidKraft Avalon 16601C Assembly instructions

Invacare Dacapo Standard user manual

Invacare

Invacare Dacapo Standard user manual

Ameriwood HOME 5997333WCOM manual

Ameriwood HOME

Ameriwood HOME 5997333WCOM manual

LumiSource AD-ELEMENT 3W Assembly instructions

LumiSource

LumiSource AD-ELEMENT 3W Assembly instructions

IKEA BENNO instructions

IKEA

IKEA BENNO instructions

Ironwood GLACIER LS42SA manual

Ironwood

Ironwood GLACIER LS42SA manual

Teknion Leverage Installation guides

Teknion

Teknion Leverage Installation guides

Furniture of America Deering CM-AC222 Assembly instructions

Furniture of America

Furniture of America Deering CM-AC222 Assembly instructions

Unfinished Furniture of Wilmington BOW END SHAKER T-4072XBC Assembly instructions

Unfinished Furniture of Wilmington

Unfinished Furniture of Wilmington BOW END SHAKER T-4072XBC Assembly instructions

Furniture of America CM-DK5237 Assembly instructions

Furniture of America

Furniture of America CM-DK5237 Assembly instructions

Dorel Home Products Upholstered Daybed and Trundle Twin Assembly manual

Dorel Home Products

Dorel Home Products Upholstered Daybed and Trundle Twin Assembly manual

Courtyard Creations TGS27NW-WM Assembly instructions

Courtyard Creations

Courtyard Creations TGS27NW-WM Assembly instructions

Next BRONX RADIATOR COVER SMALL Assembly instructions

Next

Next BRONX RADIATOR COVER SMALL Assembly instructions

Pawleys Island ROUND COFFEE TABLE instructions

Pawleys Island

Pawleys Island ROUND COFFEE TABLE instructions

Crate&Barrel Clyne Assembly manual

Crate&Barrel

Crate&Barrel Clyne Assembly manual

Home Decor HD-9555 manual

Home Decor

Home Decor HD-9555 manual

Amart Furniture ARGENTO 2700 64237 Assembly instruction

Amart Furniture

Amart Furniture ARGENTO 2700 64237 Assembly instruction

manuals.online logo
manuals.online logoBrands
  • About & Mission
  • Contact us
  • Privacy Policy
  • Terms and Conditions

Copyright 2025 Manuals.Online. All Rights Reserved.