manuals.online logo
Brands
  1. Home
  2. •
  3. Brands
  4. •
  5. Home Styles
  6. •
  7. Indoor Furnishing
  8. •
  9. Home Styles 5216-95 User manual

Home Styles 5216-95 User manual

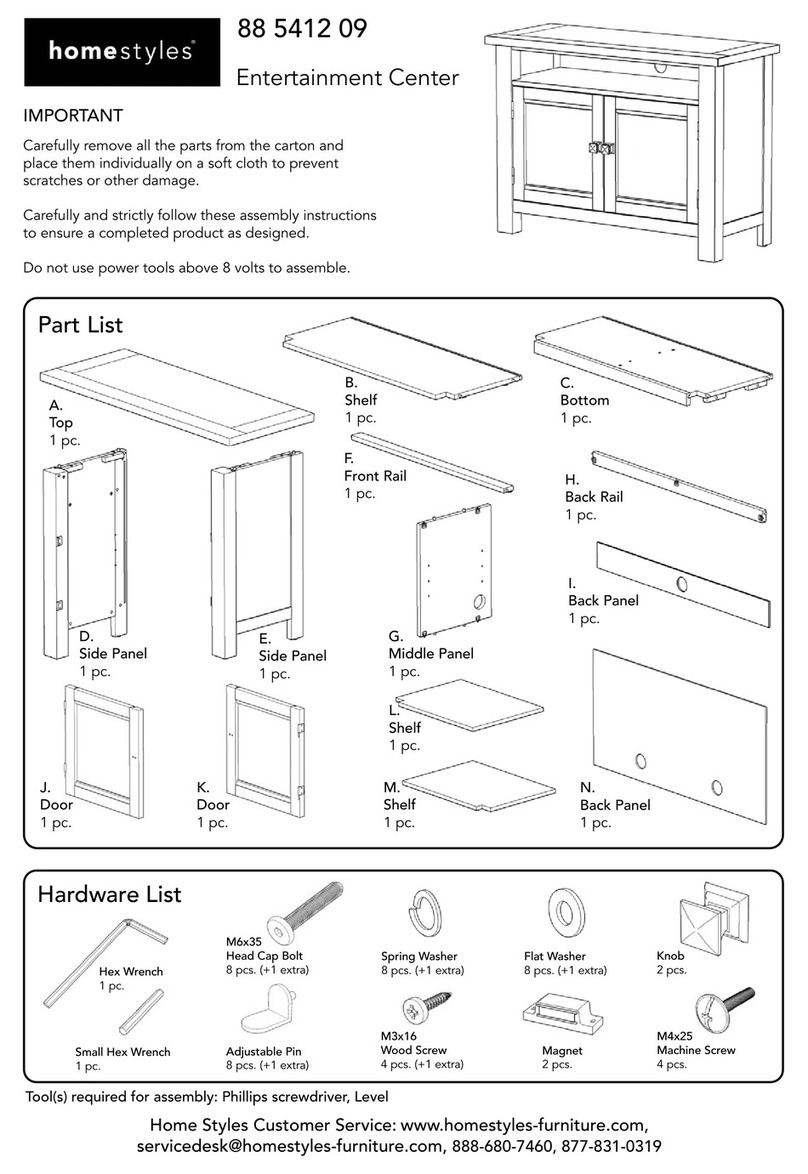
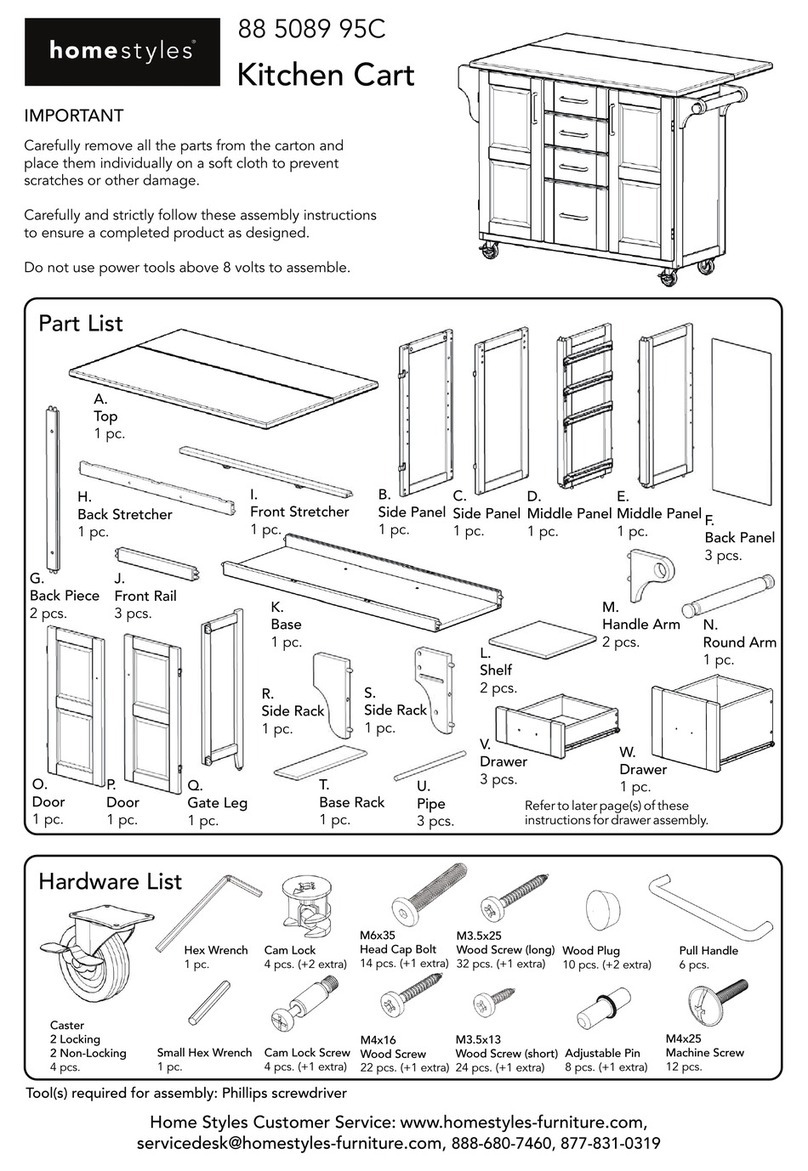
Part List
Tool(s) required for assembly: Phillips screwdriver
5216-95
Kitchen Cart
IMPORTANT
Carefully remove all the parts from the carton and
place them individually on a soft cloth to prevent
scratches or other damage.
Carefully and strictly follow these assembly instructions
to ensure a completed product as designed.
Do not use power tools above 8 volts to assemble.
M6x25
Head Cap Bolt (short)
2 pcs. (+1 extra)
M3.5x25
Wood Screw (long)
16 pcs. (+1 extra)
M3.5x16
Wood Screw (short)
12 pcs. (+1 extra)
Wood Plug
13 pcs. (+1 extra)
Adjustable Pin
4 pcs. (+1 extra)
Refer to later page(s) of these instructions for drawer assembly.
E.
Back Panel
1 pc.
A.
Top
1 pc.
B.
Side Frame
1 pc.
C.
Side Frame
1 pc.
J.
Towel Bar
1 pc.
D.
Front Rail
2 pcs. F.
Divider
1 pc.
G.
Base
1 pc.
H.
Shelf
1 pc.
I.
Drawer
2 pcs.
Caster
2 Locking
2 Non-Locking
4 pcs.
Small Hex Wrench
1 pc.
Hex Wrench
1 pc.
M6x35
Head Cap Bolt
19 pcs. (+1 extra)
M4x25
Machine Screw
4 pcs.
Handle
2 pcs.
Hardware List
styles Customer Service: www.homestylesfurniture.com,home
[email protected], 888-680-7460
Assembly Instructions 2/6
IMPORTANT
Use a soft cloth between these parts and the floor.
Do not use power tools above 8 volts to assemble.
Do not tighten all the bolts until each part is properly assembled.
Keep Hex Wrench as the bolts may need to be tightened in the future.
STEP 2
Attach Divider (F) to unit
with Head Cap Bolt,
tightening bolt only halfway.
Attach Front Rail (D) to unit
with Head Cap Bolts,
tightening bolts only halfway.
STEP 1
Attach Back Panel (E) to Side Panel (B)
with Head Cap Bolts tightening bolts,
only halfway. (See Figure 1)
E
Head Cap Bolt
B
F
Head Cap Bolt
Figure 1
D
Assembly Instructions 3/6
STEP 4
Attach Side Panel (C) to unit with Head Cap Bolts, tightening b ts only halfway.ol
Tighten all Head Cap Bolts used in Steps 1, 2, 3 and 4.
STEP 3
Attach Front Rail (D) to unit with Head Cap Bolts,
tightening bolts only halfway.
Attach Base (G) to unit with Head Cap Bolts, tightening bolts only halfway.
C
Head Cap Bolt
G
Head Cap Bolt
D
Assembly Instructions 4/6
STEP 5
Turn unit upside down.
Attach Casters to bottom of unit
with Locking Casters at front.
(See Figure 2)
J
Figure 2
Arrow label at front
Head Cap Bolt
Head Cap Bolt (short)
Non-Locking Caster
Locking Caster
STEP 6
Turn unit over to its
upright position.
Attach Towel Bar (J) to unit with
Head Cap Bolts (short).
Orientate Top (A) so Arrow label
on bottom of Top (A) is at front
of unit, then attach Top (A) to unit
with Head Cap Bolts.
A
Part List
Assembly Instructions 5/6
STEP 8
Slide Drawer Bottom (I5) into groove.
Attach Drawer Bottom (I5) to unit
with Wood Screws (short).
STEP 9
Attach Handle with Machine Screws.
Drawer (I)
I2.
Drawer Back
2 pcs.
I5.
Drawer Bottom
2 pcs.
I1.
Drawer Front
2 pcs.
I3.
Drawer Side
2 pcs.
I4.
Drawer Side
2 pcs.
STEP 7
Attach Drawer Front (I1) and Drawer
Back (I2) to Drawer Side (I3) with
Wood Screws (long).
Attach Drawer Side (I4) to unit with
Wood Screws (long).
Wood Screw (long)
Bottom
Wood Screw (short)
Machine Screw
Handle
Roller at back
I5
Bottom
Bottom
I2
I3
I4
I1
BottomBottom
Assembly Instructions 6/6
STEP 10
Slide Drawers (I) into position.
Insert Adjustable Pins into
side frames at desired level,
then tighten. (See Figure 3)
Place Shelf (H) into position.
STEP 11
Cover holes with
Wood Plugs.
(See Figure 4)
Wood Plug
Figure 3
Figure 4
Adjustable Pin
I
I
H
NEVER
use glass cleaners on
finished furniture. Ammonia
chemically attacks the finish.
allow liquids to remain on furniture.
Absorption causes parts to warp
and split and finishes to delaminate.
NEVER
CARE INSTRUCTIONS
Do not use rubber
based placemats.
PREVENT
DISCOLORING
Do not use commercial
waxes and polishes.
PREVENT
YELLOWING
Do not place hot
objects on surface.
PREVENT
FINISH DAMAGE
Do not write
directly on surface.
PREVENT
MARKING
Do not use power tools
above 8 volts to assemble.
PREVENT
CRACKING
Do not place
in direct sunlight.
PREVENT
FADING
with a soft cloth moistened
in lukewarm soap and water.
Buff with a dry clean cloth.
CLEAN
homestyles will provide replacements free of charge for missing or damaged parts within 30 days of purchase.
Digital images of the defective parts may be required. If the product was not purchased from an authorized retailer,
homestyles is under no obligation to provide replacement parts. Parts are not available for fully assembled items nor
are parts available for sale. Replacements for missing or damaged parts may be requested via contact info below.
styles Customer Service: www.homestylesfurniture.com,home
[email protected], 888-680-7460

Other Home Styles Indoor Furnishing manuals
Home Styles FT000-13 User manual

Home Styles

Home Styles FT000-13 User manual

Home Styles 88 5181 35 User manual

Home Styles

Home Styles 88 5181 35 User manual

Home Styles Laguna 88 5600 80 Quick start guide

Home Styles

Home Styles Laguna 88 5600 80 Quick start guide

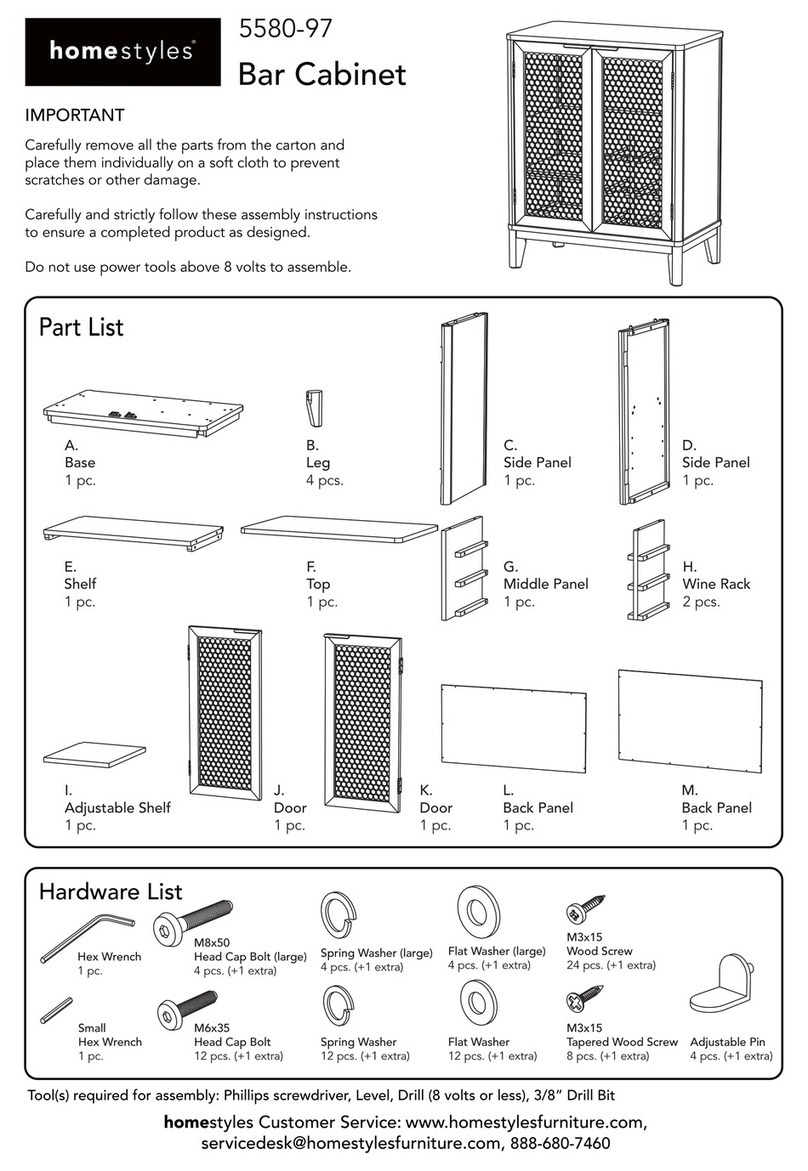
Home Styles 5580-97 User manual

Home Styles

Home Styles 5580-97 User manual

Home Styles 20 06659 0053 User manual

Home Styles

Home Styles 20 06659 0053 User manual

Home Styles 88 5805 80 User manual

Home Styles

Home Styles 88 5805 80 User manual

Home Styles Entertainment Credenza 88 5514 102 User manual

Home Styles

Home Styles Entertainment Credenza 88 5514 102 User manual

Home Styles 20 05149 0001 User manual

Home Styles

Home Styles 20 05149 0001 User manual

Home Styles 88 5086 95C User manual

Home Styles

Home Styles 88 5086 95C User manual

Home Styles Concrete Chic 88 5134 80 User manual

Home Styles

Home Styles Concrete Chic 88 5134 80 User manual

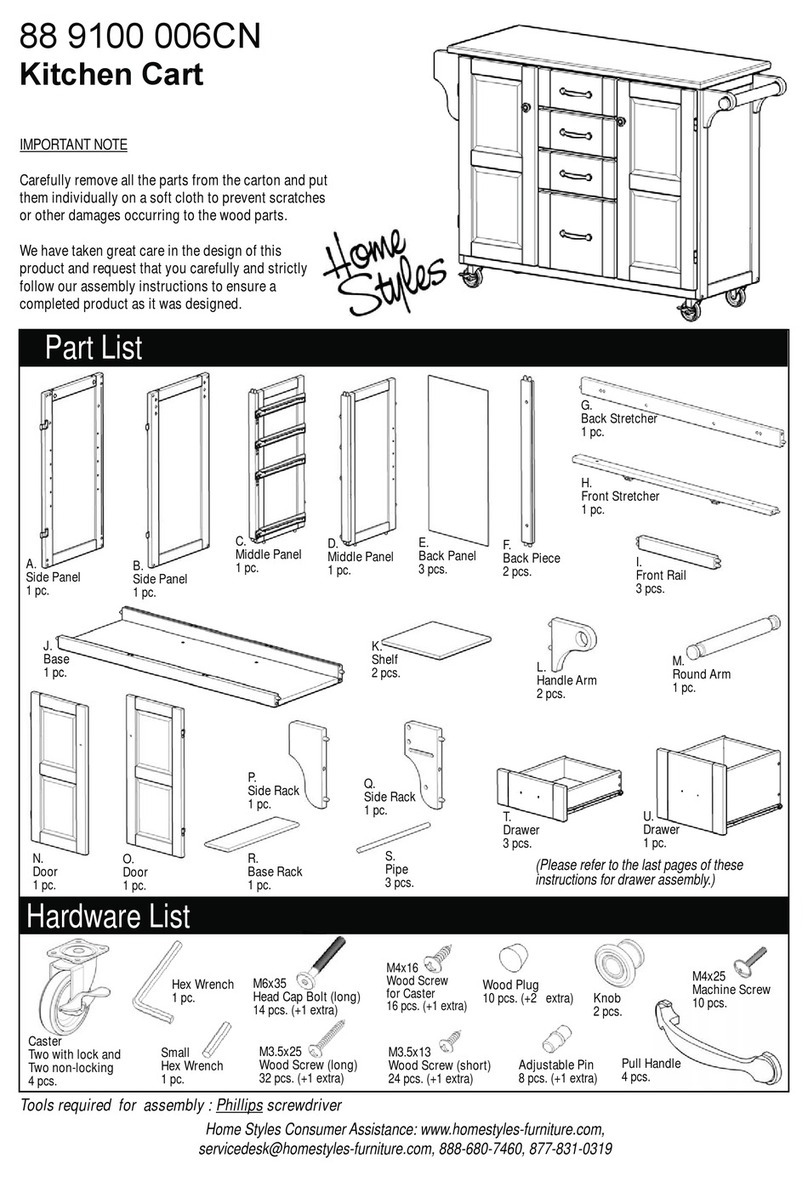
Home Styles 88 9100 006CN User manual

Home Styles

Home Styles 88 9100 006CN User manual

Home Styles 88 5219 95 User manual

Home Styles

Home Styles 88 5219 95 User manual

Home Styles 88 9100 001 C User manual

Home Styles

Home Styles 88 9100 001 C User manual

Home Styles Xcel 88 5079 01 User manual

Home Styles

Home Styles Xcel 88 5079 01 User manual

Home Styles 20 05503 0181 User manual

Home Styles

Home Styles 20 05503 0181 User manual

Home Styles Bermuda 88 5543 09 User manual

Home Styles

Home Styles Bermuda 88 5543 09 User manual

Home Styles 20 05700 0081 User manual

Home Styles

Home Styles 20 05700 0081 User manual

Home Styles 88 5178 80 User manual

Home Styles

Home Styles 88 5178 80 User manual

Home Styles Buffet with Doors and Drawers User manual

Home Styles

Home Styles Buffet with Doors and Drawers User manual

Home Styles 20 05506 0943 User manual

Home Styles

Home Styles 20 05506 0943 User manual

Home Styles 20 05507 0009 User manual

Home Styles

Home Styles 20 05507 0009 User manual
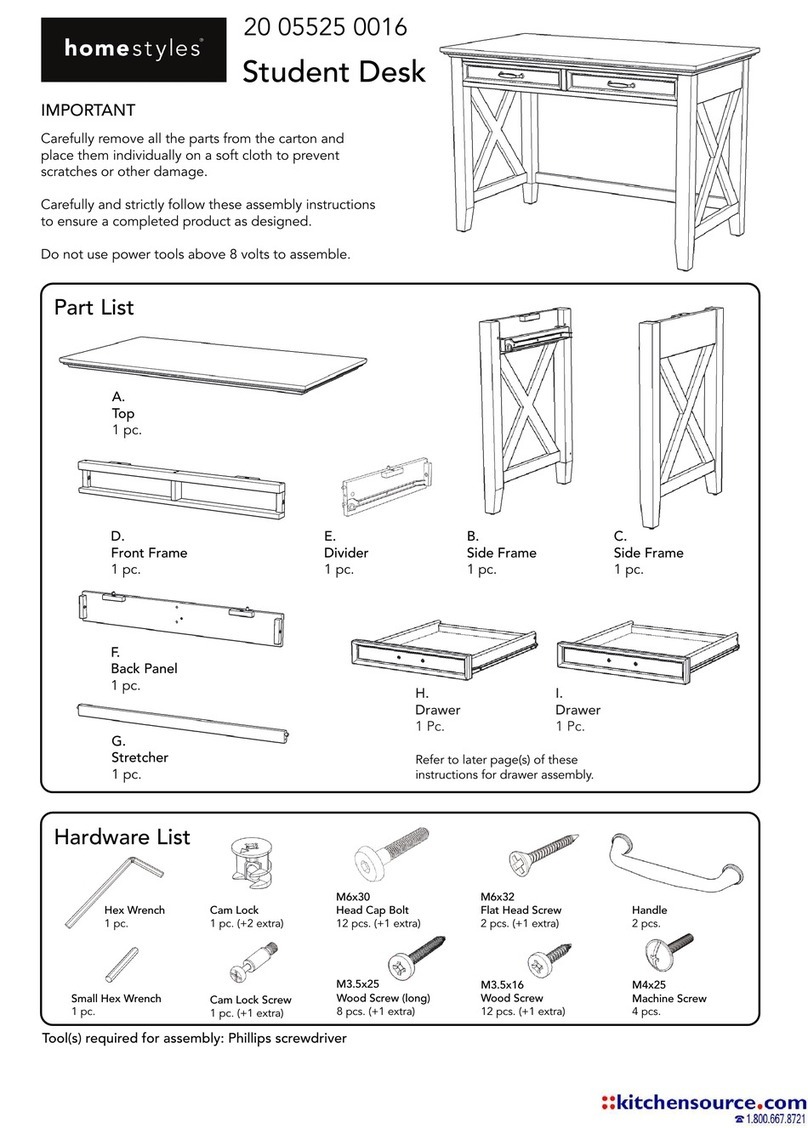
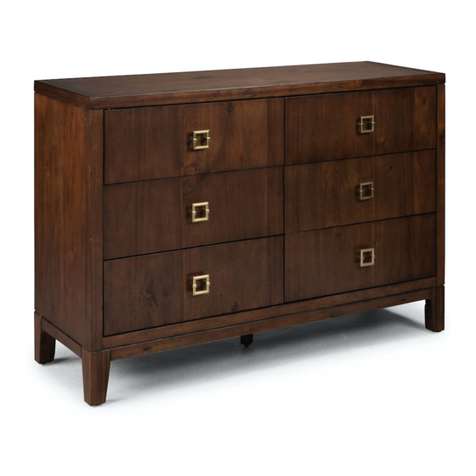
Home Styles 20 05420 0692 User manual

Home Styles

Home Styles 20 05420 0692 User manual

Home Styles 20 05003 0992 User manual

Home Styles

Home Styles 20 05003 0992 User manual

Home Styles Kitchen Cart User manual

Home Styles

Home Styles Kitchen Cart User manual

Popular Indoor Furnishing manuals by other brands

Westward 49NR88 Operating instructions & parts manual

Westward

Westward 49NR88 Operating instructions & parts manual

Teknion district WBP installation guide

Teknion

Teknion district WBP installation guide

Dunelm Lynton Small Sideboard manual

Dunelm

Dunelm Lynton Small Sideboard manual

CONFORAMA RONDO 214245 Assembling instructions

CONFORAMA

CONFORAMA RONDO 214245 Assembling instructions

dynarex DynaRest Airfloat 100 quick start guide

dynarex

dynarex DynaRest Airfloat 100 quick start guide

Flexa 82-50132 Series manual

Flexa

Flexa 82-50132 Series manual

Bristol Vertigo R SM installation manual

Bristol

Bristol Vertigo R SM installation manual

Coaster 703739 Assembly instructions

Coaster

Coaster 703739 Assembly instructions

Frontgate Carlisle Cast Rect. Dining Table Assembly instructions

Frontgate

Frontgate Carlisle Cast Rect. Dining Table Assembly instructions

Furniture of America FOA7144CK Assembly instructions

Furniture of America

Furniture of America FOA7144CK Assembly instructions

Homelegance 1456-9 Assembly instructions

Homelegance

Homelegance 1456-9 Assembly instructions

Target Berkshire FWS80633 Assembly instructions

Target

Target Berkshire FWS80633 Assembly instructions

PROGRESSIVE DESK FLT-02 user manual

PROGRESSIVE DESK

PROGRESSIVE DESK FLT-02 user manual

Blofield Big Blo 2 manual

Blofield

Blofield Big Blo 2 manual

OMT-Veyhl OV1024 user guide

OMT-Veyhl

OMT-Veyhl OV1024 user guide

Welltime 20448736 Assembly instructions

Welltime

Welltime 20448736 Assembly instructions

Honey Can Do SHF-02099 quick start guide

Honey Can Do

Honey Can Do SHF-02099 quick start guide

HOME DECO FACTORY CONSOLE ROSA HD7194 Assembly instructions

HOME DECO FACTORY

HOME DECO FACTORY CONSOLE ROSA HD7194 Assembly instructions

manuals.online logo
manuals.online logoBrands
  • About & Mission
  • Contact us
  • Privacy Policy
  • Terms and Conditions

Copyright 2025 Manuals.Online. All Rights Reserved.