STORY MONARCH 10'4 User manual


2.
[EN] INSTRUCTION 11
[ES] INSTRUCCIONES 18
[FR] INSTRUCTIONS 25
[DE] ANWEISUNG 32
[NL] INSTRUCTIE 39
[DK] INSTRUKTIONER 46
[NO] INSTRUKSJON 53
[SE] BRUKSANVISNING 60
[FI] OHJEET 67
[IT] ISTRUZIONI 74
[PT] INSTRUÇÕES 81
SPECIFICATION / SPECIFICATIES / SPEZIFIKATIONEN /
CARACTÉRISTIQUES / PRESUPUESTO / SPECIFICHE /
DANE TECHNICZNE / SPECIFIKATIONER / TIEDOT
WARNING / WAARSCHUWING / ACHTUNG / AVERTISSE-
MENT / ADVERTENCIA / AVVERTENZA / AVISO / ÁDVARSEL
/ VAROITUS
SPECIFICATION / SPECIFICATIES / SPEZIFIKATIONEN /
CARACTÉRISTIQUES / PRESUPUESTO / SPECIFICHE /
DANE TECHNICZNE / SPECIFIKATIONER / TIEDOT

3.
MONARCH 10’4
315 CM
81 CM
15 CM
MAX
140 KG
RECOMMENDED
70 KG
MONARCH 10’4
315 CM
81 CM
15 CM
MAX
140 KG
RECOMMENDED
70 KG

4.
MONARCH 10’6
320 CM
84 CM
15 CM
MAX
160 KG
RECOMMENDED
80 KG
MONARCH 10’6
320 CM
84 CM
15 CM
MAX
160 KG
RECOMMENDED
80 KG
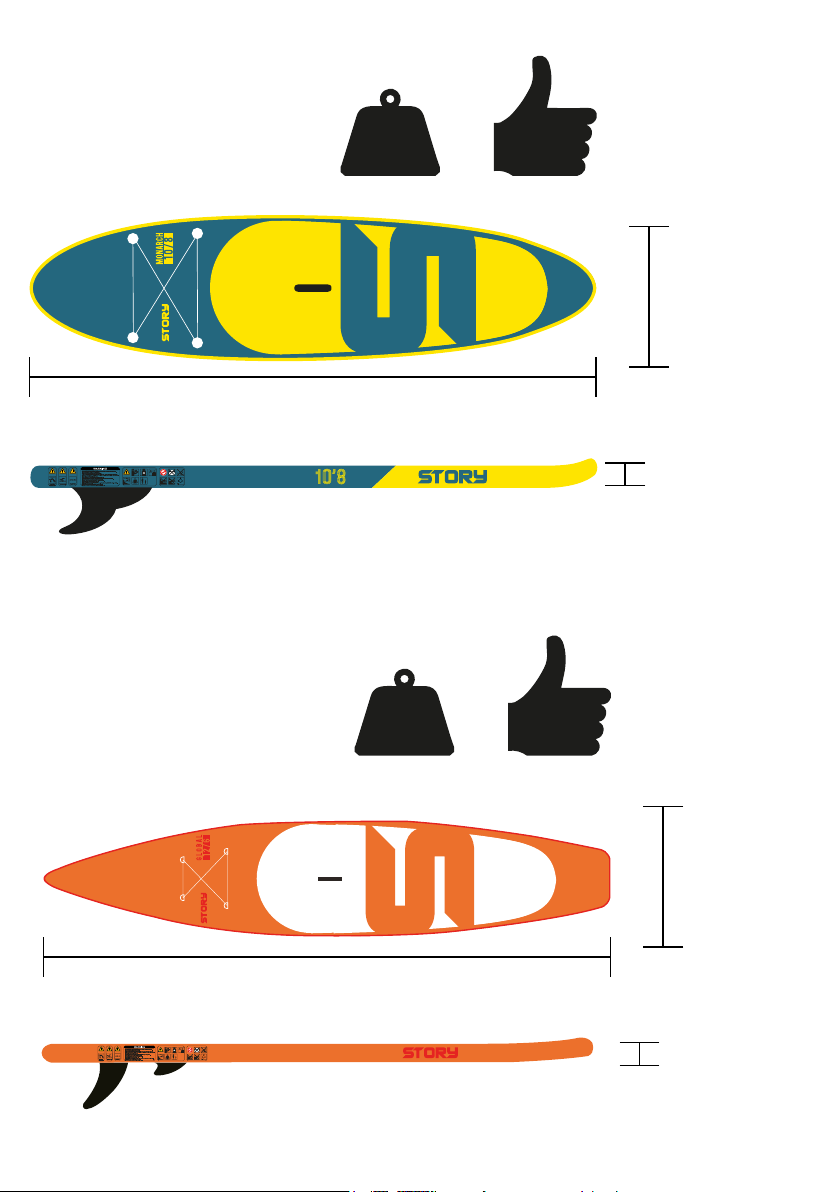
5.
MONARCH 10’8
325 CM
86 CM
15 CM
MAX
180 KG
RECOMMENDED
90 KG
GLOBAL 12’6
380 CM
81 CM
15 CM
MAX
160 KG
RECOMMENDED
80 KG
This manual suits for next models
3
Table of contents
Languages:
Other STORY Windsurfing Equipment manuals


