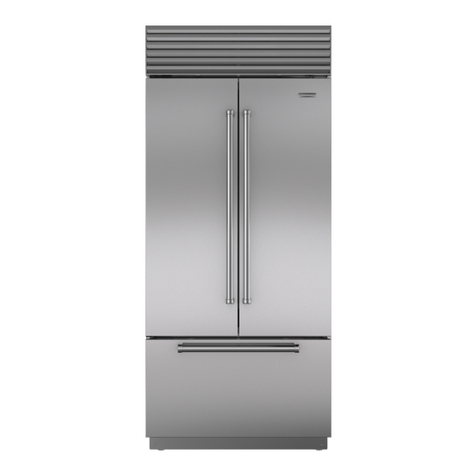
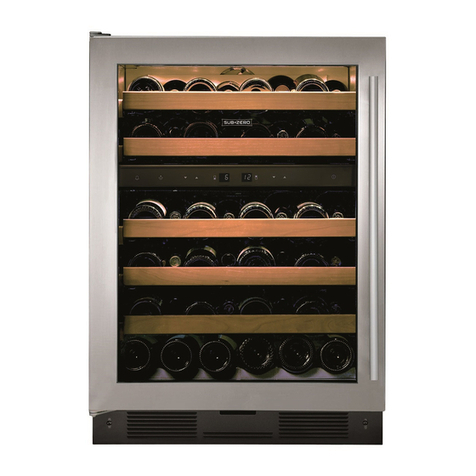
Sub-Zero 424/O User manual

INSTALLATION INSTRUCTIONS
WINE STORAGE

SUB-ZERO®is a registered trademark of Sub-Zero, Inc.
As you follow these instructions, you will
notice WARNING and CAUTION symbols.
This blocked information is important for the
safe and efficient installation of Sub-Zero
equipment. There are two types of potential
hazards that may occur during installation.
Another footnote we would like to identify is
IMPORTANT NOTE: This highlights informa-
tion that is especially relevant to a problem-
free installation.
signals a situation where minor injury or
product damage may occur if you do not
follow instructions.
states a hazard that may cause serious
injuryor death if precautions arenot
followed.
SUB-ZERO
WINE STORAGE
The importance of the installation of the
Sub-Zero Wine Storage unit cannot be
overemphasized. Installation should be done
by a qualified installer.
Before you begin the installation process, it
is recommended that you read this entire
Installation Instructions book. There are key
details that you should take special care to
observe during the installation. By reading
these instructions carefully, you will make the
installation process easier, problem-free and,
most importantly, safe.
Any questions or problems about the
installation should be directed to your
Sub-Zero dealer or the Sub-Zero Customer
Service Department at 800-222-7820. You can
also visit our website at subzero.com.
CONTENTS
Models 424 and 424FS Installation 3
Models 427 and 427R Installation 12
Model 430 Installation 24
Installation Checklist 34
Service Information 35
Features and specifications indicated herein and
on the website are subject to change at any time
without notice. Check our website, subzero.com,
for the most up-to-date specifications.

MODELS 424 AND 424FS
SITE PREPARATION
The Sub-Zero Model 424FS wine storage unit
is designed to be attractive in a stand alone
setting. It can also be slid into surrounding
cabinetry with clearance dimensions slightly
different than the standard built-in Model 424.
Make sure that the finished rough opening
where the Wine Storage unit is to be installed
is properly prepared. Refer to the Installation
Specifications illustration for rough opening
dimensions, door swing clearance and electri-
cal placement for Models 424 and 424FS.
IMPORTANT NOTE:
To operate properly, the
door must open a minimum of 90 degrees.
Use a minimum 3" (76) filler in corner installa-
tions to assurea90-degree door opening.
Allow enough clearance in front of the unit for
full door swing.
IMPORTANT NOTE:
Make sure the floor under
the unit is level with the surrounding finished
floor.
3
Dimensions in parentheses are in
millimeters unless otherwise specified.
MODELS 424 AND 424FS INSTALLATION
341/2"
(876)
ROUGH
OPENING
HEIGHT
341/4"
(870)
MINIMUM
HEIGHT
REQUIRED
ROUGH OPENING
WIDTH
24"(610) MODEL 424
243/8"(619) MODEL 424FS
151/2"
(394)
24"
(610)
ROUGH
OPENING
DEPTH
LOCATE ELECTRICAL
WITHIN SHADED AREA
E
41/2"
(114)
21/2"
(64)
237/8"
(606)
MODEL 424
ANTI-TIP BRACKET
MODEL 424FS
ANTI-TIP BRACKET
90˚
145˚
MAXIMUM
DOOR SWING
44" (1118)
DOOR CLEARANCE
26" (660)
DOOR CLEARANCE
253/8"
(644)
253/8"
(645)
FRONT VIEW
TOP VIEW
Do not load wine into the Wine Storage
unit until the installation is complete.
INSTALLATION SPECIFICATIONS
NOTE: Door swing clearances are based on stainless
steel door and handle dimensions.
MODELS
424 | 424FS

Dimensions in parentheses are in
millimeters unless otherwise specified.4
ELECTRICAL REQUIREMENTS
A115 V AC, 60 Hz, 15 amp circuit breaker and
electrical supply are required. A separate
circuit, servicing only this appliance, is
required.
The power supply cord has a 3-prong ground-
ing plug, which must be plugged into a mating
3-prong grounding-type wall receptacle. Follow
the National Electrical Code and local codes
and ordinances when installing the receptacle.
For location of the electrical supply, refer to the
Installation Specifications illustration on page 3.
IMPORTANT NOTE:
For Models 424 and
424FS, the electrical outlet must be placed so
the grounding prong is to the right of the
thinner blades. The outlet must be flush with
the back wall.
IMPORTANT NOTE:
Aground fault circuit
interrupter (GFCI) is not recommended and
may cause interruption of operation.
HOME ALARM SYSTEM
If a home alarmsystem is to be used, refer to
Home Alarm Connections on page 8. In addition
to operating power, the installer may also be
required to supply a home automation system
lead to the unit. This is for a low-voltage, low-
current signal similar to door and window
sensor signals. Common, normally open and
normally closed contact configurations are
provided.
Three 1/4"(6) female spade connectors are
located in the compressor compartment and
are accessible behind the kickplate on Models
424 and 424FS. A minimum of 36" (914) of lead
wireshould be provided for each contact,
exiting the back wall near the electrical outlet.
MODELS 424 AND 424FS INSTALLATION
UNPACKING AND MOVING
Uncrate the unit, remove its wood base and
discard the shipping bolts that hold the wood
base to the bottom of the unit. Remove all
packing materials and tape.
IMPORTANT NOTE:
Do not discard the
kickplate, anti-tip bracket and hardware. These
items will be needed for the installation.
All roller-assembly wine shelves should be
removed to reduce weight and prevent them
from rolling. To remove, pull the shelf out to
its full extension, gently and evenly lift up on
both sides of the front of the shelf and remove.
Reverse the procedure to reinstall the shelf.
Use an appliance dolly to move the Wine
Storage unit. Position the dolly at the back of
the unit to prevent damage to finished
surfaces.
Do not use an extension cord or two-
prong adapter. Electrical ground is
required on this appliance.
Before moving the Wine Storage unit in
to position, protect any finished flooring
with appropriate materials and secure the
door closed.
MODELS
424 | 424FS

5
MODELS 424 AND 424FS INSTALLATION
ANTI-TIP BRACKET
INSTALLATION
An anti-tip bracket and hardware is provided
with the Wine Storage unit. The anti-tip
bracket must be installed on a solid base to
prevent tipover in case several loaded wine
shelves are extended at the same time.
MODEL 424
The anti-tip bracket should be attached to the
wall behind the unit with the bracket flange
located immediately above the top of the unit.
Refer to illustration 1 below.
Asmaller metal ‘countertop’ bracket is also
provided with the Model 424, for installations
that need to be modified to provide a secure
surface for attaching the bracket. This bracket
will securethe front of the unit to the under-
side of the countertop, above the unit. Refer to
illustration 2.
MODEL 424FS
Ifyou are installing the Model 424FS in a
space deeper than 245/8"(625), the anti-tip
bracket must be installed no more than 245/8"
(625) deep, so it engages the unit properly. It is
important that this measurement be made
from the front surface of the door, to the back
of the anti-tip bracket. Refer to illustration 3
below.
To prevent the unit from tipping forward
and provide a stable installation, the unit
must be secured in place with the anti-tip
bracket.
1/4"(6)
Anti-Tip
Bracket
Countertop
Bracket
Anti-Tip Bracket
Illus. 1 Illus. 2 Illus. 3
MODELS
424 | 424FS
This manual suits for next models
7
Table of contents
Other Sub-Zero Kitchen Appliance manuals