subzero.com | 9
Troubleshooting
SERVICE (FOR AUSTRALIA ONLY)
• Yearly maintenance is recommended.
• Maintain the quality built into your product by contact-
ing Sub-Zero Factory Certified Service.
• When contacting service, you will need the model and
serial number of your product. Both numbers are listed
on the product rating plate. Refer to page 5 for rating
plate location.
• For warranty purposes, you will also need the date of
installation and name of your authorized Sub-Zero
dealer. This information should be recorded on page 2.
• For Australia only, contact:
Sub-Zero Group Australia Pty Ltd
Level 10, 469 La Trobe Street
Melbourne Victoria 3000
Phone 03 9600 2218
subzero-wolf.com.au
SERVICE (FOR UNITED KINGDOM ONLY)
• Sub-Zero & Wolf Ltd
9 The Street, Heybridge, Maldon, Essex, CM9 4XB
020 8418 3800
www.subzero-wolf.co.uk
ODOR
• The unit should be cleaned before using for the first
time. This will clear any odors that may have been
trapped during shipping.
• Clean the unit and shelving thoroughly.
• Uncovered food could create an odor, which may
require cleaning.
Troubleshooting
UNIT OPERATION
No lights or cooling.
• Verify power is on.
• Verify electrical power to the unit and home circuit
breaker is on.
No lights.
• The door may have been left ajar, which has disabled
lights to eliminate excess heat. If the lights are out,
close the door for one hour. If the lights are still out,
contact Sub-Zero Factory Certified Service.
• LED interior lighting must be replaced by Sub-Zero
Factory Certified Service.
Frost, condensation, or ice buildup inside the unit.
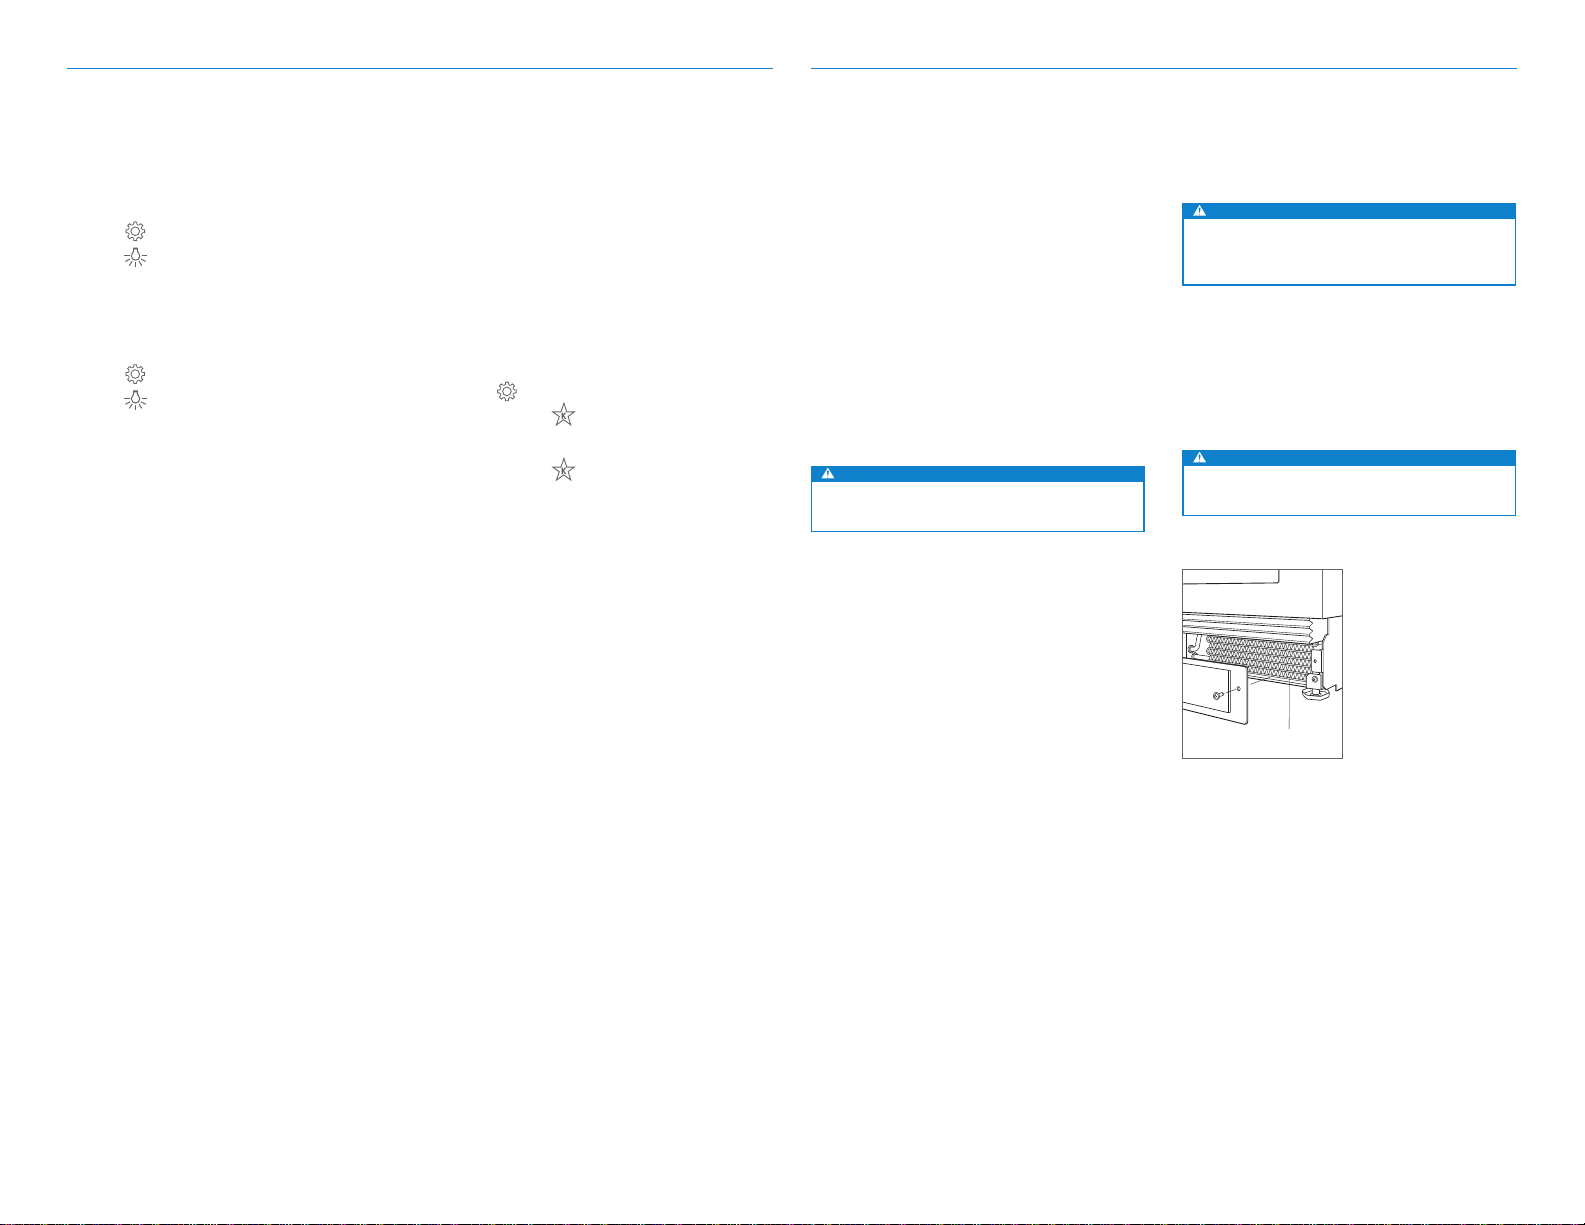
• Verify the condenser is clean.
• Verify the door is closing properly.
• Verify the door has not been left ajar.
• Verify the door gasket does not have rips or tears. If it
does, contact Sub-Zero Factory Certified Service.
• If icing is heavy, turn the unit o and use a hair dryer to
melt the ice. The hair dryer should be set on low and
kept moving at all times. Once the ice has melted, wipe
up any water with a cloth or paper towel.
High temperatures, the unit runs excessively, or the unit
is giving o too much heat.
• Verify the condenser is clean.
• Verify the door is closing properly.
• Verify the door has not been left ajar.
• Increased ambient temperatures may cause the com-
pressor to run longer.
• If the temperature display shows 3°C but is not cooling,
the unit may be in showroom mode. Contact Sub-Zero
Factory Certified Service.
SERVICE
• Maintain the quality built into your product by contact-
ing Sub-Zero Factory Certified Service.
• When contacting service, you will need the model and
serial number of your unit. Both numbers are listed on
the product rating plate. Refer to page 5 for rating plate
location.
• For warranty purposes, you will also need the date
of installation and name of your authorized Sub-Zero
dealer. This information should be recorded on page 2
of this guide.
 User manual")