Page 4
3The screen for the smart home feature appears.
4Tap Enable to turn on the smart home feature.
5Tap Disable to turn off the smart home feature.
6Tap the arrow to return to the Settings screen.
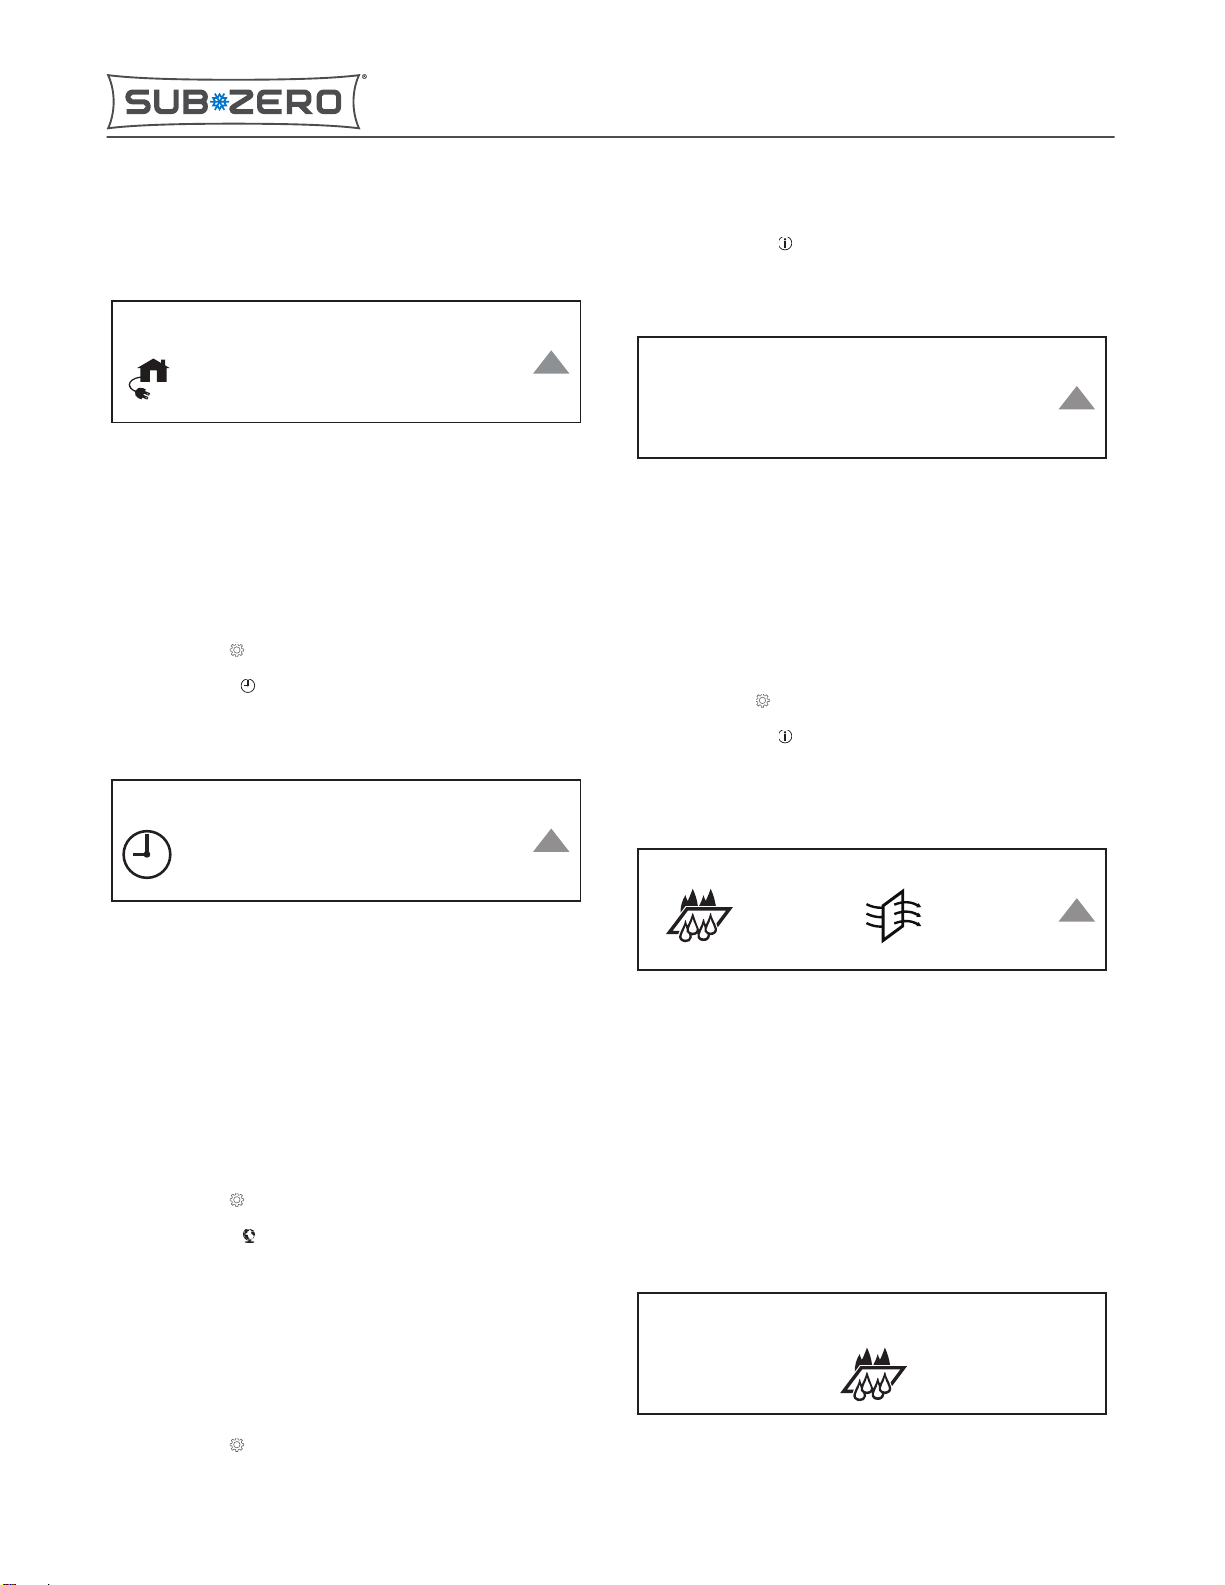
CLOCK SCREEN
1Tap Settings .
2Tap Set Clock .
3The Clock screen appears.
4Tap the hour indicator, then tap + or - to adjust the hour.
5Tap the minute indicator, then tap + or - to adjust the
minutes.
6Tap the AM/PM indicator, then tap + or - to adjust AM or
PM.
7Tap the arrow to return to the Settings screen.
LANGUAGE SCREEN
1Tap Settings .
2Tap Language .
3Touch the desired language.
TIP: The available languages are English, Spanish, French,
German, and Italian.
4Tap the arrow to return to the Settings screen.
INFORMATION SCREEN
1Tap Settings .
2Tap Information .
3The Info screen appears.
Info
Filters Versions Errors
Customer Service 1-800-222-7820
Serial#
4Touch the type of information needed.
TIP: The Information screen has four options: Filters, Versions,
Errors, and Serial#.
5Tap the arrow to return to the Settings screen.
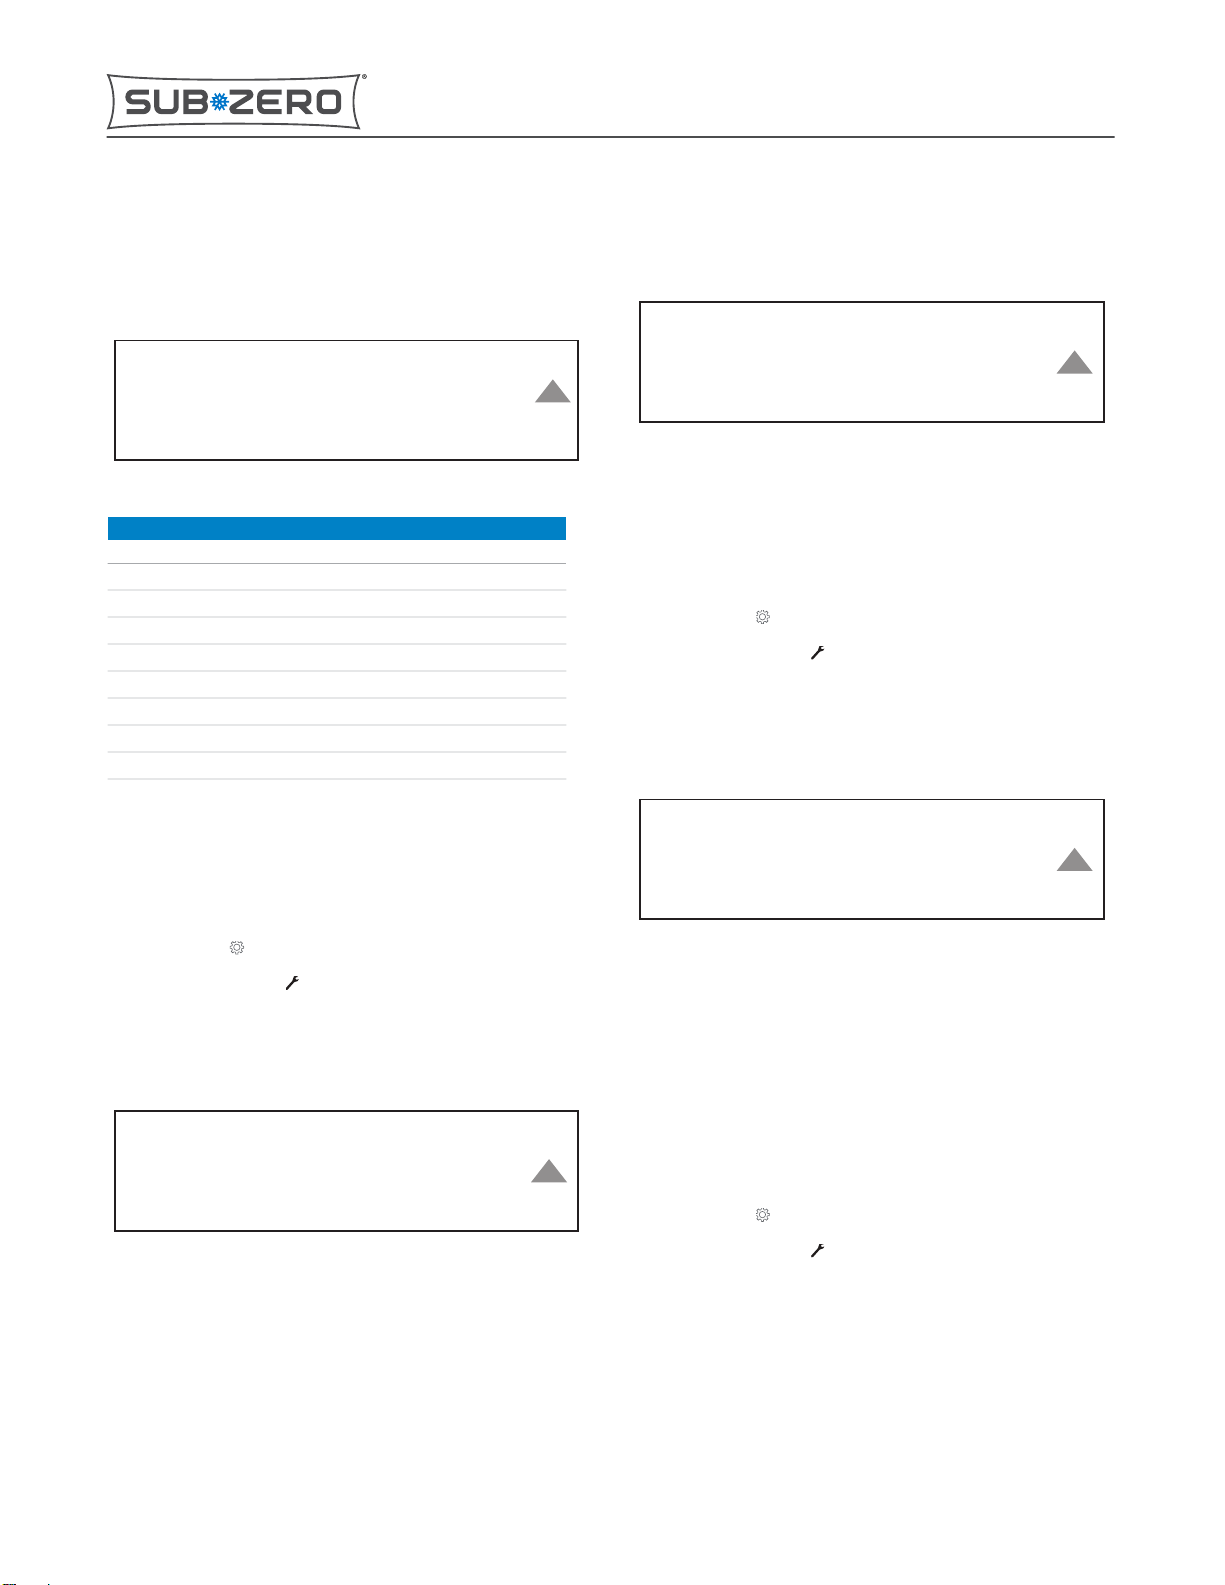
FILTERS SCREEN
1Tap Settings .
2Tap Information .
3Tap Filters. The Filters screen appears with the filter use
remaining percentages.
Filters
0%
Press and hold 5s to reset filter
0%
4Touch and hold the water filter icon or the air filter icon for
five seconds to snooze the filter reminder or reset the water
filter or air filter.
5The change filter message is displayed for the air filter or
water filter when the filter is spent and 0% remains.
6Tap Snooze to turn the reminder off for one week if a
replacement filter is not available.
7Tap Reset Filter if replacing the filter. Tap Yes to reset the
filter life, or tap No to exit this screen.
Change Water Filter
snooze reset filter
IC-24C(I)
Controls and Operation
SMART HOME SCREEN (continued)
service.subzero.com
7041389 REVA 06/2017 5


 User manual")