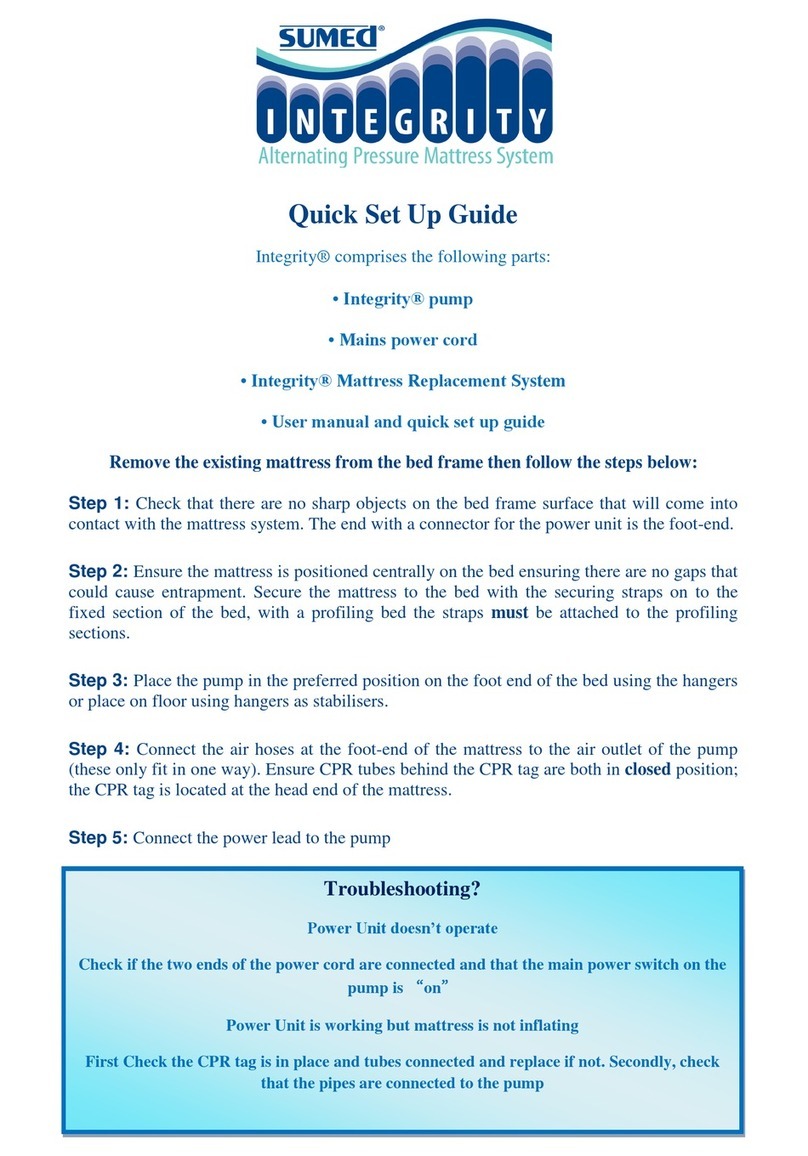
Step 4: Connect the air hoses at the foot-end of the mattress to the
air outlet of the pump (these only fit in one way). Ensure CPR tubes
behind the CPR tag are both in closed position; the CPR tag is
located at the head end of the mattress.
Step 5: Connect the power lead to the pump
Step 6: Plug the power cord of the pump into a socket with a power
supply.
Step 7: Turn on the main power switch located at the side of the
pump adjacent to the pipe inlets. The orange indicator light will
show, indicating that the system is in Standby mode.
Press the On/Standby button and the green indicator light will show.
The pump will start pumping air after a few seconds.
Step 8: Wait until the inflation cycle has completed and the pump
has stabilised to its default settings (10 minute cycles on a medium
setting) before placing the patient on the system. This should take
approximately 15-20 minutes.
Step 9: The unit AUTOMATICALLY adjusts for the weight of the
user. Then select the desired Comfort setting for the patient if
required using the Comfort button on the display panel shown
below, (press “unlock” on the lock/unlock button first to unlock the
function buttons)
Pleas refer to the full user manual for all other set up options and
functions.
Warning!
Make sure the mains power cord and air tubes are always positioned to avoid
causing a hazard
Make sure the mains power cord and air tubes are clear of any moving bed
mechanisms or other possible entrapment areas


