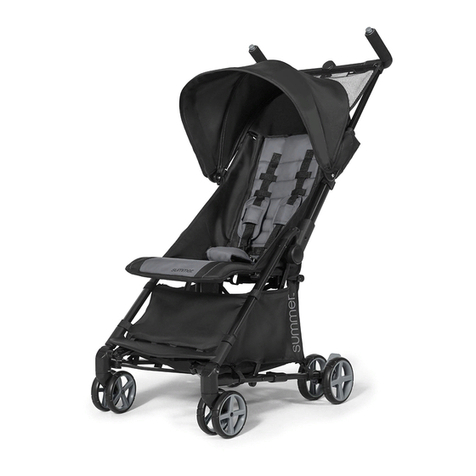
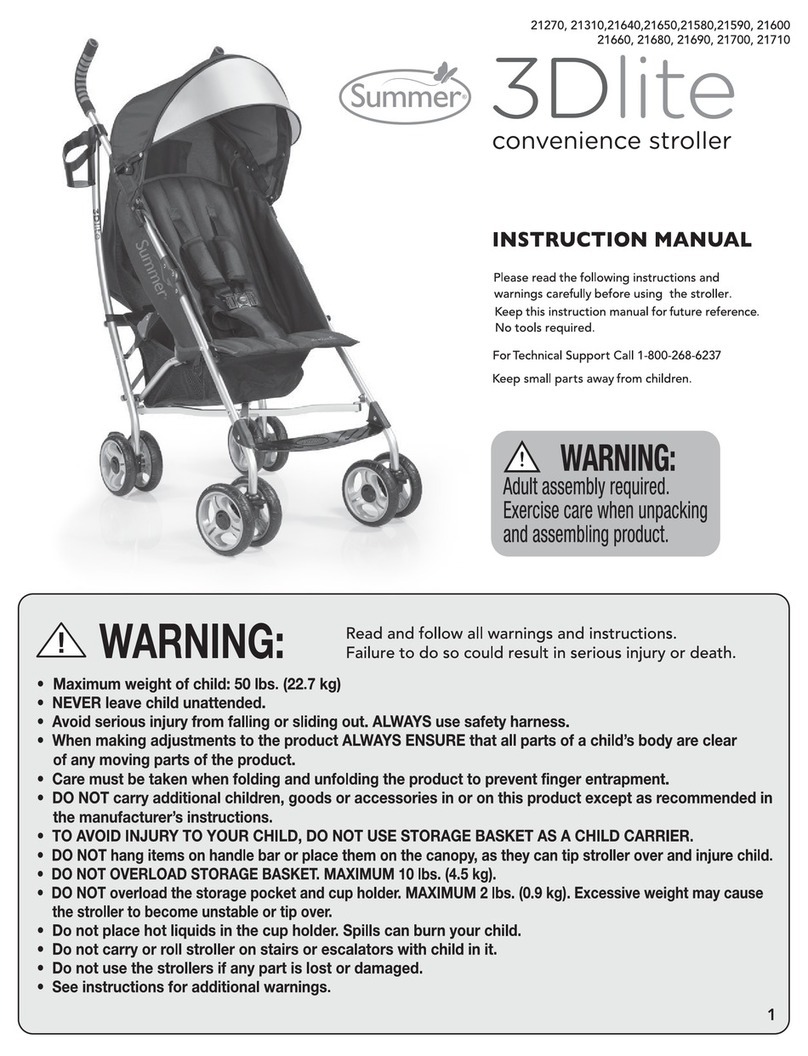
Summer 21290 User manual

21290, 21300
STROLLER
INSTRUCTION MANUAL
stroller
fuze
TM
Please read the following instructions and
warnings carefully before use of product.
Keep this instruction manual for future reference.
No tools required.
For Technical Support Call
Consumer Relations 1-800-268-6237
Keep small parts and packaging away from children.
WARNING:
Adult assembly required.
Exercise care when unpacking
and assembling product.
• NEVER leave child unattended. ALWAYS keep child in view while in the stroller.
• Avoid serious injury from falling or sliding out. ALWAYS use safety harness.
• Stroller maximum weight limit 50 lbs. (22.73 kg).
• When making adjustments to the product ALWAYS ENSURE that all parts of a child’s body are clear
of any moving parts of the product.
• Care must be taken when folding and unfolding the product to prevent finger entrapment.
• DO NOT carry additional children, goods or accessories in or on this product except as recommended in
this instruction manual.
• TO AVOID INJURY TO YOUR CHILD, DO NOT USE STORAGE BASKET AS A CHILD CARRIER.
• DO NOT hang items on handle bar or place them on the canopy, as they can tip stroller over and injure child.
• DO NOT OVERLOAD STORAGE BASKET. MAXIMUM 10 lbs. (4.5 kg).
• DO NOT overload the storage pocket and cupholder. MAXIMUM 2 lbs. (0.9 kg). Excessive weight may cause
the stroller to become unstable or tip over.
• Do not place hot liquids in the cup holder. Spills can burn your child.
• Do not carry or roll stroller on stairs or escalators with child in it.
• Do not use the strollers if any part is lost or damaged.
Use ONLY with the Summer Infant Prodigy®, Chicco® Keyfit®, Graco® Snugride®, Peg Perego® Viaggio®
Infant Car Seats. Other car seats or carriers are not designed to fit the stroller frame and may result in
serious injury or death. NEVER use them as they have not been safety tested.
•
NEVER
use the above infant car seats in stroller without car seat adapter properly installed.
•
ALWAYS
check to confirm the car seat adapter is securely locked to the stroller before use.
• ALWAYS
check to confirm the car seat is securely locked into the car seat adapter before use.
WARNING:
Read and follow all warnings and instructions.
Failure to do so could result in serious injury or death.
• Clean minor stains on fabric
with cold water and mild soap.
Air dry.
• Clean plastic and metal surfaces
with a soft damp cloth. Air dry.
Do not use abrasive cleaners or
solvents. Do not use bleach.
• Check seat pad harness and
crotch straps weekly to ensure
they are properly secured to
frame.
©2012 Summer Infant, Inc.
Colors and styles may vary.
Please retain for future reference.
Summer Infant stands behind all of its products. If you are not
completely satisfied or have any questions, please contact
our Consumer Relations Team at 1-800-268-6237 or
www.summerinfant.com/contact
(For Europe call (0) 144 250 5000 or
connect with us:
www.summerinfant.com
We LOVE our consumers!
Get to know us at:
Summer Infant, Inc.
1275 Park East Drive
Woonsocket, RI 02895 USA
1-800-268-6237
care and maintenance:
Additional accessories available online.
For more information visit www.summerinfant.com
click!snap!
snap basket onto frame
snaps!
x 3
x 4
snaps!
reattaching the storage basket:
Summer Infant Canada
11055 Middlegate Road, Unit 2
Mississauga, Ontario L4Y 3Y4
MADE IN CHINA.
01/13
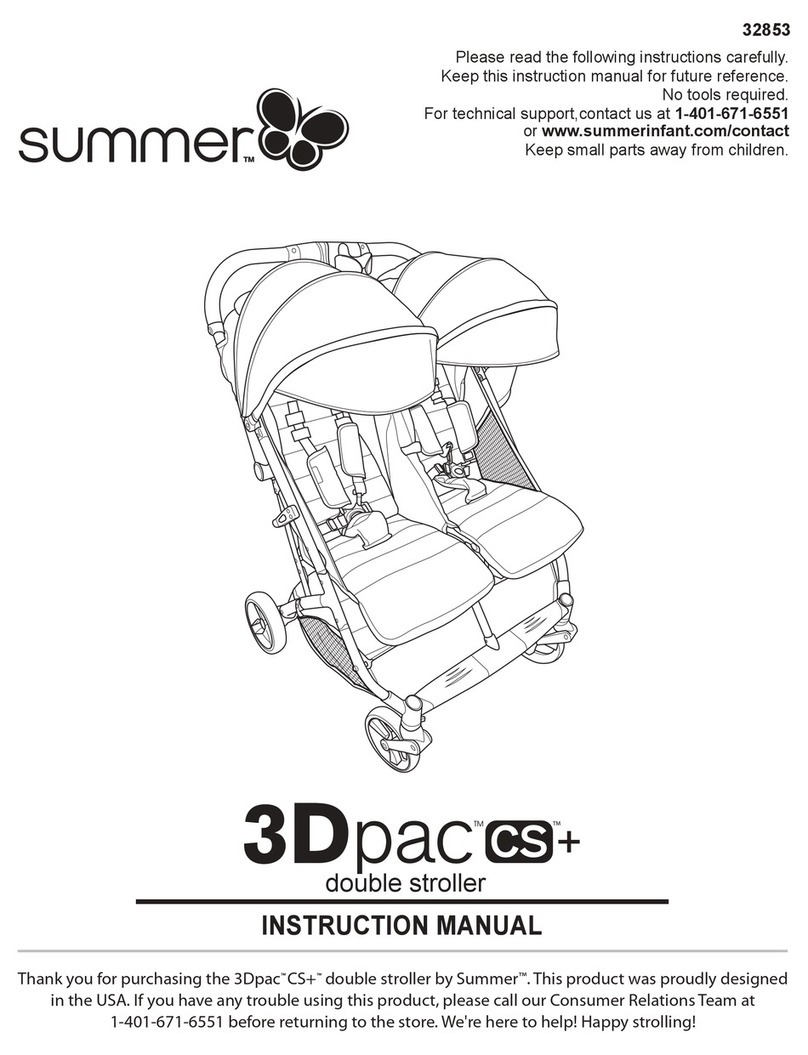
additional accessories:
Additional accessories available at www.summerinfant.com
Foot muff
21420
Rain shield
21400
Bug net
21410
Bassinet
26140

10 7
reversing the toddler seat:
reverse seat
2
1
align seat with frame
and push down
3
press!
press!
lift!
click!
click!
releasing wheels:
front wheels rear wheels
press!
press! press!
press!
pull!
pull!
pull!
pull!
press side buttons at the
same time while lifting
to release seat
NOTE: before use, ensure that all
stroller connections are secure.
!
folding stroller:
push small button in with thumb
and pull back on both release
levers at same time
1
push!
push!
2push down to fold
press!
press!

components:
assembly instructions:
2
car seat adapter installation for use with Graco® Snugride®:
IMPORTANT! Before assembly, inspect this product for damaged hardware,
loose joints or missing parts. Never use if any parts are missing or broken.
!
stroller seat
2 rear wheels
stroller frame with basket canopy
bumper bar
press down on brake
pedal to engage brake
• Infant car seat adapter must be securely locked
to stroller before infant car seat is placed
on stroller.
• NEVER install car seat carrier without car seat adapter
• CHECK to confirm that car seat adapter and car seat
carrier are securely locked to the stroller
• NEVER lift stroller by infant carrier handle
• Read all warnings on front page of this
instruction booklet and on product
WARNING:
PREVENT SERIOUS INJURY OR DEATH FROM FALLS
click! arrow faces
forward
align car seat adapter with arrow
pointing forward and push down onto
frame
align car seat and
set it into adapter
stroller common parts:
21290 stroller:
21300 stroller:
front wheels 28710-05
rear wheels 28710-06
cup holder 28710-08
bumper bar 28710-07
car seat adaptor 28710-04
adapter strap 21290-03
storage basket 28710-09
canopy 21290-01
storage basket 21300-02
canopy 21300-01
click! click!
click!
2
1push on rear wheels, both sides
push on front wheels
IMPORTANT! Tug on each wheel to
ensure they are securely attached
!
IMPORTANT! REAR FACING ONLY!
Do NOT install forward facing.
!
Remove and dispose of
packing material properly
!
12
3
15
to release, undo strap
and lift up by handle
5
attaching car
strap adapter
4
car seat adapter
2 front wheels cup holder
adapter
strap
IMPORTANT! Pull up on
car seat to confirm that
it is secured properly
!
Graco® Snugride® - Adapter Strap Required (ref. p.11)
feed
through both
belt paths!
snap buckle
and pull
tight!
FRONT

3
14
Chicco® Keyfit® - Adapter Strap Required (ref. p.11)
car seat adapter installation for use with Chicco® Keyfit®:
press down on brake
pedal to engage brake
• Infant car seat adapter must be securely locked
to stroller before infant car seat is placed
on stroller.
• NEVER install car seat carrier without car seat adapter
• CHECK to confirm that car seat adapter and car seat
carrier are securely locked to the stroller
• NEVER lift stroller by infant carrier handle
• Read all warnings on front page of this
instruction booklet and on product
WARNING:
PREVENT SERIOUS INJURY OR DEATH FROM FALLS
click!
align car seat and
set it into adapter
Push down on handle to ensure that
stroller is fully open and locked in position
!
lift handle up to unfold
4
3push to release locking clip
click!
click!
12
3 5
attaching car
strap adapter
4
align car seat adapter with arrow
pointing forward and push down onto
frame
arrow faces
forward
IMPORTANT! REAR FACING ONLY!
Do NOT install forward facing.
!
to release, undo strap
and lift up by handle
IMPORTANT! Pull up on
car seat to confirm that
it is secured properly
!
feed
through both
belt paths!
snap buckle
and pull
tight!
FRONT

13
4
Peg Perego® Viaggio® - Adapter Strap Required (ref. p.11)
car seat adapter installation for use with Peg Perego® Viaggio®:
press down on brake
pedal to engage brake
• Infant car seat adapter must be securely locked
to stroller before infant car seat is placed on stroller.
• NEVER install car seat carrier without car seat adapter
• CHECK to confirm that car seat adapter and car seat
carrier are securely locked to the stroller
• NEVER lift stroller by infant carrier handle
• Read all warnings on front page of this
instruction booklet and on product
WARNING:
PREVENT SERIOUS INJURY OR DEATH FROM FALLS
click!
align car seat and
set it into adapter
finished!
align seat with frame push down
8
7
click!
click!
clip canopy onto seat frame install bumper bar
and cupholder
10
9
click!
click! click!
click!
click!
click!
NOTE: before use, ensure that all
stroller connections are secure.
!
12
3attaching car
strap adapter
4
align car seat adapter with arrow
pointing forward and push down onto
frame
arrow faces
forward
IMPORTANT! REAR FACING ONLY!
Do NOT install forward facing.
!
to release, undo strap
and lift up by handle
5
IMPORTANT! Pull up on
car seat to confirm that
it is secured properly
!
feed
through both
belt paths!
snap buckle
and pull
tight!
FRONT

12 5
stroller components:
removing infant car seat from stroller:
pull!
pull!
1Prodigy®:
pull release handle on
the back of car seat
Chicco Keyfit®, Peg Perego Viaggio®,
Graco Snugride®:
unbuckle adapter strap and
move straps aside
2lift car seat up
by carry handle
pull!
Press release buttons in
and pull up on car seat
adaptor to remove
3
canopy
bumper bar
5-point safety harness
stroller seat
front wheel release button
cup holder
storage basket
rear wheel release button
sweet peek window
soft foam handle
handle height adjust
front wheel lock
front wheels
folding buttons/release levers
pedicure-friendly rear brake
seat recline button
seat release button
locking clip
storage pocket
bumper bar release button
cup holder clip (both sides)
rear wheels

611
reclining the seat:
position
3
press!
press both recline buttons at the same
time and rotate to adjust seat angle. The
seat will click into one of three positions.
1
position
press!
press!
position
2
press!
press!
using the bumper bar:
press!
press!
press release button, pull up
and swing bumper bar to side
1
NOTE: the bumper bar can be
removed by detaching both sides.
• Infant car seat adapter must be securely locked
to stroller before infant car seat is placed
on stroller.
• NEVER use infant car seat in stroller without
car seat adapter.
• CHECK to confirm that car seat adapter and car
seat carrier are securely locked to the stroller.
• NEVER lift stroller by infant car seat handle.
• Read all warnings on front page of this
instruction booklet and on product.
WARNING:
PREVENT SERIOUS INJURY
OR DEATH FROM FALLS
car seat adapter installation for use with Prodigy®:
Adapter Straps are not necessary
for installing the Prodigy.
!
Pull up on the car seat to make
sure it is properly locked
into place. IMPORTANT!
REAR FACING ONLY!
Do NOT install forward facing.
!
click!
press down on brake
pedal to engage brake
and remove stroller
seat
click!
2
13install car seat rear
facing, push down to
lock into position
align car seat adapter
with arrow facing forward,
push down onto frame
car seat adapter installation instructions
for use with the Prodigy®, Chicco® Keyfit®, Graco® Snugride®, Peg Perego® Viaggio® infant car seats.
installing car seat adapter strap:
wrap small strap
around bar and feed into clip
12wrap large strap
around bar and feed into clip
NOTE: Adapter straps
must be used when
fitting the following
car seats into the
stroller:
* Chicco Keyfit®
* Peg Perego Viaggio®
* Graco Snugride®
It is not required for
Prodigy®Car Seat.
!
FRONT
Assemble straps to frame
between peg and knuckle.
!

89
adjusting the handle height: using the sweet peek window:
press!
press both buttons and adjust
handle to desired height
press!
locking/unlocking the child safety harness:
1
st
open!
close!
close!
rd
3
click!
click!
click!
click!
nd
2
rear wheels - brake front wheels
NOTE: locking the front wheels
disables the swivel action
!
locking the wheels: adjusting shoulder harness positions:
3
2
1
lower position!
1
middle position!
2
upper position!
3
adjust the harness height to the position that it closest to the
childs shoulder height, use the slide adjusters for further adjustments
NOTE: feed strap entirely through seat pad
slots when adjusting harness height
!
slide adjustment
4
lift and flip forward to open

Please read the following instructions and
warnings carefully before use of product.
Keep this instruction manual for future reference.
Prodigy™ infant car seat User Guide included and
attached to car seat.
Car seat control panel required 3AA batteries (included).
No tools required.
For Technical Support Call
Consumer Relations 1-800-268-6237
Keep small parts and packaging away from children.
WARNING:
Adult assembly required.
Exercise care when unpacking
and assembling product.
• NEVER leave child unattended. ALWAYS keep child in view while in the stroller.
• Avoid serious injury from falling or sliding out. ALWAYS use safety harness.
• Stroller maximum weight limit 50 lbs. (22.73 kg).
• When making adjustments to the product ALWAYS ENSURE that all parts of a child’s body are clear
of any moving parts of the product.
• Care must be taken when folding and unfolding the product to prevent finger entrapment.
• DO NOT carry additional children, goods or accessories in or on this product except as recommended in
this instruction manual.
• TO AVOID INJURY TO YOUR CHILD, DO NOT USE STORAGE BASKET AS A CHILD CARRIER.
• DO NOT hang items on handle bar or place them on the canopy, as they can tip stroller over and injure child.
• DO NOT OVERLOAD STORAGE BASKET. MAXIMUM 10 lbs. (4.5 kg).
• DO NOT overload the storage pocket and cup holder. MAXIMUM 2 lbs. (0.9 kg). Excessive weight may cause
the stroller to become unstable or tip over.
• Do not place hot liquids in the cup holder. Spills can burn your child.
• Do not carry or roll stroller on stairs or escalators with child in it.
• Do not use the strollers if any part is lost or damaged.
Use ONLY with the Summer Infant Prodigy® Infant Car Seat. Other car seats or carriers are not designed
to fit the stroller frame and may result in serious injury or death. NEVER use them as they have not been
safety tested.
•
NEVER
use Prodigy® infant car seat in stroller without car seat adapter
•
ALWAYS
check to confirm the car seat adapter is securely locked to the stroller before use
• ALWAYS
check to confirm the Prodigy®car seat is securely locked into the car seat adapter before use
• See instructions for additional warnings. If you do not have a User Guide, visit www.summerinfant.com
or call Summer Infant Customer Service Dept. at 1-800-268-6237 to receive one.
WARNING:
28710
• Clean minor stains on fabric
with cold water and mild soap.
Air dry.
• Clean plastic and metal surfaces
with a soft damp cloth. Air dry.
Do not use abrasive cleaners or
solvents. Do not use bleach.
• Check seat pad harness and
crotch straps weekly to ensure
they are properly secured to
frame.
Read and follow all warnings and instructions.
Failure to do so could result in serious injury or death.
with prodigy infant car seat
®
travel system
fuze
TM
TRAVEL SYSTEM
INSTRUCTION MANUAL
©2012 Summer Infant, Inc.
Colors and styles may vary.
Please retain for future reference.
Summer Infant stands behind all of its products. If you are not
completely satisfied or have any questions, please contact
our Consumer Relations Team at 1-800-268-6237 or
www.summerinfant.com/contact
(For Europe call (0) 144 250 5000 or
connect with us:
www.summerinfant.com
We LOVE our consumers!
Get to know us at:
Summer Infant, Inc.
1275 Park East Drive
Woonsocket, RI 02895 USA
1-800-268-6237
care and maintenance:
removing infant car seat from stroller:
pull!
pull!
1 2
pull release handle on
the back of car seat
lift car seat up
by carry handle
Additional accessories available online.
For more information visit www.summerinfant.com
click!snap!
snap basket onto frame
snaps!
x 3
x 4
snaps!
reattaching the storage basket:
pull!
Press release buttons
and pull up on car seat
adaptor to remove
3
radio and television
interference: (FCC Statement)
Note:This equipment has been tested and found to comply with the limits for
a Class B digital device, pursuant to part 15 of the FCC Rules.These limits are
designed to provide reasonable protection against harmful interference in a
residential installation.This equipment generates, uses and can radiate radio
frequency energy and, if not installed and used in accordance with the
instructions, may cause harmful interference to radio communications.
However, there is no guarantee that interference will not occur in a particular
installation. If this equipment does cause harmful interference to radio or
television reception, which can be determined by turning the equipment off
and on, the user is encouraged to try to correct the interference by one or
more of the following measures:
• Reorient or relocate the receiving antenna.
• Increase the separation between the equipment and receiver.
• Connect the equipment into an outlet on a circuit different from that to
which the receiver is connected.
• Consult the dealer or an experienced radio/TV technician for help.
Caution: Changes or modifications not expressly approved by Summer Infant
Inc. for compliance could void the user’s authority to operate the equipment.
Summer Infant Canada
11055 Middlegate Road, Unit 2
Mississauga, Ontario L4Y 3Y4
MADE IN CHINA.
01/13

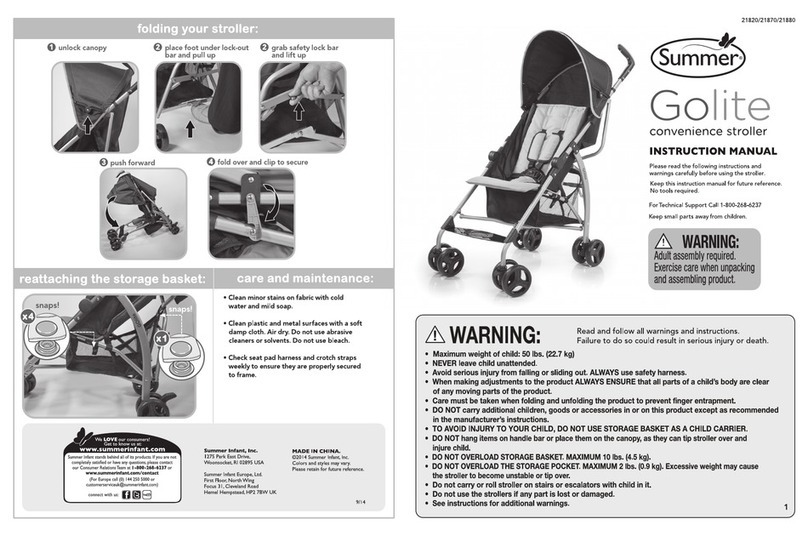
10 3
Push down on handle to ensure that
stroller is fully open and locked in position
!
lift handle up to unfold
4
3push to release locking clip
folding stroller
push small button in with thumb
and pull back on both release
levers at same time
1
additional accessories:
click!
click!
push!
push!
2push down to fold
Additional accessories available at www.summerinfant.com
Foot muff
21420
Rain shield
21400
Bug net
21410
Bassinet
26140
press!
press!

11
stroller components:
assembly instructions:
2
IMPORTANT! Before assembly, inspect components for damaged hardware,
loose joints or missing parts. Never use if any parts are missing or broken.
!
stroller seat
2 rear wheels
2 front wheels
front wheels 28710-05
rear wheels 28710-06
cup holder 28710-08
Prodigy
car
seat adaptor 28710-04
bumper bar 28710-07
storage basket 28710-09
canopy 28710-03
stroller parts:
click!
stroller frame with basket canopy
cup holder
bumper bar
click!
click!
2
only use the prodigy® infant car seat with this stroller
• Infant car seat adapter must be securely locked
to stroller before infant car seat is placed
on stroller.
• NEVER use infant car seat in stroller without
car seat adapter.
• CHECK to confirm that car seat adapter and car
seat carrier are securely locked to the stroller.
• NEVER lift stroller by infant car seat handle.
• Read all warnings on front page of this
instruction booklet and on product.
WARNING:
PREVENT SERIOUS INJURY
OR DEATH FROM FALLS
attaching car seat adapter and infant car seat :
Pull up on the car seat adapter
to make sure it is securely locked.
!
Pull up on the car seat to make
sure it is properly locked into place.
!
click!
click!
1push on rear wheels, both sides
push on front wheels
press down on brake pedal to
engage brake and remove
stroller seat
click!
align car seat adapter with arrow facing
forward. Push down to lock onto frame
®
prodigy car seat adapter
®
IMPORTANT! Tug on each wheel to
ensure they are securely attached
!
Remove and dispose of
packing material properly
!
2
1
3install car seat rear facing,
push down to lock into position

49
releasing wheels:
front wheels rear wheels
finished!
align seat with frame push down
6
5
click!
click!
attach canopy to frame and
clip both sides to secure
install bumper bar
and cupholder
8
7
click!
click!
click!
click!
click!
click!
press!
press! press!
press!
adjusting shoulder harness positions:
3
2
1
NOTE: before use, ensure that all
stroller connections are secure.
!
pull!
pull!
pull!
pull!
lower position!
1
middle position!
2
upper position!
3
adjust the harness height to the position that it closest to the
childs shoulder height, use the slide adjusters for further adjustments
NOTE: feed strap entirely through seat pad
slots when adjusting harnes height
!
slide adjustment
4

85
locking the wheels:
canopy
bumper bar
5-point safety harness
stroller seat
front wheel release button
cup holder
storage basket
rear wheel release button
sweet peek window
soft foam handle
handle height adjust
front wheel lock
front wheels
folding buttons/release levers
pedicure-friendly rear brake
stroller components:
rear wheels - brake front wheels
locking/unlocking the child safety harness:
seat recline button
seat release button
locking clip
storage pocket
holds prodigy® infant car seat (see page 11)
1
st
open!
close!
close!
rd
3
click!
click!
click!
click!
nd
2
bumper bar release button
cup holder clip (both sides)
rear wheels
NOTE: locking the front wheels
disables the swivel action
!

position
3
press!
67
reclining the seat: reversing the seat:
using the bumper bar:
press both recline buttons at the same
time and rotate to adjust seat angle. The
seat will click into one of three positions.
press side buttons at the
same time while lifting
to release seat
reverse seat
21
align seat with frame
and push down
3
adjusting the handle height:
press!
press both buttons and adjust
handle to desired height
1
position
press!
press!
position
2
press!
press!
lift!
click!
press!
press!
press!
press!
click!
NOTE: before use, ensure that all
stroller connections are secure.
!
press release button, pull up
and swing bumper bar to side
1
NOTE: the bumper bar can be
removed by detaching both sides.
press!
This manual suits for next models
3
Table of contents
Other Summer Stroller manuals

Summer
Summer 3Dlite ST User manual

Summer
Summer 3Dpac CS+ User manual

Summer
Summer 21270 User manual

Summer
Summer MYRIA User manual

Summer
Summer 32076 User manual

Summer
Summer 3Dpac CS+ User manual

Summer
Summer 3Dlite 31923 User manual

Summer
Summer 3Dflip User manual

Summer
Summer 3Dmicro User manual

Summer
Summer 3Dpac cs lite User manual