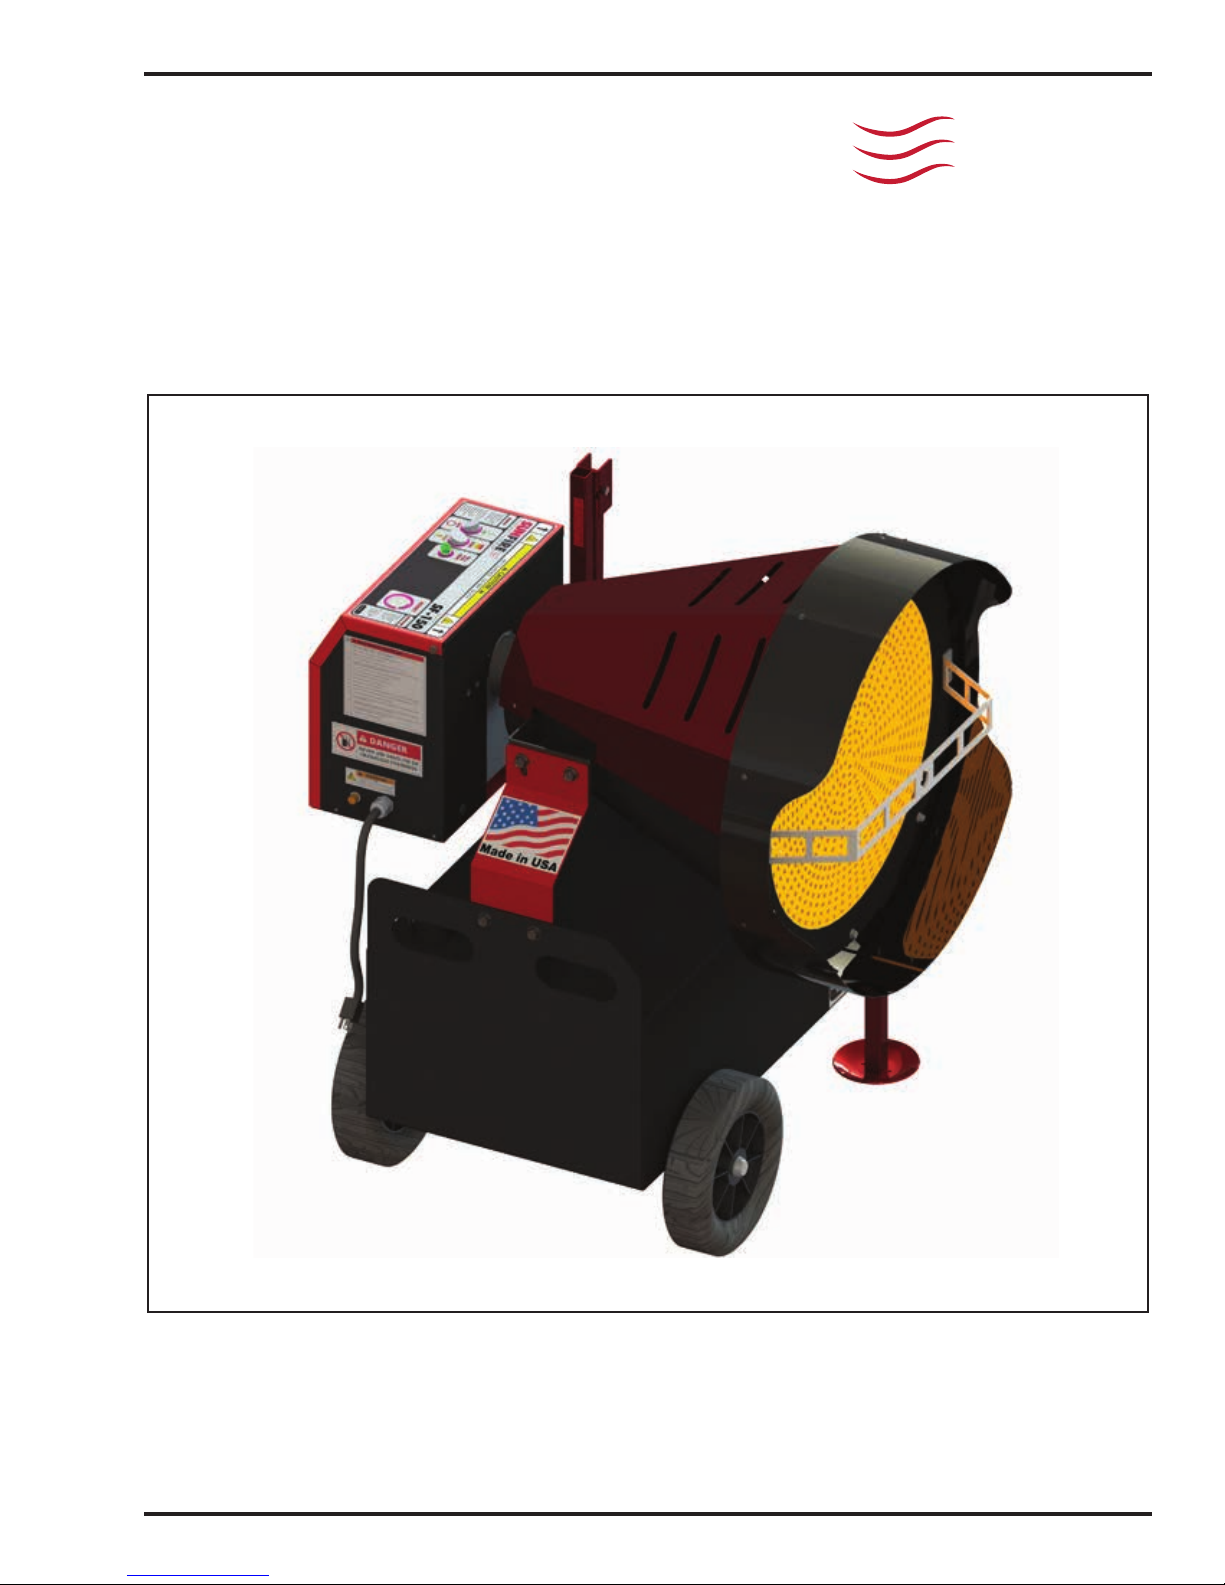
User's Manual: Radiant Heater
1-3
WARRANTY INFORMATION
Clean Burn, LLC warrants that it's Radiant Heaters and component parts will be free from defects in material and
workmanship for a period of 12 months from date of purchase when properly installed, operated, and maintained in
accordance with the installation and maintenance instructions, safety guides and labels contained with each unit. If any
component proves defective in either material or workmanship during the limited warranty period, Clean Burn, LLC, at its
option, may repair the defective part or equipment or replace the equipment or relevant parts. Proof of purchase and warranty
qualication must be established at time of all returns and exchanges.
BILL OF SALE: A copy of the bill of sale must be provided at time of return.
CLAIM PROCEDURE: All claims are to be submitted to your Sunre Dealer.
This limited warranty does not apply to heater, component or replacement part damage resulting from incorrect installation,
misuse, abuse, accident, act of God, neglect, mishandling, contaminated fuel, modication, incorrect environments, or
wear from ordinary use. The warranty set forth above is the exclusive warranty provided by Clean Burn, LLC and all other
warranties, including any implied warranties or merchantability or tness for a particular purpose, are expressly disclaimed.
In the event any implied warranty is not hereby effectively disclaimed due to operation of law, such implied warranty is
limited in duration to the duration of the applicable warranty stated above. The remedies set forth above are the sole and
exclusive remedies available hereunder. Clean Burn, LLC will not be liable for any incidental or consequential damages
directly or indirectly related to the sales, handling or use of the equipment, and in any event Clean Burn, LLC in connection
with the equipment, including for claims based on negligence or strict liability, is limited to the purchase price. Some states
do not allow limitation on how long an implied warranty lasts, so the above limitation may not apply to you. Some states do
not allow the exclusion or limitation of incidental or consequential damages, so the above limitation or exclusion may not
apply to you.
TRADEMARKS
The Sunre logo is a trademark of Clean Burn, LLC. All other brand or product names mentioned are the registered trade-
marks or trademarks of their respective owners.
COPYRIGHT
Copyright © 2016 Clean Burn, LLC. All rights reserved. No part of this publication may be reproduced, or distributed
without the prior written permission of Clean Burn, LLC. Subject to change without notice.