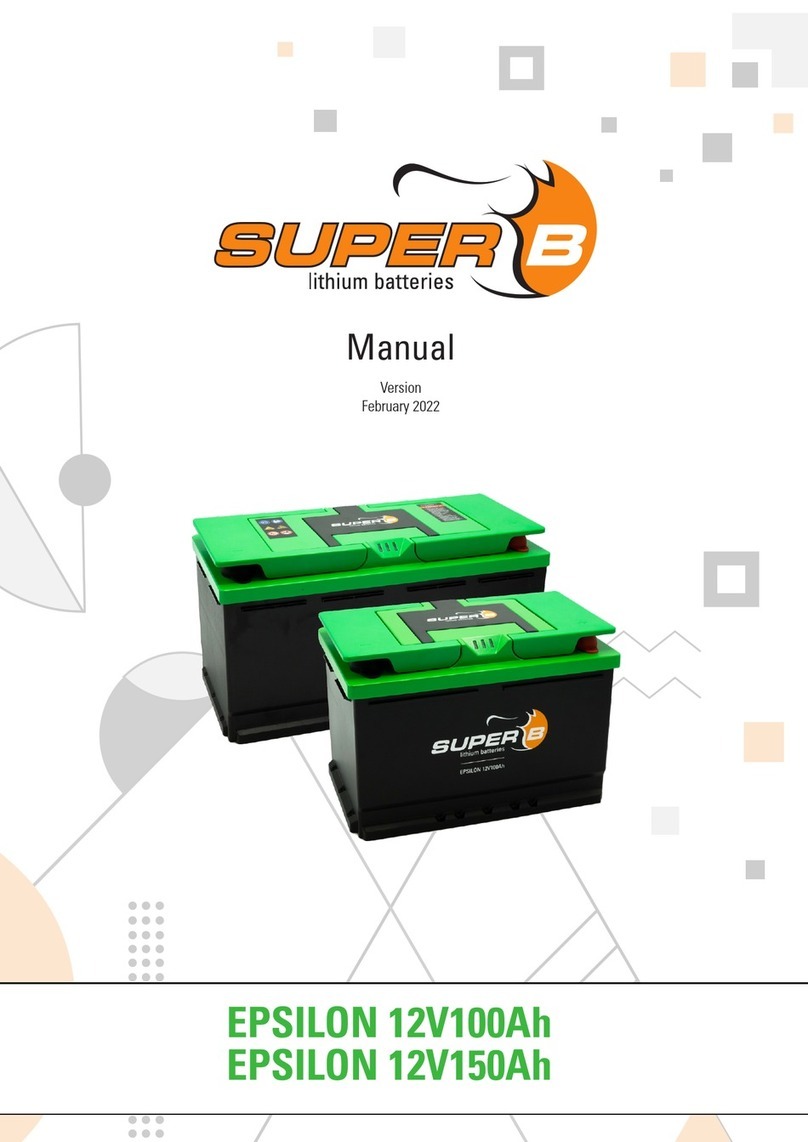
Superb NOMADA 12V105Ah User manual

Manual
NOMADA 12V105Ah
Version
April 2020

2
User Manual Nomada 12V105Ah
Dear customer,
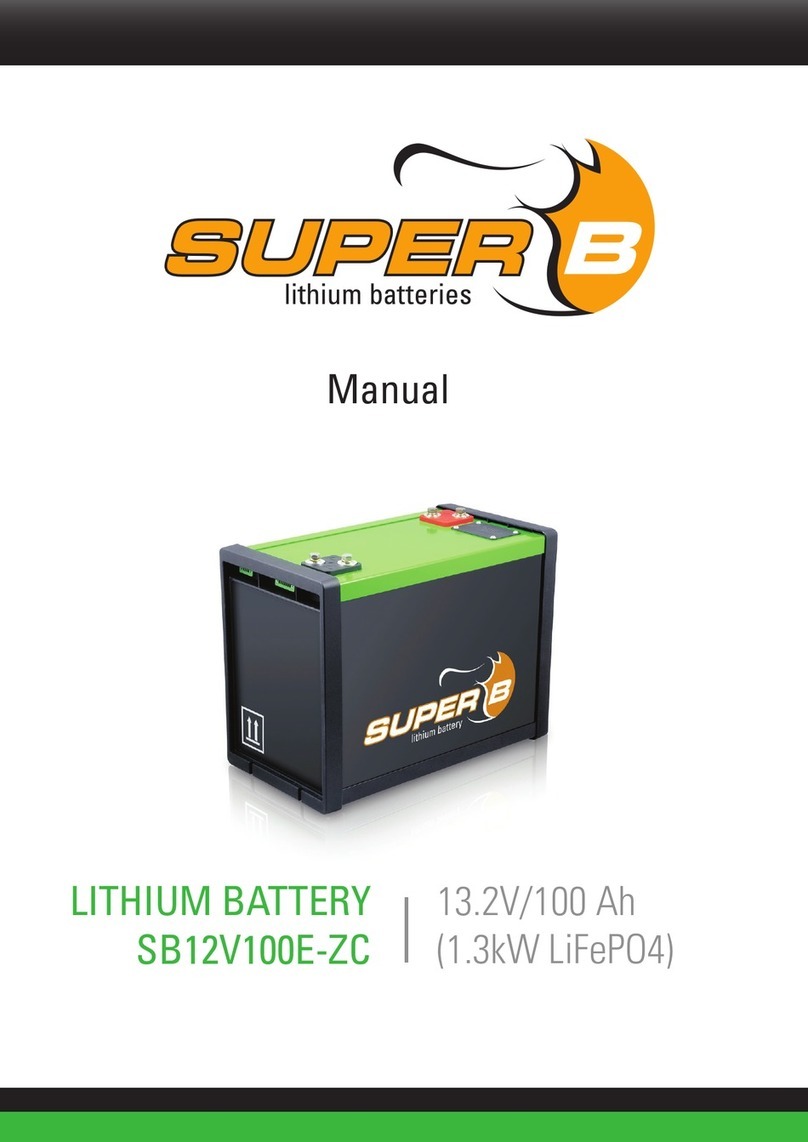
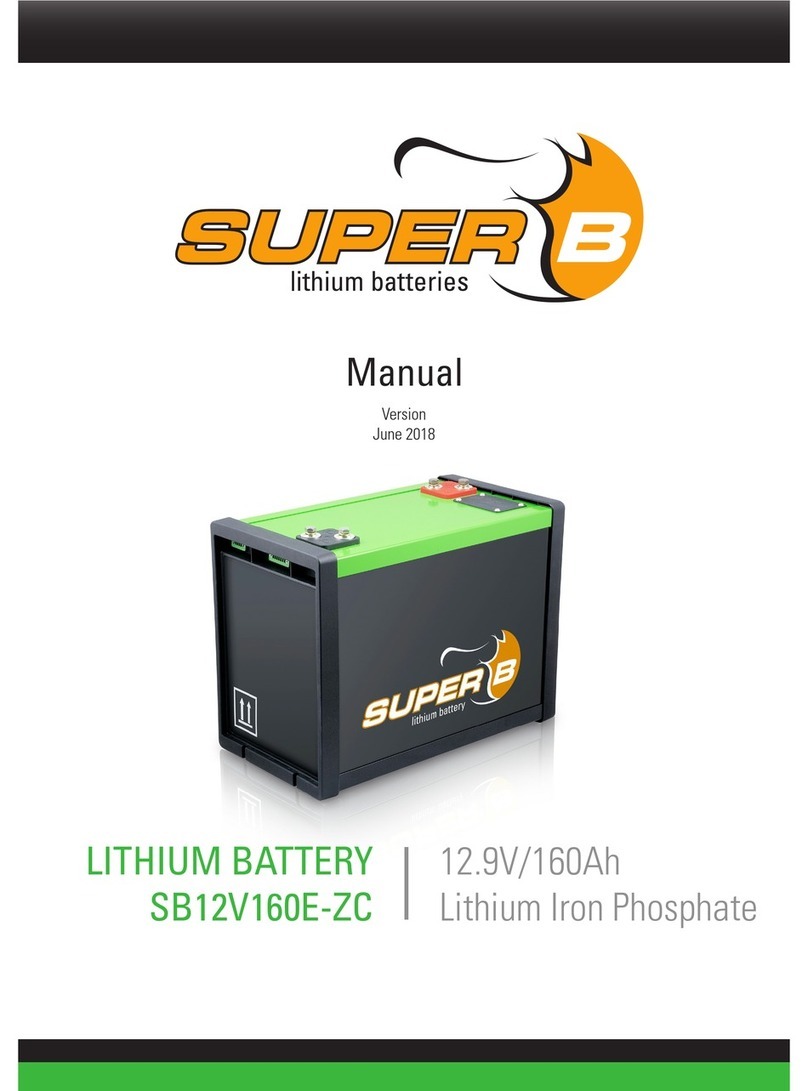
This manual contains all the necessary information to install, use and maintain the Nomada
12V105Ah Li-ion battery. We kindly ask you to read this manual carefully before using the
product. In this manual, the Nomada 12V105Ah Li-ion battery will be referred to as: the Li-ion
battery. This manual is meant for the installer and the user of the Li-ion battery. Only qualied,
certied personnel may install and perform maintenance on the Li-ion battery. Please consult
the index at the start of this manual to locate information relevant to you.
During the use of the product, user safety should always be ensured, so installers, users,
service personnel and third parties can safely use the Li-ion battery.
Copyright© Super B All rights reserved. Licensed software products are owned by Super B
or its subsidiaries or suppliers, and are protected by national copyright laws and international
treaty provisions. Super B products are covered by Dutch and foreign patents, issued and
pending. Information in this publication supersedes that in all previously published material.
Specications and price change privileges reserved. Super B is a registered trademark of
Super B.
For more information please contact:
Super B Lithium Power B.V.
Demmersweg 3
7556 BN Hengelo (Ov) The Netherlands
Tel: +31(0)88 00 76 000
E-mail: info@super-b.com
www: www.super-b.com

3
Be in charge. Super B.
Table of content
1. Safety guidelines and measures 5
1.1. General 5
1.2. Disposal 5
2. Introduction 6
2.1. Product description 6
2.2. Intended use 6
2.3. Glossary of Terminology 6
2.4. Used symbols 7
3. Product specifications 7
3.1. Product features 7
3.2. Technical specications 7
3.2.1. Electrical specications 7
3.2.2. Mechanical specications 8
3.2.3. Charge & discharge specications 8
3.2.4. Temperature specications 8
3.2.5. Compliance specications 8
3.2.6. General product specications 9
3.3. Environmental conditions 9
3.4. Scope of delivery 9
3.5. Connections 10
3.5.1. Con 1 & 2 (CANopen; 5-pin “micro” style connector) 10
3.5.2. LED Indicators 11
3.6. Peripheral equipment 11
3.6.1. Obligatory 11
3.6.2. Optional Components 12
4. Installation 13
4.1. General information 13
4.2. Unpacking 13
4.3. Preparing the battery for use 13
4.4. Connection wires 13
4.4.1. Using the SB BIB (Battery Interface Box) 14
4.4.2. Using the SB BCI-C1 (Battery Communication Interface) with a normal relay 14
4.5. Disconnecting the Li-ion battery 15
5. Connecting Li-ion batteries in series and parallel 15
5.1. Connecting Li-ion batteries in series. 15
5.2. Connecting Li-ion batteries in parallel 15
5.3. Connecting Li-ion batteries in series and parallel 16
5.4. CANopen interface 17

4
5.4.1. CAN Bus network topology 17
5.4.2. Termination Resistors 18
5.4.3. CAN bus power 18
6. Battery use 19
6.1. General information 19
6.2. Charging 19
6.2.1. Battery balancing 20
6.2.2. Reading the battery’s State of Charge (SoC) 20
6.3. Battery Monitoring Software 20
6.3.1. Battery History Recording 20
7. Inspection and cleaning 20
7.1. General information 20
7.2. Inspection 21
7.3. Cleaning 21
8. Storage 21
9. Transportation 21
10. Disposal and recycling 22
11. Troubleshooting 22
12. Warranty and liability 23

5
Be in charge. Super B.
1. Safety guidelines and measures
1.1. General
• Do not short-circuit the Li-ion battery.
• Treat the Li-ion battery as described in this manual.
• Do not dismantle, crush, puncture, open or shred the Li-ion battery.
• Do not expose Li-ion battery to heat or re. Avoid exposure to direct sunlight.
• Do not remove the Li-ion battery from its original packaging until required for use.
• In the event of electrolyte leaking, do not allow the liquid to come in contact with the skin or
eyes. If contact has been made, wash the affected area with water and seek medical advice.
• Always use a class 2 charger which is specically provided for use with a Lithium Iron
Phosphate battery (LiFePO4)
• Observe the plus (+) and minus (–) marks on the Li-ion battery and equipment and ensure
correct use.
• Do not mix batteries of different manufacture, capacity, size or type.
• Keep the Li-ion battery clean.
• Secondary batteries need to be charged before use. Always use the correct charger and
refer this manual for proper charging instructions.
• Do not leave the Li-ion battery on prolonged charge when not in use.
• After extended periods of storage, it may be necessary to charge and discharge the Li-ion
battery several times to obtain maximum performance.
• Retain the original product documentation for future reference.
• Disconnect the Li-ion battery from the equipment when not in use.
• Do not charge the Li-ion battery below 0°C.
!
Warning! Keep the Li-ion battery away from dust and contamination. Place the Li-ion battery
in well ventilated areas.
1.2. Disposal
Dispose the Li-ion battery in accordance with local, state and federal laws
and regulations.
Batteries may be returned to the manufacturer.
Do not mix with other (industrial) waste.
Li-ion
WARNING:
Must be disposed of properly.
May explode if damaged or disposed
of in re. Do not short circuit.
6
2. Introduction
2.1. Product description
The Nomada 12V105Ah is a modular Lithium Iron Phosphate rechargeable battery. The Li-ion
battery has a compact and lightweight modular design which means you can easily scale
up your energy system. The unique combination of state-of-the art technology and smart
software makes this Li-ion battery a robust, safe and easy to use energy storage solution.
The Li-ion battery uses safe Lithium Iron phosphate (LiFePO4) technology. With its integrated
battery management system the Li-ion battery is protected from deep discharging,
overcharging and overheating.
!
Warning! It is required to use a Super B Battery Communication Interface (BCI) in
combination with an external disconnect device or a Super B Battery Interface Box (BIB), for
safe operation of the Nomada 12V105Ah Li-ion battery
2.2. Intended use
The Nomada 12V105Ah Li-ion battery serves as an energy source of 12V in power systems
for recreational vehicles, commercial vehicles, leisure boats, commercial vessels and
stationary applications. Potential applications for this Li-ion battery include: off grid power
supply, marine power supply, medium for (renewable) energy storage and (traction) battery
for vehicles. Using it as a starter battery is not possible. Up to 4 batteries can be connected
in series or in parallel to increase the total capacity up to 420Ah. When using more than 4
batteries in series or parallel always consult Super B.
2.3. Glossary of Terminology
BMS Battery Management System
Charge cycle A period of use from fully charged, to fully discharged, and fully recharged
again.
Endurance Life-cycle The products maximum lifespan, achieved by following the guidelines
presented in this manual.
BCI Battery Communication Interface
BIB Battery Interface Box
LiFeP04 Lithium Iron Phosphate
SoC State of charge
CCCV Constant Current - Constant Voltage
DoD Depth of Discharge
Table 1. Glossary of Terminology

7
Be in charge. Super B.
2.4. Used symbols
The following icons will be used throughout the manual:
!
Warning! A warning sign indicates severe damage to the user and/or product may occur
when a procedure is not carried out as described.
!
Caution! A caution sign indicates that problems may occur if a procedure is not carried out
as described. It may also serve as a reminder to the user.
3. Product specications
3.1. Product features
• Modular traction battery
• Lithium Iron Phosphate (LiFePO4): Safe Li-ion technology
• Integrated BMS (Battery Management System),
• BIB or BCI with disconnect device (relay) is required
• PC+ABS (UL94 V-0) ame-retardant battery casing
• Terminals for 2 x M8 bolts
• Maximum continuous discharge current: 315A
• External fuse needed
• Wired communication interface: CANopen
• Easy CAN bus interconnection
• Battery monitoring and history storage
• Adaptive cell balancing
• Congurable in serial or parallel connection
3.2. Technical specications
3.2.1. Electrical specications
Nominal capacity 105Ah
Energy 1344Wh
Nominal voltage 12.8V
Open circuit voltage 13.2V
Self discharge <3% per month
Table 2. Electrical specications

8
3.2.2. Mechanical specications
Dimensions (LxWxH) 437 x 90 x 175 mm / 17.2” x 3.5” x 6.9”
Weight 10 kg / 22 lbs
Case material PC+ABS (UL94 V-0) ame-retardant battery casing
Ingress protection IP66
Cell type / chemistry Prismatic - LiFePO4
Table 3. Mechanical specications
3.2.3. Charge & discharge specications
Charge method CCCV
Charge voltage 14.3V - 14.6V
Max charge current 105A
End of discharge voltage 10V
Max discharge current continous 315A
Max discharge pulse current
(10 sec, SoC >60%) 525A
Table 4. Charge and discharge specications
3.2.4. Temperature specications
Charge temperature 0°C to 55°C / 32°F to 131°F1
Discharge temperature -20°C to 55°C / -4°F to 131°F
Storage temperature short term (<1 month) -20°C to 45°C / -4°F to 113°F
Storage temperature long term (>1 month) 0°C to 35°C / 32°F to 95°F
Relative humidity 10-90%
Table 5. Temperature specications
1Do not charge the Li-ion battery below 0°C / 32°F
3.2.5. Compliance specications
Certications CE, FCC, UN 38.3
Shipping classication UN 3480
Table 6. Compliance specications

9
Be in charge. Super B.
3.2.6. General product specications
Battery designation IFpP/36/130/195/[1P4S]M/-20+55/95
Cycle life >3500 (1C charge/discharge, DoD 100%)2
Table 7. General product specications
2The cycle life value given above is an indication at 23°C. The Li-ion battery cycle life depends strongly on temperature
and the applied charging and discharging loads.
3.3. Environmental conditions
!
Warning! The Li-ion battery may only be used in conditions specied in this manual. Exposing
the Li-ion battery to conditions outside the specied boundaries may lead to serious damage
to the product and/or the user.
Use the Li-ion battery in a dry, clean, dust free, well ventilated area. Do not expose the
Li-ion battery to re, solvents or excessive heat.
3.4. Scope of delivery
132 4 5
Figure 1. Scope of delivery.
1. (1x) Nomada 12V105Ah lithium battery
2. (4x) M8 Bolt
3. (4x) M8 Spring washer
4. (4x) M8 Plain washer
5. (2x) Terminal protection cap

10
3.5. Connections
123 4
Figure 2. Connections
1. Con 1 (CANopen; 5-pin “micro” style connector female)
2. Con 2 (CANopen; 5-pin “micro” style connector male)
3. Terminal + (2x M8)
4. Terminal - (2x M8)
3.5.1. Con 1 & 2 (CANopen; 5-pin “micro” style connector)
PIN # Signal Description
1 CAN_SHLD Optional CAN Shield
2 CAN_V+
Optional CAN external positive supply
(dedicated for supply of transceiver and
optocouplers. if galvanic isolation of the bus
node applies)
3 CAN_GND Ground / 0V
4 CAN_H CAN_H bus line (dominant high)
5 CAN_L CAN_L bus line ( dominant low)
Table 8. Con 1 & 2 (CANopen; 5-pin “micro” style connector)

11
Be in charge. Super B.
3.5.2. LED Indicators
D1 D2 D3
Figure 3. LED Indicators
D1 (Green) D2 (Yellow) D3 (Red) Mode
1Off Off Off Empty / Deep discharge
2 Off Off On Alarm mode
3 On Off Off Operational mode
4 Flashing Off Off Operational mode (Idle)1
5 Off On Off Warning mode
Table 9. LED Mode
1When the Li-ion battery is in operational mode and the battery is not being charged or
discharged, the Green LED indicator ashes every 3 seconds.
3.6. Peripheral equipment
3.6.1. Obligatory
In order for the Li-ion battery to be used safely, a BIB or BCI in combination with an external
disconnect device must be installed. Not installing a BIB or BCI with an external disconnect
device will lead to serious damage to the Li-ion battery and can pose high safety risks for
users and the environment. When a BIB or BCI with an external disconnect device is not
installed the warranty of the Li-ion battery will be void.

12
3.6.2. Optional Components
The Li-ion battery can be used in combination with a number of (Super B) products:
Description Article name EAN code
CAN Male-female Cable 0.6m SB CAN Male-female Cable 0.6m 8718531360716
CAN Male-female Cable 1m SB CAN Male-female Cable 1m 8718531360723
CAN Male-female Cable 2m SB CAN Male-female Cable 2m 8718531360730
CAN Male-female Cable 5m SB CAN Male-female Cable 5m 8718531360747
CAN Male-female Cable 10m SB CAN Male-female Cable 10m 8718531360754
Battery Interface Box SB BIB LV12V350A 8718531361843
Battery Interface Box SB BIB LV24V350A 8718531361850
Battery Interface Box SB BIB LV48V350A 8718531361867
Battery Interface Box SB BIB LV12V600A 8718531361874
Battery Interface Box SB BIB LV24V600A 8718531361881
Battery Interface Box SB BIB LV48V600A 8718531361898
USB to CAN CAN Compact to USB 8718531361201
Battery monitor SB Monitor Software
Battery Communication
Interface SB BCI-C1 8718531360884
Touch Display Touch Display 8718531361447
Touch Display + Cable Touch Display + Cable 8718531361447
CAN Terminator Male Low
Prole CAN Terminator Male Low Prole 8718531361997
CAN Terminator Female Low
Prole CAN Terminator Female Low Prole 8718531362000
CAN Cable 0.2m Straigth
male to angled female
SB CAN Cable 0.2m Straigth male to angled
female 8718531361935
Y-split Cable 0.2m Angled
male to straigth male-female
SB Y-split Cable 0.2m Angled male to
straigth male-female 8718531361942

13
Be in charge. Super B.
Battery Fixation Bracket
Single SB Battery Fixation Bracket Single 8718531361973
Battery Fixation Bracket
Quadruple SB Battery Fixation Bracket Quadruple 8718531361980
Battery connection strip
Series SB Battery connection strip Series 8718531361959
Battery connection strip
Parallel SB Battery connection strip Parallel 8718531361966
Table 10. Optional components that can be used with the Li-ion battery
4. Installation
4.1. General information
!
Warning! Never install or use a damaged Li-ion battery.
!
Warning! Always use a proper fuse which ts the system needs.
!
Warning! Do not reverse connect the Li-ion battery (polarity).
When connecting several batteries in series or parallel, always use batteries of the same
brand, type, age, capacity and state of charge.
4.2. Unpacking
Check the Li-ion battery for damage after unpacking. If the Li-ion battery is damaged, contact
your reseller or Super B. Do not install or use the Li-ion battery if it is damaged!
4.3. Preparing the battery for use
!
Caution! Do not operate the Li-ion battery beyond published maximum specications.
!
Caution! Charging at deep discharge conditions can lead to venting, excessive heat or
thermal runaway of the cells.
!
Caution! This Li-ion battery stores fault conditions internally, like excessive charge current or
deep discharge situations. Super B uses this information in the warranty process.
!
Warning! Do not overcharge the Li-ion battery.
4.4. Connection wires
Use appropriate wire for the connection wires to prevent overheating and unnecessary
losses. Use appropriate fuses matching the wires and load. Super B suggests to use 95mm2
connection wires. Connection wires with smaller diameters can cause overheating or
unnecessary losses.

14
4.4.1. Using the SB BIB (Battery Interface Box)
!
Warning! Do not connect a load or charger directly on the Li-ion battery, always connect
these devices at the load side of the BIB.
Figure 4. Connecting a Li-ion battery to the SB BIB
Consult with Super B for the SB BIB installation instructions.
4.4.2. Using the SB BCI-C1 (Battery Communication Interface) with a normal relay
Figure 5. Connecting a Li-ion battery to the SB BCI-C1
Consult with Super B for the SB BCI-C1 installation instructions.

15
Be in charge. Super B.
4.5. Disconnecting the Li-ion battery
1. Turn off any device or charger the Li-ion battery is connected to.
2. Disconnect the negative wire from the - terminal of the Li-ion battery.
3. Disconnect the positive wire from the + terminal of the Li-ion battery.
5. Connecting Li-ion batteries in series and parallel
5.1. Connecting Li-ion batteries in series.
!
Caution! When connecting multiple batteries in series or parallel make sure that the SoC
of all batteries is 100% to avoid unbalance in the battery bank.
!
Caution! Before connecting 4 or more batteries in series, always consult Super B
!
Caution! Depending on the installation a precharge circuit might be needed. For further
information consult Super B or your dealer.
Figure 6. Batteries connected in series with external disconnect device and BCI.
5.2. Connecting Li-ion batteries in parallel
!
Caution! Before connecting 2 or more Li-ion batteries in parallel, the Li-ion batteries must
be charged to 100% SoC.
!
Caution! For more than 4 Li-ion batteries in parallel connection consult Super B or your
dealer.
!
Caution! Depending on the installation a precharge circuit might be needed. For further
information consult Super B or your dealer.
!
Caution! Make sure that the disconnect device (relay) used, is suitable for the maximum
continous (dis)charge current of the system.

16
Figure 7. Three Li-ion batteries in parallel with external disconnect device
OK: Equally divided battery current.
All batteries contribute equally to the current into the load.
NOT OK: Current not equally divided.
Batteries closest to load will have the highest contribution to the current into the load,
whereas batteries further away from load will have lesser current contribution.
Wear and tear will be higher on the Li-ion battery close to the load.
5.3. Connecting Li-ion batteries in series and parallel
!
Caution! Before connecting 4 or more Li-ion batteries in series and parallel, the Li-ion
batteries must be charged to 100% SoC.
!
Caution! For more than 4 Li-ion batteries in series and parallel connection consult Super B
or your dealer.

17
Be in charge. Super B.
!
Caution! Depending on the installation a precharge circuit might be needed. For further
information consult Super B or your dealer.
Figure 8. Four Li-ion batteries in a series - parallel connection with a BCI and external disconnect device.
5.4. CANopen interface
The CANopen interface of the Li-ion battery must be used for communication with the BCI/BIB
and can be used for monitoring purposes.
The Li-ion battery can be monitored using the Battery Monitor software and the touch screen
display.
To use the Battery Monitoring Software, the CAN bus of the Li-ion battery needs to be
connected by means of CAN-to-USB interface to the computer on which the monitoring
software and the USB drivers are installed.
More information about the CANopen bus can be found at the CiA website: www.can-cia.org.
5.4.1. CAN Bus network topology
The CAN Bus must be used in a bus network topology. Do not use a ring- or a star topology.
The maximum CAN bus length is limited. The Li-ion battery has a xed bitrate of 250kbps.

18
In table 10 is an overview of these restrictions.
Bitrate Buslength (L) Max. stublength (S) Accumulated stub length
250 kbps 250 m 11 m 55 m
Table 11. CAN bus restrictions
5.4.2. Termination Resistors
The CAN bus requires termination at the two ends of the bus. The USB-to-CAN interface may
be connected anywhere to the CAN bus.
Use these resistors at the end nodes to prevent reections on the line. The value of this
resistor should be ±120 ohms.
Please note that the terminator can be connected directly to the second connector on the
Li-ion battery by using the available Super B terminators.
5.4.3. CAN bus power
Due to the galvanic isolation between the BMS and the Li-ion battery’s CAN interface an
external power supply is needed on the CAN bus.
The CAN bus can be powered through the CAN power cable (see gure 9).
This situation may occur when a USB-to CAN interface is directly connected to the Li-ion
battery. When using the SB BCI with one Li-ion battery, the CAN power cable is required.
When using the SB BCI with 2 to 16 Li-ion batteries, the CAN power cable isn’t required. The
power is provided by the BCI.

19
Be in charge. Super B.
Figure 9. CAN bus power
6. Battery use
6.1. General information
!
Warning! It is required to use a Super B Battery Communication Interface (BCI) in
combination with an external disconnect device or a Super B Battery Interface Box (BIB), for
safe operation of the Li-ion battery.
!
Warning! In case of an undervoltage shutdown the charging current must be very low until a
safe voltage is achieved.
!
Warning! Follow the safety guidelines and measures of chapter 1.
!
Caution! Charge the Li-ion battery before use.
!
Caution! Do not cover the + and - sign as they contain a integrated pressure relief
mechanism.
6.2. Charging
!
Warning! Never charge the Li-ion battery with a charging current larger than the maximum
charge current specied in chapter 3.2.3

20
!
Warning! Stop charging when the Li-ion battery switches to alarm mode (the external
disconnect device will switch off).
!
Caution! To charge the Li-ion battery, use a class 2 charger which is suitable for charging
Lithium Iron Phosphate batteries.
1. Connect the charger to the Li-ion battery as described in paragraph 4.
2. Charge the Li-ion battery in case of an under-voltage shutdown or if the state of charge drops below
20% to preserve the lifespan of the Li-ion battery.
6.2.1. Battery balancing
During the battery lifespan, the cells within the Li-ion battery may be unbalanced due to high
discharge currents and short oat charge periods. This may result in a loss of capacity and
unbalanced cells. The cells can be manually balanced by applying a constant voltage of
14.4 V and a current between 500mA and 800mA to the Li-ion battery
6.2.2. Reading the battery’s State of Charge (SoC)
The Li-ion battery’s State of Charge can only be read by CAN communication.
6.3. Battery Monitoring Software
Super B battery monitoring software offers the possibility to monitor the parameters of the Li-
ion battery, such as cell voltage or temperature. It also enables one to download a complete
recording of the Li-ion battery’s properties over time.
The battery monitoring software and hardware are not included with the Li-ion battery. An
overview of these products is given in paragraph 3.6.2.
6.3.1. Battery History Recording
The battery history can be downloaded with the battery monitor software. Thisrecording can
only be accessed by a reseller or Super B for evaluation.
7. Inspection and cleaning
7.1. General information
!
Warning! Never attempt to open or dismantle the Li-ion battery! The inside of the Li-ion
battery does not contain serviceable parts.
1. Disconnect the Li-ion battery from all loads and charging devices before performing cleaning and
maintenance activities (see paragraph 4.5).
2. Place the enclosed protective caps over the terminals before cleaning and maintenance activities to
avoid making a short circuit.
Table of contents
Other Superb Camera Accessories manuals

Superb
Superb EPSILON 12V100Ah User manual

Superb
Superb Epsilon SB12V1200Wh-M User manual

Superb
Superb NOMIA 12V160Ah User manual

Superb
Superb Epsilon SB12V1200Wh-M User manual

Superb
Superb SB12V2600P-AC User manual

Superb
Superb EPSILON 12V90Ah User manual

Superb
Superb NOMIA 12V100Ah User manual

Superb
Superb NOMIA 12V340Ah User manual

Superb
Superb SB12V160E-ZC User manual

Superb
Superb NOMIA 12V210AH User manual