SURF & TURF Robusta User manual

COMPACT
SHELTER
Robusta (10ft x 10ft)
Canopro Lite - (10ft x 10ft) - (15ft x 10ft) -
Assembly & Elevation
A step-by-step guide to constructing your canopy
Thank you for purchasing from Surf & Turf Instant Shelters, the
leading supplier of pop up event shelters within the Canada and
North America.
Our Instant Shelters are designed to be simple to erect, however
we strongly recommend reading our instructions fully before using
the Instant Shelter and keeping them handy at all times.
We recommend that no more than 2 people erect this Instant
Shelter, to avoid the risk of damaging the frame.

CONTENTS
Receiving Your Package & First Steps 3
Setting Up The Canopy 4
Erecting The Instant Shetler 5-7
Setting up Sidewalls 8
Securing The Frame 9
Using A Surf & Turf Anchor Kit 10
Tips For Dismantling 11
Canopy Protector Bag 11
Taking Care & Maintenance 12-14
Warranty Details 15
Refunds & Returns Policy 16-17
Spare Parts Lists 18-19
Should you require further assistance or information please
contact us at:
info@gosurfturf.com
905-664-4758

3
Step1: Remove From Bag
Your shelter will arrive in separate
boxes. First, remove the frame from the
box and take it out of its bag. Set the
frame bag aside where it will not
be damaged.
Step 2:Lubricate (recommended)
For it’s first use, it is good to lubricate
the legs to ensure the sliding joints move
freely.
Step3: ExtendThe Frame
With your partner on the opposite side,
grab two legs, slightly life and walk back-
wards away from eachother. Stretch your
arms out as far as they can go.
Receiving Your Instant Shelter
*Importantnoteonshippedproducts
The moment you receive your packages, please
ensure they don’t have any signs of damage. If
you feel that there might be missing pieces or
damage, write down your concerns on the
shippers paper work and then sign. DO NOT use

4
Step4:Place Canopy
Place the canopy over the extended
frame. Ensure that the peak of the
canopy is sitting comfortably on the
centre apex to avoid unnecessary stress
and friction on the material.
Step 5:Anti-Sag Bolts
Located in the small canvas bag that
comes with your frame you will find
tie-down rope, anchor stakes and the
Anti-Sag Bolts (see image right). With
good time to insert your Anti-Sag Bolts.
Install the threaded bolt through the
grommet of the canopy and into the
threaded hole in the legs.
Once threaded, secure the velcro in the
corner of the canopies to the leg.
Setting Your Canopy

5
Step6:Raise theApex
Before opening the frame - extend the
center apex pole(s). As you lift you will
hear it click in place.
Step7: OpenTheFrame
We can now open the frame closer to it’s
final width. With your partner, grab the
bottom crossbar section as seen in
image two (right) and walk backwards
from eachother.
For setting up solo, place one hand on
the top three way joint and one under
the bottom joint. Squeeze them together
as you walk backwards as seen in image
Compact, do this from the 10’ side.
Erecting Your Instant Shelter

6
As this frame has two inner legs, making
(as seen right).
most leg section until you hear the pull
clockwise or counter clockwise direction.
Step9: Raise Middle Legs
With the bottom leg section raised into
place we can now raise the middle
section. Repeat the same process as
desired height as seen right.
Now that the bottom and middle leg
sections are extended, the pull pin
location hole is now accessible. Place
your foot on the foot plate of the leg
and push the cross bars up into place as
seen right.
Erecting Your Instant Shelter

7
Step11:SetVelcro
Now that the frame is fully extended and
secure, we can set the velcro around the
crossbars as seen right. Repeat for all
four sides. This will keep the center pitch
of the canopy tight and prevent rain from
pooling.
Erecting Your Instant Shelter
You have successfully set-up up your Surf & Turf frame & canopy.
Be sure to evaluate conditions on and throughout the day you will be using your
Instant Shelter.
** Before setting up sidewalls, it is YOUR responsibility to ensure that it is erected
correctly and appropriately secured to hard or soft ground according to present
weather conditions.

8
corners of the sidewalls velcro strip.
Align the top edge of the cut to the
inside of the leg and attach to the velcro,
allowing for the zipper to wrap around
the outside leg. Keep the wall velcro
straight and hook to the canopy velcro
very tightly all the way across.
Once complete, secure the velcro leg
straps as seen in image two.
Zip the next sidewall to the previous one
and pull tight before pressing to velcro.
-
wise direction for all four.
Insert the elasticated hooks into the leg
hole as seen left to secure the bottom of
the sidewall.
tight fit. This ensures they look neat and
professional. If you struggle to join the
last side, use the additional 4” joining
strip we have provided in your sidewall
bag (image left).
We recommend using this for the first
few uses of the shelter, until the material
stretches slightly.
Setting Your Sidewalls

9
Each foot plate has holes for pegging, it
is important that the shelter is pegged or
secured no matter what the
conditions are.
Our Compact shelters have eyelet
pegging points on the bottom of the side
walls as well. These can be pegged when
on soft ground.
If on hard standing ground, some form of weights must be used. Depending on the
conditions these can be stacked to more or less weight.
Securing The Frame

10
supplied by Surf and Turf, connect your rope or strap around the corner joint, as seen in
image 1, and secure. Next, hook the bottom end to the metal peg. Hammer the peg into the
ground at an angle and then pull the rope tight.
Our Instant Shelters are robust and designed to be used in most weather conditions. But it
is important that you assess the conditions on the day. If the conditions get too severe you
may need to take the shelter down to eliminate any damage. It is your responsibility that
Using Our Anchor Kit

11
When taking down the Instant shelter ensure that all leg joints, corner joints and leg
adjusting joints are released. Ensure that the Velcro securing straps are all un-done
and placed back in their starting positions.
If it feels excessively stiff while taking down, stop and check all joints and Velcro
securing straps.
Never force your frame to close, this will cause damage.
Although we recommend removing the canopy material after each use, it is possible
not trapped in the frame work.
When transporting our Instant Shelters we recommend standing the unit up. If this is
not possible then it is best to remove the canopy material, to stop the
risk of damage.
Tips for Dismantling
White Cover
Canopy Protector Bag
(comes included with all shelters)
Included with all of our stock colored and printed Instant
Shelters is our Canopy Protector Cover. This draw string bag
goes over the canopy when the frame is packed down,
prior to putting the shelter in the bag.
This additional bag will protect the canopy from
unnecessary wear, tear and any markings from the
cover or wheeled bag while in transit or storage.
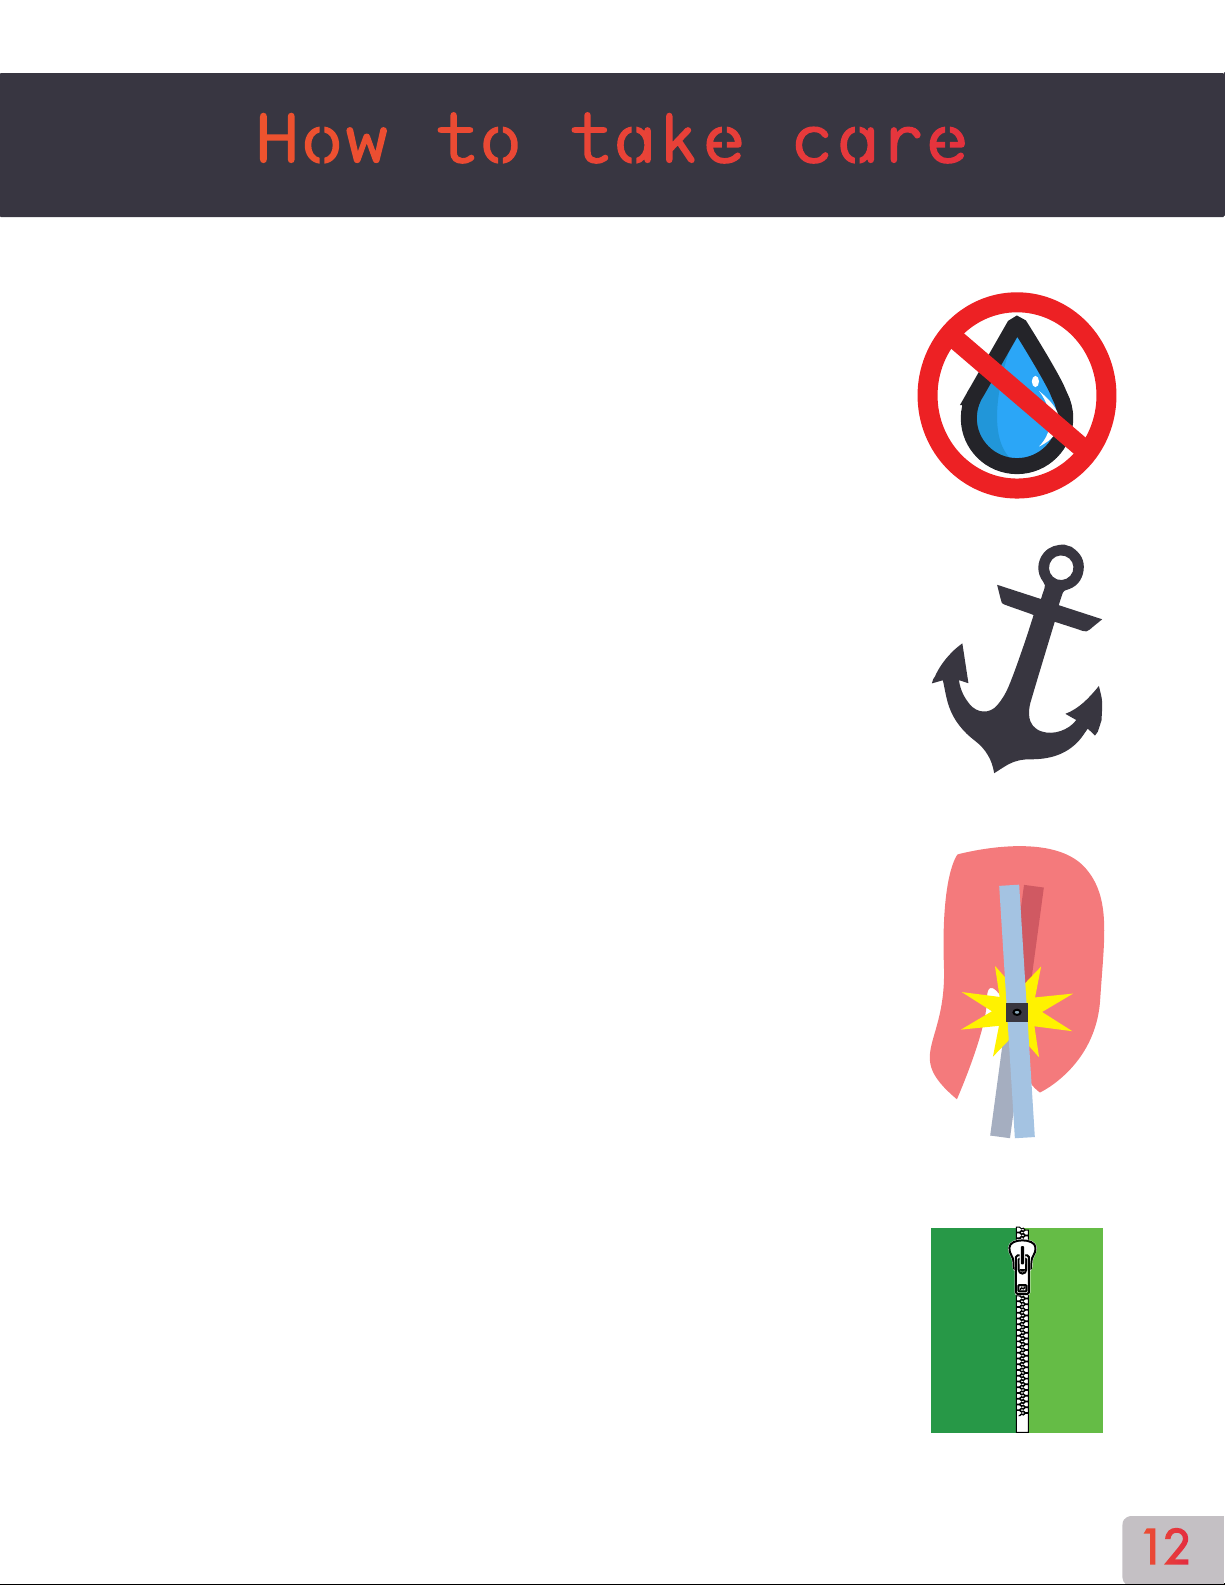
12
Do not store your canopy wet! Before storage, make sure
that your canopies and sidewalls are dry before putting
them back in their respective storage bags. This is to
prevent mold damage.
Remember to always keep your frame properly anchored,
high wind conditions can blow away an unsecured shelter.
Use either the stakes provided or additional weight
options (steel weights and sandbags available ).
When folding the shelter back for storage, be sure to
pull all sides of the canopy out about half way down the
outside of frame. This is to prevent the material getting
caught in the cross member joints and to avoid tears and
pinholes.
direction as you zip up each side; make sure the zippers
are on the outside of the leg. If the zipper is not in the
middle of the leg when zipping the next section, it maybe
because the velcro is rippled and using up material or the
frame legs are not straight. If you are experiencing
problems zipping the last section together, use the 4” strip
How to take care

13
Maintaining Your Investment
fewminutes toread through thisadvicesheetforsomeimportanttips.
For more advice on erecting and dismantling your shelter, please see the
instructions sheet, and/or instructional videos on our website and YouTube.
• Please ensure care is taken when opening the boxes containing your goods. The can-
opy and sidewalls are packed well within the cardboard boxes, but could be torn if
• It is not necessary to have any more than two people to erect your Surf & Turf Shel-
ter. The individuals can simply stand opposite each other and pull the structure
outwards without applying too much force. Should there be more than two people
structure; resulting in damage.
• We recommend that you do not erect your Surf & Turf Shelter in adverse weather
and it is the responsibility of the owner to determine if it is safe for the structure to
remain up, depending on the conditions.
• Please note that although we at Surf & Turf are confident in the quality of our shel-
ters, they are not sold or marketed as permanent structures and should not be used
for this purpose.
• Please ensure that you use all equipment provided (varying depending on the product
purchased), to anchor the structure down. This will assist in keeping the shelter safe
and will help to avoid damage to the frame.
• We highly recommend that you also use weights and the ground bar kit to
anchor your Instant Shelter if used on a hard standing. These can be in the form of
our steel weights, or sandbags (both of which are advertised on our website).
•Should you damage or lose any parts for your Surf & Turf Shelter, we hold full stock of
to ensure that your purchase will last as long as possible and the upkeep of it can be

14
We strongly advise that you remove the canopy from the frame before
dismantling your Instant Shelter, and pack it away. Whilst we appreciate that leaving this on
the frame will help to save time when packing the frame down, and erecting it again later,
the canopy can easily be caught on the framework of the Shelter. This can result in tears to
the canopy which is not covered
under warranty.
• Please take care when packing the frame down, and do not force it to close. If you do
something being caught.
• Our Surf & Turf Instant Shelters are all fully waterproof. You may notice
condensation on your Instant Shelter if it is left up over night.
This is perfectly normal.
recommend that you check all the items that you receive from us beforehand and
also that you erect the shelter and check it over. This is to ensure you’re happy with
the product itself, and should ease the process of setting up the product by the time
you need it for your event.
• When using the anchor kit as suggested and dismantling the shelter, please ensure
that the pegs are not pulled out by dragging the sidewall and the peg along with it.
The pegs can be removed with the use of another peg, or the feet of the frame itself.
• Please ensure you do not allow water/snow/ice to collect on the canopy, as this could
cause damage to both the frame structure and canopy material.
• If you have used your Instant Shelter in wet weather it is always advisable to let
stored wet, mold can appear which is often difficult to remove.
• Nuts, bolts and screws can work loose over time so check and tighten
periodically.
How to take care

15
warranty, starting from the date of purchase.
Courier charges will be applicable to any warranty claims. Proof of purchase and
photographic evidence of said defects will be required.
The canopy and side wall material are covered under the 12 months manufacturer’s warran-
ty. This covers faults. It does not cover tears, rips or damage caused through use, improper
storage/transportation or weather.
The canopy and side walls are have been UV treated, however any material used outside in
the elements will fade over time and this comes within normal wear and tear.
Our manufacturer’s warranty cover defects and faults, it does not cover
misuse, weather damage, improper assembly and disassembly or reasonable wear and tear.
• Contact Surf & Turf Instant Shelters immediately, either by phone or email.
• Surf & turf Instant Shelters, at our discretion, will then either repair or replace the
item if we believe it is in fact faulty.
• Delivery/collection charges are applicable to any warranty claims.
Compact Warranty Details

16
Refunds & Returns
1.2 The goods must be returned to Surf & Turf within 7 working days from receipt or
quality controlled inspection.
returned to Surf & Turf in such condition that they can be returned to stock.
Therefore, they should remain in their original condition and in our packaging
and must be unused.
1.5 We are unable to offer refunds on bespoke products or that have been
personalised on your instruction.
1.6 Unless the goods are defective, damaged, or not as specified on your invoice, then
you are responsible for returning the goods to Surf & Turf. You are
responsible for the goods until they reach us, so we highly recommend that you use
-
turning goods to us, so that you can track the item to ensure it reaches us and that
we have acknowledged receipt of the goods.
that before any product is returned to us, you have notified our office to ensure we
are happy to receive the goods.
-
turns form. This will contain your unique returns number and should be printed and
without this.
Surf & Turf Instant Shelters
Stoney Creek ON L8E 2Y8

17
Faulty or Defective Items
need to be notified of said fault, within 7 working days of you receiving the goods.
1.11 In order to replace the faulty item, we may ask to see photographic evidence of the
-
identiary requirement will enable us to make an informed decision about whether to
repair or replace the item in question.
-
turing fault).
1.13 We reserve the right to repair or replace goods which have been proven faulty.
(1.4).
1.15 Please note that if your time for return as stated in (1.2) has expired, then your rights
for refund/returns as outlined, may have also expired.
-
refund. However, Surf & Turf reserves the right to refuse to refund, when
bespoke work has been carried out on your instructions.
Refunds & Returns

18
Prices plus HST/Delivery
BC1 -Complete
Corner Leg
BB19 - Cross Bar Connector
Nut & Bolt Only
BC5 - Compact Cross Bar
(Single Bar)
BC5 - Compact Cross Bar
With Connector (Double Bar)
BB12 - Corner Sliding Joint
BC2 - Middle Leg
Section
BC3 - Upper Leg
Section
BC4 - Lower Leg Section
With Footplate
BB14 - Leg Adjust Joint
$10
$25
$21
$10
$21
$26
$3
$60
$13
BC11 - Centre Pole Complete
$51
BB11 - Corner Leg Top Joint
$10
$10
BB15 - 3 Way Connector
$10
$10
www.gosurfturf.com[email protected]

19
BD18 - Black Screw To Attach
Crossbars To Joints
$1
BA19 - Bauble
$5
BB10 - Centre PoleMushroom CapBB16 - Cross Bar Connector
$14
$6
BC12 - Top Centre Pole BC13 - Lower Centre Pole
$17
$34
Prices plus HST/Delivery
BA20 - Pull Pin
$5
BD20 - Screw To Attach
Pull Pin To Joint
$1
BD19 - Screw To Attach
Joints To Legs
$1
BB18 - Rubber Washer For
Cross Bar Connector
50
www.gosurfturf.com[email protected]

Other manuals for Robusta
1
This manual suits for next models
1
Table of contents
Other SURF & TURF Shelter manuals


Popular Shelter manuals by other brands

TMG
TMG TMG-ST2040C-1.0 product manual

Storage Canopy
Storage Canopy C3340R Assembly instructions

No Butts Bin
No Butts Bin SR1584 Assembly instructions
Arrow
Arrow SL122007 Owner's manual & assembly guide

Storage Canopy
Storage Canopy C3340S Assembly manual

real living
real living A109000605 Assembly instructions

MayPole
MayPole MP9522 user guide

No Butts Bin
No Butts Bin SR1561 Assembly instructions

No Butts Bin
No Butts Bin SR1603 Assembly instructions

No Butts Bin
No Butts Bin SR7902-F Assembly instructions

No Butts Bin
No Butts Bin SR1551 Assembly instructions

Storage Canopy
Storage Canopy FB408021DP Assembly instructions


