7
Operation
Required Tools for Operation
- No tools are required for changing the set pressure on a standard regulator.
- A 20 mm open-ended wrench and a 13 mm open-ended wrench or socket are required for anti-tamper
regulators.
Points of Attention Before Operation
CAUTION
The product can be hot or cold, depending on the environmental temperature and the process
media temperature. Take the necessary precautions before operating or touching the product.
- Stopping flow through the regulator by closing a downstream shutoff valve may result in a rise in outlet
pressure above the set pressure. This is usually referred to as “lock-up”. This phenomenon does not
indicate a problem with the regulator.
- A decrease of the flow rate may result in a rise of the outlet pressure. An increase of the flow rate may
result in a fall of the outlet pressure. This is usually referred to as “droop”. This phenomenon does not
indicate a problem with the regulator.
- A decrease of the inlet pressure may result in a rise of the outlet pressure. An increase of the inlet
pressure may result in a fall of the outlet pressure. This is usually referred to as “inlet dependency” or
“Supply Pressure Effect (SPE)”. This phenomenon does not indicate a problem with the regulator.
Adjusting the Set Pressure
- The set pressure is the desired outlet pressure of the regulator.
- To set the regulator, ensure that the supply pressure is greater than the required set pressure but does
not exceed the maximum rating of the regulator.
- If the regulator is non-venting it must be able to flow in order for it to reduce the outlet pressure.
1. For non-venting regulators partially open any downstream valve. This will allow minimal flow through the
regulator when adjusting the set pressure, reducing media consumption during this process.
2. Fully unwind the adjustment knob counterclockwise or have zero pressure in the dome.
3. Steadily open the supply valve to allow inlet pressure to the regulator.
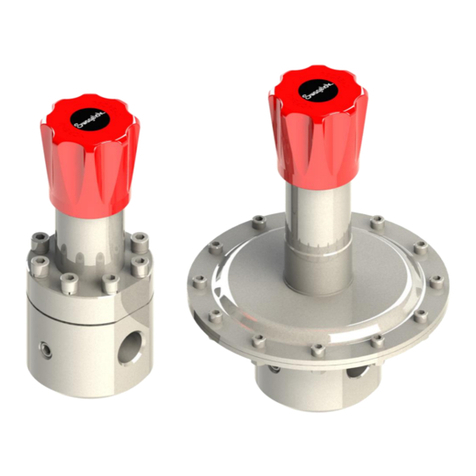
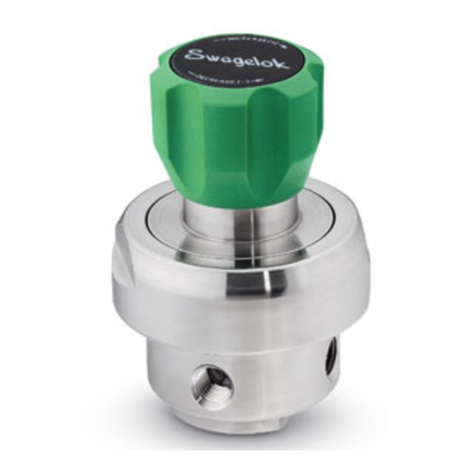
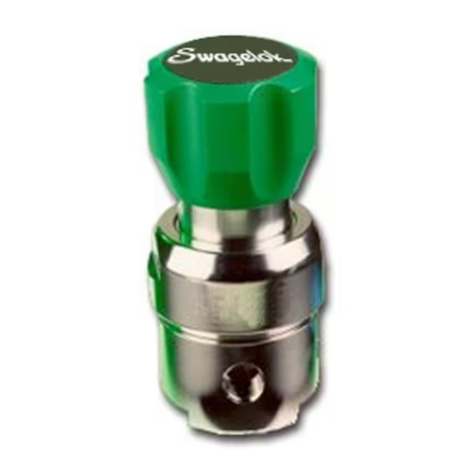
4a. To operate RS(H)2 series regulators, turn the adjustment knob clockwise to increase the set pressure.
Turn the knob counterclockwise to reduce the set pressure.
4b. To operate RD2 series regulators, increase the dome pressure to increase the set pressure. Reduce the
dome pressure to reduce the set pressure. Note, due to forces within the regulator the dome pressure will
differ slightly from the set pressure. Place a gauge in the outlet line to set or check the outlet pressure.
5. To obtain the most accurate set pressure, final adjustment must be made while increasing the set
pressure. If the desired outlet pressure is exceeded, reduce the pressure below this value then increase
up to it.
6. Fully open the downstream valve to allow full flow during operation.
7. Once under flow conditions make any final set pressure adjustments per steps 3 and 4 if required.
NOTICE
The RS(H)2 knob assembly is retained by a C-ring. When backing off the knob do not attempt to
continue to unwind the knob once it has stopped. Doing so may damage the C-ring.

