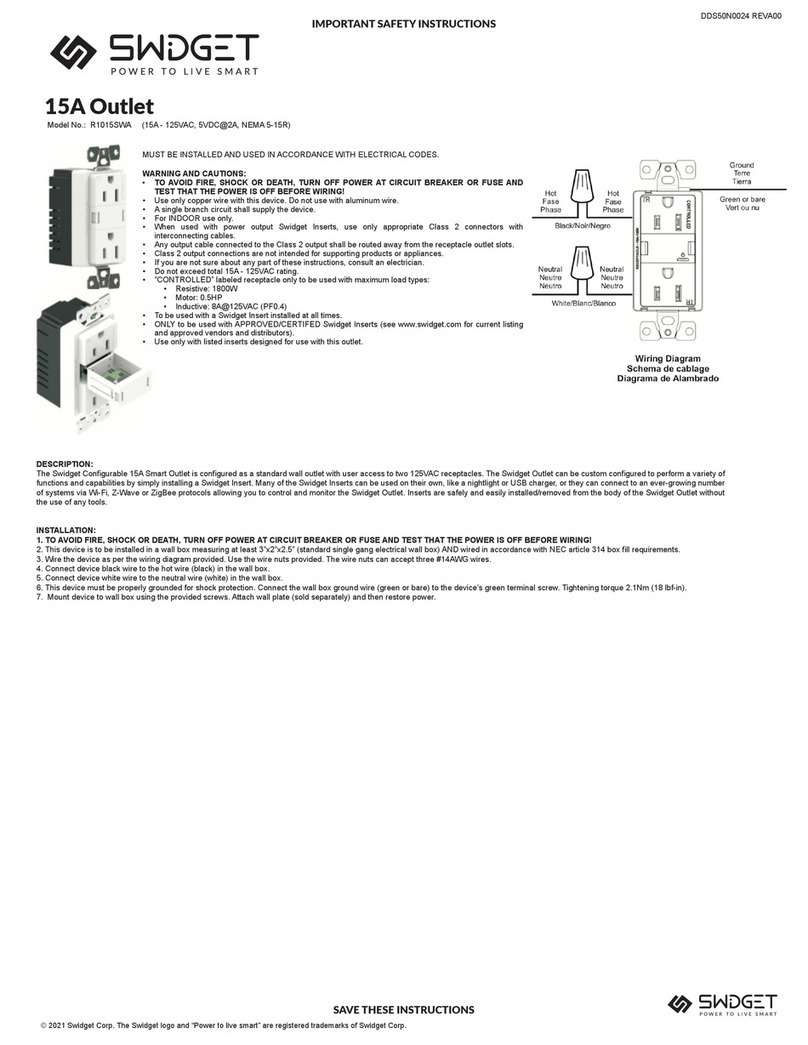
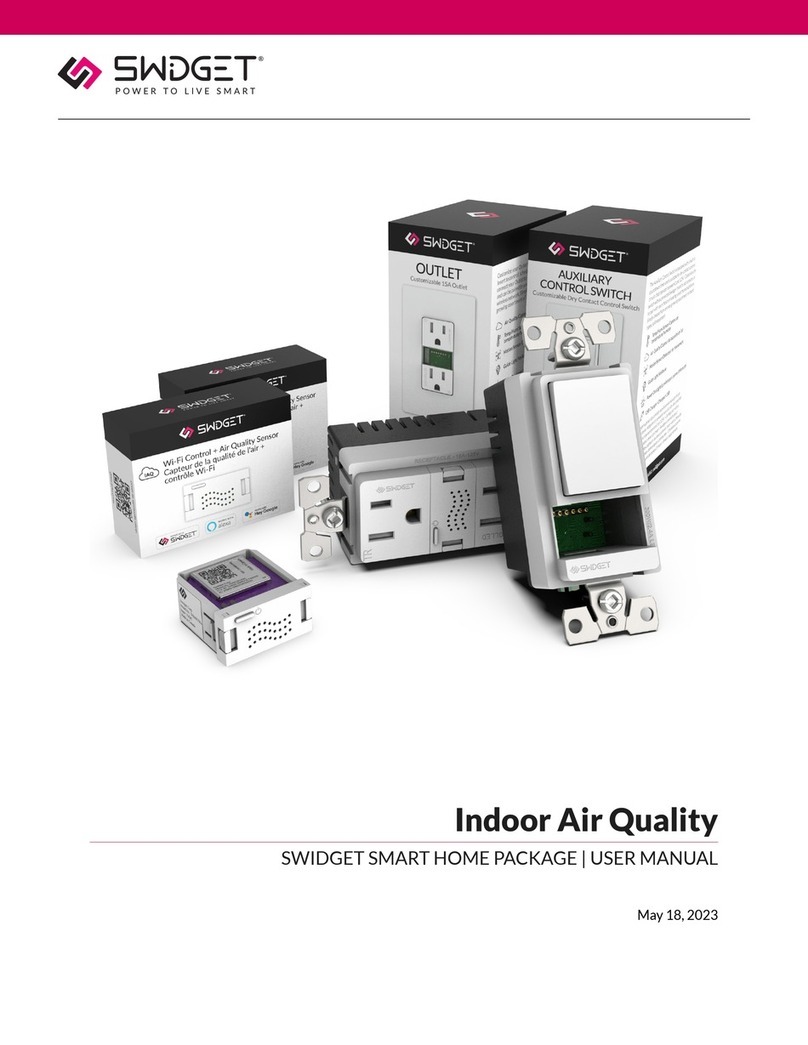
Swidget BWBTH1WA User manual

Bathroom Ventilation And Lighting
SWIDGET SMART HOME PACKAGE | USER MANUAL
May 18, 2023

Overview
Protect your family’s health and well-being with the Swidget Bathroom Ventilation and
Lighting Bundle. With the ability to automatically detect high humidity and control your
existing bathroom fan, Swidget can reduce the moisture that contributes to mold and
mildew growth and help keep your family healthy. With the Dimmer switch and motion
sensor combination, you can adjust the dimmer setting to turn on at lowered levels during
the night and avoid the discomfort of bright lights.
Features And Benets
• Detects humidity to activate ventilation fan.
• Conserves energy through sensor-driven operation, or the built in countdown timer for
manual operation.
• Programmable dimming and motion-triggered lighting.
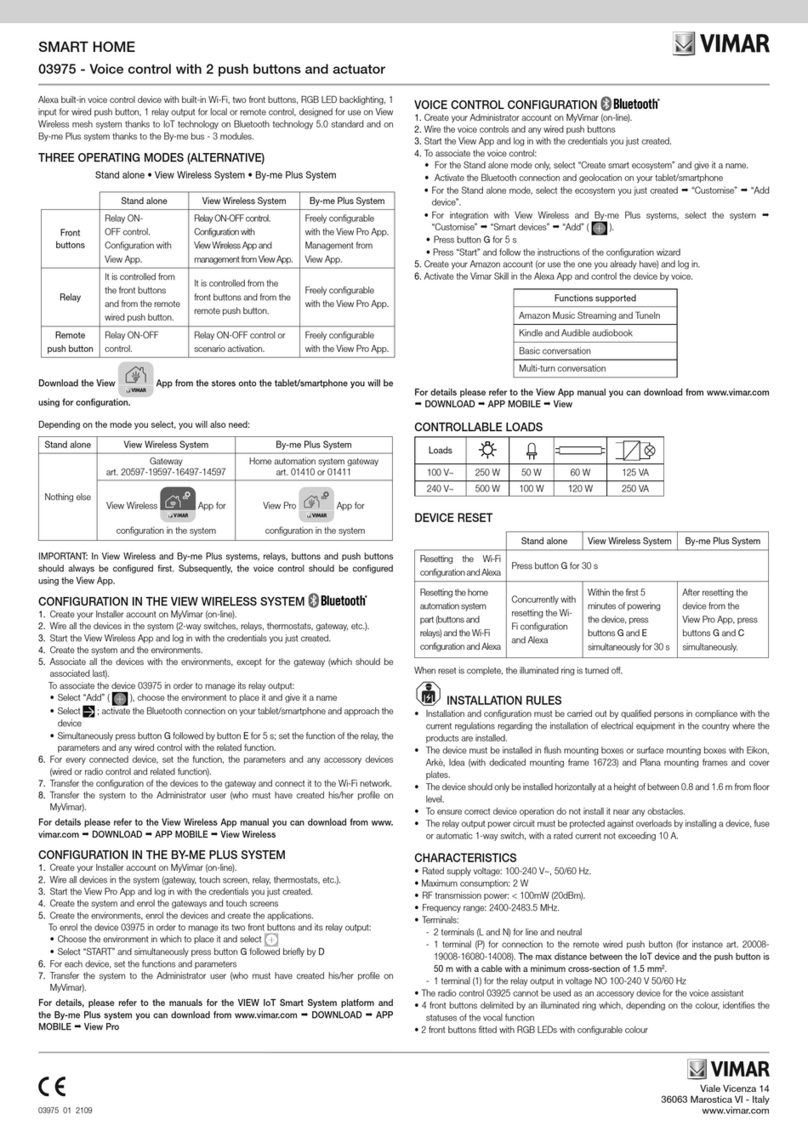
Package Includes
Quantity Product Description Part Number Product Instructions
1 20/40/60 Timer Control Switch S16008WA
1 Dimmer Switch SD3001WA
1 Wi-Fi Control + Temperature and Humidity Insert WI005UWA
2 Bathroom Ventilation And Lighting

CAUTION. SAFETY AND REGULATORY INFORMATION
Installation work and electrical wiring must be carried out by licensed
personnel in accordance with all applicable local and National Electrical
Codes (NEC)/mechanical codes, including re-rated construction. Use
these products only in the manner intended by the manufacturer. If
you have any questions, contact Swidget. Refer to the full installation
instructions provided with the products or found here before
proceeding with the installation to review all applicable cautionary and
warning statements for this product.
Suggested Installation Sites
Dimmer + Motion Sensor
Connect this to the lighting system. Ideally, place it near the room entrance so the motion
sensor can easily activate the lights.
20/40/60 Timer Control Switch + Temperature And Humid-
ity Sensor
When installing your 20/40/60 Control Switch and Temperature and Humidity Sensor
Insert, careful consideration should be given to the placement within the bathroom. This
advanced system can signicantly enhance the performance of your bathroom fan, ensuring
optimal ventilation and humidity control for a comfortable and safe environment.
For retrots, the 20/40/60 Timer Control Switch can replace your existing bathroom fan
switch or bathroom fan + light switch.
For new construction, here are the key guidelines for proper installation:
• The 20/40/60 Control Switch should be located near the bathroom entrance for easy
accessibility.
• Maintain a height between 48 and 52 inches from the oor for user convenience.
• Ensure the location provides access to the necessary electrical wiring for connection to
the bathroom fan.
• Install on an interior wall, if possible, to minimize the inuence of external temperature
uctuations.
4Bathroom Ventilation And Lighting

• Should be installed in an area away from direct sources of heat or moisture such as
showers, bathtubs, or heating appliances. This avoids false readings and ensures the most
accurate measurements.
NOTE
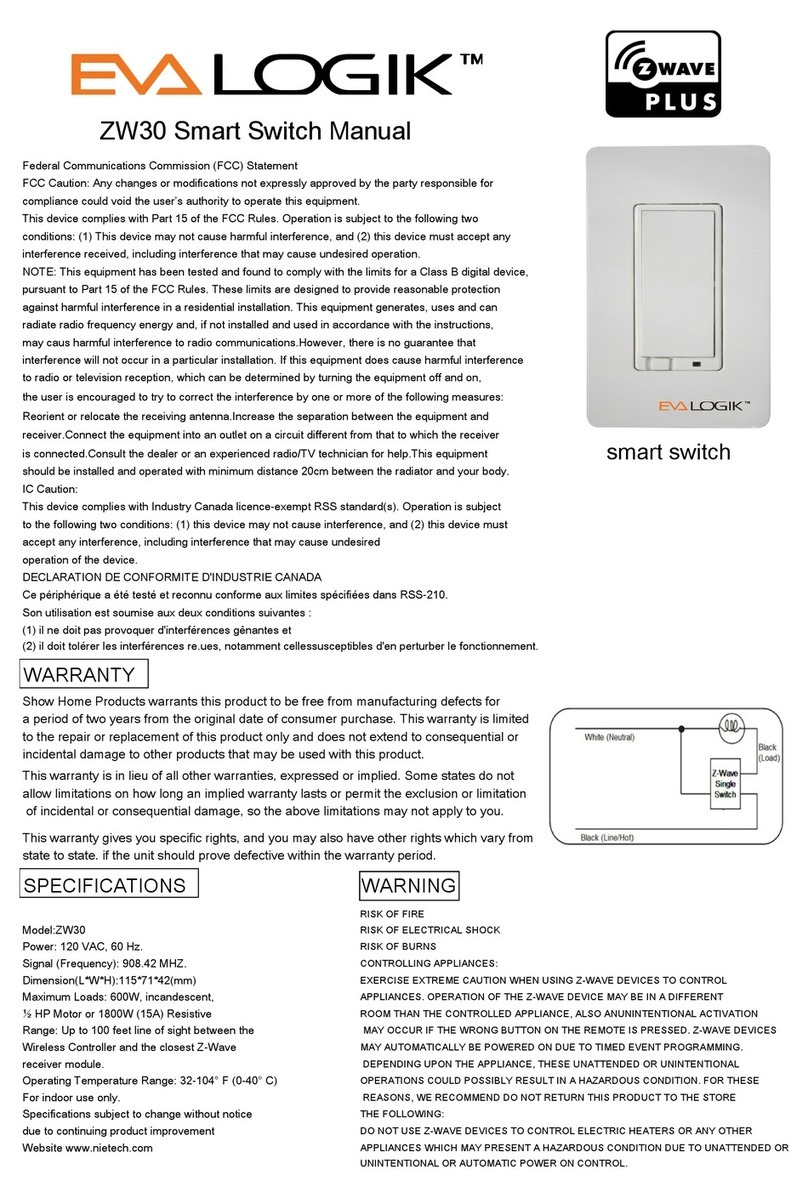
Wi-Fi Coverage – Make sure both devices have sufcient 2.4GHz Wi-Fi cov-
erage. If needed, set up Wi-Fi extenders to boost the signal.
WARNING! SAFETY AND PRECAUTIONS DURING
INSTALLATION
Before replacing a switch or outlet, always turn off the power at the circuit
breaker and use a voltage tester to ensure no live wires are present. Exercise
caution when handling wires, and consider seeking professional help if you're
unsure about any step in the process.
Tools Needed For Installation
List of necessary tools and materials
1. Screwdriver
2. Pliers
3. Wire stripper
4. Electrical tape
5. Voltage tester
6. Wire connectors
5Bathroom Ventilation And Lighting

Basic Electrical Wiring Device Removal And Instal-
lation
20-40-60 Timer Control And Dimmer Switch Instructions
1. Switch off the circuit breaker in the electrical panel to cut power to the wiring device.
2. Remove cover plate and test for live wires using the voltage tester. If live wires are
present, stop and verify that the circuit breaker supplying the circuit has been switched
off. If you are unable to access the mains wires, carefully remove the wiring device and
test for live wires as soon as you are able to.
3. Carefully disconnect wires from the old wiring device, paying attention to their original
conguration. It is recommended that you take a picture at this stage, in the event that
it is required for future reference.
4. Connect wires to the new wiring device following the wiring directions in the product
instruction manual, and secure them using wire connectors.
5. Mount the new wiring device, replace the cover, and turn the circuit breaker back on to
restore power.
TIP
To access comprehensive user instructions for all Swidget products,
simply scan the following QR code with your smartphone's camera or
click here.
6 Bathroom Ventilation And Lighting

Provisioning Instructions For Wi-Fi Inserts
Setting Up The Swidget App
The directions below show how to create a Swidget app user account. This account can be
used on multiple devices to sign into the app. You can also use this information to connect to
integrations such as Amazon Alexa, Google Home, and IFTTT.
Please make sure that you have downloaded the latest Swidget app from the iOS App Store
or Google Play Store.
https://www.youtube.com/embed/B3Fv8JlXl78
7 Bathroom Ventilation And Lighting

1. Open the Swidget App and click the SIGN UP link at the bottom right of the screen. Fill
in your information and click Create Account.
2. A conrmation code will be emailed to you. Sign in and enter the code when prompted.
You are now ready to add your rst Swidget device.
Setting Up Dimmer + Motion Sensor:
• Install Motion Sensor into Dimmer, wait for power up, and verify it is blinking green.
• Inserts ashing green are ready to pair with the Swidget app; devices will stay in discov-
ery mode for 5 minutes.
• Discovery Mode can be re-started by removing and reinstalling the insert into the cavity.
• Click '+' to add device, choose Bluetooth Pairing, select Dimmer + Motion Sensor.
8Bathroom Ventilation And Lighting

• Enter 2.4GHz Wi-Fi credentials, click continue.
• Choose room, name device (e.g., Bathroom Dimmer), click continue.
• Enable Occupancy/Vacancy Mode, choose Vacancy for manual on, auto-off after 5 mins
(customizable) or Occupancy for auto on/off based on motion/vacancy.
• Select vacancy time, click continue.
• Modify settings: long press Dimmer in Rooms view > Device Settings > Device Modes or
navigate to Automations > '+' > Device Modes.
Setting Up 20/40/60 Switch + Temperature And Humidity
Sensor
• Install Temperature and Humidity Sensor into 20/40/60 Switch, wait for power up, and
ensure it is blinking green.
• Inserts ashing green are ready to pair with the Swidget app; devices will stay in discov-
ery mode for 5 minutes.
• Discovery Mode can be re-started by removing and reinstalling the insert into the cavity.
• Click '+' to add device, choose Bluetooth Pairing, select 20/40/60 Switch + Temperature
and Humidity Sensor.
• Enter 2.4GHz Wi-Fi credentials, click continue.
• Choose room, name device (e.g., Bathroom Fan), click continue.
• Enable Bathroom Fan Mode, select a Humidity level above which the switch will turn on
your bathroom fan.
• Modify settings: long press Dimmer in Rooms view > Device Settings > Device Modes or
navigate to Automations > '+' > Device Modes.
Troubleshooting
No Power To The Device
Potential Issue(S):
• The wiring device is not controlling the circuit or providing power.
• The Insert has been properly installed into the Wiring Device but its indicator LED is OFF.
Possible Solutions:
• Verify if the circuit breaker has been turned ON.
• Verify the wiring to the switch or outlet.
9Bathroom Ventilation And Lighting

Wi-Fi Connection Problems
Potential Issue(S):
The Swidget app is failing to connect the insert to the Wi-Fi network,
Possible Solutions:
• Verify the Wi-Fi network credentials.
• Ensure the signal strength is sufcient at the insert's location.
App Related Issues Or Device Unresponsiveness
Possible Solutions:
• Update the app.
• Reset the insert.
• Contact customer support.
Inadequate Ventilation Or Lighting Performance
Possible Solutions:
• Review installation location.
• Review device settings.
Contact Information
Swidget Customer Support
1-855-202-1144
Warranty
After having been installed according to your local electrical code and by a certied electri-
cian when applicable, and having been used within normal operating conditions, Swidget
10 Bathroom Ventilation And Lighting
This manual suits for next models
4
Table of contents
Other Swidget Home Automation manuals

