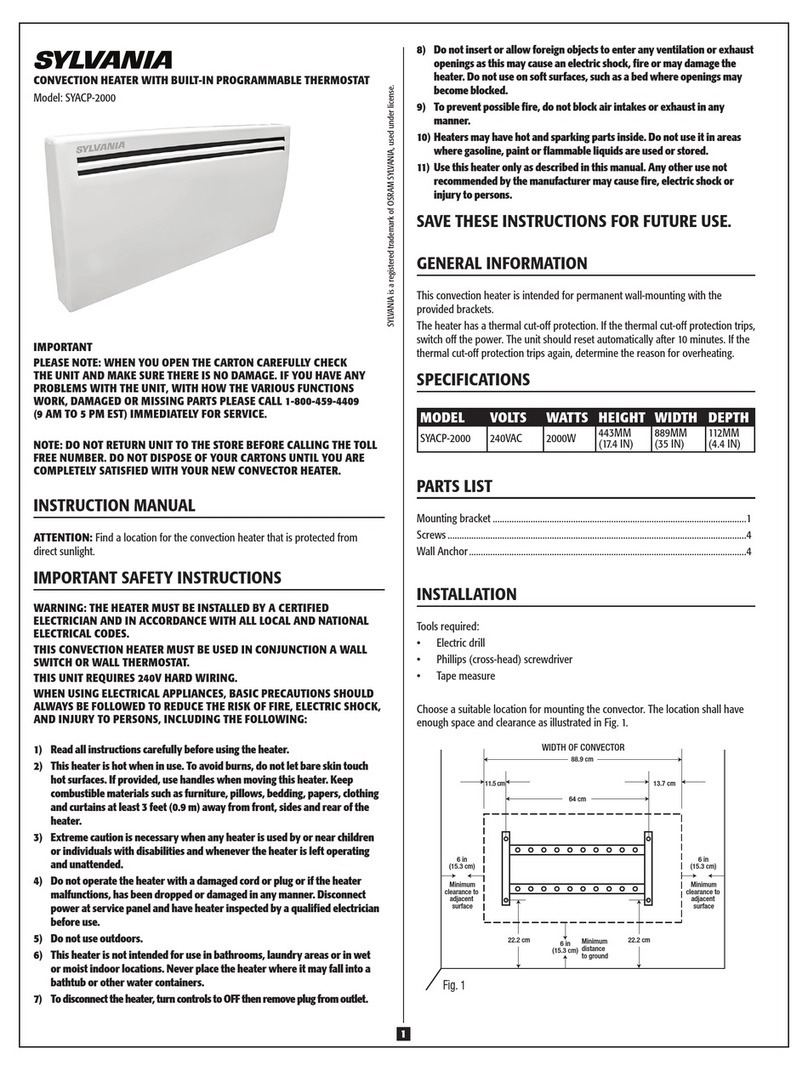
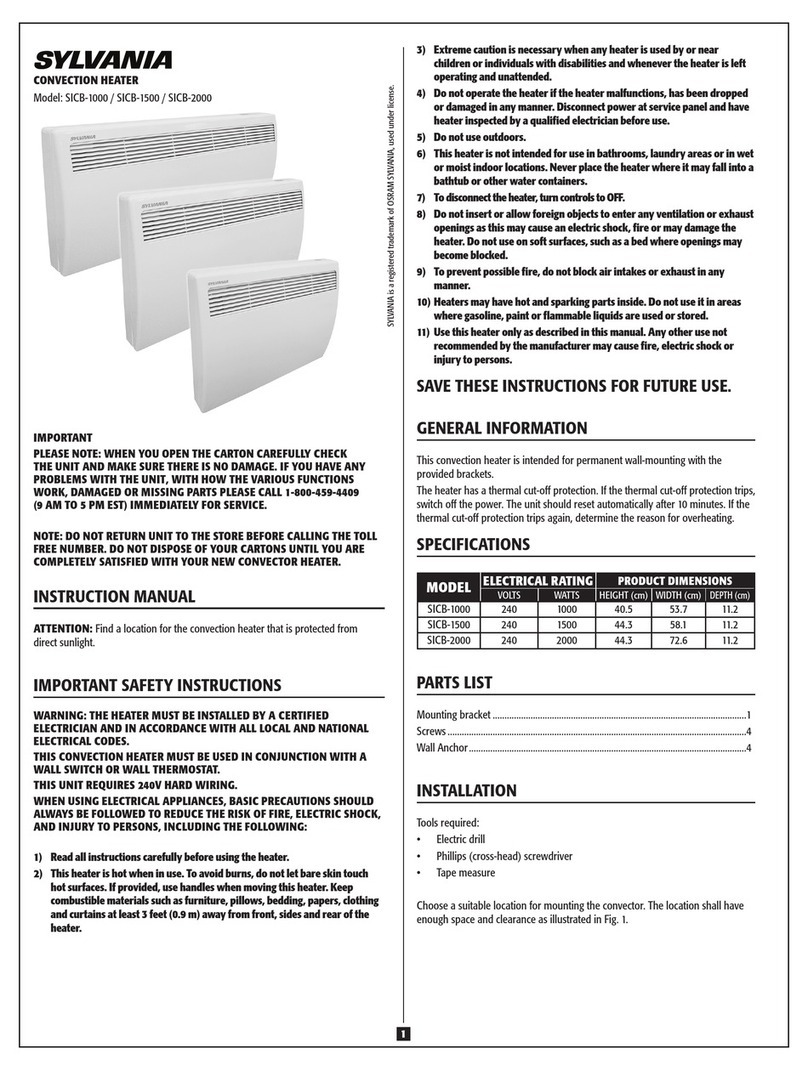
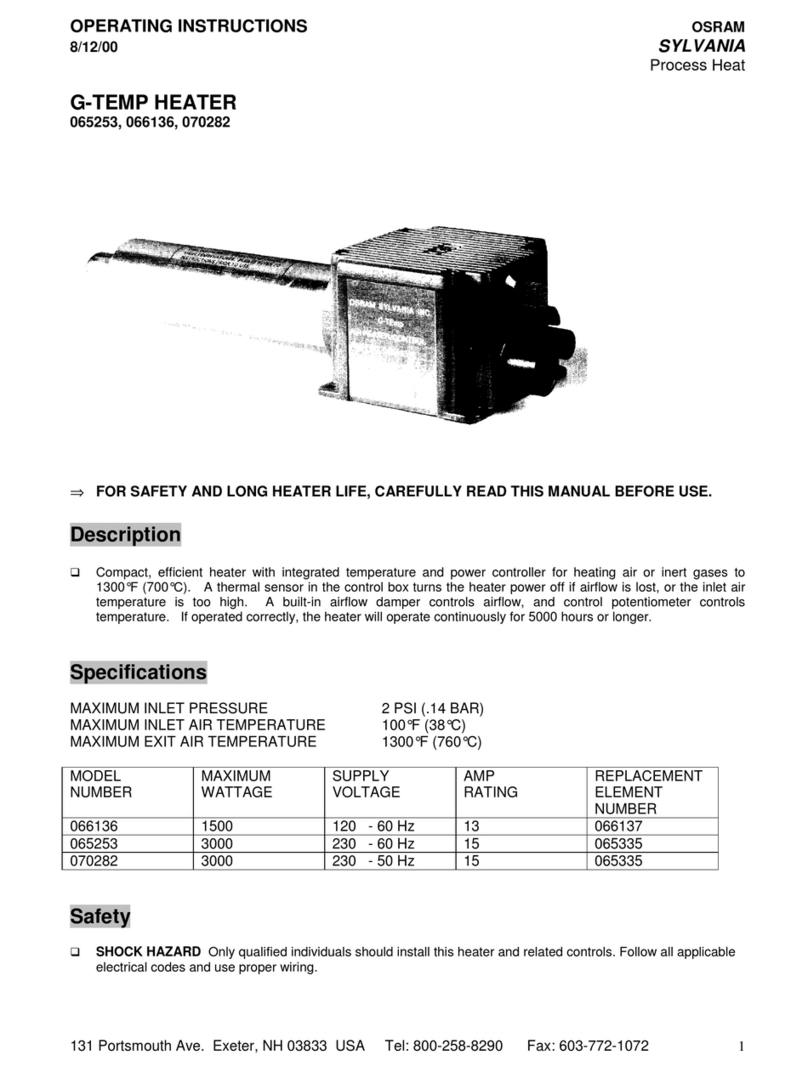
Sylvania SOCVT-500 / SOCVT-1000 / SOCVT-1500 /... User manual

1
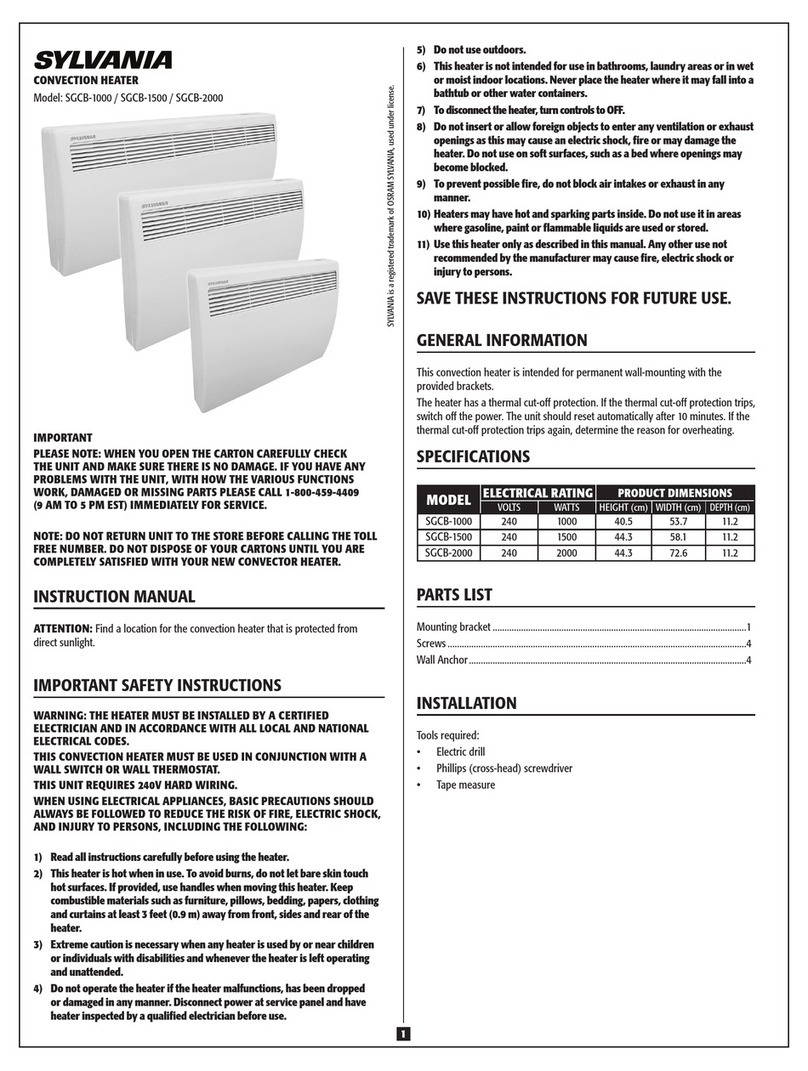
CONVECTION HEATER WITH BUILT-IN THERMOSTAT
Model: SOCVT-500 / SOCVT-1000 / SOCVT-1500 / SOCVT-2000
IMPORTANT
PLEASE NOTE: WHEN YOU OPEN THE CARTON CAREFULLY CHECK
THE UNIT AND MAKE SURE THERE IS NO DAMAGE. IF YOU HAVE ANY
PROBLEMS WITH THE UNIT, WITH HOW THE VARIOUS FUNCTIONS
WORK, DAMAGED OR MISSING PARTS PLEASE CALL 1-800-459-4409
(9 AM TO 5 PM EST) IMMEDIATELY FOR SERVICE.
NOTE: DO NOT RETURN UNIT TO THE STORE BEFORE CALLING THE TOLL
FREE NUMBER. DO NOT DISPOSE OF YOUR CARTONS UNTIL YOU ARE
COMPLETELY SATISFIED WITH YOUR NEW CONVECTOR HEATER.
INSTRUCTION MANUAL
ATTENTION: Find a location for the convection heater that is protected from
direct sunlight.
IMPORTANT SAFETY INSTRUCTIONS
WARNING: THE HEATER MUST BE INSTALLED BY A CERTIFIED
ELECTRICIAN AND IN ACCORDANCE WITH ALL LOCAL AND NATIONAL
ELECTRICAL CODES.
THIS CONVECTION HEATER MUST BE USED IN CONJUNCTION WITH A
WALL SWITCH OR WALL THERMOSTAT.
THIS UNIT REQUIRES 240V HARD WIRING.
WHEN USING ELECTRICAL APPLIANCES, BASIC PRECAUTIONS SHOULD
ALWAYS BE FOLLOWED TO REDUCE THE RISK OF FIRE, ELECTRIC SHOCK,
AND INJURY TO PERSONS, INCLUDING THE FOLLOWING:
1) Read all instructions carefully before using the heater.
2) This heater is hot when in use. To avoid burns, do not let bare skin touch
hot surfaces. If provided, use handles when moving this heater. Keep
combustible materials such as furniture, pillows, bedding, papers, clothing
and curtains at least 3 feet (0.9 m) away from front, sides and rear of the
heater.
3) Extreme caution is necessary when any heater is used by or near
children or individuals with disabilities and whenever the heater is left
operating and unattended.
4) Do not operate the heater if the heater malfunctions, has been dropped
or damaged in any manner. Disconnect power at service panel and have
heater inspected by a qualified electrician before use.
5) Do not use outdoors.
6) This heater is not intended for use in bathrooms, laundry areas or in wet
or moist indoor locations. Never place the heater where it may fall into a
bathtub or other water containers.
7) To disconnect the heater, turn controls to OFF.
8) Do not insert or allow foreign objects to enter any ventilation or exhaust
openings as this may cause an electric shock, fire or may damage the
heater. Do not use on soft surfaces, such as a bed where openings may
become blocked.
9) To prevent possible fire, do not block air intakes or exhaust in any
manner.
10) Heaters may have hot and sparking parts inside. Do not use it in areas
where gasoline, paint or flammable liquids are used or stored.
11) Use this heater only as described in this manual. Any other use not
recommended by the manufacturer may cause fire, electric shock or
injury to persons.
SAVE THESE INSTRUCTIONS FOR FUTURE USE.
GENERAL INFORMATION
This convection heater is intended for permanent wall-mounting with the
provided brackets.
The heater has a thermal cut-off protection. If the thermal cut-off protection trips,
switch off the power. The unit should reset automatically after 10 minutes. If the
thermal cut-off protection trips again, determine the reason for overheating.
SPECIFICATIONS
MODEL ELECTRICAL RATING PRODUCT DIMENSIONS
VOLTS WATTS HEIGHT (cm) WIDTH (cm)
DEPTH (cm)
SOCVT-500 240 500 33.1 44.6 9.2
SOCVT-1000 240 1000 40.5 53.7 11.2
SOCVT-1500 240 1500 44.3 58.1 11.2
SOCVT-2000 240 2000 44.3 72.6 11.2
PARTS LIST
Mounting bracket ...........................................................................................................1
Screws ..............................................................................................................................4
Wall Anchor.....................................................................................................................4
INSTALLATION
Tools required:
• Electricdrill
• Phillips(cross-head)screwdriver
• Tapemeasure
Choose a suitable location for mounting the convector. The location shall have
enough space and clearance as illustrated in Fig. 1.
SYLVANIA is a registered trademark of OSRAM SYLVANIA, used under license.

2
Fig. 1
WIDTH OF CONVECTOR
6 in
(15.3 cm)
6 in
(15.3 cm)
Minimum
clearance to
adjacent
surface
6 in
(15.3 cm)
Minimum
clearance to
adjacent
surface
Minimum
distance
to ground
A
B
DC
E E
MODEL A(cm) B(cm) C(cm) D(cm) E(cm)
SOCVT-500 44.6 34.0 4.5 6.2 20.8
SOCVT-1000 53.7 33.7 12.2 7. 8 24.8
SOCVT-1500 58.1 33.7 9.8 14.6 22.2
SOCVT-2000 72.6 48.3 11 13.2 22.2
WALL MOUNTING INSTRUCTIONS
1. Release the mounting bracket by pressing the locking brackets on both sides.
2. Use the mounting bracket as a template by holding it against the wall as
illustrated in Fig. 1.
3. Follow the dimensions specified in Fig. 1 and place mounting bracket in the
desired location.
4. Mark the 4 screw holes. Place mounting bracket on the screw markings and
ensure the mounting bracket is perfectly level.
5. Predrill holes and insert 4 wall anchors. Wall anchors are needed for
mounting on drywall or concrete walls. Ensure you use the proper anchors
for your wall type.
6. Replace the mounting bracket and fasten it with screws (minimum 4 screws).
7. Mount the convector to the mounting bracket and engage the 2 locking
brackets at the top. See Fig. 2.
CAUTION – HIGH TEMPERATURE, RISK OF FIRE. KEEP ELECTRICAL
CORDS, DRAPERY, FURNISHINGS AND OTHER COMBUSTIBLES AT LEAST
3 FT (0.9 M) AWAY FROM THE FRONT OF THE HEATER AND AWAY FROM
THE SIDE AND REAR OF HEATER.
WARNING – TO REDUCE RISK OF FIRE, DO NOT STORE OR USE
GASOLINE OR OTHER FLAMMABLE VAPORS AND LIQUIDS IN THE
VICINITY OF THE HEATER.
Fig. 2
Wall
Wall bracket Convector
ELECTRICAL WIRING
WARNING: THIS CONVECTION HEATER IS TO BE USED ON A 240 VAC
POWER SUPPLY AND GROUNDED OUTLETS.
THERMAL CUT-OFF
PROTECTION
HEATER
LCD
BLACK (L)
WHITE (N)
SENSOR
GREEN/YELLOW (G)
CAUTION: TURN OFF MAIN POWER BEFORE BEGINNING INSTALLATION
TO AVOID ELECTRIC SHOCK.
WARNING: THE HEATER MUST bE INSTALLEd bY A
CERTIFIEd ELECTRICIAN ANd IN ACCORdANCE WITH
ALL LOCAL ANd NATIONAL ELECTRICAL COdES.
1. Connect white colored neutral wire (N).
2. Connect black colored live wire (L).
3. Connect green colored ground wire. All connections using twist on wire
connectors. Put all wires properly into the junction box before replacing the
cover with the provided screw.
OPERATION
1. Turn on the wall switch / wall thermostat to switch on the heater.
2. After switching on, the thermostat will start at the default temperature.
3. There are 3 control buttons:
UP – Temperature Up
DOWN – Temperature Down
°C / °F – Change temperature to Celsius or Fahrenheit
4. In Celsius mode, pressing the UP or DOWN once will increase / decrease the
temperature in 0.5 degree C increments. In Fahrenheit mode, press the UP or
DOWN button once will increase the temperature in 1.0 degree F increments.
5. Pressing the UP or DOWN buttons continuously will increase / decrease the
temperature setting quickly.
6. Once the temperature control buttons are set and released, the display will
change from the temperature to the room temperature after a few seconds.
7. The LED display 3 digits. In Celsius Mode, the temperature will display with
one decimal, e.g. 22.5; for Fahrenheit, there is no decimal, e.g. 104 deg F will
display as 104.

3
MAINTENANCE
WARNING: TO REDUCE THE RISK OF FIRE OR ELECTRIC SHOCK, ALWAYS
SWITCH OFF THE UNIT AND WAIT 10 MINUTES TO ALLOW IT TO COOL
BEFORE ATTEMPTING ANY MAINTENANCE OR CLEANING.
It is recommended that the heater is cleaned periodically in order to avoid dust
blocking the grill and allow proper ventilation.
CLEANING
Wipe the unit with a soft damp cloth. Do not use abrasive cleaners or spray liquids
on the unit surfaces.
Note: It is possible that the unit surface may discolour (yellow) over time, due to
dust or cigarette smoke. This is normal and not a manufacturing defect.
WARRANTY
The heating element is guaranteed for 10 years and all other components are
guaranteed for one year from the date of purchase. If the unit should fail to operate
correctly, call customer service at 1-800-459-4409 EST. We will, at our discretion,
either repair or replace the unit. It will have to be returned to us freight prepaid and
we will return the repaired or replaced unit to you, freight prepaid. The company’s
sole obligation is to repair or replace the unit. This warranty is void if in the opinion
of Quality Craft the unit has been tampered with, altered, misused, damaged,
abused or used with the wrong power source. The warranty is for home use only
and does not cover units used in commercial situations.
Imported by
Quality Craft
Laval, Quebec, Canada H7S 2G7
1-800-459-4409 (EST)
www.qualitycraft.com
Made in China
This manual suits for next models
3
Table of contents
Other Sylvania Heater manuals