Synergy Science Echo H2 MACHINE Instructions for use

Echo H2Machine Owner’s Operation Manual
The Premier H2Enriched Water Purification System
Warning: Incorrect installation and/or operation could void your valuable warranty.
Please protect your investment! READ THIS MANUAL CAREFULLY
H2

02
Safety precautions
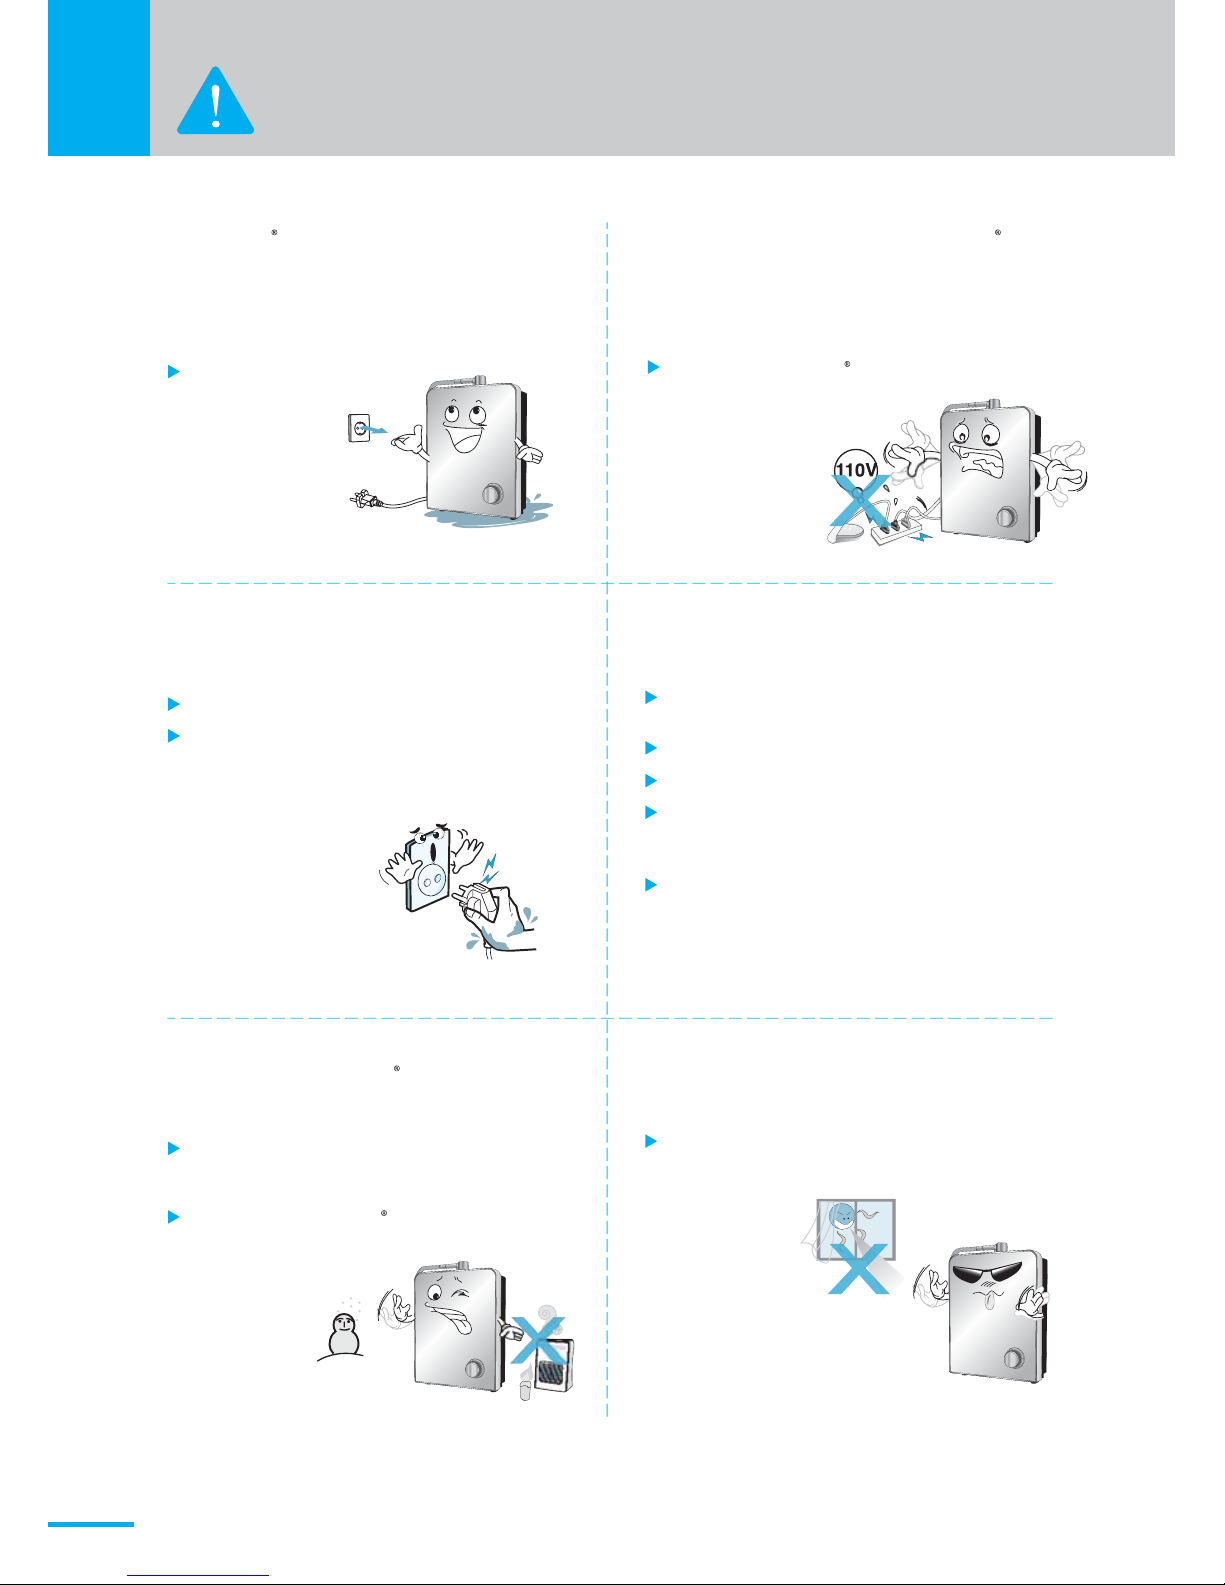
If the Echo H2 Machine is immersed in
water by accident, remove the plug
from the socket and remove the Machine
from water.
Contact the Customer Support.
Always set the voltage of the Echo H2
Machine to match the voltage of
the power supply.
Any power other than the proper
voltage MUST NOT be used.
It may cause
electric shock.
Do not use the Echo H2 Machine
with other electric devices
at the same time
as it may cause
fire.
Do not pull on the power cord.
Do not touch the plug with wet hand.
Insert the plug completely into the
power supply.
Do not install the Echo H2 Machine
in an area exposed to extreme
temperatures.
Keep away from excessive humidity
or dust, water splashes or direct sunlight.
Ambient temperature : 5~104 F,
Water temperature: 41~86 F
Never install the Echo H2 Machine
in a location where it may be
subject to freezing
temperatures.
It may cause fire or electric shock.
It may cause electric shock.
Remove excess dust from the plug on
a regular basis using a dry cloth.
Failure to due so may cause fir
Loose connection may cause electric
shock or heat generation leading to fire.
Do not use a defective plug or loose socket.
Do not bend the power cord by force.
Do not damage or deform the cord by
placing a heavy object over it.
(It may cause fire or electric shock.)
Wipe off dust or water from the plug pins
and the connection parts.
(It may cause fire or electric shock.)

03
Connect the Echo H2 Machine to the cold
water source line.
Connection to the hot water source
line may damage the filter
and /or machine.
Hot
Water
Do not use the Echo H2 Machine
with any water source that is
not already drinkable.
Do not block the Water Output.
Do not bend, twist or press the hose.
It may cause water leak, incorrect
pH level in water or Echo H2 Machine
malfunction.
Remove the plug from the socket
immediately if there is abnormal
noise or smell from the Echo H2 Machine,
and contact the Customer Support.
It may cause fire or electric
shock.
Before using the Echo H2 Machine that has been out of use for over 2weeks,
let water flow for 2-3 minutes to ensure proper operation of the Echo H2 Machine.
Do not un-assemble, repair or alter
the Echo H2 Machine.
It may cause fire or electric shock.
Please contact the retailer or the
Customer Support for repair.
Do not splash water on the
Echo H2 Machine or wash the Machine
with water.
It may cause short, electric
shock or breakdown.
Any alterations to the
Echo H2 Machine not
done by the
corporate office
will VOID YOUR
WARRANTY.

04
Source Water
Connection
Filter Cover
Master Power Switch
Input Voltage Selector
Fuse Holder
Faucet cable
Harness port
Hydrogen
Water Selector
On/ Off Knob
Key-hole Slots For
Wall Mounting
Hydrogen Water Spout
Speaker
Names And Functions
Front
Back

05
Indicators and controls
Setting button
Setting indicator
Filter life Indicator
Filter replace indicator
"Filtered" button
Filtered indicator
Low water pressure indicator
"H2" button and Indicator
Water Flow Indicator
Water SpoutDiverter
Valve Source
Water Hose
Qwner’s
Manual
Accessories
H2
Quick Connect
Removal Tool
Elbow Teflon tape

06
1.Turn the master power switch on the
back of the Echo H2 Machine to the
ON position.
2.When the ON/OFF knob is turned ON, a voice announcement will
be heard announcing the water type that is currently flowing,
Filter life indicator will track the amount of water flowing
and show the remaining filter life left.
How to use
Initial operation
H2H2H2

07
Turn on the machine by rotating ON/OFF knob to ON position: the large round
Hydrogen button should be illuminated. If not illuminated, press the
Hydrogen button and this will initiate hydrogen water production
You will hear hydrogen water is dispensed with voice message.
(You can use the hydrogen water by pressing the hydrogen water button(H2)
Turn on the machine by rotating the ON/OFF knob to On position.
Press the filtered button. The H2 Hydrogen button will no longer be illuminated.
Filtered water is dispensed with voice message “Filtered water”.
In this mode, Hydrogen is not being produced.
(You can use the filtered water by pressing the filtered water button even
if the hydrogen water is being dispensed.)
hydrogen
water
Filtered
How to Choose Hydrogen Water
H2
H2
How to Choose Filtered Water

08
Settings Button
How to use
Rotate the ON/OFF knob to the OFF
position. The LED Display will no
longer be illuminated and the machine
will go into standby mode.
How to turn off water flow
H2
H2
The 'Setting function' can be operated only when machine is powered on.
It has language and volume settings.
<English>
<Korean>
<Language setting><Filter life setting>
1) How to set the language
※ The default setting is English.
① Touch and hold the Mode button for a few seconds until the ring sound is heard.
The screen will appear as follows.
② Press the H2 button to switch to the language setting (LAn0_ English) mode.
③ Press the Filtered button to change the setting value as follows.
(LAn0 → LAn1 → LAn0) LAn1 is set to Korean Language.
④ Press the Mode button to save the setting value.

09
twice~
<volume 3> <volume 4> <volume 5>
<volume 0>
<volume 1><volume 2>
<Language setting><Filter life setting>
2) How to set the volume
※ The default setting is VoL3.
① Touch and hold the Mode button for a few seconds until the ring
sound is heard. The screen will appear as follows.
H2
② Press the H2 button twice to switch to volume setting (VoL3) mode.
③ Press Filtered button to change the setting value as follows.
④ Press the Mode button to save the setting value.

10
Change of genuine filter
OFF
ON
1
When the filter reaches the end of
its life, the filter life indicator shows
0000, the filter replace icon will then
light up, and the voice message will
say "Replace filter"
2
Turn off the power switch on the back
of the machine and shut off the water.
34
5
Place the genuine filter with the arrow
pointing toward the front, fit it into the
groove below, and push it in.
- Check for leaks after replacing the filter.
If there is a leak, check the “O”ring to
verify it is not damaged, cracked, or needing
to be lubricated.
Pull the filter cover forward to
remove it Push down on the top of the filter, then
pull it out. to words you.
6
Match the direction of the arrow shown
at the top to the direction of the arrow
on the filter
How to replace the filter
If the arrows are not lined up, the machine
will not recognize the filter genuine.
Filter Sticker

11
Genuine TAG filter
The genuine TAG filter has no reset function. When the filter replacement time comes,
the filter number graphic shows 0000 and the filter change icon flashes.
“Replace the filter” announces and enters to the filtered water mode.
The machine will not function until the filter has been replaced with a genuine filter.
Please replace filter when any one of the flowing occur:
When the water no longer tastes clean and pure.
Excessive odor in the water and/or severely decreased flow rate
After prolonged period of inactivity more than 30 days.
(You can remove the filter an put in the refrigerator if going away from the machine)
If the filter has been in use for over 1 year.
7
Turn the master power switch to
the ON position, Located on back
of machine.
8
After pressing the filtered button in
the standby mode, check for any
leakage by flowing water for 2 ~ 3
minutes, if there are no leaks you
can now close the filter cover.

12
Composition of Filter
Composition of the filter
(Coconut Husk)
(Coconut Husk)
(NSF /ANSI 42)
(NSF /ANSI 42)
<High Performance Filter>
-Please replace lter when the water no longer tastes clean.
-Filter replacement may be needed , if you haven’t used your machine in a long period of time.
Effective period of filter use may differ greatly depending on season, usage, and
environment. (I.E. water pressure, quality, and amount of contaminants.)
It is recommended to change your filter at least once a year even if you are not
prompted or experiencing any issues.
Recommended period for changing filter
Please replace filter when prompted by machine or if any one of
the below occurs:

13
How to Install
Below Counter Installation Procedure
Warning!
Keep order of Dust pre-Filter
and Constant ow valve
when machine is installed
Dust Pre Filter
Source water
Source water
Dust Pre Filter
inlet
inlet
Cold water valve
Above Counter Installation Procedure
Diverter valve

14
Above Counter Installation Procedure
Install after stop water supply.
Caution
1
Please assemble the faucet top
(water top) and the diverter valve as
shown above.
3
Push in and fasten the 1/4” Hose
hose in "Figure 2" into the water
inlet at the bottom of the machine.
4
After finishing the connection of
"Figure 4" open the water supply
valve and adjust the water pressure.
2
Connect 1/4” Hose hose to the
adaptor in "Figure 2"
[Figure 1]
Diverter valve
[Figure 3] [Figure 4]
[Figure 5]
5
Check the leaks on all connections
after installation is completed.
[Figure 2]
1/4” Hose
inlet
How to Install
Diverter valve

15
2
Connect 1/4” hose to the “T” adapter
in "Figure 2"
3
Push in and fasten the 1/4” hose
in "Figure 2" into the water
inlet at the bottom of the machine.
4
After finishing the connection of
"Figure 4" open the water supply
valve and adjust the water pressure.
5
Check for leaks on the connections
part after installation completed.
Below Counter Installation Procedure
Install after stop water supply.
Caution
1
Loosen the nut of the cold water
valve.
[Figure 4]
[Figure 1]
[Figure 3]
[Figure 5]
[Figure 2]
inlet
Cold water valve
1/4” Hose
“T”adapter

16
Installation Precautions / Wall hanger installation
1.Soak the installation
drawing with water
and paste it in parallel
with the wall.
2.Drive the nail in position.
(leave the nail head about 1cm).
3.Hang on the device
body to the nail.
Wall hanger installation
Install after closing water supply.
Caution
Install water pump when the water pressure is low.
When using the water with high hardness, you may want to
- use a water softener.
Installation Precautions
Caution

17
Trouble Shooting Guide
Replace the filter.
R
eplace the
f
ilter.
Symptom Check point Troubleshooting
There is no display in
the stand-by mode.
Even with the supply
of water, machine is
not turning on.
Little or no water
dispensed
Power suddenly turns
OFF during operation
The filter replacement
lamp flickers.
1. Is the power cord properly connected?
2. Is the power switch turned ON?
3. Is the fuse broken?
4. Is the fuse holder properly coupled?
1. Did you replace the filter with an
authentic filter?
2. Did you register an authentic filter?
3. Are you using a non-authentic filter?
1. Is the water pressure sufficient?
2. Is the filter blocked? or full?
3. Is the Input Hose bent?
4. Is the flow control on the faucet
diverter locked?
Is the filter beyond the replacement cycle?
1. Is the fuse broken?
2. Have you used the Echo H2
Machine for a long period of time
at once?
The Echo H2 Machine may not operate by improper use or trivial causes, rather than by break-down.
Before contacting the Customer Support for repair, please refer to the following:
Replace with an authentic filter, and
rotate it to make sure it is detected
by machine.
1. Check if there is water supply.
Check if the water valve is open,
or the hose is bent.
2. Replace the filter.
3. Straighten the bent hose.
4. Open the flow control device and
adjust the flow rate.
1. Replace the fuse. (250V/2A)
2. The Echo H2 Machine will stop
to protect itself from over-current.
Wait for 5 minutes to recommence.
1. Connect the power cord properly.
2. Turn on the power switch.
3. Replace the fuse. (250V/2A)
4. Couple the fuse holder properly.
Water tastes bad. 1. Is the filter beyond the replacement cycle?
2. Electrolyzed reduced water is highly
active. although it is suitable as drinking
water, a trace of cl2 may remain in the
water leading to bad smell?
3. Over-electrolysis due to insufficient
amount of input water may cause bad
smell?
4. Is the hose for input water bent?
1. Replace the filter.
2. Adjust the pH level. If the problem
persists, replace the filter.
3. Fit a booster pump to increase the
amount of input water.
4. Unbend.
Water leaking around
the filter or somewhere
inside the Echo H2
Machine
1. Is the filter properly fitted in?
2. Is the leakage from somewhere other
than the filter?
1. Remove the filter, check the O-ring
and put the filter back.
2. Stop immediately and contact the
Customer Support.

18
Specification
Echo H2Machine Specification
Hydrogen water Generator
Echo H2 Machine
AC 120V or 240V, 50Hz~60Hz
SMPS
Max 250W
10.5 x 15 x 5.3in (270 x 383 x135 mm)(WxHxD)
10-71psi (0.7~5kgf/㎠)
41°- 84°F (5~30℃)
On / Off Knob
Continuous Electrolysis
Easy Replaceable Cartridge
Activated Carbon Filter(Cocunut Husk),
Device Type
Model
INPUT Voltage
Power Supply
Power Consumption
Overall Dimension
Applicable Water Inflow Pressure
Applicable Water Temperature
Unit Operation Type
Electrolysis Method
Filter Replacement
Filter Composition
Protection type and class against electric shock : Class Ⅱ device, Type B applied part
KDF55, Tourmaline, .1 micron Filter
1000Gal/4000 Liters or 1 year
LED Module Indicator
Manual Valve
Filter Life
Filter Life Indicator
ON/OFF Valve

19
memo

www.synergyscience.com
Toll Free
800-337-7017
Local
+1-407-287-5392
www.synergysc
i
ence.c
om
T
o
ll
F
ree
8
00-337-7017
L
oca
l
+
1-407-2
8
7-539
2
2018.06
The Premier H
2
Enriched Water Purification System
H2
Table of contents
Popular Water Filtration System manuals by other brands

STA-RITE
STA-RITE VERTICAL GRID DE FILTERS S7D75 owner's manual

Zip
Zip HydroTap G5 Touch-Free Wave Quick start installation guide

MATALA
MATALA Aqua2use GWDD Installation and operating instructions

Angel Water
Angel Water PurAzone A03 manual

Sharp
Sharp FZ-S63MF Operation manual

Pentair
Pentair FLECK 5800 SXT Service manual

Watts
Watts Pure H2O Series Installation, operation and maintenance manual

Eldom
Eldom Flow DF100N user manual

uv guard
uv guard SLT Series Installation and operation manual

Pentair
Pentair Logix 762 user guide

Heaven Fresh
Heaven Fresh AquaCharger AK-900 instruction manual

Duro
Duro 6200 SXT Operating and service manual