manuals.online logo
Brands
  1. Home
  2. •
  3. Brands
  4. •
  5. System Sensor
  6. •
  7. Smoke Alarm
  8. •
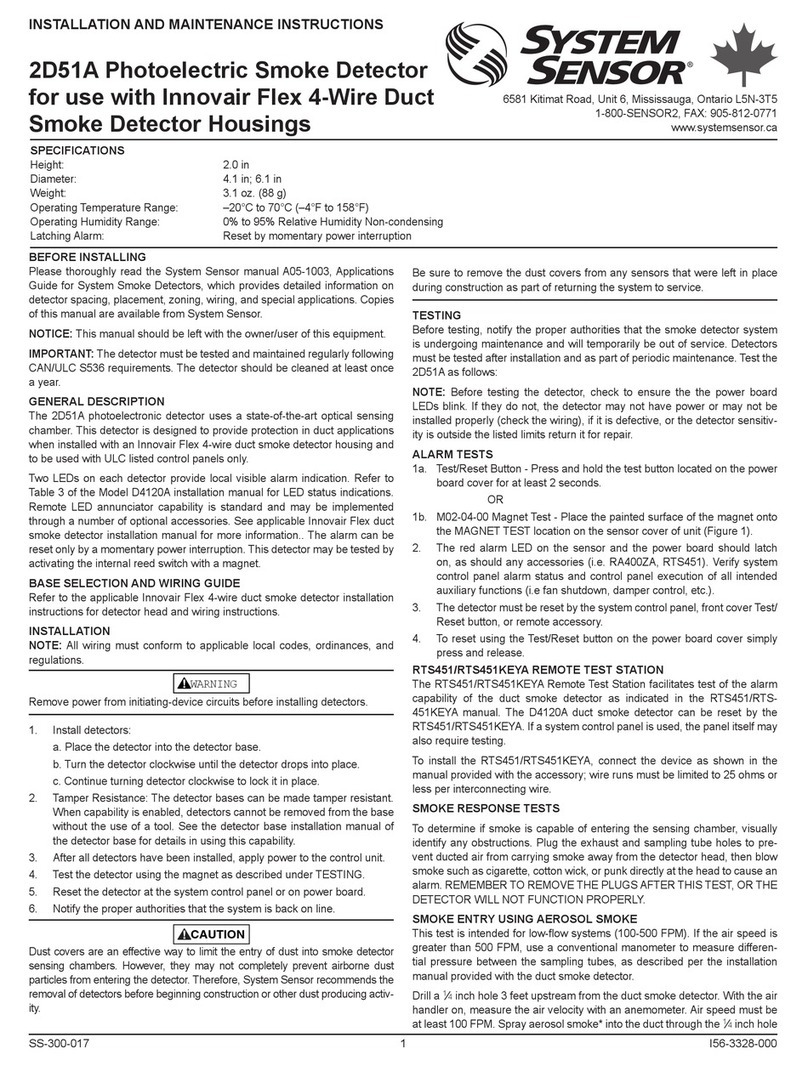
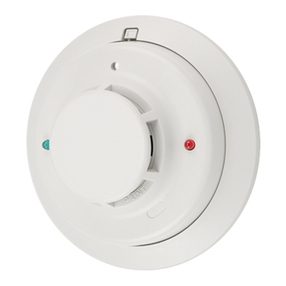
  9. System Sensor D4P120 User manual

System Sensor D4P120 User manual

506791−01
*P506791-01*
07/11
*2P0711* Page 1
INSTALLATION INSTRUCTIONS FOR SMOKE DETECTOR KITS (603408−07 & 08;
83W40 & 41) USED WITH KC/KG/KH/LCH/LGH156−360 UNITS
Litho U.S.A.
506791−01
7/2011
Supersedes 5/2011
2011 D4P120 & D4S
SMOKE DETECTOR KITS
PACKAGED UNITS KITS
AND ACCESSORIES
Shipping and Packing List
83W40 single−sensor kit contains:
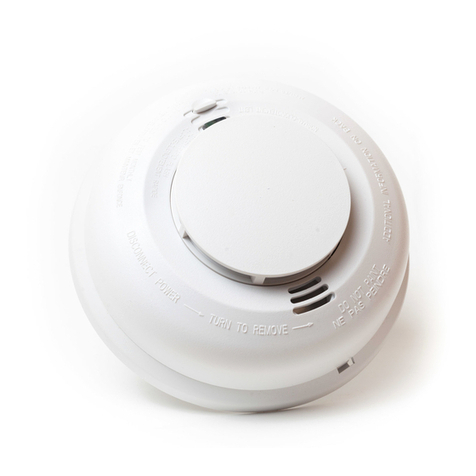
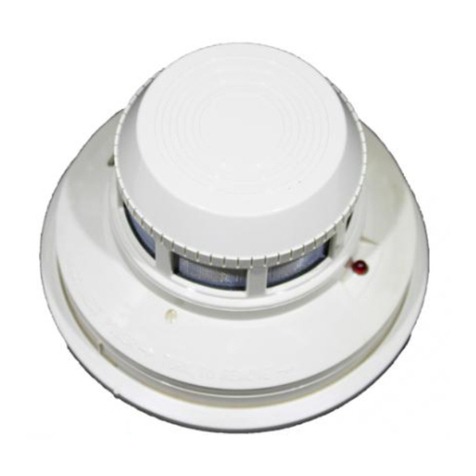
1− Smoke detector sensor
1− Smoke detector power board
1− Power board mounting bracket
1− Supply bracket
1− Power harness J255 (used on KC/KG/KH units only)
1− Jumper harness P250/J261 (used with supply air
applications only)
2− Metal sampling tubes
1− Plastic exhaust tube
1− Magnet
1− Grommet
1− Sensor manufacturer’s instructions
4− #8 − 32 X 1" thread −forming screws
#10 − 32 X 3/8" thread forming screws
1− Insertion wire tie
83W41 dual−sensor kit contains:
2− Smoke detectors
1− Smoke detector power board assembly
1− Power board mounting bracket
1− Supply bracket
1− Power harness J255 (used on KC/G/KH units only)
2− Metal sampling tubes
2− Plastic exhaust tubes
2− Magnets
1− Grommet
1− Sensor manufacturer’s instructions
6− #8 − 32 X 1" thread −forming screws
#10 − 32 X 3/8" thread forming screws
1− Insertion wire tie
CAUTION
Before attempting to perform any service or
maintenance, turn the electrical power to unit OFF
at disconnect switch.
Application
LCH and LGH Units −− Smoke detector will send a 24Vac
signal to the unit controller when smoke is sensed. The unit
controller default mode will de−energize unit.
KC/KG/KH Units −−Smoke detector will interrupt the
24Vac signal to the unit control circuit when smoke is
sensed. Unit will be de−energized.
Kit 83W40 (603408−07) is used in either supply or return
air applications. Kit 83W41 (603408−08) is used when
both supply and return air smoke detectors are installed.
Installation
WARNING
Improper installation, adjustment, alteration, ser-
vice or maintenance can cause property damage,
personal injury or loss of life. Installation and ser-
vice must be performed by a qualified installer, ser-
vice agency or the gas supplier
CAUTION
Danger of sharp metallic edges. Can cause injury.
Take care when servicing unit to avoid accidental
contact with sharp edges.
Smoke detector sensor and power board installation
Use manufacturer’s instructions provided with smoke
detector to install sensor(s) and power board.
156, 180, 210, 240, 300S Units −
Install the power board on the compressor rail using the
bracket provided in the kit. See figure 1. When mounting
holes are not available on the compressor rail, install
power board on the compressor section wall and discard
the mounting bracket provided in kit.
242H, 300H, 360 Units −
Install the power board on the compressor section wall
and discard the mounting bracket provided in kit. See
figure 2.
Refer to figure 1 for location of power board, supply air
sensor and return air sensor.
Page 2
FIGURE 1
SMOKE DETECTOR COMPONENT LOCATIONS
POWER BOARD
(secure by two
#8 screws)
BRACKET
#8 SCREWS
#10 SCREWS (4)
GROMMET
ALTERNATE LOCATION:
PREFERRED LOCATION:
POWER BOARD
(secure to mounting
bracket by #8 screws;
secure to compressor rail
by #10 srews)
SUPPLY AIR SAMPLING SENSOR
(sampling holes pointing into air stream)
RETURN AIR
SAMPLING
SENSOR
(sampling holes
pointing
downward)
INSERTION WIRE TIE
(use to secure harness
to side of power board)
SMOKE DETECTOR
POWER BOARD
JACK/PLUG LOCATION
(P255, J250 & J252)
PLASTIC EXHAUST TUBE
METAL SAMPLING TUBE
(1560300S Unit With Economizer Shown)
FIGURE 2
(
SMOKE DETECTOR POWER BOARD LOCATION
(242H, 300H, 360H Unit Shown)
POWER
BOARD
Page 3
Sampling tube installation
1− Select the appropriate sampling tube.
Return air sensor −− 36"
Supply air sensor −− 30"
2− Slide metal sampling tube and plastic exhaust tube
onto the back side of the sensor as shown in figure 3.
3− Orient sampling tube so that holes point toward the
air stream.
FIGURE 3
SMOKE DETECTOR SENSOR WITH SAMPLING TUBE AND EXHAUST TUBE
PLASTIC EXHAUST TUBE
SENSOR HEAD
MAGNET TEST
LOCATION
METAL SAMPLING TUBE
(Point sampling holes
toward air stream)
Page 4
Wiring − KG/KC/KH Units
1− Locate and disconnect wires labeled SM−1 and SM−4
in control area. See figure 4.
2− Connect wires labeled SMOKE−1 and SMOKE−4
from kit power harness to wires labeled SM−1 and
SM−4 in unit. Connect wire labeled GND from the kit
harness to the ground tab in unit. Position J255 from
power harness near the power board jack/plugs in the
compressor section. Use markings on wires to
identify jack/plugs.
3− Make jack/plug connections as shown in figure 5
when installing return air smoke detector only, figure
6 when installing supply air smoke detector only and
figure 7 when installing both supply and return air
smoke detectors.
FIGURE 4
KC, KG & KH CONTROLS AREA
SM1 SM4
SM1 SM4
SMOKE−4
SMOKE−1
J255
GND
P255
DISCONNECT UNIT WIRES
SM1 FROM SM4
A173
SMOKE DETECTOR
SENSOR BOARD
Page 5
Wiring − KG/KC/KH Units (continued)
FIGURE 5
KC, KG or KH Unit Application with Single Return Air Smoke Detector
(Note: Verify that power board DIP switch is set to 1)
SENSOR
J251 J250P250
J252
4 PIN4 PIN
4 PIN4 PIN
6 PIN
6 PIN
SM−1
SM−4 GND
Power Harness
6 PIN
P251
A171
RETURN AIR
RETURN AIR SECTION
COMPRESSOR COMPARTMENT
Discard P250/J261
Harness Provided In Kit
A173
SMOKE
DETECTOR
POWER
BOARD
Set DIP
switch to 1
Provided
in Unit J255P255
FIGURE 6
KC, KG or KH Unit Application with Single Supply Air Smoke Detector
(Note: Verify that power board DIP switch is set to 1)
SENSOR
J253
4 PIN4 PIN
SM−1
SM−4 GND
Power Harness
P253 P252
6 PIN6 PIN
J261
Jumper Harness
A172
SUPPLY AIR
Provided In Kit
SUPPLY AIR
SECTION
COMPRESSOR COMPARTMENT
Provided
in Unit J255P255
J250P250
J252
4 PIN4 PIN
6 PIN
6 PIN
6 PIN
A173
SMOKE
DETECTOR
POWER
BOARD
Set DIP
switch to 1
FIGURE 7
KC, KG or KH Unit Application with Return Air and Supply Air Smoke Detectors
(Note: Change power board DIP switch setting to 2)
SENSOR
J251
J255P255
J250P250
J252
4 PIN4 PIN
4 PIN
4 PIN
6 PIN
6 PIN
SM−1
SM−4 GND
Power Harness
6 PIN
SENSOR
J253
4 PIN4 PIN
P251
P253 P252
6 PIN
A171
RETURN AIR
A172
SUPPLY AIR
SUPPLY AND RETURN AIR SECTIONS
COMPRESSOR COMPARTMENT
Discard P250/J261
Harness Provided In Kit
A173
SMOKE
DETECTOR
POWER
BOARD
Provided
in Unit
Set DIP
switch to 2
Page 6
Wiring − LGH/LCH Units
Make jack/plug connections as shown in figure 8 when
instaling return air smoke detector only, figure 9 when
installing supply air smoke detector only and figure 10
when instaling both supply and return air smoke
detectors. Plugs are located in the unit near the location of
the sensor(s) and power board. See figure 1.
FIGURE 8
SENSOR
J251
J255P255
J250P250
J252
4 PIN4 PIN
4 PIN4 PIN
6 PIN
6 PIN
6 PIN
P251
A171
RETURN AIR
RETURN AIR SECTION
COMPRESSOR COMPARTMENT
Discard both harnesses
provided in kit
A173
SMOKE
DETECTOR
POWER
BOARD
LCH or LGH Unit Application with Single Return Air Smoke Detector
(Note: Verify that power board DIP switch is set to 1)
Provided
in Unit
Set DIP
switch to 1
FIGURE 9
SENSOR
J253
4 PIN4 PIN
P253 P252
6 PIN6 PIN
J261
A172
SUPPLY AIR
SUPPLY AIR
SECTION
COMPRESSOR COMPARTMENT
Provided
in Unit
J255P255
J250P250
J252
4 PIN4 PIN
6 PIN
6 PIN
6 PIN
A173
SMOKE
DETECTOR
POWER
BOARD
LCH or LGH Unit Application with Single Supply Air Smoke Detector
(Note: Verify that power board DIP switch is set to 1)
Set DIP
switch to 1
Jumper Harness
Provided In Kit
Discard P255 power
harness provided in kit
FIGURE 10
SENSOR
J251
J255P255
J250P250
J252
4 PIN4 PIN
4 PIN
4 PIN
6 PIN
6 PIN
6 PIN
SENSOR
J253
4 PIN4 PIN
P251
P253 P252
6 PIN
A171
RETURN AIR
A172
SUPPLY AIR
SUPPLY AND RETURN AIR SECTIONS
COMPRESSOR COMPARTMENT
A173
SMOKE
DETECTOR
POWER
BOARD
LCH or LGH Unit Application with Single Supply Air Smoke Detector
(Note: Verify that power board DIP switch is set to 1)
Provided
in Unit
Set DIP
switch to 2
Discard both harnesses
provided in kit
Page 7
Test Magnets
A test magnet is provided in a bag assembly with each
sensor. Remove the magnet from the bag assembly and
place it on a metal surface near the sensor. The magnet is
used during test procedures.
Maintenance and Test Procedure
Instructions
The sensor manufacturer’s instructions, which are
provided with each sensor, outline information on
maintenance and test procedures. Place these
instructions in the literature pouch for future reference.

This manual suits for next models

1

Other System Sensor Smoke Alarm manuals

System Sensor ED-P User manual

System Sensor

System Sensor ED-P User manual

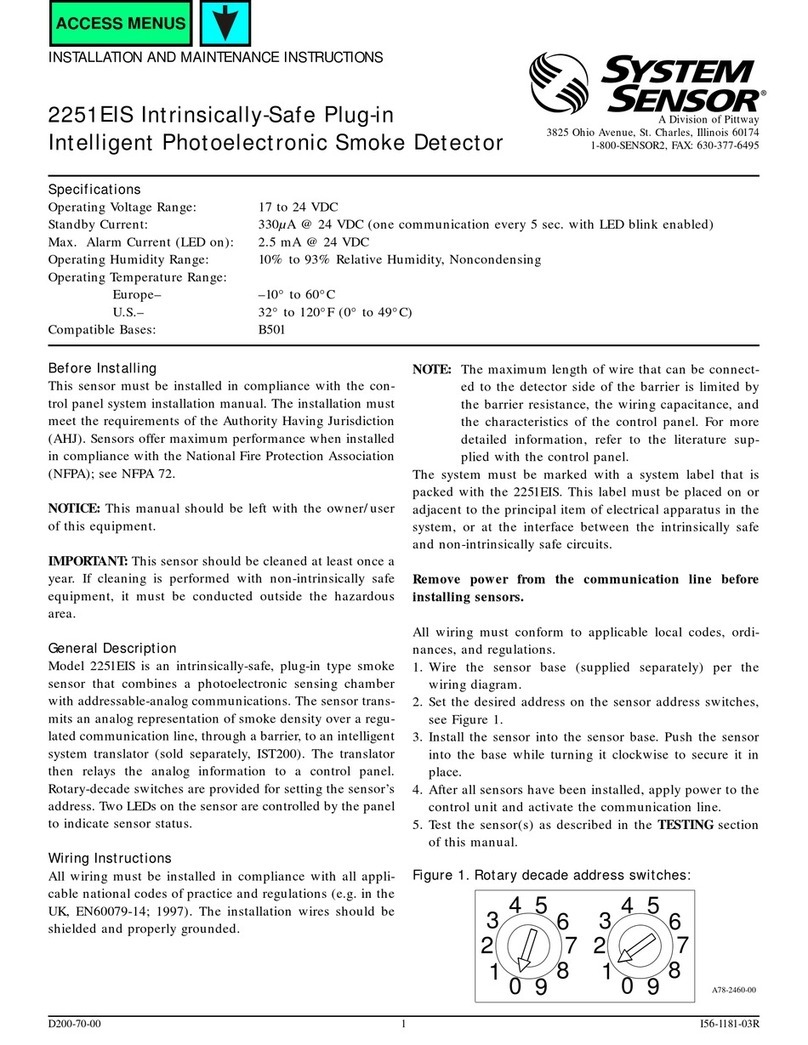
System Sensor 2412 User manual

System Sensor

System Sensor 2412 User manual

System Sensor 2151 User manual

System Sensor

System Sensor 2151 User manual

System Sensor 1451 User manual

System Sensor

System Sensor 1451 User manual

System Sensor i3 Series User manual

System Sensor

System Sensor i3 Series User manual

System Sensor Innovair Flex D2E User manual

System Sensor

System Sensor Innovair Flex D2E User manual

System Sensor FAAST FL0111E-HS User manual

System Sensor

System Sensor FAAST FL0111E-HS User manual

System Sensor 2151TA User manual

System Sensor

System Sensor 2151TA User manual

System Sensor B224RB User manual

System Sensor

System Sensor B224RB User manual

System Sensor 2112/24R User manual

System Sensor

System Sensor 2112/24R User manual

System Sensor 2112 User manual

System Sensor

System Sensor 2112 User manual

System Sensor BEAM1224 User manual

System Sensor

System Sensor BEAM1224 User manual

System Sensor DH400ACDCP User manual

System Sensor

System Sensor DH400ACDCP User manual

System Sensor FAAST LT-200 User manual

System Sensor

System Sensor FAAST LT-200 User manual

System Sensor B210LP User manual

System Sensor

System Sensor B210LP User manual

System Sensor 2312/24TB User manual

System Sensor

System Sensor 2312/24TB User manual

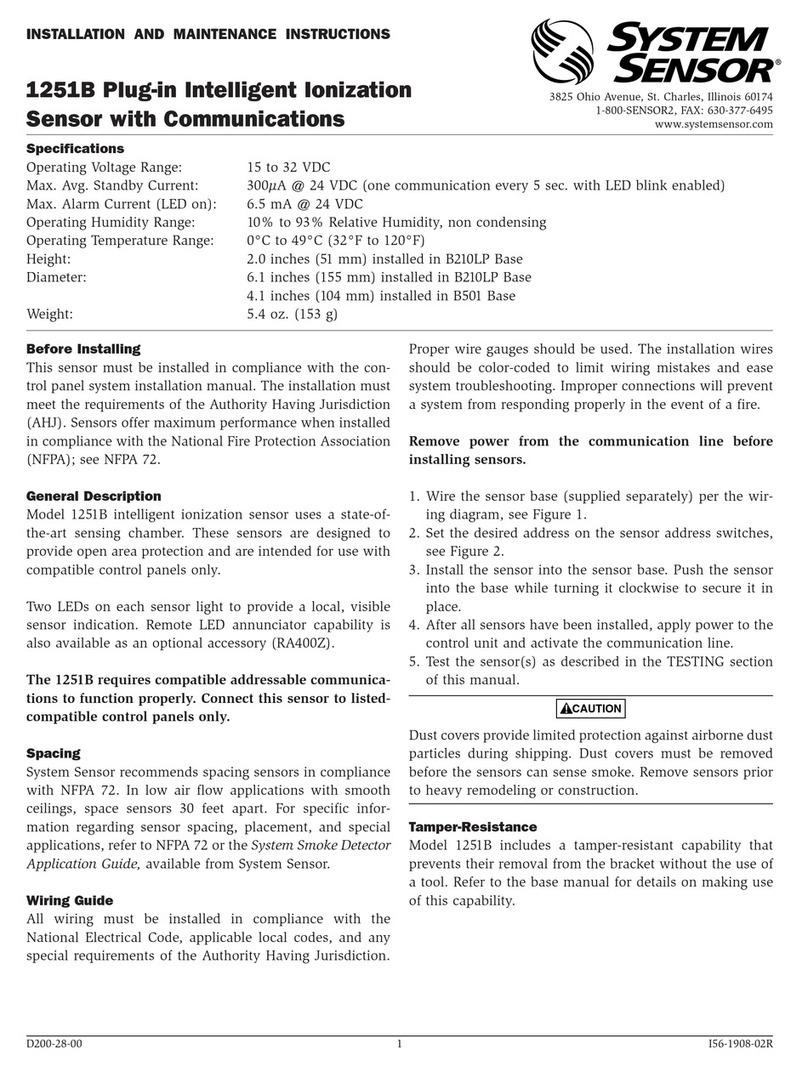
System Sensor 1251B User manual

System Sensor

System Sensor 1251B User manual
System Sensor DH500ACDC User manual

System Sensor

System Sensor DH500ACDC User manual

System Sensor FAAST User manual

System Sensor

System Sensor FAAST User manual

System Sensor 2012JA User manual

System Sensor

System Sensor 2012JA User manual
System Sensor 2151 User manual

System Sensor

System Sensor 2151 User manual

System Sensor 1451 User manual

System Sensor

System Sensor 1451 User manual

System Sensor Innovair DH100ACDCLWP User manual

System Sensor

System Sensor Innovair DH100ACDCLWP User manual

System Sensor INNOVAIR DH100ACDCLWP User manual

System Sensor

System Sensor INNOVAIR DH100ACDCLWP User manual

Popular Smoke Alarm manuals by other brands

Panasonic 4300 Specification sheet

Panasonic

Panasonic 4300 Specification sheet

Teknim TFD-3230 Installation & operating guide

Teknim

Teknim TFD-3230 Installation & operating guide

Autronica Autro Safe Installation handbook

Autronica

Autronica Autro Safe Installation handbook

Z-Wave ZM3102N user manual

Z-Wave

Z-Wave ZM3102N user manual

nedis DTCTS10WT manual

nedis

nedis DTCTS10WT manual

Elko AirSD-100NB quick start guide

Elko

Elko AirSD-100NB quick start guide

CWSI 301 manual

CWSI

CWSI 301 manual

Hama GS536 operating instructions

Hama

Hama GS536 operating instructions

nedis SEC-SA10 user manual

nedis

nedis SEC-SA10 user manual

Gelia GS526 User instructions

Gelia

Gelia GS526 User instructions

Edwards ModuLaser installation manual

Edwards

Edwards ModuLaser installation manual

x-sense XS01-WR user manual

x-sense

x-sense XS01-WR user manual

FireAngel THERMISTEK HT-630 user guide

FireAngel

FireAngel THERMISTEK HT-630 user guide

Teletek electronics SensoIRIS M140 IS manual

Teletek electronics

Teletek electronics SensoIRIS M140 IS manual

First Alert 7010B user manual

First Alert

First Alert 7010B user manual

Radio Shack 49-467 user manual

Radio Shack

Radio Shack 49-467 user manual

Samsung SmartThings ADT Smoke Alarm Setup guide

Samsung

Samsung SmartThings ADT Smoke Alarm Setup guide

Heatit Z-SMOKE manual

Heatit

Heatit Z-SMOKE manual

manuals.online logo
manuals.online logoBrands
  • About & Mission
  • Contact us
  • Privacy Policy
  • Terms and Conditions

Copyright 2025 Manuals.Online. All Rights Reserved.