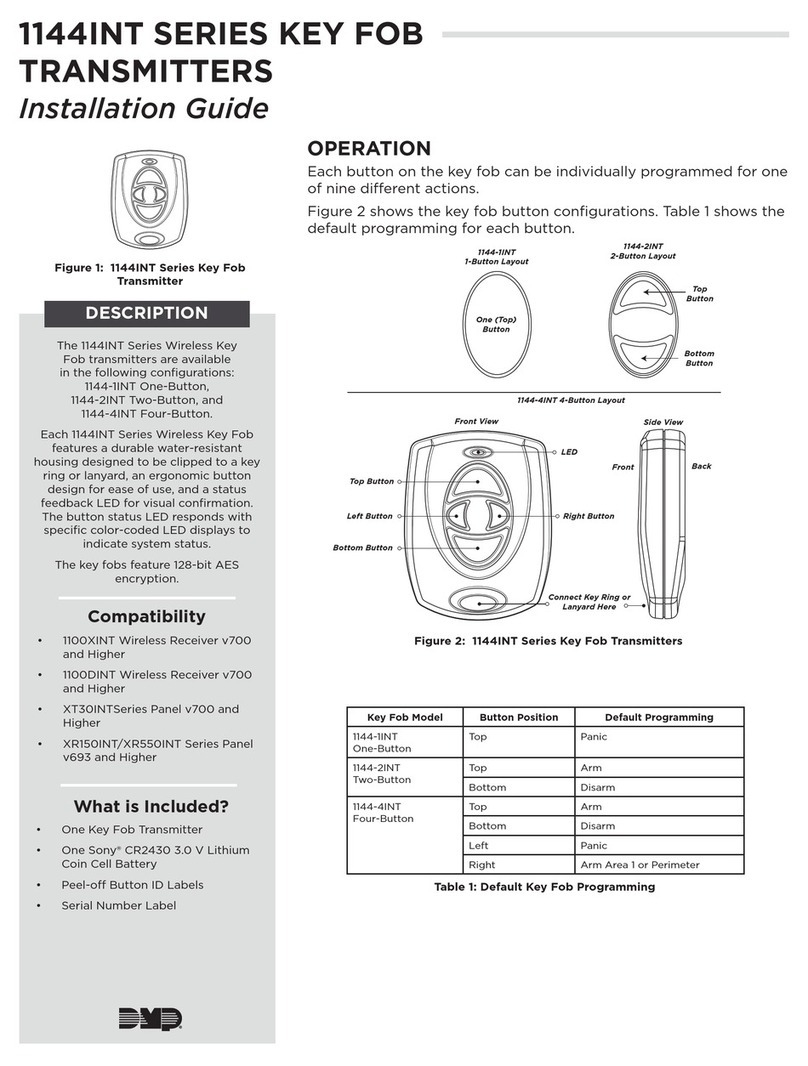
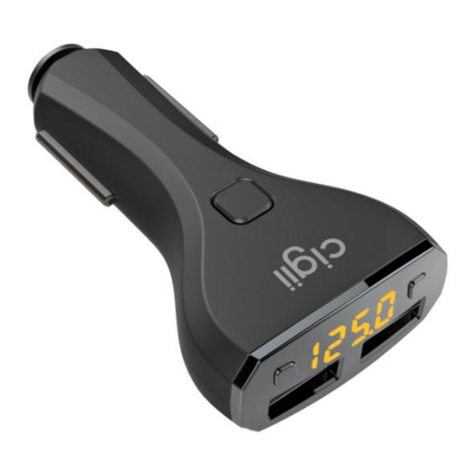
T.BONE Tour Guide Talkback Transmitter User manual

Tour Guide Talkback Transmitter
Thomann GmbH • Hans-Thomann-Straße 1 • 96138 Burgebrach • www.thomann.de • [email protected] DocID: 463218_21.12.2020
Quick Start Guide
This quick start guide contains important information on the safe opera-
tion of the product. Read and follow the safety advices and instructions
given. Retain the quick start guide for future reference. If you pass the
product on to others please include this quick start guide.
EN
Features
• Guide system transmitter, system component with return channel
(switchable)
• 20 switchable channels in the UHF range 863 - 865 MHz
• Automatic synchronization of all receivers in a group
• LCD display
• Built-in lithium-polymer battery, micro-USB charging port
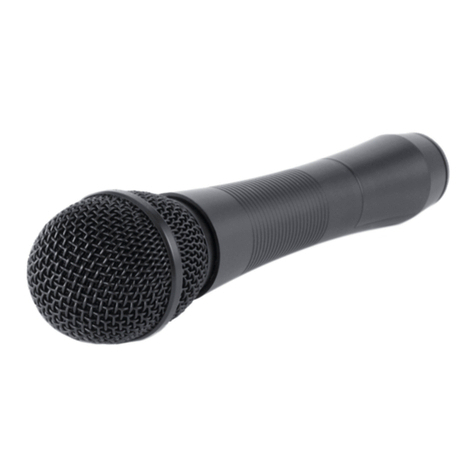
• 3.5 mm mini jack socket for clip-on microphone
• Microphone unit with additional input (3.5 mm) for players
• Including lanyard
• Not compatible with t.bone Tour Guide Mini transmitters / receivers
Operating elements
Front view
8
7
345
1
2
Side view
77
9
77
Rear view
77
Top view
6
Bottom view
10
Display
Channel change 100% battery charge level
Mute 70% battery charge level
Volume value 5 30% battery charge level
2-way communi-
cation on / Ear-
phone volume
value 4
10% battery charge level
2-way communi-
cation on
1. Antenna
2. LCD display
3. Channel selection / volume down
4. On / o switch / Mute / Calling up setting parameters
5. Channel selection / volume up
6. Microphone connection
7. Communication switch
8. Eyelet for lanyard
9. Forced shutdown switch
10. Micro USB charging port
Safety instructions
Intended use
This device is used to receive radio signals and transform them into acoustic signals.
Any other use or use under other operating conditions is considered to be improper
and may result in personal injury or property damage. No liability will be assumed
for damages resulting from improper use.
Danger for children
Ensure that plastic bags, packaging, etc. are disposed of properly and
are not within reach of babies and young children. Choking hazard! En-
sure that children do not detach any small parts (e.g. knobs or the like)
from the unit. They could swallow the pieces and choke! Never let unat-
tended children use electrical devices.
Possible hearing damage
When earphones are connected, the unit can produce volume that
may cause temporary or permanent hearing impairment. Do not
operate the device continuously at high volume. Turn down the
volume immediately if background noise or hearing failure should
occur.
Electromagnetic compatibility with other electrical equipment
Using the device near radios or TV sets may cause interference. Then increase the
distance between the devices.
Where to use the product
Never use the product
• in direct sunlight
• in conditions of extreme temperature or humidity
• in extremely dusty or dirty areas
• at locations where the unit can become wet
• near magnetic elds
General handling
• To prevent damage, never use force when operating the switches and controls.
• Never immerse the appliance in water. Just wipe it with a clean dry cloth. Do not
use liquid cleaners such as benzene, thinners or ammable cleaning agents.
Keep foreign substances from the unit!
Keep the device away from containers with liquids. Should any liquid get into the
unit, this could lead to its destruction or re. Be sure not to let any metal objects
into the unit.

Tour Guide Talkback Transmitter
Thomann GmbH • Hans-Thomann-Straße 1 • 96138 Burgebrach • www.thomann.de • [email protected] DocID: 463218_21.12.2020
EN
For the transport and protective packaging, environmentally friendly materials
have been chosen that can be supplied to normal recycling. Ensure that plastic
bags, packaging, etc. are properly disposed of. Do not just dispose of these ma-
terials with your normal household waste, but make sure that they are collected
for recycling. Please follow the notes and markings on the packaging.
Remove replaceable lithium batteries from the device before disposal. Protect
used lithium batteries from short circuits, for example by covering the poles with
adhesive tape. Permanently installed lithium batteries must be disposed of to-
gether with the device. Please inquire about a suitable acceptance point.
This product is subject to the European Waste Electrical and Electronic Equip-
ment Directive (WEEE) in its currently valid version. Do not dispose of your old
device with your normal household waste. Dispose of this product through an
approved waste disposal rm or through your local waste facility. Comply with
the rules and regulations that apply in your country. If in doubt, consult your local
waste disposal facility.
Technical specications
NF frequency response: 20Hz - 3kHz
Audio sampling rate: 8kHz 16bit
Dynamic range: >80dB
Singal-to-noise ratio: >50dB
Modulation: GFSK
Latency: 35ms
Carrier frequency range: 863 - 865MHz
Transmitting power: 10mW
Lithium-polymer battery: 3.7Volt, 1300 mAh
Charging source: 5V micro USB
Charging time: ca.7hours
Dimensions (W×H×D): 40mm×82,6mm×12mm
Housing colour: White
Weight: <50g
Using the device
1.Use an appropriate USB charging station to charge the device (e.g
item no. 386332, not included). A full charge of the built-in battery
takes about 7 hours and allows operation for about 17 hours.
2.Connect the microphone unit to the 3.5 mm mini jack socket (6).
3.Keep the on / o button (4) pressed for two seconds to turn the unit
on. The display (2) lights up and indicates the last used transmission
channel.
4.To select another channel keep the +/–buttons (5, 3) simultaneously
pressed for two seconds. The CH indicator ashes on the display. Use
the +/–buttons to select the desired channel.
5.To conrm the selection, briey press the on / o button (4) or wait
ve seconds for the unit to save the new channel automatically. The
CH indicator stops ashing. The receivers in a group are synchronised
automatically.
6.The volume level is set to 5 by default. 4 levels between (4)
and (full) can be set. To increase the volume press the
+button (5), to reduce it press the –button (3). Briey press button 4
to mute the device. Then the icon appears on the display.
7.You can connect audio sources with line level outputs to the AUX
input of the microphone unit, e.g. to play back music. To mute the
microphone, set the MIC/MUTE switch on the microphone unit to the
MUTE position.
8.When the battery is fully charged, the display shows . When this
icon is ashing, only 10% battery power are remaining and you need
to charge the battery. During charging, this icon appears:
9. The unit turns o during charging. To use it during charging, keep the
on / o button (4) pressed for two seconds to turn the unit on.
10.The unit automatically turns o after 20 minutes without input signal.
To turn the device o manually, keep the on / o button (4) pressed
for two seconds.
11.If the device does not work as described here, press the switch for
forced shutdown (9) for 1 second with a pointed object. The device
turns o. Then turn the device back on.
Two-way communication
The two-way function between transmitter and receivers is activated on
the transmitter. As the transmitter transmits, multiple receivers may enter.
The transmission signal is reproduced by all receivers within a group.
At the transmitter
Slide the two-way communication switch (7) on the side of the transmitter
to the ON position . The two-way communication icon
appears on the transmitter display, and both the speaker icons and the
level meter display begin to ash. The level meter display now shows
the earphone volume of the transmitter. Press the + / – buttons (5, 3) to
increase or decrease the volume.
Make sure the microphone volume is set as desired before enabling two-
way communication.
way communication.
Slide the two-way communication switch to the OFF position to disable
two-way communication.
At the receiver
To make announcements, press and hold the talk button on the
side of the receiver while talking into the built-in microphone. After your
announcement, release the talk button so that the next person can speak.
Pressing the talk button twice in quick
succession will put the receiver in
permanent talk mode and prioritize
it in front of the other receivers. Now
the talk button does not have to be
pressed during the announcement.
Press the talk button to cancel this
mode.
This manual suits for next models
1
