T-Fal Mini compact Digital steamer User manual

www.t-fal.com
FR
EN
Mini compact Digital steamer
User Guide
Guide de l'utilisateur

1
1
2
2
1
2
2
3
5
6
10
8
7
9
11
4

1
1
2
2
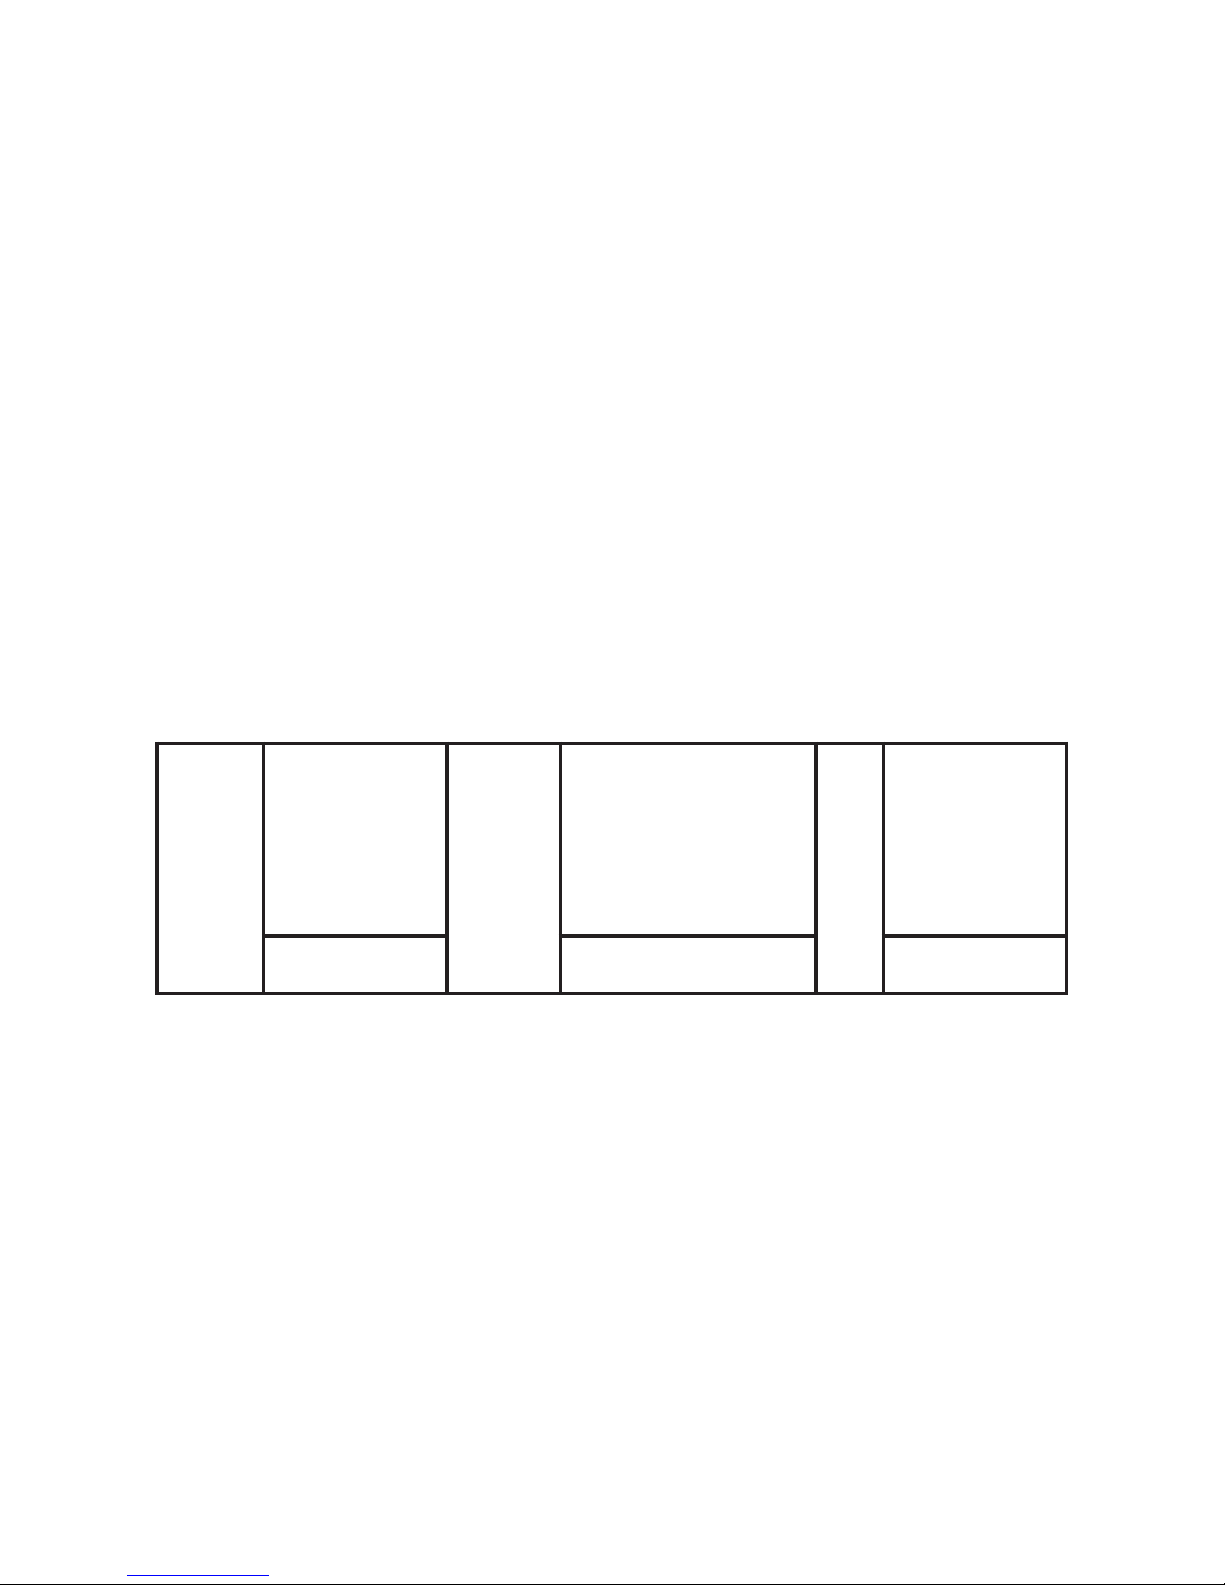
fig. 1 fig. 2 fig. 3
fig. 4 fig. 5 fig. 6
fig. 7 fig. 8
1
1
2
2
fig. 9
1
1
2
2
fig. 10 fig. 11 fig. 12
1
2

1
1
2
2
fig. 13
1
1
2
2
fig. 14
1
1
2
2
fig. 15
1
1
2
2
fig. 16 fig. 17 fig. 18
1
1
2
2
fig. 19 fig. 20 fig. 21
fig. 22
2
2
1
1
fig. 23
2
2
1
1
fig. 24
2.5 cups
600 ml 1 cup
200 ml
1
1
6h
1
2

2
2
1
1
fig. 25
1
1
2
2
1
1
2
2

1
IMPORTANT SAFEGUARDS
When using electrical appliances, basic safety precautions should always
be followed including the following:
1. Read all instructions.
2. Do not touch hot surfaces. Use the handle/handles.
3. To protect against electrical shock do not immerse cord, plugs, or
this appliance in water or other liquid.
4. Close supervision is necessary when any appliance is used by or near
children.
5. Unplug from outlet when not in use and before cleaning. Allow to
cool before putting on or taking off parts.
6. Do not operate any appliance with a damaged cord or plug or after
the appliance malfunctions, or has been damaged in any manner.
Return appliance to the nearest authorized service facility for
examination, repair or adjustment.
7. The use of accessory attachments not recommended by the
appliance manufacturer may cause injuries.
8. Do not use outdoors.
9. Do not let cord hang over edge of table or counter, or touch hot
surfaces.
10. Do not place on or near a hot gas or electric burner, or in a heated
oven.
11. Extreme caution must be used when moving an appliance
containing hot oil or other hot liquids.
12. To disconnect, turn any control to “off,” then remove plug from wall
outlet.
13. Do not use appliance for other than intended use.
SAVE THESE
INSTRUCTIONS

EN
2
P LARIZATI N INSTRUCTI NS
This appliance has a polarized plug (one blade is wider than the other). To
reduce the risk of electric shock, this plug is intended to fit into a polarized
outlet only one way. f the plug does not fit fully into the outlet, reverse the
plug. f it still does not fit, contact a qualified electrician.
Do not attempt to modify the plug in any way.
SH RT C RD INSTRUCTI NS
a) A short power-supply cord (or detachable power-supply cord) is to be
provided to reduce the risk resulting from becoming entangled in or
tripping over a longer cord.
b) Longer detachable power-supply cords or extension cords are available
and may be used if care is exercised in their use.
c) f a long detachable power-supply cord or extension cord is used,
1) The marked electrical rating of the cord or extension cord should be
at least as great as the electrical rating of the appliance, and
2) The cord should be arranged so that it will not drape over the
countertop or tabletop where it can be pulled on by children or
tripped over unintentionally.
F R H USEH LD USE NLY
Protect the environment
The packaging of your product is recyclable.
Do not dispose of it with the rest of your waste but rather recycle the
packaging or bring it to your nearest recycling facility. Your appliance has
been designed to work for many years.
However, when you finally decide to replace your old product, remember
to think of what you can do to help to protect the environment by
disposing of it at your local waste disposal center. You can also dispose of
your product at your nearest Authorized Service Center (depending on
your country).

3
Description
Before use
• Wash all removable pieces as well as the tank
interior with warm water and dish soap. Fig. 1
& 2
• Rinse and dry. Fig.3
Setting up your Food Steamer
• Place the base of the product on a stable
surface.
Fill the water tank
• Pour water directly into the tank until you
reach the maximum level. Attention: do not
fill the tank by placing it directly under the tap.
Fig. 5, 6 & 7
• Place the juice receptacle over the tank,
making sure it fits well into place. Fig. 8
During cleaning, do
not immerse the
electric base in
water.
All elements are
dishwasher safe,
except the base
Fig. 1 & 4
Make sure you use
new water before
each use.
Place any object
that might be
damaged by the
vapor away from the
cooker.
Do not use spices or
pour any liquid other
than water in the
tank.
Before turning on
the appliance, make
sure there is water in
the tank.
1. Lid
2. Steamer bowls numbered from 1
to 2
3. Juice receptacle
4. Heating element
5. Tank
6. Electric base
7. nterior water indicator
8. + Button
9. - Button
10.LCD Screen
11. Start/Stop Button

EN
4
Place the bowls
• The bowls are numbered : 1 and 2
• Place bowl number 1 and then bowl number 2.
Fig. 9
• Then place the lid to cover both bowls. Fig. 10
Steam Cooking
Select the Cooking Time
• Plug in the appliance.
• The screen will show a default cooking time of
20 minutes. The maximum cooking time is 60
minutes. The cooking time will flash until it
elapses.
• Regulate the time-switch according to
recommended cooking times by using the +
and – buttons (please refer to the Cooking
Times table). Then start the cooking process
by pressing the Start/Stop button , which
will light in orange to indicate that cooking
has started. Fig. 11
Always place bowl
number 1 directly on
top of the juice
receptacle. Fig. 9
You may use the
appliance with one or
two bowls, according
to need. Fig. 9
In order to obtain the
best results, do not
place too much food
in each bowl.
If you do not touch
the cooker for over
10 minutes, it
switches
automatically into
stand-by mode, the
preset time remains
in memory.

5
During cooking
• Check the water level by using the exterior
water level indicator: t should never be under
“minimum”. Fig. 12
During cooking, the lid must remain on at all
times. In order to avoid the risk of burns,
never place your hand over the vents: make
sure to place the vents on the lid towards the
back. Fig. 13 & 14
When cooking is done
• You will hear a beep.
• The cooking process will stop automatically.
Take the food out of the steam bowls
• Lift the lid by its handle. Fig. 15
• Remove the steam bowl(s). Fig. 16
You can use the appliance to cook eggs
• Place the eggs in the integrated egg-holder
provided with the appliance. Fig. 17
After use
• Unplug the appliance.
• Let it cool completely before cleaning.
When manipulating
the hot bowls, grills,
lid, and in order to
take out the food,
use protection
gloves.

EN
6
Table of Cooking Times
• The times provided are indicative for cooking in bowl 1. However, they may
vary depending on the size of the food, the space left between different
items, their quantity, personal taste.
weight Cooking
time
Fish
thin fillet of fish 7 oz. / 200 g 20 - 30 min
frozen thin fillet of fish 7 oz. / 200 g 20 - 30 min
thick fillet 7 oz. / 200 g
10.6 oz. / 300g 20 - 30 min
Chicken chicken wings 7 oz. / 200 g 20 - 30 min
eggs 6 20 - 30 min
Vegetables
cauliflower 10.6 oz. / 300g 30 - 40 min
frozen cauliflower 10.6 oz. / 300g 40 - 50 min
mushrooms 5.3 oz. / 150g 20 - 30 min
cabbage - sliced 10.6 oz. / 300g 50 - 60 min
spinach 5.3 oz. / 150g 30 - 40 min
beans 10.6 oz. / 300g 50 - 60 min
frozen beans 10.6 oz. / 300g 40 - 50 min
carrots 10.6 oz. / 300g 30 - 40 min
peas 10.6 oz. / 300g 40 - 50 min
frozen peas 10.6 oz. / 300g 50 - 60 min
potatoes 10.6 oz. / 300g 30 - 40 min
asparagus 10.6 oz. / 300g 30 -40 min
broccoli 10.6 oz. / 300g 30 - 40 min
zucchini 10.6 oz. / 300g 30 - 40 min
Fruits pears 4 40 - 50 min
apples 4 30 - 40 min

7
Storage and cleaning
Cleaning the appliance
• After each use, unplug the appliance.
• Let it cool completely before cleaning.
• Make sure that the appliance is cool enough
before emptying the juice receptacle and the
water tank.
• Wash all removable pieces with warm water
and dish soap - Fig.2, rinse and dry.
• You may wash all the pieces except for the
electric base in a dishwasher. Fig.19
Storing the appliance
• Do not take the appliance apart. f it
malfunctions, send it to our authorized service
center to be repaired.
Clean your appliance thoroughly
• Clean your appliance thoroughly after used
eight (8) times.
• Remove the juice receptacle. Fill the tank with
2.5 cups = 6OOml of cold water and 1 US cup
= 200ml of white vinegar. Fig.20 Let it stand
for six (6) hours. Fig. 21. Rinse the tank
interior several times with warm water.
Please note: the
juice of certain foods
such as carrots and
tomatoes may stain
the parts of the
steamer. This will
not affect the
functionality of the
product.
Do not use abrasive
cleaning agents.
Do not immerse the
base with tank in
water. Fig. 4 & 5
Do not use any
other products to
carry out this
procedure.

EN
8
Storing the bowls
• After having cleaned all the pieces, store your
appliance as follows :
- Place the juice receptacle over the top of the
water tank. Fig. 22
- Turn both bowls upside down and place
them over the base, in that position. Fig. 23
& 24
Place the lid over the bowls, which are placed
over the base of the appliance. Fig. 25
MANUFACTURER's WARRANTY
: www.t-fal.com
h: www. -fal.com
Wi h a s rong commi men o he environmen , mos of T-fal produc s are repairable
during and af er he warran y period. Before re urning any defec ive produc s o he poin of purchase,
please call T-fal consumer service direc ly a he phone number below for repair op ions.
Your help o sus ain he environmen is apprecia ed!
The Warranty
This product is guaranteed by T-fal for 1 year against any manufacturing defect in materials or workmanship,
starting from the initial date of purchase.
The manufacturer's warranty by T-fal is an extra benefit which does not affect consumer's Statutory Rights.
The T-fal warranty covers all costs related to restoring the proven defective product so that it conforms to its
original specifications, through the repair or replacement of any defective part and the necessary labor. At T-
fal’s choice, a replacement product may be provided instead of repairing a defective product.
T-fal’s sole obligation and your exclusive resolution under this warranty are limited to such repair or
replacement.
Conditions & Exclusions
The T-fal warranty only applies within USA, Canada & Mexico, and is valid only on presentation of a proof of
purchase. The product can be taken directly in person to an authorized service centre or must be adequately
packaged and returned, by recorded delivery (or equivalent method of postage), to a T-fal authorized service
centre. Full address details for each country’s authorized service centre are listed on the T-fal website ((www.t-
fal.com)) or by calling the appropriate telephone number listed below to request the appropriate postal
address.
T-fal shall not be obligated to repair or replace any product which is not accompanied by a valid proof of
purchase.
This warranty will not cover any damage which could occur as a result of misuse, negligence, failure to follow
T-fal instructions, use on current or voltage other than as stamped on the product, or a modification or
unauthorized repair of the product. t also does not cover normal tear and wear, maintenance or replacement
of consumable parts, and the following:
- using the wrong type of water or consumable
- damage due to water, dust or insects entering the product;
- mechanical damages, overloading
- damages or bad results due to wrong voltage or frequency
- accidents including fire, flood, lightning, etc
All the pieces can be
stored on the
product.
Your appliance must
be stored in a cool
and dry place.
9
- professional or commercial use
- damage to any glass or porcelain ware in the product
This warranty does not apply to any product that has been tampered with, or to damages incurred through
improper use and care, faulty packaging by the owner or mishandling by any carrier.
The T-fal manufacturer's warranty applies only for products purchased and used in USA, Canada & Mexico.
Where a product purchased in one country and then used in another one:
a) The T-fal guarantee duration is the one in the country of usage of the product, even if the product
was purchased in another listed country with different guarantee duration.
b) The T-fal guarantee does not apply in case of non conformity of the purchased product with the
local standards, such as voltage, frequency, power plugs, or other local technical specifications.
c) The repair process for products purchased outside the country of use may require a longer time if
the product is not locally sold by T-fal.
d) n cases where the product is not repairable in the new country, the T-fal guarantee is limited to a
replacement by a similar product or an alternative product at similar cost, where possible.
Consumer Statutory Rights
This T-fal manufacturer's warranty does not affect the statutory rights a consumer may have or those rights
that cannot be excluded or limited, nor rights against the retailer from which the consumer purchased the
product. This warranty gives a consumer specific legal rights, and the consumer may also have other legal
rights which vary from State to State or Country to Country or Province to Province. The consumer may assert
any such rights at his sole discretion.
Additional information
Accessories, Consumables and end-user replaceable parts can be purchased, if locally available, as described
in T-fal internet site.
: www.t-fal.com
CANADA
GROUPE SEB
CANADA
345 Passmore
Avenue
Toronto, ON
M1V 3N8
MEXIQUE
Groupe Seb Mexico
S.A de C.V.
Goldsmith 38 Desp.
401 Col. Polanco
Delegacion Miguel Hildalgo
11 560 Mexico D.F.
MEX CO
É.U.
GROUPE SEB
USA
2121 Eden Road
Millville,
NJ 08332
1-800-418-3325 (01800) 112 83 25 800-526-5377

FR
10
RECOMMANDATIONS
IMPORTANTES
Voici des précautions de base que vous devez toujours suivre lorsque vous
vous servez d’appareils électriques.
1. Lire toutes les instructions.
2. Ne pas toucher aux surfaces chaudes. Utiliser la poignée. Utiliser les
poignées ou les boutons.
3. Pour vous protéger des décharges électriques, ne pas immerger le
cordon, les fiches ou cet appareil lui-même dans l'eau ou un autre
liquide.
4. L’utilisation de tout appareil par des enfants exige une étroite
surveillance.
5. Débrancher en l'absence d'utilisation ou avant le nettoyage.
Attendre le refroidissement avant d’installer ou d’enlever des pièces.
6. Ne pas faire fonctionner un appareil avec un cordon ou une fiche
endommagé ou à la suite de défaillances ou d'un quelconque
dommage. Retourner l’appareil au centre de service autorisé le plus
proche pour examen, réparation ou mise au point.
7. L’utilisation d’accessoires non recommandés par le fabricant de
l’appareil peut causer des blessures.
8. Ne pas utiliser à l’extérieur.
9. Ne pas laisser pendre le cordon le long de la table ou du comptoir ou
entrer en contact avec des surfaces chaudes.
10. Ne pas placer l’appareil sur un brûleur à gaz, sur une plaque
électrique ou dans un four chaud.
11. l faut être particulièrement prudent lorsque l’on déplace un appareil
qui contient de l’huile chaude ou d’autres liquides brûlants.
12. Pour débrancher, éteindre toutes les commandes et enlever la fiche
de la prise murale.
13. Ne pas utiliser l’appareil à d’autres fins que celles prévues.
CONSERVER CES
INSTRUCTIONS

11
INSTRUCTI NS EN MATIÈRE DE P LARISATI N
Cet appareil a une fiche polarisée (une lame est plus large que l’autre).
Afin de limiter tout risque de décharge électrique, cette prise ne peut
s’enficher que dans un sens. nverser la fiche si elle ne s’enfonce pas
complètement dans la prise de courant. Si elle ne s’adapte toujours pas,
communiquer avec un électricien qualifié.
Ne tenter d’aucune façon de modifier la fiche.
INSRUCTI NS P UR LE C RD N C URT
a) Un cordon d'alimentation court (ou détachable) vous est fourni pour
réduire le risque de blessure personnelle en vous empêtrant ou en
trébuchant dans un cordon plus long.
b) Des cordons d’alimentation détachables plus longs ou des rallonges
sont disponibles et on peut les utiliser à condition de le faire avec
précaution.
c) Si on utilise un long cordon d’alimentation détachable ou une rallonge,
1) La puissance électrique indiquée sur le cordon ou la rallonge doit être
au moins aussi élevée que la puissance de l'appareil, et
2) Le cordon doit être disposé de manière à ne pas passer par-dessus le
comptoir ou la table, car des enfants pourraient le tirer ou y trébucher
accidentellement.
P UR USAGE D MESTIQUE
SEULEMENT
Protection de l’environnement
L’emballage de votre produit est recyclable.
Ne le jetez pas avec vos autres déchets, mais recyclez-le plutôt ou apportez-
le à votre service de recyclage le plus proche. Votre appareil a été conçu
pour fonctionner pendant plusieurs années.
Toutefois, lorsque vous décidez finalement de remplacer votre vieil
appareil, souvenez-vous de ce que vous pouvez faire pour protéger
l'environnement en le jetant à votre centre local de recyclage des déchets.
Vous pouvez aussi l’apporter à votre Centre de service autorisé (selon votre
pays de résidence).

FR
12
Description
Avant utilisation
• Lavez toutes les pièces amovibles et l’intérieur
du réservoir à l’eau tiède avec du liquide
vaisselle. Fig. 1 & 2
• Rincez et séchez. Fig.3
Mettez en place le cuiseur vapeur
• Placez la base du produit sur une surface stable.
Remplissez le réservoir à eau
• Versez de l’eau directement dans le réservoir à
eau jusqu’au niveau maximum. Attention, ne
versez pas directement l’eau en mettant le
reservoir sous le robinet. Fig. 5, 6 & 7
• Placez le récupérateur à jus sur le réservoir en
vous assurant qu’il soit bien positionné. Fig. 8
N’immergez pas la
base du produit et
le réservoir pendant
le nettoyage.
Tous les éléments
sont compatibles au
lave vaisselle sauf la
base. Fig. 1 & 4
Pensez à bien
renouveler l’eau
avant chaque
utilisation.
Eloignez les objets
susceptibles d’être
endommagés par la
vapeur.
N’utilisez pas
d’assaisonnement
ou de liquide autre
que de l’eau dans le
réservoir.
Assurez-vous de la
présence d’eau dans
le réservoir avant la
mise en marche.
1. Couvercle
2. Paniers vapeur numérotés de 1 à 2
3. Bac récupérateur à jus
4. Elément chauffant
5. Réservoir
6. Base éléctrique
7. ndicateur intérieur d’eau
8. Touche +
9. Touche -
10.Ecran LCD
11.Démarrage/Arrêt de cuisson

13
Placez les bols
• Les bols sont numérotés : 1 et 2
• Placez le bol n° 1 puis le bol n°2. Fig. 9
• Posez enfin le couvercle qui s’adapte sur tous
les bols. Fig. 10
Cui on vapeur
Sélectionnez le temps de cuisson
• Branchez l’appareil.
• L’ écran affiche 20 minutes comme temps par
défaut, la durée maximum de cuisson étant
de 60 minutes. Le temps de cuisson va
clignoter jusqu’à sa validation.
• Réglez la minuterie selon les temps
recommandés à l’aide des touches + et - (voir
le tableau des temps de cuisson). Puis lancez
la cuisson à l’aide du bouton qui va par la
suite s’éclairer en orange pour indiquer le
début de la cuisson. Fig. 11
• La cuisson vapeur commence.
Placez toujours le bol
n°1 sur le
récupérateur à jus.
Fig. 9
Vous pouvez utiliser le
produit avec 1 ou 2
bols selon vos besoins.
Respectez l’ordre de
placement des bols.
Fig. 9
Pour un résultat
optimal, ne
surchargez pas les
bols d’aliments.
Sans action de
votre part pendant
10 minutes,
l'appareil passe
automatiquement
en mode veille,
le temps pré-réglé
reste en mémoire.

FR
14
Pendant la cuisson
• Vérifiez le niveau d’eau grâce à l’indicateur de
niveau d’eau extérieur : l ne doit jamais être
inférieur au niveau « mini ». Fig. 12
Pendant la cuisson, il ne faut pas enlever le
couvercle ni mettre sa main sur les sorties de
vapeurs, attention aux risques de brûlures :
Veillez à positionner les sorties de vapeur sur
le couvercle à l’arrière. Fig. 13 & 14
Fin de cuisson
• Un signal sonore retentit.
• La cuisson s’arrête automatiquement.
Retirez les aliments des bols vapeur
• Retirez le couvercle par sa poignée. Fig. 15
• Retirez le(s) bol(s) vapeur. Fig. 16
Vous avez la possibilité de cuire des œufs
• Placez les œufs dans les supports à œufs
intégrés prévus à cet effet. Fig. 17
Après utilisation
• Débranchez l’appareil.
• Laissez-le refroidir complètement avant
nettoyage.
Utilisez des gants
de protection pour
manipuler les bols,
les grilles, le couver-
cle et pour retirer les
aliments.
Sans action de
votre part pendant
10 minutes,
l'appareil passe
automatiquement
en mode veille.

15
Tableau de Cuisson
• Les temps sont donnés à titre indicatif pour des cuissons dans le Bol 1. ls
peuvent varier en fonction de la taille des aliments, de l’espace laissé entre
les aliments, des quantités, du goût de chacun et de la tension du réseau
éléctrique.
Poids Temps
de cuisson
Poisson
mince filet de poisson 200 g / 7 oz. 20 - 30 min
mince filet de poisson
surgelé 200 g / 7 oz. 20 - 30 min
épais filet de poisson 200 g / 7 oz.
300g / 10.6 oz. 20 - 30 min
Poulet aile de poulet 200 g / 7 oz. 20 - 30 min
œufs 6 20 - 30 min
Légumes
chou-fleur 300g / 10.6 oz. 30 - 40 min
chou-fleur surgelé 300g / 10.6 oz. 40 - 50 min
champignons 150g / 5.3 oz. 20 - 30 min
chou 300g / 10.6 oz. 50 - 60 min
épinards 150g / 5.3 oz. 30 - 40 min
haricots 300g / 10.6 oz. 50 - 60 min
haricots surgelés 300g / 10.6 oz. 40 - 50 min
carottes 300g / 10.6 oz. 30 - 40 min
petits pois 300g / 10.6 oz. 40 - 50 min
petits pois surgelés 300g / 10.6 oz. 50 - 60 min
pommes de terre 300g / 10.6 oz. 30 - 40 min
asperges 300g / 10.6 oz. 30 -40 min
brocolis 300g / 10.6 oz. 30 - 40 min
courgettes 300g / 10.6 oz. 30 - 40 min
Fruits poires 4 40 - 50 min
pommes 4 30 - 40 min
This manual suits for next models
1
Table of contents
Languages:
Other T-Fal Electric Steamer manuals


