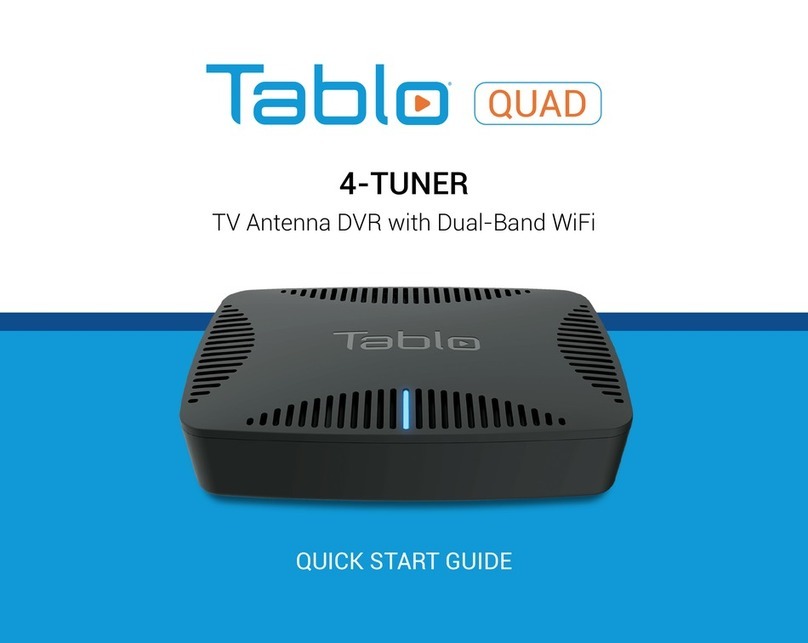
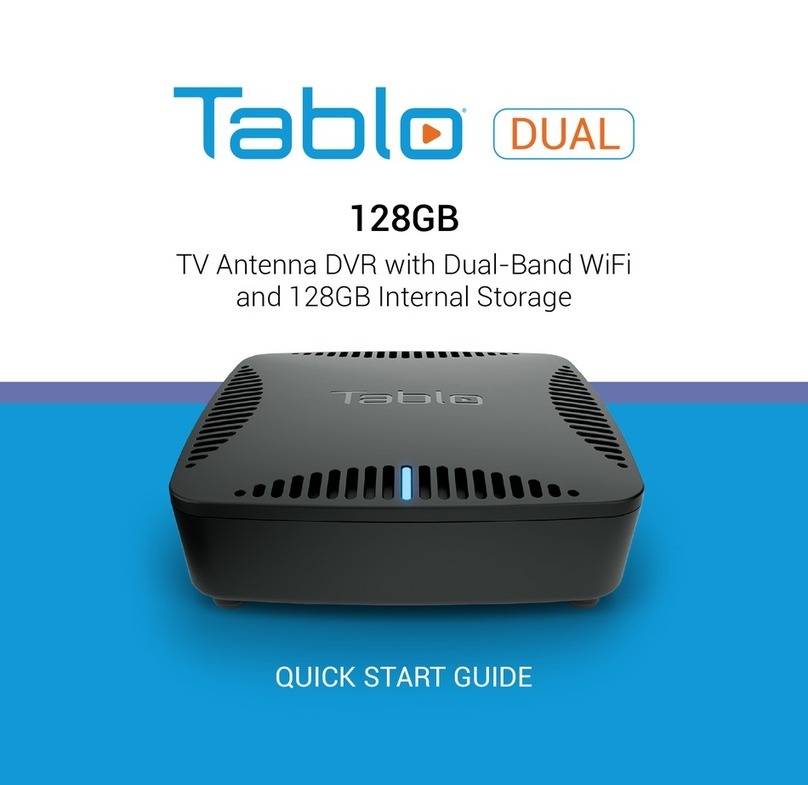
Tablo DUAL User manual

QUICK START GUIDE
HDMI
TV Antenna DVR
with HDMI and Remote


WHAT’S INCLUDED
CONTENTS
Quick Start Guide
STEP 1: Getting Connected.....................................................................2
STEP 2: Change HDMI Input to Tablo...................................................3
STEP 3: Setting Up the Tablo Remote ..................................................3
STEP 4: Follow the Tablo DVR Setup Wizard ......................................3
STEP 5: Program Guide Data Download..............................................4
STEP 6: Connecting Additional Playback Devices..............................4
Tablo App Feature Highlights .......................................5
Troubleshooting—Tablo DVR and App Initial Set Up.....6
About the Tablo Guide Data Service .............................7
About the Tablo Premium Service ................................7
Need Help? ...................................................................8
Warranties & Returns....................................................8
Quick Start
Guide
AAA
Batteries
Power
Supply
HDMI
Cable
Ethernet
Cable
Tablo
OTA DVR Tablo
Remote

2
Power HDMI USB AntennaEthernet
STEP 1 Getting Connected
Connect Your HDTV Antenna
For optimal OTA reception, place your antenna near a window or outdoors, pointing towards
your local broadcast towers. Next, connect your antenna to your Tablo DVR via the coaxial
connection. Ensure the connector is tightly secured.
Connect a USB Hard Drive
Connect a USB hard drive (1 TB to 8 TB in size).
Connect Tablo to your TV
Use the HDMI cable (provided) to connect your Tablo DVR to your TV.
Connect Tablo to Your Home Network
Use the Ethernet cable (provided) to connect your Tablo DVR to your router. If your TV and
antenna placement does not enable you to connect via Ethernet, connect Tablo to your home
network via WiFi. See page 3 for details.
Connect the Power Adapter
In order to function correctly, your Tablo DVR must be powered on at all times,
including overnight.
For help with antenna selection and positioning, a list of recommended hard drives,
additional set-up instructions and troubleshooting tips, visit www.TabloTV.com/setup.

3
STEP 2 Change HDMI Input to Tablo
Using your TV’s remote, select the HDMI input that you have your Tablo DVR connected to.
STEP 3 Setting Up the Tablo Remote
On the back side of the remote, slide open the battery cover. Insert batteries (included).
Your remote should pair with your DVR automatically.
STEP 4 Follow the Tablo DVR Setup Wizard
The setup wizard will walk you through connecting Tablo to the internet over WiFi (if not already
connected by Ethernet) and then it will perform a channel scan to determine what channels can
be received by your antenna.
You can add/remove recommended
channels from your guide at this time.
Be sure to select ‘Rescan’ if you
change or adjust your antenna’s
position after the initial channel scan.
The wizard will also ask to format
your USB hard drive.
Is your lineup missing local channels
you expected to see? Is your Tablo
DVR not nding any channels during
a scan? Visit www.TabloTV.com/
channelscan for help.

4
STEP 5 Program Guide Data Download
Once you select ‘Continue’ the rst 24 hours of the program guide will begin to download.
This process will take several minutes per channel.
Your Tablo DVR is now ready to enjoy!
Missing or incorrect guide data? Visit www.TabloTV.com/guide for help.
STEP 6 Connecting Additional Playback Devices
Tablo DUAL HDMI DVRs also support in-home streaming of live and recorded TV via select
Smart TVs and streaming devices.
In order to enjoy Tablo content on those devices, you will need to download the appropriate
Tablo app and follow the on-screen prompts to connect it to your Tablo DUAL HDMI DVR.
Note: Streaming to additional televisions requires a very strong home WiFi network to avoid buffering.

5
Tablo App Feature Highlights
The Tablo app makes it easy to discover, record, and watch beautiful Over-the-Air TV.
Here are some of the awesome features you can enjoy.
Live TV
To begin watching live TV, select the
channel ID on the far left of the Live TV grid
guide. In this view, you can also browse and
schedule recordings for programs airing
in the next 24 hours.
Guide
In the guide screens (TV Shows, Movies,
and Sports) browse programs airing over
the next 14 days and schedule recordings
by series (ALL or ALL NEW) or by episode.
Recordings
View, play, delete, and protect completed
recordings from the recordings screen.
Skip to the Good Stuff
Fast-forward preview thumbnails are
available on completed recordings to help
you skip ahead or rewind the best parts.
Automatic Commercial Skip
Also in settings, enable Commercial
Skip Detection to enjoy your recordings
commercial-free. For details, visit
www.tablotv.com/commercialskip.
Closed Captioning
Closed captioning is available on Tablo
DUAL HDMI as well as all secondary
playback devices.
Settings
View, edit, and manage your Tablo guide data
subscription, storage space, and more from
the settings screen.
Note: Screen and feature availability may vary between Tablo DUAL HDMI and Tablo apps
on secondary streaming devices.

6
Troubleshooting—Tablo DVR and App Initial Set Up
Only 24 Hours of Guide Data Visible
The Live TV grid guide will usually display
24 hours of guide data, although it can be
changed to 14 days in settings. You can also
browse for upcoming programs in the
TV shows, Movies, and Sports screens.
Guide Data is Incorrect or Missing
For incorrect data or data missing from
specic channels, contact Tablo Support
for assistance. While we work to correct
your guide data problem, try entering a zip/
postal code from a neighboring area by
editing your ‘location’ in the settings screen.
Video Playback is Loading or Pausing
Frequently on Additional Devices
This is typically a home network
bandwidth issue. If possible, connect
your playback device and/or Tablo via
Ethernet instead of WiFi to rule out
potential WiFi interference and/or
network congestion.
Video Playback is Pixelated/Audio Drops Out
OTA antenna signal strength is inadequate
or reduced. Check your antenna’s connection
to Tablo and/or its position. Run a new
channel scan within settings to determine
current signal strength.
Recordings Incomplete or Failed
OTA antenna signal and/or external hard drive
were unavailable at the time of the recording.
Antenna and/or hard drive
may require attention.
Hard Drive Not Recognized
If you have connected a USB hard drive
and its details are not shown in your settings
screen and/or you have not received a
prompt to format it during the setup process,
try rebooting the Tablo using the ‘Restart’
option in the Settings menu under ‘More
Information’. If you still do not receive a
prompt to format the drive, contact Tablo
Support for assistance.
More detailed instructions, user manuals, and troubleshooting tips can be found online
in the Tablo Knowledge Base at support.TabloTV.com.

7
About the Tablo Guide Data Service
Each new Tablo DVR unit comes with a free 30-day trial of the Tablo guide data subscription.
The trial is activated automatically as soon as you complete the setup process.
At any time, you can verify your
subscription status near the top of the
settings screen of your Tablo app.
Without a Tablo subscription, you can still
watch live TV and set manual recordings
by date/time/channel.
In order to maintain access to a full 14 days of TV guide data as well as Tablo’s advanced DVR
features, you must select and purchase a subscription at account.TabloTV.com before your trial
expires. Note: Your paid subscription will begin at the end of your 30-day trial.
Need additional details and pricing? Visit www.TabloTV.com/subscription.
About the Tablo Premium Service
All new Tablo DVRs also come with a free 30-day trial of the Premium Service subscription.
Once enabled in a supported Tablo app’s settings screen, Tablo Premium Service makes
it possible for your Tablo DVR to play the majority of completed recordings without ads.
After the rst 30 days, you can choose to subscribe and continue enjoying
Automatic Commercial Skip with Premium Service on all eligible recordings.
Need additional details and pricing? Visit www.TabloTV.com/premium.

8
Need Help?
Find answers to common questions, how-to guides, and troubleshooting tips
at www.TabloTV.com/support.
Or, ask other Tablo users on our community forum at community.TabloTV.com.
Or, speak directly with our helpful team of support gurus:
support@TabloTV.com
1-844-TABLOTV (822-5688)
Twitter.com/TabloSupport
Support hours of operation are Monday–Friday, 9:30 a.m. to 5:30 p.m. ET, excluding Canadian
holidays. Messages received outside of those hours will be returned within 1 business day.
Warranties & Returns
We hope you love your Tablo, but if you’re unhappy for any reason we offer a 30-day
return policy on new units purchased through TabloTV.com. For units purchased through
retail partners, the retailer’s return policy applies. All Tablo units include a 100% repair
or replacement warranty for 12 months from the original purchase date.
Tablo’s complete warranty and return policy can be found on our website
at www.TabloTV.com/warranty-returns.
Federal Communication Commission Statement
This equipment has been tested and found to comply with the limits for a Class B digital
device, pursuant to Part 15 of the FCC Rules. These limits are designed to provide reasonable
protection against harmful interference in a residential installation. This equipment generates
uses and can radiate radio frequency energy and, if not installed and used in accordance with
the instructions, may cause harmful interference to radio communications. However, there is
no guarantee that interference will not occur in a particular installation. If this equipment does
cause harmful interference to radio or television reception, which can be determined
by turning the equipment off and on, the user is encouraged to try to correct the interference
by one or more of the following measures:
• Reorient or relocate the receiving antenna.
• Increase the separation between the equipment and receiver.
• Connect the equipment into an outlet on a circuit different
from that to which the receiver is connected.
• Consult the dealer or an experienced radio/TV technician for help.
This device complies with part 15 of the FCC Rules. Operation is subject to the following
two conditions: (1) This device may not cause harmful interference, and (2) this device must
accept any interference received, including interference that may cause undesired operation.
Changes or modications not expressly approved by the party responsible
for compliance could void the user’s authority to operate the equipment.
Industry Canada Statement
This device complies with Industry Canada’s license-exempt RSSs. Operation is subject to the
following two conditions: (1) This device may not cause interference; and (2) This device must
accept any interference, including interference that may cause undesired operation
of the device.
Déclaration d’Industrie Canada
Le présent appareil est conforme aux CNR d’Industrie Canada applicables aux appareils
radio exempts de licence. L’exploitation est autorisée aux deux conditions suivantes:
(1) l’appareil ne doit pas produire de brouillage, et (2) l’utilisateur de l’appareil doit accepter
tout brouillage radioélectrique subi, même si le brouillage est susceptible d’en compromettre
le fonctionnement.
Other manuals for DUAL
1
Table of contents
Other Tablo DVR manuals


