manuals.online logo
Brands
  1. Home
  2. •
  3. Brands
  4. •
  5. Tait
  6. •
  7. Two-way Radio
  8. •
  9. Tait TP7110 User manual

Tait TP7110 User manual

Safety warnings
Before using your portable radio, please read the important safety and
compliance information provided with your radio. The safety and
compliance information is also available for download from the Tait
Support website (www.taitworld.com/technical).
• Do not damage the Li-ion battery. A damaged battery can cause an
explosion or fire.
• Battery fluid is corrosive. Avoid contact with the Li-ion battery if it
appears to be leaking.
• Charge the Li-ion battery only in the Tait charger that is specified to
charge it. Discontinue charging that gives off extreme heat or a
burning odour.
• Only use the radio for work-related purposes. It is not authorized for
any other use.
• Do not talk (transmit) on the radio more that the rated transmit duty
cycle of 50%.
• When listening and talking on the radio, hold it upright in front of your
face so that radio and antenna are at least 2.5cm (1 inch) away from
any part of your face. Keeping the radio at the recommended distance
is important because exposure to RF decreases rapidly the further
away the antenna is from your body.
• If you wear your radio, you must always put it in a carrying accessory
that has been specifically approved by Tait for this radio. Using non-
approved body-worn accessories may mean you expose yourself to
higher levels of RF than recommended by the FCC’s occupational/
controlled environment RF exposure limits.
• Ensure you only use Tait-approved antennas, batteries, and acces-
sories.
• Switch off the radio at filling stations or near flammable liquids or
gases.
• Switch off the radio in the vicinity of explosive devices and blasting
zones.
• Switch off the radio before boarding an aircraft.
• Using a radio while driving a vehicle may violate the laws and legis-
lation that apply in your country or state.
• Switch off the radio where it could interfere with electronic devices
such as vehicular electronics systems or medical devices and
equipment.
Status LED indicator
Common LED indications during normal radio operation:
Radio controls Getting started
1. Screw the antenna onto its connector on the top of the radio.
2. Mount the battery onto the back of the radio by sliding it into the
battery holder. (The battery must first be fully charged – see
“Battery charging” on the reverse.)
3. To turn on the radio, turn the volume knob clockwise. The radio
will beep twice.
4. Adjust the volume to a comfortable level, ready to transmit and
receive.
Making a call
1. Select the desired channel on the channel selector.
2. Once the channel is free, hold down the PTT key and speak
clearly into the radio.
3. Identify yourself and the party you are calling using the call signs
you have been assigned.
4. Release the PTT key when you have finished talking.
Receiving a call
Your radio remains quiet until there is valid activity on the channel
your radio is currently on.
1. Select the desired channel on the channel selector.
2. To respond to a call, press the PTT key and talk.
Caution: when transmitting, hold the radio microphone at
least 25mm (1 inch) away from your mouth, and the antenna
at least 25mm (1 inch) away from any part of your body,
particularly your face and eyes.
During a call
1. When speaking, press and hold the PTT key.
2. Release the PTT key for the other party to respond.
Audible tones
The radio uses audible tones to alert you to its status. Some of the
common audible tones are described below:
no LED If the radio is turned on, it is neither transmitting or
receiving.
constant The radio is transmitting
constant The radio is transmitting low power
constant The radio is receiving
flashing The battery is low. Replace with a charged battery.
Antenna The antenna provided with your radio must be screwed
clockwise into the antenna connector before the radio can
be used. No other antenna should be used with this radio.
PTT Press-To-Talk key must be held down while talking. Release
to listen to the other party.
Function key (F1) This may be preset for one of the functions listed on the
reverse.
Function key (F2) This may be preset for one of the functions listed on the
reverse.
Channel selector A rotary switch used to select the desired channel. Your
system administrator will advise which channels to use.
On/off volume Turns the radio on and off and sets the volume for both
voice and audible indicators.
Indicator LED A single LED that lights green, amber and red, depending
upon the radio state. See “Radio indicator LED” on the
previous panel.
PTT
antenna
function key (F1)
function key (F2)
status LED
on/off volume
channel selector
two short beeps The radio is powered on and ready to use
one short beep Function activated using a function key
one short, low pitched
beep
• Invalid keypress
• Low battery
• Channel not programmed
• Function deactivated using the function key
one long, low pitched
beep
Function key not programmed
Function keys
The two function keys on your radio (F1 and F2) can each have the
following functions programmed by your system administrator.
Mark which of these functions your radio has programmed by placing
a tick in the boxes provided.
Battery charging
Caution: Ensure the radio is turned off before charging.
The battery can be charged separately, or while fitted to the radio.
1. Connect the charger to the power source.
2. Ensure that both battery and charger contacts are clean and dry.
3. Insert the battery into the charger.
4. Use the LED indicator guide below to follow the charging
progress.
5. Ensure the battery is fully charged before removing from the
charger and fitting to the radio.
Charger LED indicator
Your battery charger has three indicator LEDs. You can expect to see
these common LED indications during normal charger operation.
Battery care
• Protect the battery from water and other liquids. If wet, wipe
thoroughly with a dry cloth and let it dry before using or charging.
• Ensure the battery and charger terminals are kept clean, dry and
undamaged to protect against short-circuit faults.
www.taitworld.com
MPB-00001-01 03/2009
Function Operation
Tx Power Level Press to switch the radio’s transmission power
level between HIGH and LOW power. The radio
turns on in the same state it was in when
turned off.
Scan Press to start or stop your radio monitoring a
group of channels for activity.
Dual Watch Press to start and stop scanning the current
channel and two programmed priority
channels. The priority channels are scanned
more frequently.
Nuisance Delete Press to temporarily delete a channel from the
scan group. This is useful if a channel has been
busy for a long time and you do not wish to
hear the conversation.
When the scan group is next selected, the
deleted channel is again part of the group.
You can not delete a priority channel.
Scan / Nuisance
Delete
Press to start and stop scanning, long press to
nuisance delete the channel from the scan
group.
Dual Watch /
Nuisance Delete
Press to start and stop Dual Watch scanning,
long press to temporarily delete the channel
from the scan group.
Monitor Press to override any special signalling on a
channel, so that you can check that the
channel is clear before you make a call.
Monitor /
Squelch Override
Short press to turn Monitor on, long press to
open the radio’s squelch. Short press to disable
Monitor or squelch override.
Squelch Level Press to switch the radio’s squelch level
between HIGH and LOW. Change to LOW to
open the mute more easily in low signal areas.
Power Save If power save is programmed at power-on,
short press to disable. Short press to turn back
on and save battery power during periods of
inactivity.
Repeater
Talkaround
Press to turn repeater talkaround on when out
of range of the repeater. You can bypass the
repeater and communicate directly with
another radio. Press again to turn off.
Preset Call 1 Press to make the preset call 1 programmed for
the current channel.
Preset Call 2 Press to make the preset call 2 programmed for
the current channel.
F1 F2
F1 F2
F1 F2
F1 F2
F1 F2
F1 F2
F1 F2
F1 F2
F1 F2
F1 F2
F1 F2
F1 F2
F1 F2
LED State Function Operation
flashing Sensing Charger is checking the battery
No LED Standby AC/DC power not connected or battery
incorrectly inserted into the charger

constant Fast charging Charging in progress
flashing 90% complete Battery is around 90% charged
constant Charge complete Battery is fully charged
flashing Fault Short circuit/over voltage/maximum
temperature
www.taitworld.com
TAIT:THERIG
HTFIT
TP7110
PORTABLES
TP7110
CONVENTIONAL RADIO
USER'S GUIDE

Other Tait Two-way Radio manuals

Tait P25 User manual

Tait

Tait P25 User manual

Tait Orca 5000 User manual

Tait

Tait Orca 5000 User manual

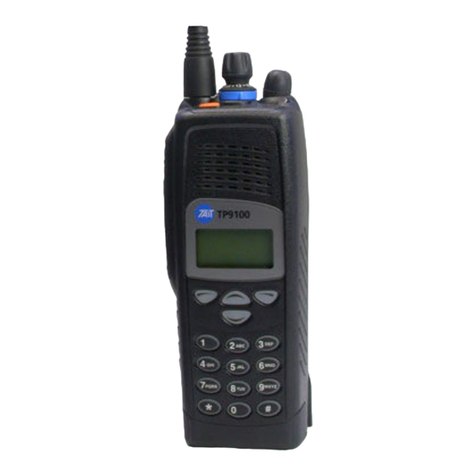
Tait TP9100 User manual

Tait

Tait TP9100 User manual

Tait TM9100 User manual

Tait

Tait TM9100 User manual

Tait TP2210-B1 User manual

Tait

Tait TP2210-B1 User manual

Tait Orca 5020 User manual

Tait

Tait Orca 5020 User manual

Tait TP8000 Series Use and care manual

Tait

Tait TP8000 Series Use and care manual

Tait TP9310 User manual

Tait

Tait TP9310 User manual

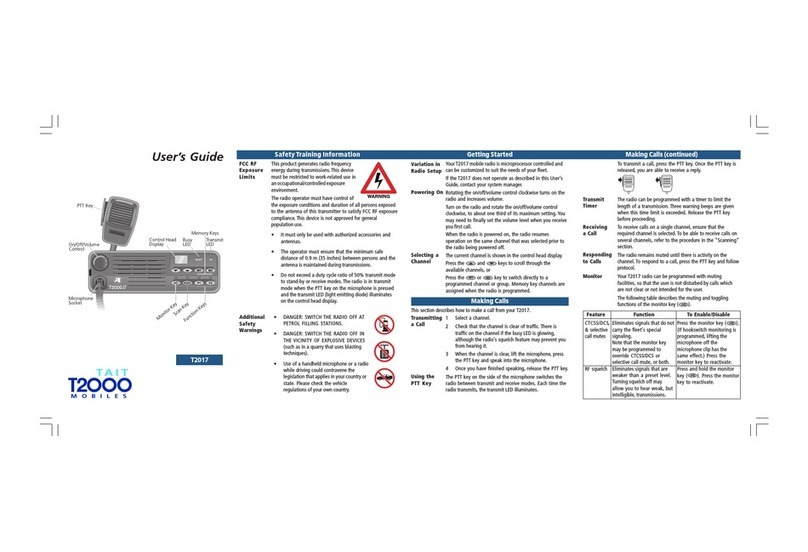
Tait T2000 Series User manual

Tait

Tait T2000 Series User manual

Tait TP3350 DMR User manual

Tait

Tait TP3350 DMR User manual

Tait TM8110 User manual

Tait

Tait TM8110 User manual

Tait TP3300 User manual

Tait

Tait TP3300 User manual

Tait TM8100 mobiles User manual

Tait

Tait TM8100 mobiles User manual

Tait Orca Excel User manual

Tait

Tait Orca Excel User manual

Tait T2000 SERIES II User manual

Tait

Tait T2000 SERIES II User manual

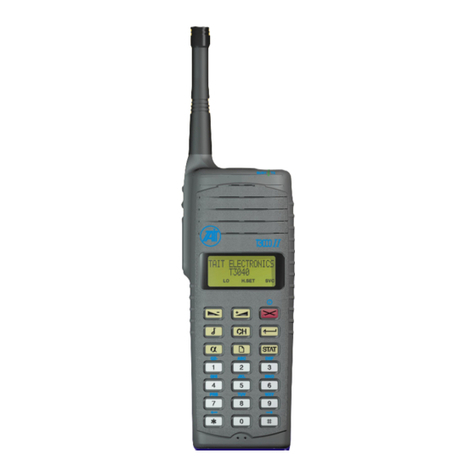
Tait T3040II User manual

Tait

Tait T3040II User manual

Tait T525 User manual

Tait

Tait T525 User manual

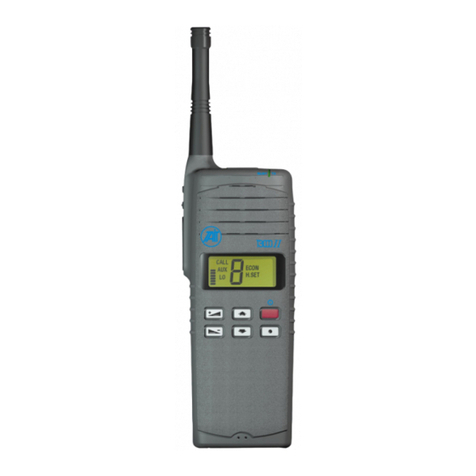
Tait T3010II User manual

Tait

Tait T3010II User manual

Tait Orca Excel User manual

Tait

Tait Orca Excel User manual

Tait TM8100 mobiles User manual

Tait

Tait TM8100 mobiles User manual

Tait T 9100 Series User manual

Tait

Tait T 9100 Series User manual

Popular Two-way Radio manuals by other brands

Motorola Talkabout T6400 user guide

Motorola

Motorola Talkabout T6400 user guide

Motorola TLKR T7 owner's manual

Motorola

Motorola TLKR T7 owner's manual

Uniden PC68XL user guide

Uniden

Uniden PC68XL user guide

PRESIDENT JOHNNY II owner's manual

PRESIDENT

PRESIDENT JOHNNY II owner's manual

Motorola GP300 Series Basic service manual

Motorola

Motorola GP300 Series Basic service manual

Albrecht Tectalk Worker 3 manual

Albrecht

Albrecht Tectalk Worker 3 manual

AINA PTT quick guide

AINA

AINA PTT quick guide

Baofeng BF-888S manual

Baofeng

Baofeng BF-888S manual

Radio Shack 21-1936 - Gmrs/frs Radios user guide

Radio Shack

Radio Shack 21-1936 - Gmrs/frs Radios user guide

switel WT108 operating instructions

switel

switel WT108 operating instructions

Motorola TETRA MTP850 EX Product information manual

Motorola

Motorola TETRA MTP850 EX Product information manual

Hytera PD752 user guide

Hytera

Hytera PD752 user guide

Motorola CP100 user guide

Motorola

Motorola CP100 user guide

Oricom UHF2200 operating instructions

Oricom

Oricom UHF2200 operating instructions

Oregon Scientific TP-329 owner's manual

Oregon Scientific

Oregon Scientific TP-329 owner's manual

Easy ?T-80 operating manual

Easy

Easy ?T-80 operating manual

Infinity K911AD1 user manual

Infinity

Infinity K911AD1 user manual

Wouxun KG-UV9GX GMRS quick start guide

Wouxun

Wouxun KG-UV9GX GMRS quick start guide

manuals.online logo
manuals.online logoBrands
  • About & Mission
  • Contact us
  • Privacy Policy
  • Terms and Conditions

Copyright 2025 Manuals.Online. All Rights Reserved.