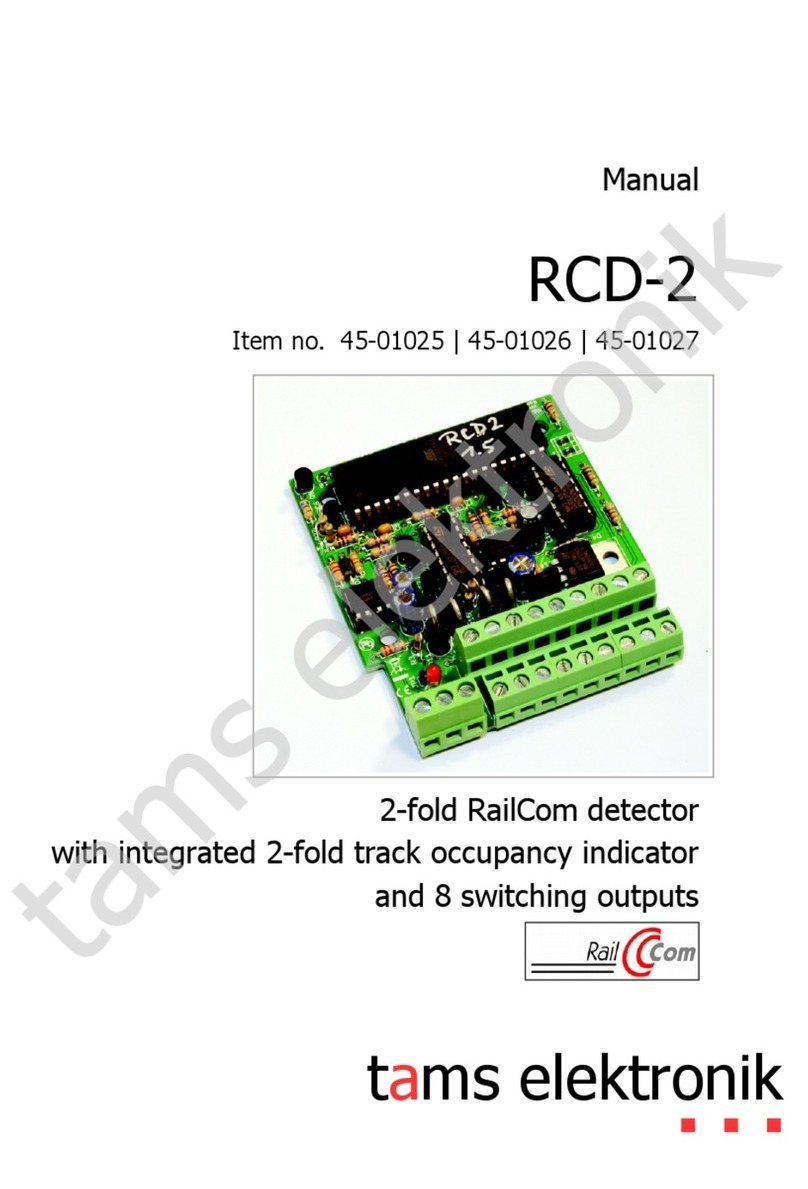
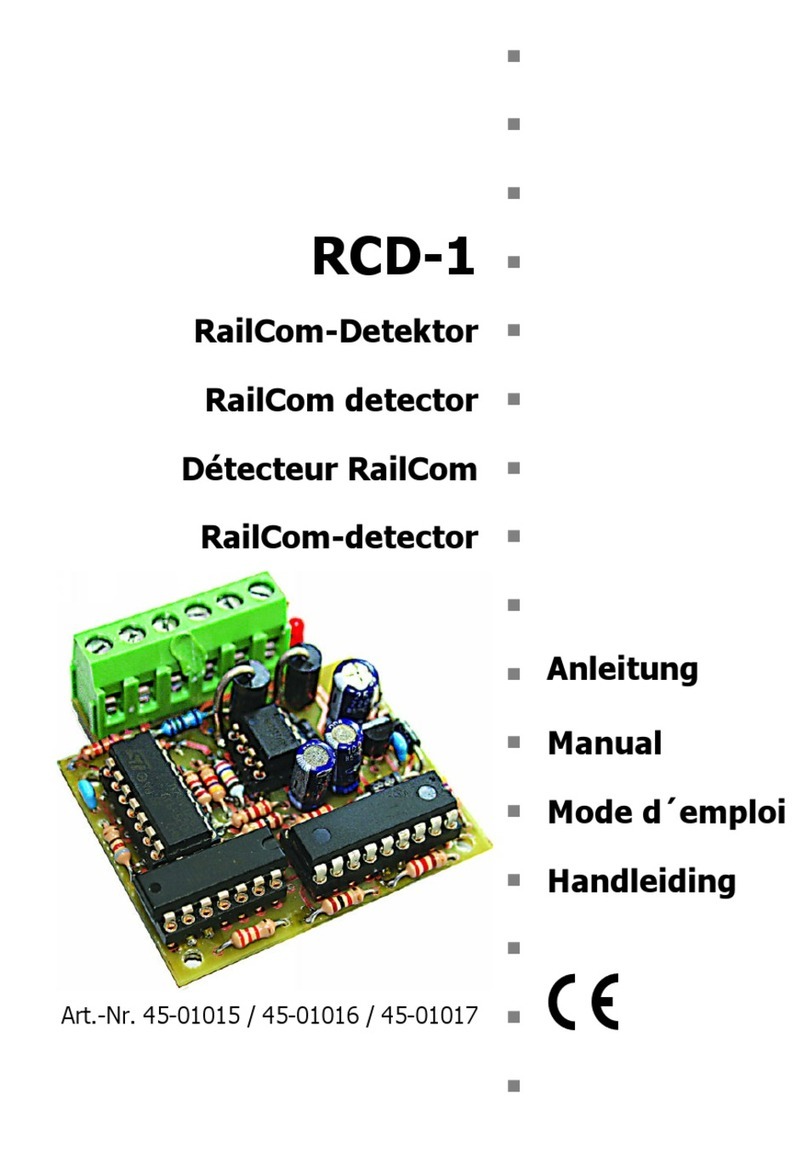
tams elektronik WRM-4 User manual

WRM-4
Turnout detector
4-fold
Manual
Item nos. 52-02045 | 52-02046 | 52-02047
tams elektronik
n n n

WRM-4 tams elektronik
Version: 2.0 | Status: 01/2023
© Tams Elektronik GmbH
All ri hts reserved, in particular the ri ht of reproduction, distribution and translation. Copies,
reproductions and alterations in any form require the written permission of Tams Elektronik
GmbH. We reserve the ri ht to make technical chan es.
Printing t e manual
The formattin is optimised for double-sided printin . The standard pa e size is DIN A5. If
you prefer a lar er display, printin on DIN A4 is recommended.
2 | Contents

tams elektronik WRM-4
Contents
1. Gettin started.............................................................................................................4
1.1. Contents of the packa e.......................................................................................4
1.2. Accessories..........................................................................................................4
1.3. Intended use.......................................................................................................5
1.4. Safety instructions................................................................................................5
1.5. Care....................................................................................................................5
2. Operation overview.......................................................................................................6
3. Assemblin the kit........................................................................................................7
3.1. Safety instructions................................................................................................7
3.2. Solderin properly................................................................................................8
3.3. Preparation..........................................................................................................9
3.4. PCB layout and parts list.....................................................................................11
3.5. Assembly...........................................................................................................13
3.6. Performin a visual check...................................................................................14
4. Connectin the WRM-4...............................................................................................15
4.1. Pin assi nment...................................................................................................15
4.2. Functional test....................................................................................................16
4.3. Connectin the turnouts......................................................................................16
4.4. Connectin lamps or LEDs...................................................................................17
4.5. Connectin the power supply..............................................................................18
4.6. Embeddin in a di itally controlled layout............................................................18
5. Connectin subordinate circuits...................................................................................19
5.1. Connectin s88 modules.....................................................................................19
5.2. Directly connectin subordinate circuits...............................................................19
5.3. Connectin subordinate circuits via a relay...........................................................20
6. Checklist for troubleshootin and error correction.........................................................21
6.1. Technical Hotline................................................................................................22
6.2. Repairs..............................................................................................................22
7. Technical data............................................................................................................23
8. Warranty, EU conformity & WEEE................................................................................25
8.1. Guarantee bond.................................................................................................25
8.2. EU Declaration of Conformity..............................................................................26
8.3. Declarations on the WEEE Directive.....................................................................26
Contents | 3

WRM-4 tams elektronik
1. Gettin started
The instructions will help you step by step with the safe and proper assembly of the kit and
installation and use of your turnout detector. Before you start to assemble the kit or put the
turnout detector into operation, read this manual completely, especially the safety instructions
and the section on possible errors and their elimination. You will then know what you have to
pay attention to and thus avoid errors that sometimes can only be rectified with a lot of effort.
Keep the instructions in a safe place so that you can restore functionality later in the event of
any malfunctions. If you pass the turnout detector on to another person, also ive the
instructions with it.
1.1. Contents of the packa e
1 kit WRM-4 (item no. 52-02045-01), containin the components listed in the parts list
( section 3.4.) and one PCB or
1 ready-built and tested circuit board WRM-4 (item no. 52-02046-01) or
1 turnout detector WRM-4 in housin (item no. 52-02047-01)
1.2. Accessories
To assemble t e kit you will need
a solderin iron with temperature control and a thin tip and a deposit stand or a controlled
solderin station
a scraper, ra or spon e
a heat-resistant pad
a small pair of side cutters and wire strippers
tweezers and flat-nose pliers if necessary
electronic solder (preferably 0.5 to 0.8 mm diameter)
Connection cables
The use of stranded wire is recommended for makin the connections. Stranded wires consist
of several thin individual wires and are therefore more flexible than ri id wires with the same
copper cross-section. Recommended cross-sections:
Connections to the turnouts and the power supply: > 0.10 mm²
Connections of lamps or LEDs: > 0.04 mm²
Display of t e turnout position
To indicate the turnout position, you need 2 LEDs (with suitable series resistors) or small
lamps for each turnout.
Function test
It is recommended to test the detector´s functions before mountin it into the layout,
especially if you have built the module from a kit. For this you need a turnout and two li ht
bulbs.
4 | Gettin started

!
tams elektronik WRM-4
1.3. Intended use
The turnout detector is intended for use in model railway layouts as specified in the
instructions. Any other use is not in accordance with the intended use and will result in the
loss of the warranty claim. Intended use also includes readin , understandin and followin all
parts of the instructions. The detector is not intended to be used by children under the a e of
14.
1.4. Safety instructions
Note:
The turnout detector contains inte rated circuits (ICs). These are sensitive to electrostatic
char in . Therefore, do not touch these components until you have "dischar ed" yourself.
For this purpose, e. . a rip on a radiator is sufficient.
Improper use and non-observance of the instructions can lead to incalculable hazards. Prevent
these dan ers by carryin out the followin measures:
Only use the turnout detector in closed, clean and dry rooms. Avoid moisture and splash
water in the environment. After condensation has formed, wait two hours for
acclimatisation before use.
Disconnect the detector from the power supply before carryin out wirin work.
Supply the detector only with extra-low volta e as specified in the technical data. Use only
tested and approved transformers.
Only plu the mains plu s of transformers into properly installed and fused earthed sockets.
When makin electrical connections, ensure that the cable cross-section is sufficient.
Heatin of the detector durin operation is normal and harmless.
Do not expose the detector to hi h ambient temperatures or direct sunli ht. Observe the
information on the maximum operatin temperature in the technical data.
Re ularly check the operational safety of the detector, e. . for dama e to the connection
cables.
If you notice dama e or if malfunctions occur, disconnect the connection to the power
supply immediately. Send the turnout detector in for inspection.
1.5. Care
Do not use any cleanin a ents to clean the turnout detector. Only wipe the detector dry.
Disconnect the detector from the power supply before cleanin .
Gettin started | 5

WRM-4 tams elektronik
2. Operation overview
The turnout detector WRM-4 can be used both in analo ue model railway layouts and in
di ital layouts (to ether with di ital solenoid decoders).
The WRM-4 detects the position of the drives of turnouts and si nals with double coil drives
without limit switchin . As the position of the anchor in the coil is analysed, the detector also
reacts if turnouts are shifted manually. In particular cases the actual position of the turnout
can differ from the position of the drive, e. . when there are interferences of the ton ue´s
movement due to parts of railway ballast.
Each detector can detect the position of four drives of turnouts or si nals. Each of the four
functional areas has two outputs for the connection of LEDs or lamps (not included in the
packa e), displayin the actual position.
The outputs of the WRM-4 switch a ainst earth. Thus di ital feedback modules (e. . s88
modules) or subordinated circuits (e. . for automatic train control) can be connected to the
outputs (in addition to or instead of lamps or LEDs).
6 | Operation overview

!
tams elektronik WRM-4
3. Assemblin the kit
You can skip this section if you have purchased a ready-built module or device.
3.1. Safety instructions
Mec anical azards
Cut wires can have sharp ends and can cause serious injuries. Watch out for sharp ed es
when you pick up the PCB.
Visibly dama ed parts can cause unpredictable dan er. Do not use dama ed parts: recycle
and replace them with new ones.
Fire risk
Touchin flammable material with a hot solderin iron can cause fire, which can result in
injury or death throu h burns or suffocation. Connect your solderin iron or solderin station
only when actually needed. Always keep the solderin iron away from inflammable materials.
Use a suitable solderin iron stand. Never leave a hot solderin iron or station unattended.
T ermal danger
A hot solderin iron or liquid solder accidentally touchin your skin can cause skin burns. As a
precaution:
use a heat-resistant mat durin solderin ,
always put the hot solderin iron in the solderin iron stand,
point the solderin iron tip carefully when solderin , and
remove liquid solder with a thick wet ra or wet spon e from the solderin tip.
Dangerous environments
A workin area that is too small or cramped is unsuitable and can cause accidents, fires and
injury. Prevent this by workin in a clean, dry room with enou h freedom of movement.
Ot er dangers
Children can cause any of the accidents mentioned above because they are inattentive and not
responsible enou h. Children under the a e of 14 should not be allowed to work with this kit
or the ready-built module.
Caution:
Little children can swallow small components with sharp ed es, with fatal results! Do not
allow components to reach small children.
In schools, trainin centres, clubs and workshops, assembly must be supervised by qualified
personnel. In industrial institutions, health and safety re ulations applyin to electronic work
must be adhered to.
Assemblin the kit | 7

WRM-4 tams elektronik
3.2. Solderin properly
Use a solderin iron with temperature control, which you set to approx. 300 °C.
Only use electronic solder with a flux.
Never use solderin water or solderin rease when solderin electronic circuits. These
contain an acid that destroys components and conductor paths.
Insert the connectin wires of the components as far as possible throu h the holes of the
board without usin force. The body of the component should be close above the board.
Make sure that the polarity of the components is correct before solderin them.
Solder quickly: solderin for too lon can coffe pads or tracks to become detached or even
destroy components.
Hold the solderin tip on the solderin point in such a way that it touches the component
wire and the pad at the same time. Add (not too much) solder simultaneously. As soon as
the solder be ins to flow, remove it from the solderin point. Then wait a moment for the
solder to flow well before removin the solderin iron from the solderin joint.
Do not move the component you have just soldered for about 5 seconds.
A clean, non-oxidised (scale-free) solderin tip is essential for a perfect solderin joint and
ood solderin . Therefore, before each solderin , wipe off excess solder and dirt with a
damp spon e, a thick damp cloth or a silicone wiper.
After solderin , cut off the connectin wires directly above the solderin point with a side
cutter.
After assembly, always check each circuit a ain to ensure that all components are correctly
inserted and polarised. Also check that no connections or tracks have been accidentally
brid ed with tin. This can lead not only to malfunction, but also to the destruction of
expensive components. You can re-liquefy excess solder with the clean hot solderin tip.
The solder then flows from the board to the solderin tip.
8 | Assemblin the kit

tams elektronik WRM-4
3.3. Preparation
Put the sorted components in front of you on your workbench.
The separate electronic components have the followin special features you should take into
account in assemblin :
Resistors
Resistors reduce current.
The value of resistors for smaller power ratin s is indicated throu h colour rin s.
Every colour stands for another fi ure.
Carbon film resistors have 4 colour rin s. The 4th rin ( iven in brackets here)
indicates the tolerance of the resistor ( old = 5 %).
Value: Colour rin s:
1 kbrown - black - red ( old)
10 kbrown - black - oran e ( old)
47 kyellow - violet - oran e ( old)
470 kyellow - violet - yellow ( old)
Diodes
Diodes allow the current to pass throu h in one direction only (forward direction),
simultaneously the volta e is reduced by 0,3 to 0,8 V. Exceedin of the limit
volta e always will destroy the diode, and allow current to flow in the reverse
direction.
The diode type is printed on the body. Diodes must be mounted in a iven
direction. The ne ative end is marked with a rin . This is shown in the PCB
layout.
Ceramic capacitors
Amon other thin s ceramic capacitors are used for filterin interference volta es
or as frequency determinin parts. Ceramic capacitors are not polarized.
Normally they are marked with a three-di it number which indicates the value
coded:
Number: Value:
103 10 nF
104 100 nF
Electrolytic capacitors
Electrolytic capacitors are often used to store ener y. In contrast to ceramic
capacitors they are polarized. One of the two leads is marked with a minus si n
which indicates the mountin orientation. The value is iven on the casin .
Electrolytic capacitors are available with different volta e sustainin capabilities.
Usin an electrolytic capacitor with a volta e sustainin capability hi her than
required is always possible.
Assemblin the kit | 9

WRM-4 tams elektronik
Transistors
Transistors are current amplifiers which convert low si nals into stron er ones. There are
several types in different packa e forms available. The type desi nation is printed on the
component.
Transistors for a low power ratin (e. . BC types, BS types) have a packa e in
form of a half zylinder (SOT-packa e). The three pins of bipolar transistors (e. .
BC, BD and BT types) are called basis, emitter and collector (abbreviated with the
letters B, E, C in the circuit dia ram).
Integrated circuits (ICs)
Dependin on the type, ICs fulfil various tasks. The most common housin form
is the so-called "DIL"-housin , from which 4, 6, 8, 14, 16, 18 or more "le s"
(pins) are arran ed alon the lon sides.
ICs are sensitive to dama e durin solderin (heat, electrostatic char in ). For
that reason in the place of the ICs IC sockets are soldered in, in which the ICs
are inserted later.
Voltage regulators
Volta e re ulators are ICs, which convert a variable, non re ulated input volta e
in a constant output volta e. They are produced in transistor housin s with three
connectin pins for input, output and earth.
With volta e re ulators in a flat TO-housin the unlabelled rear is marked by a
thick line on the PCB layout.
Terminal strips
Terminal strips are solder-in screw-type terminals. They provide a solder-free and safe
connection of the cables to the circuit, which can still be separated any time.
10 | Assemblin the kit

tams elektronik WRM-4
3.4. PCB layout and parts list
PCB layout
Assemblin the kit | 11

WRM-4 tams elektronik
Parts list
Carbon film resistors R3, R4, R11, R12, R19, R20, R27, R28 1 k
R2, R5, R6, R9, R10, R13, R14, R17, R18,
R21, R22, R25, R26, R29, R30, R33, R34
10 k
R1, R35, R36, R37, R38 47 k
R7, R8, R15, R16, R23, R24, R31, R32 470 k
Diodes D1, D2, D3, D4, D5, D6, D7, D8, D9, D10,
D11, D12, D13, D14, D15, D16
1N4148
D17 1N540x, x=2...7
D18 1N400x, x=2...7
Ceramic capacitors C2 10 nF
C3, C4, C5, C6, C7, C8, C9, C10, C11,
C12, C13, C15
100 nF
Electrolytic capacitors C1 470 µF / 25 V
C14 100 µF / 25 V
Transistor T2 BC327
Inte rated circuits (ICs) IC1 40106N
IC2 ULN2803
IC3 LM339N
IC-sockets IC1, IC3 14-pole
IC2 18-pole
Volta e re ulators IC4 7812
Terminal strips X1 2 x 8-pole
X2 1 x 3-pole
12 | Assemblin the kit

!
tams elektronik WRM-4
3.5. Assembly
Proceed accordin to the order iven in the list below. First solder the components on the
solder side of the PCB and then cut the excess wires with the side cutter. Follow the
instructions on solderin in section 3.2.
Caution:
Several components have to be mounted accordin to their polarity. When solderin these
components the wron way round, they can be dama ed when you connect the power. In
the worst case the whole circuit can be dama ed. At the best, a wron ly connected part will
not function.
1. Resistors Mountin orientation of no importance.
2. Diodes Observe the polarity!
The ne ative end of the diodes is marked with a rin . This is
shown in the PCB layout.
3. IC sockets Mount the sockets that way, the markin s on the sockets
show in the same direction as the markin s on the PCB
board.
4. Ceramic Capacitors Mountin orientation of no importance.
5. Transistor Observe the polarity!
With transistors for a hi h power ratin in TO packa es (e. .
BD types) the unlabelled back side is marked in the PCB
layout by a thick line.
6. Electrolytic capacitors Observe the polarity!
One of the two leads (the shorter one) is marked with a
minus si n.
7. Volta e re ulators Observe the polarity!
Before solderin , bend the volta e re ulator´s pins to 90
de rees, so that you can solder it in correspondin to the
PCB layout with the labelled front side facin upwards.
8. Terminal strips Put to ether the terminal strips before mountin them.
9. ICs in DIL-housin Insert the ICs into the soldered socket.
Do not touch the ICs without first dischar in yourself by
touchin a radiator or other rounded metal parts.
Do not bend the "le s" when insertin them into the sockets.
Check that the markin s on the PCB, the socket and the IC
show to the same direction.
Assemblin the kit | 13

WRM-4 tams elektronik
3.6. Performin a visual check
Perform a visual check after the assembly of the module and remove faults if necessary:
Remove all loose parts, wire ends or drops of solder from the PCB. Remove all sharp wire
ends.
Check that solder contacts which are close to each other are not unintentionally connected
to each other. Risk of short circuit!
Check that all components are polarised correctly.
When you have remedied all faults, o on to the next part.
14 | Assemblin the kit

tams elektronik WRM-4
4. Connectin the WRM-4
The detector is equipped with terminal strips used for insertin and screwin the connection
cables.
4.1. Pin assi nment
| - X2|1 Volta e supply (12-18 V a.c. volta e or 12 – 24 V d.c. Volta e)
Check the polarity when connectin to d.c. Volta e. When connectin the detector to a.c. volta e
the polarity is of no importance.
~ | + X2|2
RL X2|3 Reverse conductor for the outputs
E1a X1|1 turnout 1, position ahead
E1b X1|9 turnout 1, position branch
... ...
E4a X1|4 turnout 4, position ahead
E4b X1|12 turnout 4, position branch
A1a X1|5 LED / lamp for turnout 1 / ahead
A1b X1|13 LED / lamp for turnout 1 / branch
... ...
A4a X1|8 LED / lamp for turnout 4 / ahead
A4b X1|16 LED / lamp for turnout 4 / branch
Connectin the WRM-4 | 15

!
WRM-4 tams elektronik
4.2. Functional test
Before mountin the WRM-4 in the layout it is recommended to perform a functional test, especially
when you have assembled the detector from a kit. Perform the functional test with one point and
two lamps by connectin them accordin to the details iven in the followin sections and the
dia ram.
Attention:
When a component ets hot, disconnect the detector from the volta e supply immediately! Risk
of short cirvuit! Check the assembly.
Perform the functional test for the four function areas one after another:
connectin one point to the detector´s inputs (a and b);
connectin one lamp to each of the two correspondin outputs;
connectin and switchin on the volta e supply;
switchin the turnout manually into both positions. The two lamps should li ht alternately.
4.3. Connectin the turnouts
Connect the inputs of the turnout detector to the turnouts. Mind the correct assi nment.
16 | Connectin the WRM-4

!
tams elektronik WRM-4
4.4. Connectin lamps or LEDs
Lamps are not polarised, thus the assi nment of the two connections to the outputs of the
WRM-4 (A1a to A4b) and to the return conductor for the outputs (RL) is optional.
With LEDs you have to observe the polarity, otherwise they do not li ht. Connect the cathodes
(-) to the outputs of the WRM-4 (A1a bis A4b) and the anodes (+) to the return conductor for
the outputs (RL). With standard LEDs the lon er connectin pin is the anode (+).
Attention:
When usin LEDs you always have to connect them via a series resistor as the LED will be
dama ed when put into operation or its duration of life will be reduced considerably.
The necessary value of the series resistor depends on the volta e supply to be available, the
forward volta e of the LED (which depends on the colour) and the current.
Calculatin the series resistor:
necessary RV [Ohm] = ( UB [V] – UF [V] ) / (IF [mA] x 0,001)
UB = operatin volta e
UF = forward volta e of the LED
IF = current with max. luminosity
For red and reen LEDs you can take 2 V as a basis for the forward volta e. The luminosity
depends on the current draw, with standard LEDs the difference between 10 and 20 mA is not
visable.
Connection to a.c. volta e
Note: The operatin volta e of an a.c. transformer is approx.
1,4 fold the nominal volta e iven.
Connection to d.c. volta e
Note: With d.c. Power packs the operatin volta e
corresponds to the nominal volta e iven.
Nominal
volta e
Necessary series resistor with
current draw
Nominal
volta e
Necessary series resistor with
current draw
10 mA 20 mA 10 mA 20 mA
12 V ~ 1,5 k820 16 V = 1,5 k820
14V ~ 1,8 k820 18 V = 1,5 k820
16 V ~ 2,2 k1 k20 V = 1,8 k1 k
18 V ~ 2,2 k1,2 k22 V = 2,2 k1 k
Connectin the WRM-4 | 17

!
WRM-4 tams elektronik
4.5. Connectin the power supply
Connect the volta e supply accordin to the list "pin assi nment" and the connection
dia rams. Observe the polarity when connectin to a d.c. power pack.
When connectin the WRM-4 to an a.c. transformer, first of all the polarity is of no
importance. However, when makin the connections between the different components you
have be careful to assi n earth and volta e consistently.
4.6. Embeddin in a di itally controlled layout
When you want to use the WRM-4 in combination with a turnout decoder in a di ital layout,
make the connections accordin to the dia ram.
Attention:
Do not connect the WRM-4 to the volta e supply for the di ital system. The occurent
leaka e current would dama e the detector irreparably! Use a separate transformer as
volta e supply for the WRM-4 (and in case further turnout indicators).
18 | Connectin the WRM-4

!
tams elektronik WRM-4
5. Connectin subordinate circuits
The WRM-4 evaluates the income si nals a ainst earth. Thus you can connect the outputs of
the WRM-4 to:
the inputs of subordinate electronic circuits with a current consumption of max. 250 mA;
relays to switch the inputs of subordinate electronic circuits with a current consumption of
more than 250 mA or to switch circuits requirin to be alvanically isolated;
relays to switch the current at the outputs of subordinate modules;
the inputs of di ital feedback modules (e. . s88 modules).
5.1. Connectin s88 modules
In order to occupy a number of inputs of the feedback modules as small as possible, you can
connect only one output of each function area (for one position). In theory, the drive must be
in the other position when the connected output is not connected to earth.
In order to increase the
safety of the feedback
system, it possibly makes
sense to connect each of
the two outputs of a
function area to one input
of the feedback detector.
This enables you to
supervise both positions.
5.2. Directly connectin subordinate circuits
You can connect the inputs of circuits with a maximum current of 250 mA like lamps directly to
the outputs of the WRM-4 and to the return conductor for all outputs.
Attention:
When connectin loads with a current consumption of more than 250 mA the outputs of the
WRM-4 will be dama ed.
Connectin subordinate circuits | 19

!
WRM-4 tams elektronik
5.3. Connectin subordinate circuits via a relay
Loads with a current consumption of more than 250 mA;
circuits or modules requirin to be alvanically isolated (e. . track sections);
outputs of subordinate circuits
must be connected via a relay to the WRM-4 as a rule.
In addition you should connect a free-wheelin diode (e. . 1N400x) in parallel to the relay in
order to avoid dama es to the outputs of the WRM-4. Pay attention to connect the anode of
the free-wheelin diode (+) to the output of the WRM-4.
When supplyin the WRM-4 with a.c. volta e, the relay possibly does not switch properly
("rattles") in operation. In this case you should mount an electrolytic capacitor (> 100 µF /
25 V) in parallel to the relay.
Attention:
When connectin
the outputs of
the WRM-4
directly to the
outputs of
subordinate
circuits (without
relay), current
possibly flows
back from the
subordinate
circuit into the
WRM-4. This
causes dama e
to the output,
possibly to the
complete
WRM-4.
20 | Connectin subordinate circuits
This manual suits for next models
3
Table of contents
Other tams elektronik Security Sensor manuals