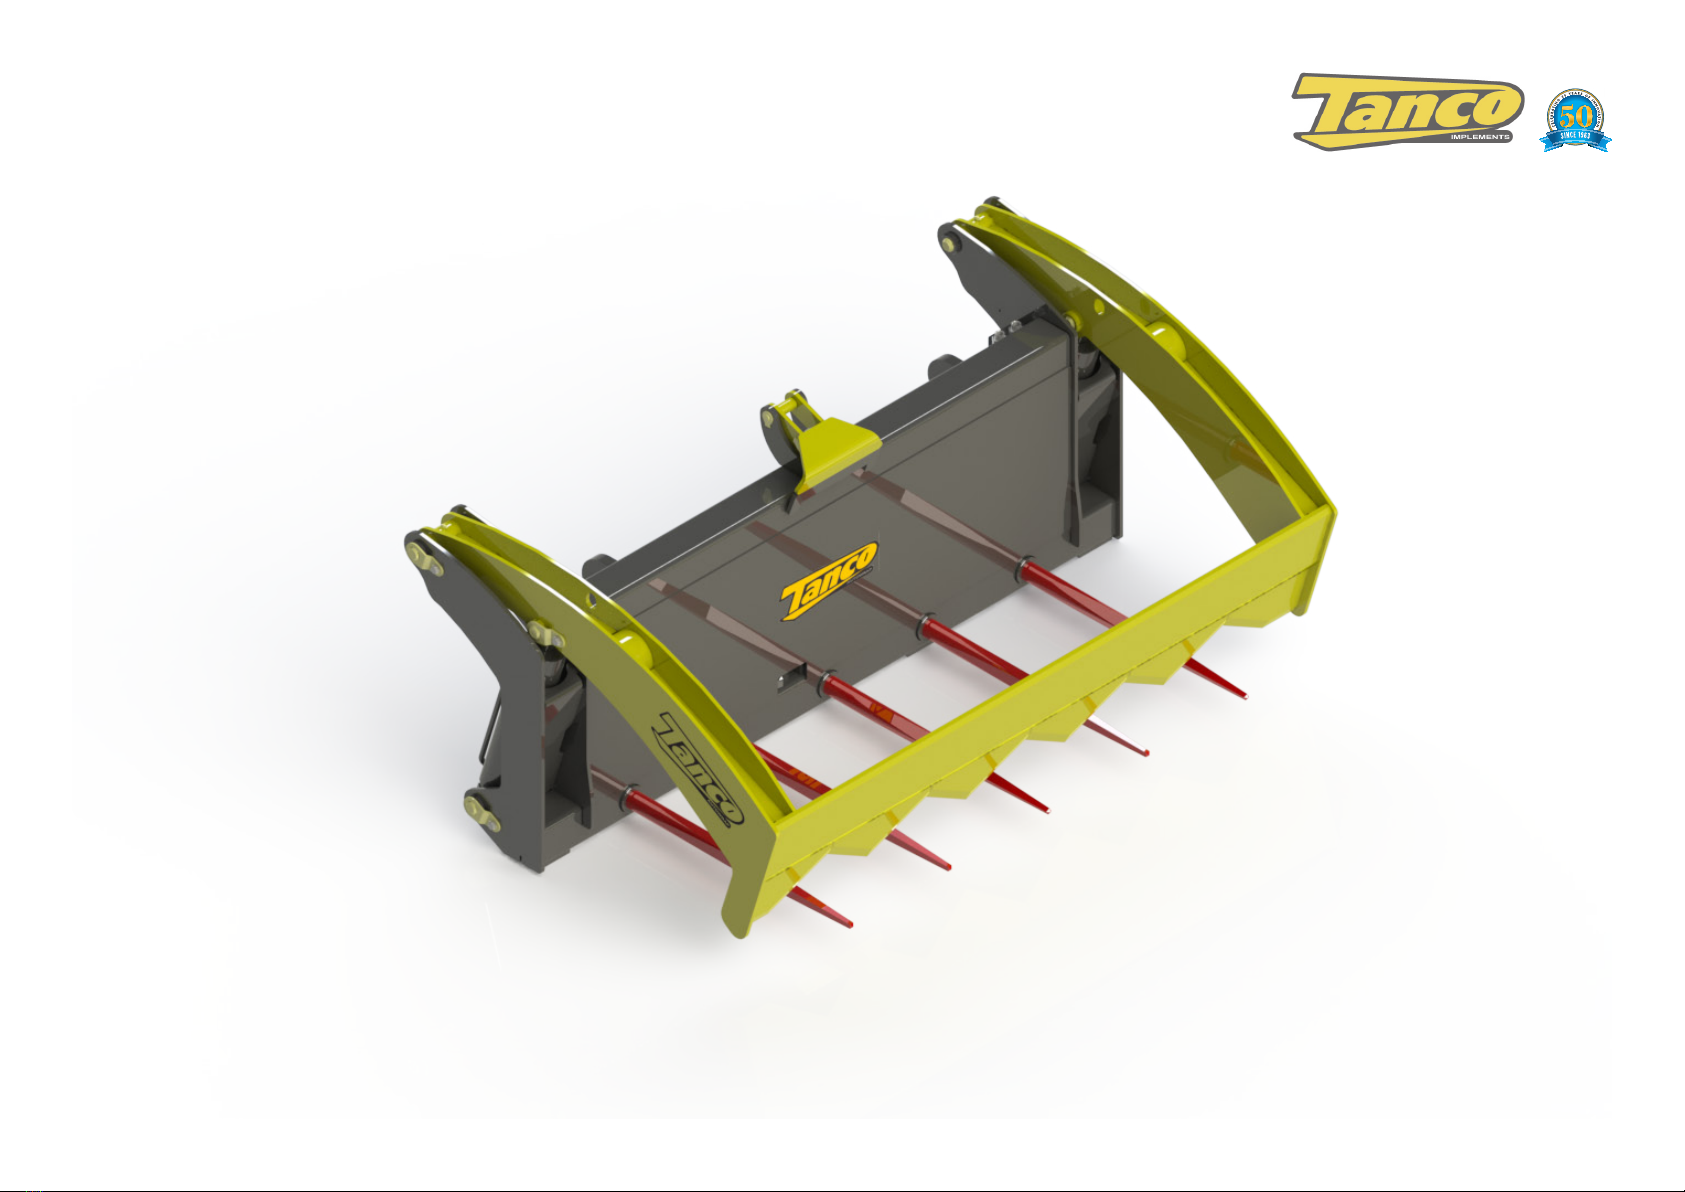
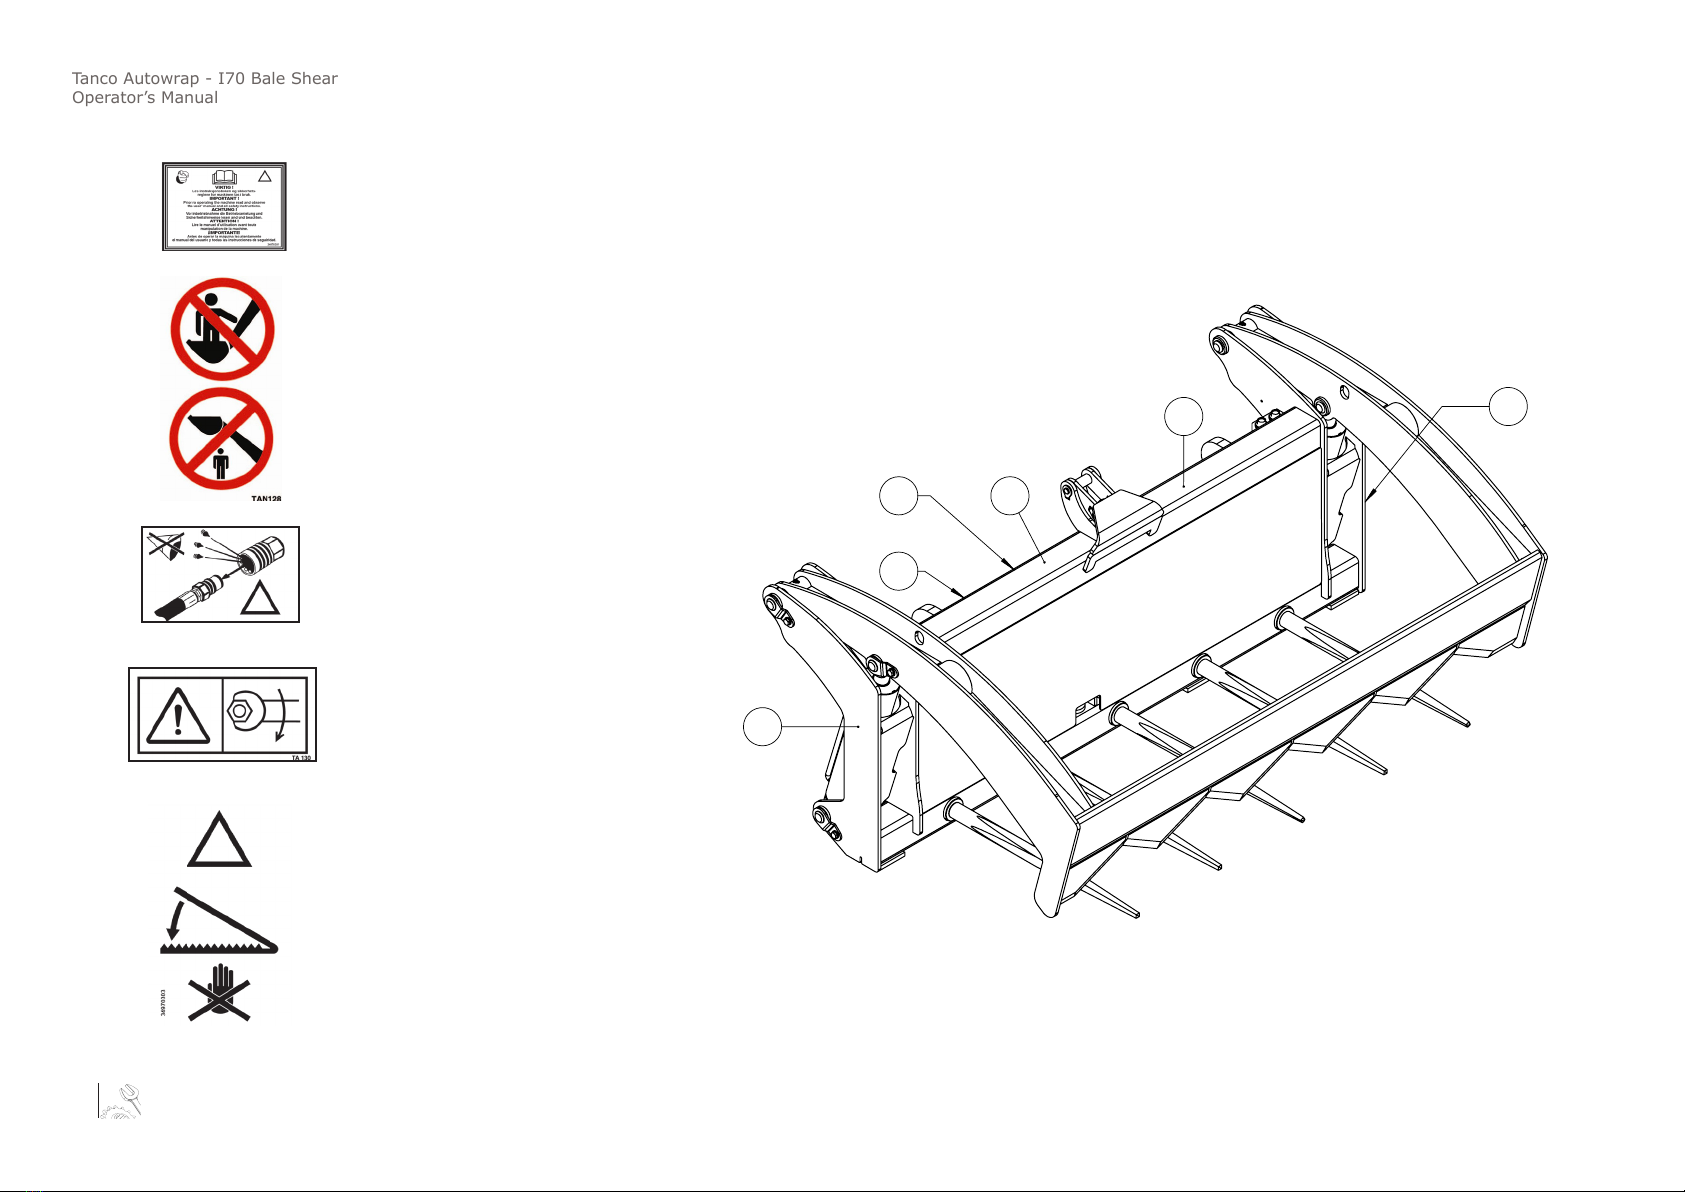
Tanco Autowrap - I70 Bale Shear
Operator’s Manual
6
Tanco Autowrap Ltd does not take responsibility for damages that may occur to machine, persons or other equipment, because of the machine NOT being used as described in this
manual, or because of the safety precautions NOT being followed.
IMPORTANT!
Always make sure nobody is in the hazard area of the Bale Shear when the machine is in-use.
The machine must not be operated by persons who do not know enough about how to safely operate the machine, or by persons under the age of 16 years.
Dangerous Areas
Tanco Autowrap Ltd. has given the safety to the operator the highest priority, but it is still impossible to secure oneself of every danger area on the machine. Therefore we have
highlighted below some of the dangers that can occur when using the I70 Bale Shear.
Hydraulic Fluid
Never use your hands to search for hydraulic uid leaks, use a piece of paper or cardboard for this purpose. Remember that escaping uids under high pressure can be invisible, but can
easily penetrate the skin and cause serious and sometimes permanent injury.
Machine Operation.
Always stop the tractor, lower the attachment to ground level and shut o the engine when leaving the machine.
Never keep the tractor running whilst installing or servicing the Bale Shear.
Safety Shutdown Procedure.
Work of any type on farm machinery is always more dangerous when the tractor is running.
Therefore before cleaning, lubricating, or servicing this unit, the following Safety Shutdown Procedure should always be followed:
1. Move the Tractors drive control and the hydraulic control valve to their neutral positions and idle the engine down.
2. Position the Bale Shear so that it is completely resting on the ground.
3. Engage the tractors parking brake.
4. Move the tractors throttle to slow idle, shut the engine o and remove the ignition key.
It is the responsibility of the operator to ensure that all steps of the I70 Bale Shear operating procedures are followed. Failure to do so may result in the I70 Bale Shear being inadver-
tently closed or opened due to incorrect installation/operation.
4. SAFETY PRECAUTIONS