TANNER Scientific TN50 User manual

OPERATING
INSTRUCTIONS
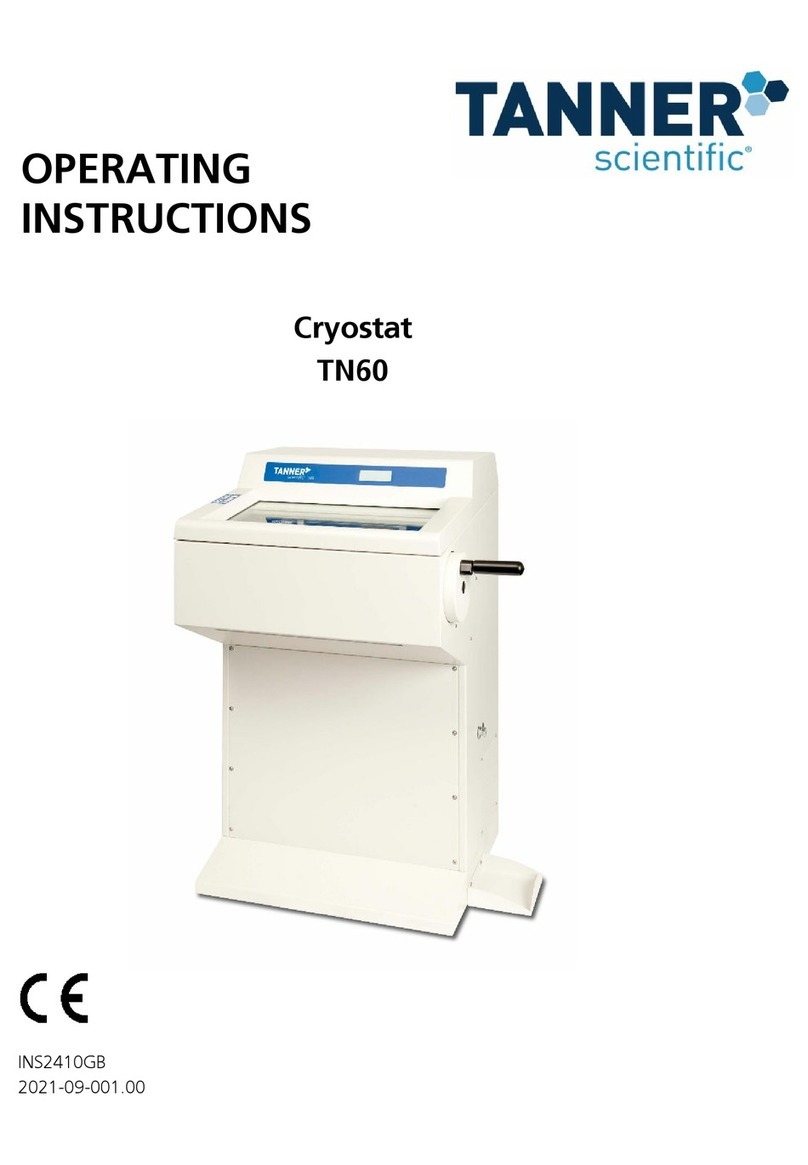
Cryostat
TN50
INS2000GB
2018-10-003.00

Operating Instructions – TN50
2

Operating Instructions – TN50
3
CONTENTS
1. INTENDED USE ............................................................ 4
2. SYMBOLS ............................................................ 4
3. SAFETY NOTES ............................................................ 4
4. COMPONENTS ............................................................ 8
5. SPECIFICATIONS ............................................................ 9
6. UNPACKING AND INSTALLATION ............................................................ 11
7. INITIAL OPERATION ............................................................ 14
8. OPERATION OF MICROTOME ............................................................ 20
9. OPERATION OF CRYOSTAT ............................................................ 28
10. CLEANING AND MAINTENANCE ............................................................ 33
11. SERVICE ............................................................ 37
12. OPTIONAL ACCESSORIES ............................................................ 38
13. WARRANTY ............................................................ 39
14. DISPOSAL ............................................................ 39

Operating Instructions – TN50
4
1. INTENDED USE
The floor standing open top cryostat TN50 is intended for rapid freezing and cutting
thin sections of frozen specimens for professional use in routine and research
laboratories in the fields of biology, medicine and industry.
The system of knife advance operates very reliable from 0.5 to 100 µm with trimming
function up to 750 µm. The quality of cutting of this microtome is increased by the
automatic retraction during the upstroke of the specimen, which avoids rubbing on the
disposable blades or microtome knives. This stops rapid deterioration of the disposable
blade.
2. SYMBOLS
Dangers, warnings and cautions are marked by this symbol
i
Special instructions regarding the operation of the
instrument are marked by this symbol
Mechanical components that can lead to injuries during
operation are marked with this symbol.
3. SAFETY NOTES
The Tanner Scientific open top cryostat TN50 is provided with the following safety
features:
TN50
Hand wheel stop
Finger protection for Blade-holder
The institution which owns the unit and the persons working with the unit, servicing or
repairing it are responsibe for a hazard-free use.

Operating Instructions – TN50
5
3.1 Hand wheel stop
Always use the finger protection
with the blade holder and put hand
wheel in stop position
before working with the
blade or specimen
before changing the
specimen
during break time
Hand wheel stop released. Movement.
Hand wheel stop activated. No movement.
The hand wheel can be stopped in
any position. For this purpose move
the stop lever towards the centre.
To release the stop please turn the
lever towards the outside again.

Operating Instructions – TN50
6
3.2 FINGER PROTECTION
Always use the finger protection (red
lever)
Before you start any work with
the blade or specimen
Before changing the specimen
During work break
Finger protection released.
Finger protection activated.

Operating Instructions – TN50
7
3.3 ELECTRICAL POWER CONNECTION
Do not use any extension lead.
Make sure that electric power is constant. Make sure that electric power
is constant. Please note that the compressor requires a start-up current
between 25 and 35 A. The electric circuit at the installation site must be
inspected by an electrical engineer to ensure that it meets the
requirements for a smooth operation of the instrument.
This should be examined during installation of the unit by a
competent person
Use a dedicated fuse for the unit
Do not connect another unit to the same power circuit.
Before turning on the instrument, check if the voltage of the mains
supply is identical
with the name plate of the unit
3.4 WORKING WITH DISPOSABLE BLADES
Disposable blades have extremely sharp edges and this can lead to injuries. Please be
extremely careful when handling disposable blades.
Do not place disposable blades at unsecured areas.
Never position disposable blades with the sharp edge pointing upwards.
Use a container that has guides to hold the blades rigid.
Never try to catch a falling disposable blade.
Always insert the specimen first and then the disposable blade.
To avoid compression or knife marks, ensure that the blade is clean.

Operating Instructions – TN50
8
4. COMPONENTS
The Tanner Scientific open top cryostat TN50 is provided with the following standard
components:
TN50
Basic unit with refrigeration system
Semi-automatic rotary microtome
Operation manual
clear-cut Brush
Anti-roll plate
Ready to use
1x Bottle cryostat low temperature oil
4x 125 ml CryoGlue embedding medium
1 Box of disposable blades (50 pcs.)
Set of Allen keys

Operating Instructions – TN50
9
5. SPECIFICATIONS TN50
General
Nominal power 115 V AC +-10%
Nominal frequence 60 Hz
Power 860 VA
Max. current for 5 sec 35 A
Protective class I
Fuses 2 * T 20 A
Pollution class 2
Overcurrent protective class II
Max. heat energy 860 J/s
Temperature range during operation +10 to +25 °C
Temperature during storage +5 to +55 °C
Relative humidity max. 60%, non condensing
Humidity during storage < 60%
Cryochamber
Temperature range 0°C to -35°C, selectable in 1 K steps,
Environment: 20°C
Cooling power 514 W
Switch off pressure 25 bar
Current 6,45 A
Cooling gas R 449 A, 320 g
Chamber defrost
Automatic defrost hot gas defrost, time selectable, 1-3 times per
day or manual defrost on request
Automatic stop at -5 °C chamber temperature
Freezing bar
Minimal temperature 10 K lower than chamber temperature
Number of positions 24 (standard version) resp. 21 + 2 (version
with quick freeze places)
Quick freeze positions 2 (optional), to -55 °C (Peltier cooling)

Operating Instructions – TN50
10
Microtome
Type rotary microtome, incapsulated
Thickness range 0.5 – 100 µm
Thickness settings 0 – 2 µm in 0.5 µm steps
2 – 20 µm in 1 µm steps
20 – 50 µm in 2 µm steps
50 – 100 µm in 5 µm steps
Horizontal movement 28 mm
Vertical movement 58 mm
Retraction during upward stroke 0 – 200 µm, free selectable (defined steps)
Trimming 0 – 750 µm, free selectable (defined steps)
Specimen orientation 8° (x and y axes), 360° (z axes)
Cryostat
Dimensions (L x W x H) 680 mm x 760 mm x 1110 mm
27” x 30” x 44”
Weight (without accessories) 127 kg / 280 lbs

Operating Instructions – TN50
11
6. UNPACKING AND INSTALLATION
6.1 UNPACKING THE INSTRUMENT
In standard design you will receive the unit in a cardboard box standing on a wooden
pallet. The unit is equipped with four castors and two feet, adjustable in height in the
front.
i
When the instrument is delivered, check the tilt indicators and shock
watches on the packaging. If tilt indicators are activated, the shipment
was transported laying flat, was tilted at too great an angle or fell over
during transport. If the shock watches are activated, the instrument fell
over during transport. Note this on the shipping documents and check
the shipment for possible damage.
Open the cardboard box from the top and remove the accessories together with the
supporting foams. Then remove the cardboard box.
Remove the screws on the two fixation brackets that hold the instrument on the
wooden pallet.
Swing out the ramp on which the instrument can be rolled down off the transport
pallet. To ensure a safe transport two (2) people are required.
Carefully roll the instrument backwards over the ramp from the pallet and push the
instrument to the installation location on the castors
Extend the two front feet to stabilize the cryostat in its position by turning the
supporting screws counter clockwise.
For repacking use the original cases. Keep the packing material.

Operating Instructions – TN50
12
6.2 INSTALLATION SITE REQUIREMENTS
The site for installation for TN50 should meet the following requirements:
A maximum ambient temperature of 22°C
No direct sunlight into the cooling chamber
Mains power supply within 3 m
No air circulation (for example by air conditioning)
Instrument may only be used indoor
Main switch / fuses must be reached easily
Hand wheel must be reached easily
Relative humidity lower than 60%
A minimum distance between wall and rear of the instrument of 10-20 cm
(8 – 10 “ inches) should be guaranteed
i High room temperatures and high humidity influence the cooling
capacity of the instrument and will lead to ice forming inside the
instrument.
6.2 INSTALLATION
For opening the chamber push the window to the top.
Remove the transport security underneath the specimen holder and position the waste
tray.
After installation, wait at least 4 hours before switching on the instrument. Failure to
comply may result in severe damage to the instrument.

Operating Instructions – TN50
13
6.3 COLLAPSIBLE HANDWHEEL LEVER
The instrument is delivered with a
ready to use hand wheel lever
that is folded away for transport
reasons.
Before you start any work,
unfold the hand wheel
lever by simply pulling the
lever into a horizontal
position.
For folding the lever back,
pull the horizontally
orientated lever and fold it
away.
Hand wheel lever in folded position.
Hand wheel lever unfolded.

Operating Instructions – TN50
14
7. INITIAL OPERATION
7.1 MAIN DISPLAY
The main display will show the cutting thickness, the
trimming thickness, the current chamber temperature,
the target chamber temperature, the status of the
quick-freeze unit (optional).
CUT: 7 µm
Trim
: 19µm
Cha: -20 °C (-22)
QF: 0
7.2 CONTROL PANEL
Software settings and motor operation can be
operated with the control panel on the left to side of
the instrument.
TN50 Control Panel.

Operating Instructions – TN50
15
7.3 SOFTWARE SETTINGS
Press to open the Settings menu.
> Chamber temp -20 °C
Quickfreeze Off
UV disinfection
Light Auto
To move further down in the main menu list,
press .
Retraction 5 µm
Start defrost
Contrast
>
TIME TUE 13:05:05
To move further up in the main menu list,
Press .
> Light Auto
Light duration 10 m
Chamber incr -15 °C
Retraction 5 µm
To change values, select a setting.
Press to open the setting.
Change entries by pressing or .
Store new settings by pressing .
Light duration 10 m
> Chamber incr -15 °C
Retraction 5 µm
Start defrost
Press to return to the main menu.
CUT: 7 µm
Trim: 19µm
Cha: 22 °C (25)
QF: 0

Operating Instructions – TN50
16
7.4 AUTOMATIC DEFROST, DISINFECTION AND POWER SAVING SETTINGS
Press to open the Settings menu.
>
Chamber temp -20 °C
Quickfreeze Off
UV disinfection
Light Auto
Select Program settings and press to open the
menu for setting automatic defrost and power saving
times.
TIME TUE 13:05:05
Language English
Display version
> Program settings 5 µm
Enter PIN Code 5792.
PIN Code is usually restricted to service technicians or
instrument administrators
Enter PIN
0000
Select defrosting programs 1 to 3 and set a time for
the automatic defrosting programme.
(e.g. each day at 12:00 h and at 23:00 h in this
example)
> Defr. Start 1 12:00
Defr. Start 2 23:00
Defr. Start 3 __:__
Disinf. Req. __:__
Select temperature increase start and set a starting
time for the automatic power saving mode.
(e.g. start at 21:00 h in this example)
Disinf. delay 10 h
> Incr. start 21:00
Incr. end 04:00
Incr. days
_
_
_
_
_
5
6
_
_
Select temperature increase end and set a ending
time for the automatic power saving mode.
(e.g. end at 04:00 h in this example)
Disinf. delay 10 h
Incr. start 21:00
> Incr. end 04:00
Incr. days
_
_
_
_
_
5
6
_
_

Operating Instructions – TN50
17
Select temperature increase days and set the days at
that the automatic power saving mode will be active
for 24 hours.
(e.g. Fridays and Saturdays in this example)
Disinf. delay 1 2 _ _ _ _ _
Incr. start 21:00
Incr. end 04:00
> Incr. days _ _ _ _ 5 6 _
1-Monday 2-Tuesday 3-Wednesday 4-Thursday 5-Friday 6-Saturday 7-Sunday

Operating Instructions – TN50
18
7.5 List of available software settings
Chamber temperature -35 °C to ambient
The recommended working temperature is -15 °C to -25 °C
Object cooling ON / OFF
If the instrument is equipped with the optional
object cooling system, its function can be activated
or deactivated.
Object temperature -50 °C to 0 °C
If the instrument is equipped with the optional
object cooling system, its function can be activated
or deactivated.
Quick-freeze ON / OFF
If the instrument is equipped with the optional fast
cooling peltier system, its function can be activated
or deactivated.
The default setting for automatic deactivation of the
quick freeze is set to 30 minutes. The timer for
automatic deactivation can be set by an authorized
service technician.
UV disinfection ON /OFF
If the instrument is equipped with the optional UV-
C disinfection system, its function can be activated
or deactivated.
The default setting for automatic deactivation is set
to 30 minutes. The timer can be set by an
authorized service technician.
Light ON / OFF / AUTO
The light can be set on or off. If AUTO has been
selected, the light will switch off after the time
being set under Light duration.
Light duration 0 - 99 minutes

Operating Instructions – TN50
19
Chamber Increase For power saving, a higher temperature can be set
for defined times and/or days.
The selected temperature should be below 0 °C to avoid
damage to the microtome by freezing moisture.
Retraction 0 - 200 µm
Start defrost Activate
A manual defrost procedure is activated.
Trim latching ON/OFF
If Trim latching mode is activated, trimming function
is activated and deactivated by pressing once.
If Trim latching mode is deactivated, trimming
function is activated by continuously pressing .
Contrast Display contrast
Time Day and Time
Language A language can be selected out of a list of available
languages.
Display version Display of software version.
Program settings Upon selecting Program settings the automatic
defrost and power saving settings can be changed.

Operating Instructions – TN50
20
8. OPERATION OF MICROTOME
8.1 INSERTION AND ORIENTATION OF DISPOSABLE BLADE
1 Activate hand wheel lock.
2 Remove finger protection.
3 Loosen the blade fixation by
turning the right lever counter
clockwise.
4 Remove/Insert blade from one
side.
Tighten the blade fixation by
turning the right lever clockwise.
Loosening of blade fixation and insertion of new blade.
Fixation of blade.
2
4
3
Table of contents
Other TANNER Scientific Medical Equipment manuals
Popular Medical Equipment manuals by other brands

Bowa
Bowa ERGOact Instructions for use

Otto Bock
Otto Bock 743L500 3D L.A.S.A.R. Posture Instructions for use

Dentsply Sirona
Dentsply Sirona Intego Pro Ambidextrous Care and maintenance

MediSono
MediSono P25 EXP user manual

ultraMEDIC
ultraMEDIC ultraHEAD-LOCK I operating manual

Avacen
Avacen HOME XL user guide