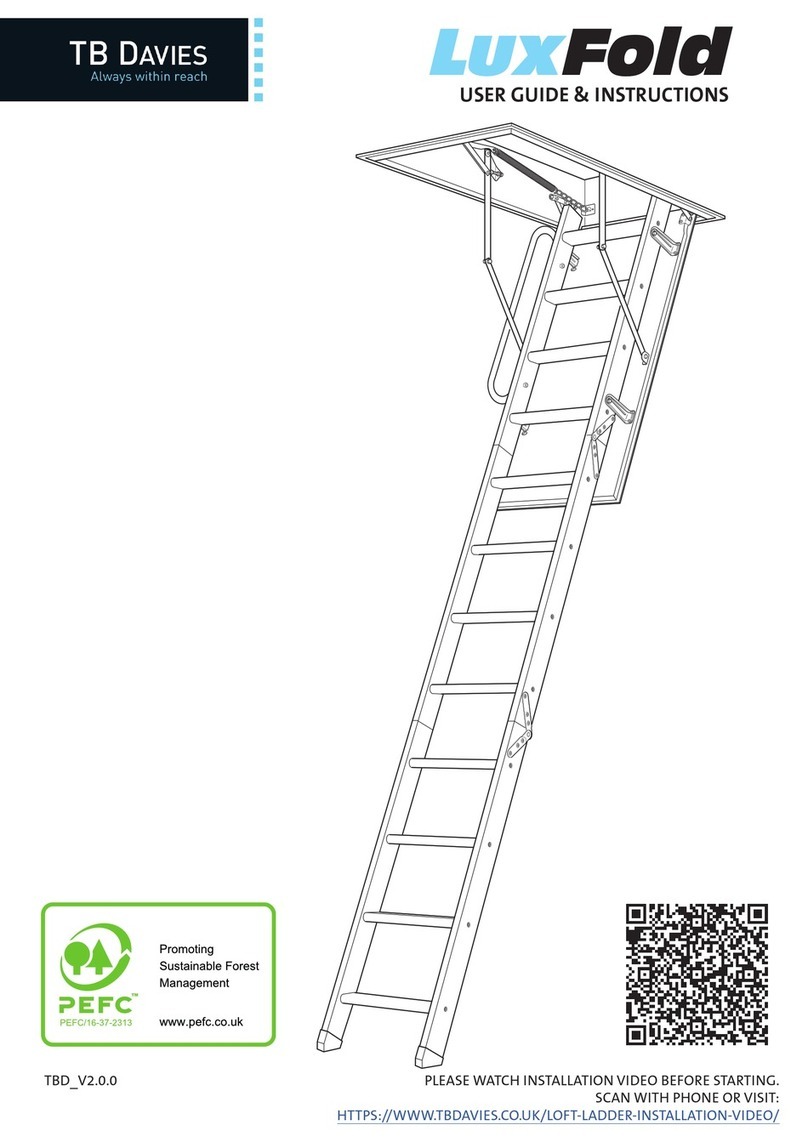
TB Davies LuxFold User manual

TB Davies |For help or assistance, please call: 029 2132 0000 3
For help or assistance, please call: 029 2132 0000 |TB Davies
2
Tools required
6mm 8mm
x2
13mm
People needed
WARNING! Please be aware of all the safety warnings and be sure that you fully understand them before handling the
product.
It would be advisable to watch the TB Davies Loft Ladder installation video prior to tting. This can be found on www.
tbdavies.co.uk/loft-ladder-installation-video.
Please note the video shows the Envirofold installation. However, many of the steps are common across the range of loft
ladders. Features may vary from the model you have purchased. If you have any doubt about tting the ladder yourself,
please consult a professional.
You will also need (not supplied) QTY 18_Ø6mm/shaft
70mm min/thread depth 40mm min
x4
x10
x4
x2

TB Davies |For help or assistance, please call: 029 2132 0000 3
For help or assistance, please call: 029 2132 0000 |TB Davies
2
Whats in the box
C x2
D x1
B x2A x1
1
1
2
2
D

TB Davies |For help or assistance, please call: 029 2132 0000 5
For help or assistance, please call: 029 2132 0000 |TB Davies
4
Please read contents carefully
IMPORTANT NOTICE
This loft ladder was manufactured in accordance with
international safety regulations and conforms to EN14975,
a European safety standard for loft ladders. Please
familiarise yourself with these instructions BEFORE
commencing with
the installation.
We also recommend you understand the steps involved
in tting this loft ladder by watching a demonstration of
the installation process on the following link -
https://www.tbdavies.co.uk/loft-ladder-installation-video/
These instructions contain important and essential steps
on installation and safety when using your loft ladder. Keep
these in a safe place for future reference.
Manufacturer and seller shall bear no liability for failure to
comply with the applicable law, building codes and safety
requirements by the user of the product, architect, tter
and owner of the building.
The loft ladder is clearly identied on the ID label on the
inside of the loft hatch. This shows the Manufacturers Part
Number (MPN), EAN Barcode and Date of Manufacture.
INSTALLATION & TIPS
Begin by unpacking the loft ladder and identify all the
pieces against the instructions.
Ensure the loft ladder is not damaged during transport.
If damaged, please contact our sales team on 029 2132
0000.
Ensure safe access to your loft space and, if necessary, a
safe working platform is available before attempting to
install.
Ensure adequate lighting, particularly where detailed
or intricate work, is required.
We recommend using goggles and a mask to protect you
from dust and other particles generated from tting the
loft ladder.
Ensure the loft ladder ts your loft space and ceiling height
of the room below. The maximum oor to ceiling height
is 2.8m (9ft 2 inches). The maximum weight capacity is
150kg, which includes the person and any items carried.
Carefully clear the area where the loft ladder is being
installed to ensure that you are screwing the frame into
joists and not metal, cables or pipework. Ensure that
electrical cabling or pipework is not hidden. Consider laying
planks of wood to take your weight to avoid falling through
the ceiling.
If your joists are not made from timber, please seek
specialist advice.
Depending on the size of your loft opening, you may
require spacer blocks to ensure a tight t. Ensure that the
frame is level and squarely tted, otherwise, it will not
operate correctly.
We recommend tting temporary battens to support the
loft ladder during installation.
Ensure that you DO NOT cut through a load-bearing joist.
Safe operation of this loft ladder can only be guaranteed
if correctly installed. If you do not feel qualied to t, you
should stop now and contact a professional.
GENERAL SAFETY
This loft ladder is not intended for use by children or those
with reduced sensory, physical or mental capabilities.
Ensure that the loft ladder is not left open and unattended
when not in use.
Care should be taken to ensure that boxes and items being
carried into the loft space do not cause you to lose your
footing or balance.
Familiarise yourself with the pinch points to avoid personal
injury.
Only climb the loft ladder when fully installed, and the
frame is securely xed to the joists. Failure to do so could
result in personal injury.
NOTE: that the springs are tensioned when in position.
Care should be taken to ensure that the bolts are secured
and not loose.
Never force the door to open or to pull the loft ladder
section down. This could damage the integrity of the loft
ladder and cause personal injury.
Note that the loft ladder is designed to be permanently
xed in place but is not designed to act as a main
thoroughfare between oors. It is for occasional use into
your loft space.
We recommend installing the TB Davies Balustrade Kit to
secure the loft opening and prevent falls into the space
below.
BEFORE USE
Check the following:
• The treads and stiles are not split
• The screws/nuts/bolts are secure and not loose
• The hatch opens/closes without any resistance or
interference and does not catch on the frame
• Check metal parts are not corroded or damaged
• Ensure that you annually lubricate all metal moving parts
• Ensure that the ladder section is not warped or damaged
FURTHER HELP
If you require any further advice or assistance please visit
or call our technical support helpline on 029 2132 000.

TB Davies |For help or assistance, please call: 029 2132 0000 5
For help or assistance, please call: 029 2132 0000 |TB Davies
4
Assembly
1
DS
DS +2
Temporarily screw two planks of wood onto the frame
to support the loft ladder housing unit whilst affixing it
to the beams in the loft.
* Please seek professional advice if cutting across joists.

TB Davies |For help or assistance, please call: 029 2132 0000 7
For help or assistance, please call: 029 2132 0000 |TB Davies
6
2
3
Use a set square on each corner to guarantee a 90° angle. Where necessary
use packers (not supplied) to ll the space between the frame and joists. Use
a spirit level on all horizontal plains to ensure the frame is level. Finally drilling
through part No. 1 and into the joists, make ten 6mm holes at intervals shown
in the diagram. Then use the wood screws (not supplied) to affix the frame
into position.
40mm Min
Ø6mm Min
70mm Min

TB Davies |For help or assistance, please call: 029 2132 0000 7
For help or assistance, please call: 029 2132 0000 |TB Davies
6
4
1
2
B C
1. Take note of the measurement, and
2. transfer it to the 3rd ladder segment
and make a mark on both legs as per
the diagram.
Saw off the excess piece of the ladder on both sides. Attach the two rubber feet to the base of each leg.
Align an off-cut of wood against the
2nd segment, at the same angle as the
ladder, making sure the ends of the lad-
der rests on the ground. Make a mark
on the off - cut as per diagram.

TB Davies |For help or assistance, please call: 029 2132 0000 9
For help or assistance, please call: 029 2132 0000 |TB Davies
8
5
With ladder in open position, use 2 x 13mm spanners to
make nal adjustments and reduce the ex of the ladder.
Repeat procedure on opposite side

TB Davies |For help or assistance, please call: 029 2132 0000 9
For help or assistance, please call: 029 2132 0000 |TB Davies
8
220-280cm
68°- 72°
Max.
150
KG

Manufacturer and seller shall bear no liability for failure to comply with the applicable law, building codes and safety require-
ments by the user of the product, architect, tter and owner of the building.
TB Davies (Cardiff) Ltd, Lewis Road, Cardiff, CF24 5EB. +44(0)29 2132 0000 www.tbdavies.co.uk. Registered in England No. 00534073,
VAT Reg No. GB134144207 Awarded Silver by Investors in People, 2018. An ISO 9001 Registered Company. Members of the Ladder Association and PASMA.
NEED HELP?
Please call us on
029 2132 0000
Dealer Stamp
TB DAVIES
Always within reach
Other manuals for LuxFold
1
Table of contents
Other TB Davies Ladder manuals

