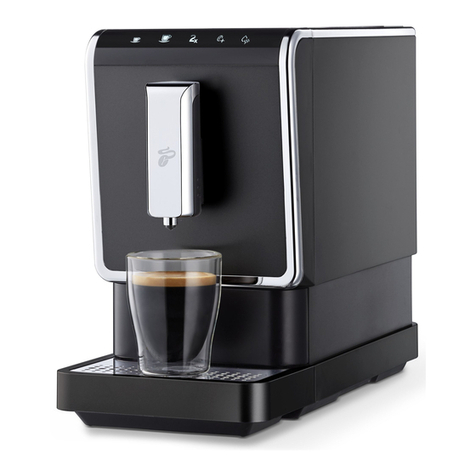
Tchibo Esperto Caffe User manual

Tchibo GmbH D-22290 Hambur · 97826HB · 2019-08
Fully Automatic Coffee Machine
Esperto Caffè
Original instructions for use and warranty
en

Contents
Dear Customer
Espresso or caffè crema – freshly round and brewed coffee, cup after cup.
No problem with this fully automatic coffee machine strai ht from the coffee
experts. The fully automatic coffee machine from Tchibo is perfectly desi ned
for our Tchibo coffees. You can find your favourite coffee and tips for preparin
coffee with this fully automatic coffee machine at www.tchibo.de/kaffee uide.
We hope you will be entirely satisfied with this product.
Your Tchibo Team
We check all machines carefully and test them with coffee and water.
For this reason, despite thorough cleaning, you may still find minimal
coffee or water residue in the machine. This is not a sign of poor quality –
the machine is in perfect working order.
3 About these instructions
3 Intended use
3 Location
4 Safety warnings
7 Removing protective films
and packaging materials
8 At a glance
(delivery contents)
10 Initial operation –
prior to first use
11 Rinsing the machine
12 Adjusting the height
of the coffee spout
12 Making coffee
14 Preheating the cup
14 Double beverage amount
14 Adjusting the strength of the
coffee – Intense+technology
14 Adjusting the beverage
amount
15 Restoring the factory settings
15 Adjusting the grinding degree
16 Extension for the coffee bean
compartment
17 Customising the automatic
rinse
17 Standby mode
18 Cleaning
20 Descaling
22 For a long period of non-use
23 Problems / solutions
24 Technical specifications
24 Declaration of Conformity
24 Disposal
25 Warranty
25 Service and repair
25 Customer care service

3
Intended use
This coffee machine has been designed for the following
purposes:
Preparing espresso and other coffee beverages from whole•
(unground), roasted coffee beans.
t is intended for use in private households and similar •
environments, such as
- shops, offices or similar work spaces,
- agricultural buildings,
- by customers in hotels, motels, bed and
breakfast establishments or other places
offering accommodation.
f the machine is used for commercial purposes, it must be
monitored and cleaned by trained personnel. Maintenance
that goes beyond cleaning is not necessary for this machine.
Location
Set up the machine in a dry, indoor room. Avoid rooms with
high humidity or high dust content. The machine is suitable
for use at ambient temperatures of +10 °C to +40 °C.
About these instructions
This product is equipped with safety features. Nevertheless, read the safety
warnings carefully andonly use the product as described in these instructions to
avoid accidental injury or damage. Keep these instructions for future reference.
f you give this product to another person, remember to also include these
instructions.
Symbols in these instructions:
The term DA GER warns against possible severe injuries and danger to life.
The term WAR I G warns of injury and severe material damage.
The term CAUTIO warns against slight injuries or damage.
This symbol warns you of the danger of injury.
This symbol warns you of the danger of injury caused by electricity.
This symbol indicates additional information.

4
Safety warnings
DA GER to children and people with restricted
capabilities of operating appliances
Children must not be allowed to play with the machine.•
Keep the machine and connection cable away fromchildren
under the age of 8 and from animals.
This machine can be used by children aged 8 and over or•
by people with reduced physical, sensory or mental capa-
bilities, or who lack experience and/or knowledge, provided
they are supervised or have been trained in the safe use
of the machine and understand the potential dangers.
Children must not be allowed to clean the machine unless
•
they are over 8 years of age and supervised while doing so.
This machine is maintenance-free.
Set up the machine out of the reach of children. •
The magnets in the drip tray and brewing unit cover make•
them easy to fit into the machine. f one of these built-in
magnets should come loose, keep it away from children.
n the event that magnets are swallowed or inhaled, seek
medical advice immediately. Magnets connecting inside
the body can lead to serious injuries.
Keep the packaging material out of the reach of children.
•
There is a risk of suffocation!
DA GER due to electricity
Never immerse the machine, mains plug or connection•
cable in water, as this could cause an electric shock.
Never touch the mains plug with wet hands. Do not use
the machine outdoors.
Do not clean the machine with a water jet and do not place•
it in a location where it may be cleaned with a water jet.
Never leave the machine unattended while in use.•
Only connect the machine to a properly installed, •
grounded wall socket. The mains voltage must comply
with the requirements stated in the machine’s technical
specifications.
The connection cable must not be kinked or squeezed.•
Keep it away from sharp edges and sources of heat.
Do not use the machine if the machine, connection cable•
or mains plug is damaged or if the machine has been
dropped.
Do not make any modifications to the machine, connection•
cable or other parts. Electrical appliances must only be
repaired by qualified electricians, as improper repairs can
cause considerable damage. Only have repairs carried out
by a specialist workshop, or contact our customer care
service.

5
f the mains cable of this machine becomes damaged, •
it must be replaced by the manufacturer, its customer
service or a similarly qualified person in order to avoid
danger.
Remove the mains plug from thewall socket...•
... if a fault occurs,
... if you do not plan to use the machine for an
extended period of time,
... before you clean the machine.
To do so, always pull on the plug, not the cable.
To disconnect the machine from the mains completely,•
unplug the mains plug from the wall socket.
WAR I G – fire hazard
Position the machine in such a way that it is free-standing
•
for use; never place it directly against a wall, in a corner,
in a cupboard, against curtains, etc.
WAR I G – health hazards
Empty and clean the leftover water tray, the container for
•
the coffee grounds and the drip tray regularly.
f you will not be using the machine for a prolonged period,
•
empty the water tank, coffee bean compartment, drip tray
and container for the coffee grounds.
Change the water in the water tank daily to prevent germs
•
from collecting.
Use only the cleaning and descaling agents listed in this•
manual as well as the relevant cleaning utensils to clean
this machine. The use of other cleaning agents can lead
to health hazards.
WAR I G – risk of scalds/burns
Do not touch the coffee spout during or immediately •
after use. Avoid contact with coffee or hot water being
dispensed from the spout.
The brewing unit becomes hot when preparing beverages.•
Do not remove the brewing unit during or shortly after use.
After use, the surfaces of the heating element retain •
residual heat.
f there is too little water in the tank during preparation,•
the machine will stop the brewing process. The brewing
process will automatically resume once the water tank
has been filled and reinserted in the machine.

CAUTIO – risk of injuries or material damage
Only use the machine with the container for the coffee•
grounds and the leftover water tray inserted.
Always pour fresh, cold tap or other drinking water into •
the water tank. Do not use carbonated mineral water or
any other liquids.
Never fill the coffee bean compartment with raw coffee•
(green, unroasted beans), beans that are caramelised or
sugar-coated, beans mixed with raw coffee, or loose coffee
grounds. Doing so could damage the machine.
Grinder settings may only be adjusted while the grinder •
is operating.
Descale the machine as soon as it indicates that this •
is necessary.
To move the machine, always hold it by the outer casing. •
Place the machine on a solid, level, horizontal surface •
that is well illuminated and resistant to water and heat.
To ensure that the casing does not melt, do not place •
the machine on a hob or directly next to a hot oven,
radiator or anything similar.
Route the connection cable in such a way that it is not
•
a tripping hazard. Do not let the connection cable hang
down from the surface where the machine is positioned
so that the machine cannot be pulled down by it.
Keep all cards with magnetic strips, such as credit cards,•
debit cards, etc., away from the drip tray and the cover for
the brewing unit and all the magnets built into these parts.
The cards could become damaged. You should also keep
magnetic memory storage media and all devices that are
affected by magnetism or may sustain functional impair-
ment away from the machine.
The machine is equipped with non-slip feet. Work surfaces•
often have varnished or plastic finishes and are treated with
a variety of care products. Some of these may contain sub-
stances that react adversely to the non-slip feet and soften
them. f necessary, place a non-slip mat under the machine.
The machine must not be exposed to temperatures below•
4 °C. Residual water in the heating system could freeze
and cause damage.
Sound pressure level <70dB(A).•
6

7
Removing protective films and packaging materials
1. Take the machine out of the
packaging.
2. Pull all protective films off
the machine and remove
all packaging materials.
3. Pull the water tank up and
out. n the water tank you will
find the cleaning brush and
extension piece for the coffee
bean compartment. Take these
out of the tank.
4. Remove the transport protection
piece underneath the water tank.
5. Clean the water tank in water
with a little washing-up liquid.
Then rinse it out thoroughly
under running water and dry it.
6. Reinsert the water tank into the
machine and push it down as far
as it will go.

8
At a glance (delivery contents)
Water tank
Height-adjustable coffee spout
Coffee spout opening
Opening for the
water tank
Filter
(for filtering
out limescale or
other particles)
On/Off button
Grind adjuster
Coffee bean compartment (160 g)
Control panel
Container for coffee grounds
Leftover water tray
Cover for the
coffee bean
compartment
Drip grid
Drip tray
Brewing unit
Cover for
breweing unit

9
Extension for the coffee
bean compartment
Connection cable
Cleaning brush
Control buttons (white)
The control buttons are only visible when the machine is switched on.
Make
espresso
ntense+-
function
Make caffè
crema
Dispense
hot water
Double
beverage
amount
Warning lights (orange)
The warning lights only illuminate when the machine requires maintenance.
Refill
water
Brewing
unit
Refill
beans
Descale
Empty
coffee
grounds
Empty
system

10
Initial operation – prior to first use
1. Set up the machine...
... on a level worktop or surface that is not sensitive to moisture.
... close to a wall socket. The length of the connection cable
is approx. 80 cm.
... at a distance of at least 1 m away from hot, flammable surfaces
(hobs, ovens, radiators, etc.).
... at least 150 mm away from walls.
2. Push the drip tray and drip grid
all the way into the machine as
illustrated. The drip tray is held
in place by magnets.
150mm
150mm
150mm
3. Pull the water tank up and
out of the machine.
4. Fill the water tank with fresh,
cold tap water or drinking water
up to the MAX mark.
ever fill water directly into
the tank while the water tank
is still in the machine!
When you reinsert the water tank
into the machine, push it down
as far as it will go.
5. Remove the lid on the coffee
bean compartment.
6. Pour as many coffee beans into
the coffee bean compartment
as you will need for one day. The
coffee bean compartment holds
approx. 160 g of coffee beans.
The coffee bean compartment
can also be extended to hold
approx. 300 g (see chapter titled
“Extension for the coffee bean
compartment”).

11
7. Place the lid back on the coffee
bean compartment. Press the lid
all the way on so that the aroma
protection seal can optimally
protect the aroma of the coffee
beans.
8. Plug the connection plug into
the back of the machine.
9. nsert the mains plug into an
easily accessible wall socket.
10.Press the On/Off button to
switch on the machine.
The hot water button flashes and
the heating up process starts.
The pump starts after a few seconds. A small amount of water is flushed through
the system and dispensed into the drip tray.
11. Pour out the water in the drip
tray if necessary.
12. Rinse out the machine twice
as described in the “Rinsing the
machine” chapter. The machine
is then ready for use.
Rinsing the machine
After switching the machine on for the first time, or if you have not used the
machine for longer than two days, rinse the machine by allowing two cups of
water to flow through it.
1. Press the On/Off button to switch
on the machine.
The hot water button flashes and
the heating up process starts.
The pump starts after a few seconds. A small amount of water is flushed through
the system and dispensed into the drip tray. Press the hot water button to stop
the rinsing process.
2. Slide the coffee spout up
or down as required.
3. Place an empty container
underneath the coffee spout.
4. Press the hot water button as
soon as all the buttons are lit up.
The pump will flush water through
the system to be dispensed into
the container below.
5. Pour the water away.
6. Repeat steps 4 and 5.

12
Making coffee
1. Press the On/Off button to switch
on the machine.
The hot water button flashes and
the heating up process starts.
The pump starts after a few seconds. A small amount of water is flushed through
the system and dispensed into the drip tray.
The machine is ready for use
as soon as all the buttons are
lit up continuously.
2. Slide the coffee spout up
or down as required.
3. Place a cup under the coffee
spout.
7. Pour out the water in the drip
tray if necessary.
Adjusting the height of the coffee spout
You can adjust the height of the coffee spout to match the size of the cup.
For espresso cups,
slide the coffee spout
downwards.
For large cups, slide the
coffee spout upwards.
For tall glasses, slide the
coffee spout upwards
and remove the drip tray.

13
4. Press the button for the type
of coffee you would like:
Espresso or
caffè crema
The grinding and brewing process starts and stops automatically.
A small amount of coffee is pre-brewed to allow its flavours to develop
fully. This process can be identified by the short pause at the beginning
of the brewing process.
f you would like to stop the
brewing process prematurely,
press the same coffee button
again while brewing.
Tip: You can change the amount of the beverage being brewed. Learn more about
how to do this in the chapter titled “Adjusting the beverage amount”.
When the container for
the coffee grounds is full
(after 10 brewings), the
“Empty coffee grounds”
symbol will light up.
m
Default settings upon purchasing the machine:
espresso approx. 40 ml – caffè crema approx. 125 ml
5. Empty the leftover water tray, the
container for the coffee grounds
and the drip tray regularly:
Remove the drip tray.
Pull the leftover water tray
with the container for the coffee
grounds out of the machine.
6. Empty the container for the
coffee grounds, the leftover
water tray and the drip tray
as necessary.
7. Reinsert all parts in the machine.

14
Preheating the cup
Fill the cup with hot water and then pour it away shortly before using the cup.
This helps espresso and caffè crema taste their best.
The dispensed hot water is only intended for preheating the cup.
t is NOT suitable for making tea or other instant beverages.
Press the hot water button.
About 50 ml hot water will be
dispensed into the cup below.
Pour the water away before
starting the brewing process.
Double beverage amount
f you wish to double the bev-
erage amount (espresso approx.
80 ml or caffè crema approx.
250 ml), press the “2x” button
first before pressing the coffee
button. The brewing process is
carried out twice in a row.
f you wish to make the coffee stronger, press the “ ntense+” button along
with the “2x” button before pressing one of the coffee buttons.
m
m
Adjusting the beverage amount
The default settings for the water quantity can be changed permanently. You can
customise the setting for each coffee button: one setting each for espresso and
caffè crema.
Espresso and caffè crema
1. Press the coffee button of your
choice (e.g. caffè crema) to
start the grinding and brewing
process.
2. Wait until the beans have been
ground.
Default settings upon purchasing the machine:
espresso approx. 40 ml – caffè crema approx. 125 ml
The water quantity can be set between approx. 25 and 250 ml.
Adjusting the strength of the coffee –
Intense+technology
f you wish to make the coffee
stronger, press the “ ntense+”
button first before pressing one
of the coffee buttons. The coffee
will then be made using more
beans.
f you wish to double the beverage amount, press the “2x” button along
with the “ ntense+” button before pressing one of the coffee buttons.
m

Adjusting the grinding degree
1. Press the On/Off button to switch
on the machine.
2. Wait until the machine heats
up and all buttons light up
permanently.
3. Place an empty cup under
the coffee spout.
4. Remove the lid from the coffee
bean compartment.
The grind adjuster is located in
the coffee bean compartment.
t has been preset to level 2 as
default.
CAUTIO – material damage
Grinder settings may only be adjusted while the grinder is operating.•
Adjust the grind settings in small increments, and observe the changes after•
1 - 2 cups of coffee, before adjusting the coarseness of the grinder.
15
3. As soon as the coffee starts
being dispensed, press and
hold the coffee button.
4. Release the button as soon
as the desired quantity has
been dispensed into the cup.
The setting is saved and two beeps will sound as confirmation.
f the settings are not to your taste, simply repeat the procedure to change
them again.
Restoring the factory settings
You can restore the original settings for the water quantity.
1. Press the On/Off button to switch
on the machine.
2. Wait until the machine heats
up and all buttons light up
continuously.
3. Press and hold the On/Off button
and the “ ntense+” button for
approx. 5 seconds until you
hear 2 beeps.
4. Release the buttons.
The factory settings for the water quantity have been restored.

Increasing the coarseness of the grind
ncrease the coarseness of the grind when you want the coffee to flow more
quickly, for example if the coffee is too strong for your taste.
5. Press one of the two coffee
buttons, e.g. caffè crema.
6. While the coffee is being
ground, turn the grind adjuster
clockwise towards +to a larger
dot ..
Increasing the fineness of the grind
ncrease the fineness of the grind when you want the coffee to flow more slowly
and have more aroma, for example if the coffee is too weak for your taste.
5. Press one of the two coffee
buttons, e.g. caffè crema.
6. While the coffee is being
ground, turn the grind adjuster
anticlockwise towards -to
a smaller dot ..
f the grind setting is too fine, the coffee may flow very slowly or not at all.
16
Extension for the coffee bean compartment
You can increase the capacity of the coffee bean compartment from
160 g to 300 g. Proceed as follows:
1. Remove the lid of the coffee
bean compartment.
2. Place the extension onto the
opening of the coffee bean
compartment as illustrated.
Push it all the way in.
3. Take the lid off the extension.
4. Pour in coffee beans.
5. Place the lid back on the exten-
sion. Press the lid all the way
on so that the aroma protection
seal can optimally protect the
aroma of the coffee beans.

17
Standby mode
Always switch the machine to standby mode after use by pressing the On/Off
button. The machine will then consume very little energy. f no button is pressed
for about ten minutes, the machine will automatically switch to standby mode.
This is both a safety function and a way to save energy. You have the choice
between four lengths of time after which the machine should switch off auto-
matically: 10 minutes, 20 minutes, 30 minutes or 120 minutes. The different
switch-off times can be set as follows:
1. When switching the machine on
or off, press and hold the On/Off
button for approx. 5 seconds.
You will hear a beeping sound.
One button will light up continuously and the other three buttons will flash.
The button lit up continuously shows the switch-off time that has been set:
f the espresso button lights up
up continuously, the machine
will switch off after 10 minutes.
f the caffè crema button lights
up up continuously, the machine
will switch off after 20 minutes.
f the “2x” button lights up
continuously, the machine will
switch off after 30 minutes.
f the “ ntense+”button lights
up continuously, the machine
will switch off after 120 minutes.
2. Press the button with your
preferred switch-off time.
You will hear 2 beeps .
Customising the automatic rinse
The default setting of the machine is for the automatic rinse to only start when
the machine is cold. f the machine was used shortly before it is switched on, and
is thus still warm, the rinsing process will not restart. A new rinsing process will
only start once the machine has cooled down sufficiently.
You can customise the rinsing process so that it starts every time you switch
on the machine:
1. Press the On/Off button to switch
on the machine.
2. Wait for the machine to warm
up and for all buttons to light
up continuously.
3. Press and hold the On/Off button
and the hot water button for
approx. 5 seconds until you hear
2 beeps.
4. Release the buttons.
The automatic rinse will now start every time you switch on the machine.
Proceed in the same way to revert to the original, temperature-sensitive
settings.
m

18
Cleaning
Cleaning the casing
Wipe the casing with a soft, damp cloth. m
You can also wipe the compartment for the leftover water tray with a soft,m
damp cloth as required.
Cleaning the water tank
The water tank should be cleaned thoroughly once a week.
Clean the water tank in water with a little washing-up liquid. Then rinse
it out thoroughly under running water and dry it. The water tank is not
dishwasher-safe.
The filter in the water tank can
be removed in order to remove
limescale, etc.
1. Pull the filter up and out.
2. Rinse it under running water.
DA GER – risk of fatal electric shock
Remove the mains plug from thewall socket before cleaning •
the machine.
Never immerse the machine, mains plug or connection cable •
in water or any other liquids.
Do not clean the machine with a water jet. Clean it only as •
described in the following instructions.
CAUTIO – material damage
Do not use any caustic, aggressive or abrasive products for cleaning.
m
3. Then push it back onto the
opening in the water tank
as far as it will go.
Rinse the water tank under running water daily. This will prevent limescale
deposits or other particles clogging up the filter on the bottom of the
water tank.
Cleaning the leftover water tray, the container for the coffee grounds
and the drip tray/grid
1. Remove the drip tray.
2. Pull the leftover water tray
with the container for the
coffee grounds out of the
machine.
3. Empty the container for the
coffee grounds, the leftover
water tray and the drip tray
as necessary.
4. Wash the parts using washing-up
liquid. Dry all parts thoroughly.
These parts are not dishwasher
safe.

19
5. Place all parts back into the
machine.
Cleaning the brewing unit
The brewing unit should be cleaned thoroughly once a week.
1. Press on the lower part of the
brewing unit cover as illustrated.
2. Take hold of the cover at the
top...
... and pull it off the machine.
3. Firmly press and hold the two
orange-coloured buttons and
pull the brewing unit straight
out of the machine.
4. Rinse the brewing unit under
hot, running water.
5. Then let the brewing unit dry
completely.
6. Use the supplied cleaning brush
to remove any leftover coffee
grounds or powder from the
brewing unit compartment.
7. Press the brewing unit back
into the machine using a little
force, and without pressing
the orange-coloured buttons.
You should hear and feel the
brewing unit lock into place.
8. Place the cover back into
the machine in front of the
brewing unit. t is held in
place by magnets.
Click !

20
Descaling
The descaling process cannot be interrupted. f the process is interrupted
(e.g. due to a power outage), it must be completed the next time the
machine is switched on. The machine will not be able to brew coffee again
until the process is completed.
When the “Descale” symbol
appears on the display,
the machine needs to be
descaled.
Descale the machine within the next few days. Do not wait any longer, otherwise
so much limescale may build up that a descaling agent will no longer have any
effect. The descaling process takes approx. 15 minutes.
1. Switch the machine on with the
On/Off button as necessary.
2. Pull the water tank up and out
of the machine.
CAUTIO — damage to the machine due to limescale deposits
Descale the machine as soon as the machine indicates that •
this is necessary. This increases its service life and saves energy.
Do not use any descaling agents made on the basis of formic acid.•
Use a standard, liquid, descaling agent suitable for coffee and espresso•
machines. Other agents may damage materials in the machine and/or
have no effect.
3. Pour a conventional liquid
descaling agent suitable for
coffee and espresso machines
into the empty water tank.
Add additional water up to the
MAX mark. Please observe the
manufacturer’s instructions.
4. Place an empty container (with
a capacity of at least 500 ml)
under the coffee spout. Remove
the drip tray if necessary.
You will need to empty container
underneath several times during
the descaling process.
5. Press the On/Off button to switch
on the machine.
6. Wait until the machine heats
up and all buttons light up
continuously.
7. Press and hold both the On/Off
button and the espresso button
(for approx. 5 seconds) until
2 beeps sound.
8. Release the buttons.
Table of contents
Other Tchibo Coffee Maker manuals
Tchibo
Tchibo Qbo ESSENTIAL User manual
Tchibo
Tchibo Cafissimo CLASSIC User manual
Tchibo
Tchibo Cafissimo LATTE HD8603 User manual
Tchibo
Tchibo Cafissimo pure+ MCA21102 User manual

Tchibo
Tchibo Esperto Pro User manual
Tchibo
Tchibo Cafissimo 370 635 User manual
Tchibo
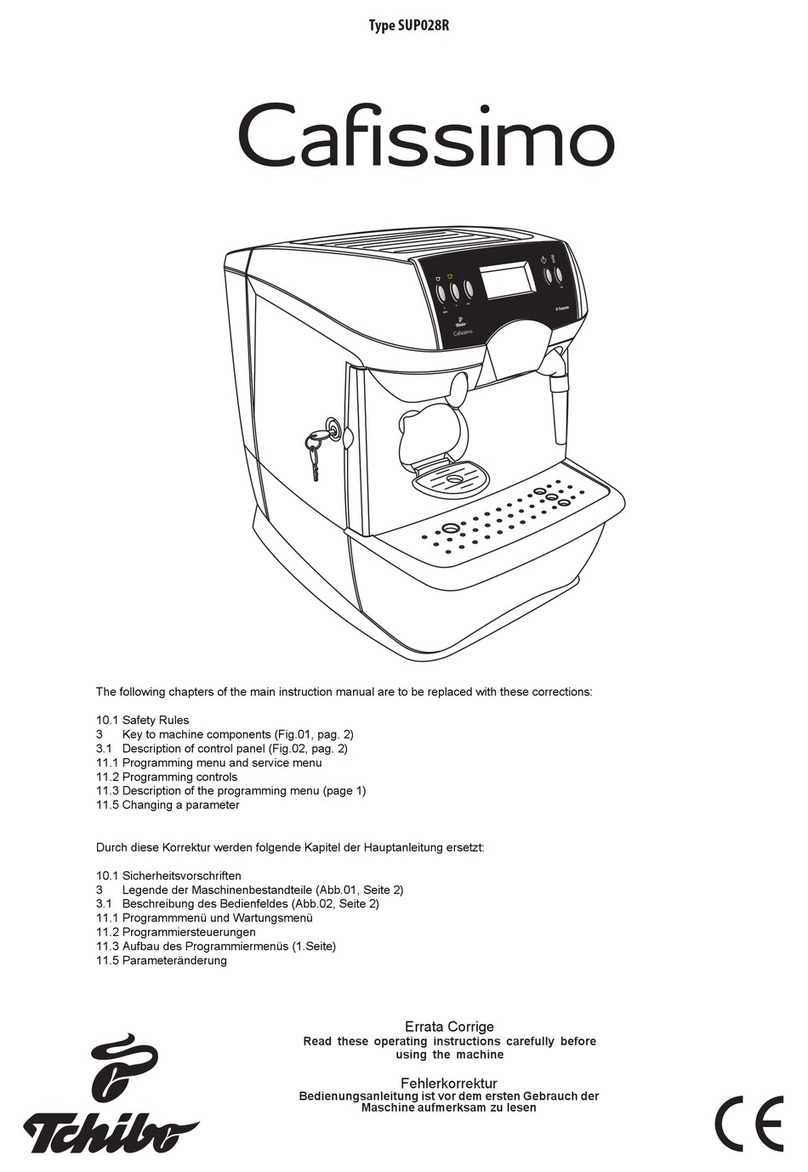
Tchibo Cafissimo SUP028R User manual

Tchibo
Tchibo 398 498 Installation guide
Tchibo
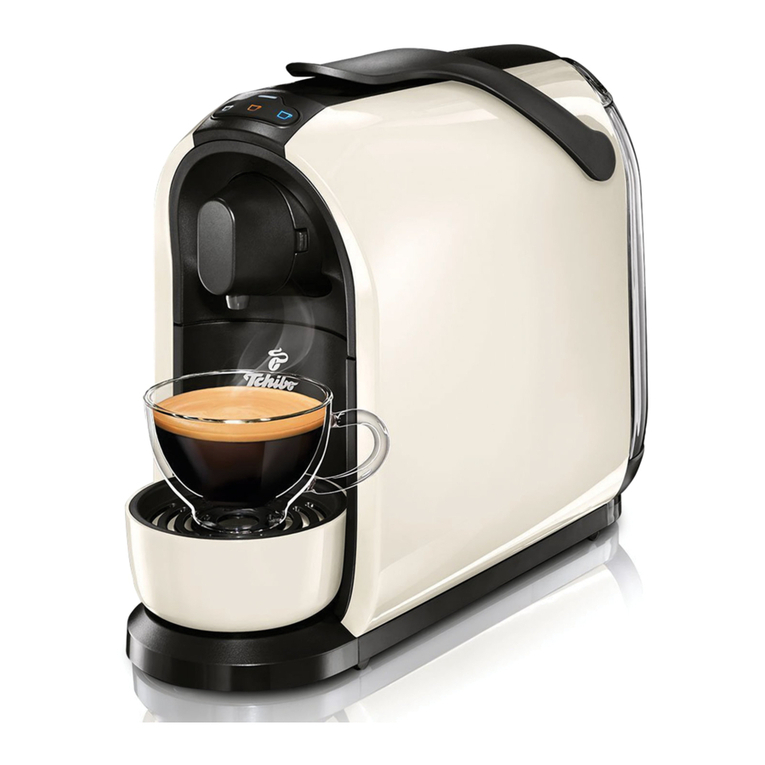
Tchibo Cafissimo Pure Dimensions and installation guide

Tchibo
Tchibo Cafissimo PICCO User manual

