manuals.online logo
Brands
  1. Home
  2. •
  3. Brands
  4. •
  5. TECHLIGHTING
  6. •
  7. Lighting Equipment
  8. •
  9. TECHLIGHTING Cirque Small 700CQS User manual

TECHLIGHTING Cirque Small 700CQS User manual

1
CEILING COLLECTION
Install the Fixture Base
While supporting the glass shade, loosen (Do Not
Remove) all the #6-32 set screws on the fixture base
with the 1/16 Allen wrench.
Carefully remove the glass out of the fixture base.
1A
1
2
#6-32 SET SCREWS
1/16 ALLEN
WRENCH
GLASS SHADE
FIXTURE BASE
1
2
1B
Remove the mounting plate from the assembly by
unscrewing the two knurled nuts.
3
1.5
Installation Instructions for
Cirque Small
700 _, 700OWCQSCQS
920CIRQSM
GP I :ENERAL RODUCT NFORMATION
This product can mount to either a 4" square electrical box
with round plaster ring or an octagon electrical box.
This product is suitable for damp or wet locations.
This product can be dimmed with a standard incandescent
dimmer.
This product may be ceiling or wall mounted.
This instruction shows a typical installation.
CAUTION RISK OF FIRE-
This product must be installed in accordance with
the applicable installation code by a person familiar
with the construction and operation of the product
and the hazards involved.
Use minimum 90°c supply conductors.
2
1C
4
#8-32 SCREW
4
4
MOUNTING
PLATE
#8-32 SCREW
Install the mounting plate to the electrical box with
the two #8-32 screws.
1D
5Connect the mounting plate ground wire to a suitable
ground according to local electrical codes.
Connect the white fixture wire to the neutral power line
wire with a wire nut.
Connect the black fixture wire to the hot power line
wire with a wire nut.
1E
Mount the fixture base to the ceiling by reinstalling it
onto the mounting plate and securing it tightly with
the knurled nuts.
67
5
6
7
8
8 8
1F
9For wet location installation, caulk around the fixture
base with waterproof construction sealant.
3
LAMP SOCKET
CAUTION: To reduce the risk of a burn or electric
shock during relamping, disconnect the power to
the fixture.
NOTE: The G9 lamp has an integral glass envelope
and is thus safe to be used without a lamp shield.
Use 120 Volt, Watt Type T4,MAX 40
G9 Base, Bi-Pin Halogen Lamp.
NOTE: Use only your fingers and a soft cloth to
replace the lamp.
Push the lamp completely into the socket.
Place the glass shade into the fixture base until the
grooved section of the glass shade is completely inside.
Hold the glass shade in place and tighten all the #6-32
set screws with the 1/16 Allen wrench to lock the glass
shade in place.
NOTE: To replace the lamp, reverse section 2.
1
2
2B
2A
3
1
1/16 ALLEN
WRENCH
#6-32 SET SCREWS
GROOVE ON
GLASS SHADE
FIXTURE BASE
2
Install the Lamp and Shade
3
4
SAVE THESE INSTRUCTIONS!
7400 Linder Ave, Skokie, 60077IL
847.410.4400
www.techlighting.com
© 2016 Tech Lighting, L.L.C. All rights reserved. The "Tech Lighting" graphic is
a registered trademark of Tech Lighting, L.L.C. Tech Lighting reserves the right
to change specifications for product improvements without notification.
A Generation Brands Company
To reduce the risk of fire, electrical shock, exposure to
excessive radiation, or injury to person:UV
– Use this fixture indoors only.
– Do not look directly at the lighted lamp.
– Do not remain in light if skin feels warm.
– Risk of fire: Use only the type of lamp and maximum
wattage indicated in this instruction manual.
– Never cover the halogen lamp and never place flammable
material close to your fixture.
– Never turn the fixture on and off by connecting and
disconnecting the halogen lamp.
– Do not touch the fixture shade while the fixture is on. This
surface may be .HOT
IMPORTANT SAFETY INSTRUCTIONS Halogen Lamp General Information
– A new halogen lamp may smoke slightly when it is used
for the first time. This is perfectly normal; the protective
coating is simply being vaporized.
Two Tips For Prolonging Halogen
Lamp Life
– First avoid touching the lamp with bare hands during
installation. Any contaminant, even the oil from your
hands can deteriorate the lamp. Rubbing alcohol can be
used to remove any contaminant.
– Second, do not run the lamps at full power when you do
not need to. However, if dimming the fixture for an
extended period of time, occasionally bring the light up to
full brightness for a few minutes to complete the halogen
cycle.

This manual suits for next models

1

Other TECHLIGHTING Lighting Equipment manuals
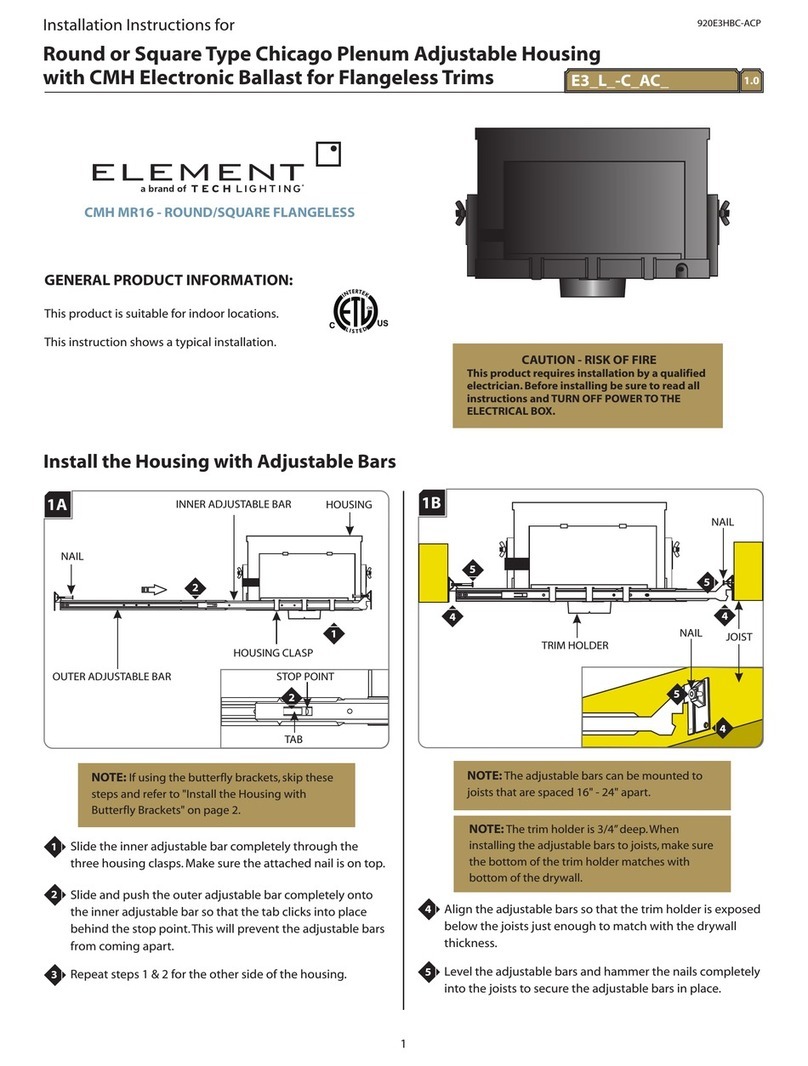
TECHLIGHTING Element CMH MR16 User manual

TECHLIGHTING

TECHLIGHTING Element CMH MR16 User manual

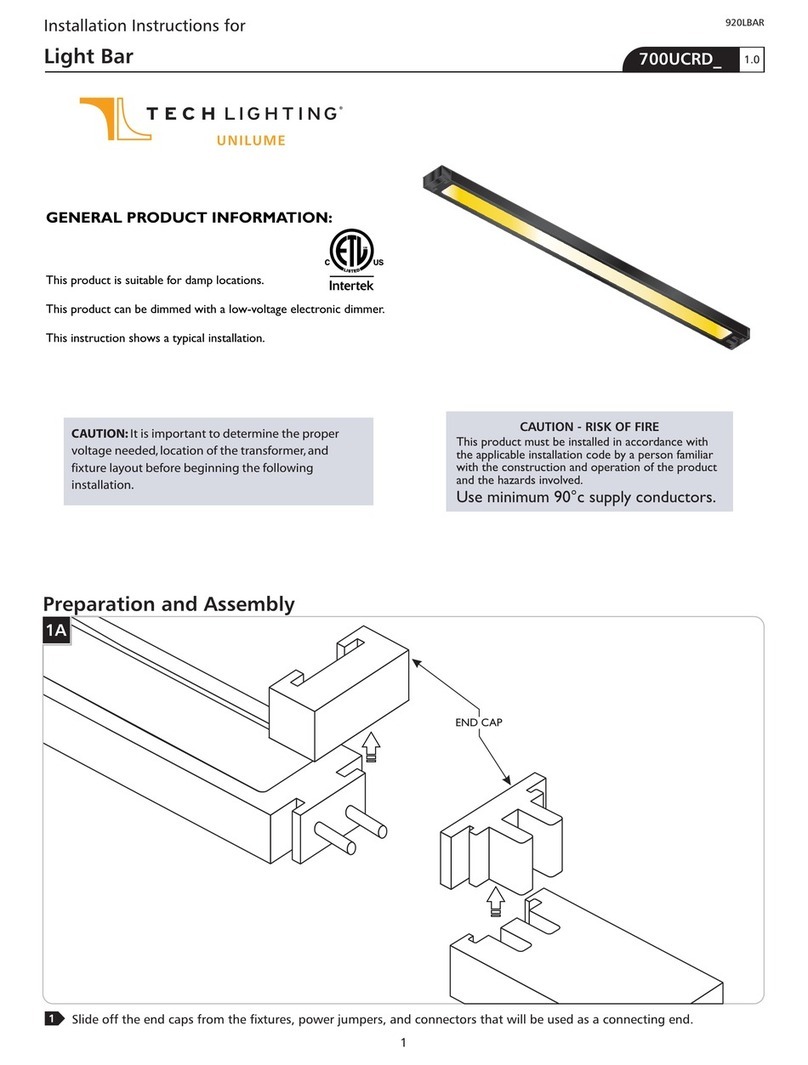
TECHLIGHTING UNILUME 700UCRD Series User manual

TECHLIGHTING

TECHLIGHTING UNILUME 700UCRD Series User manual

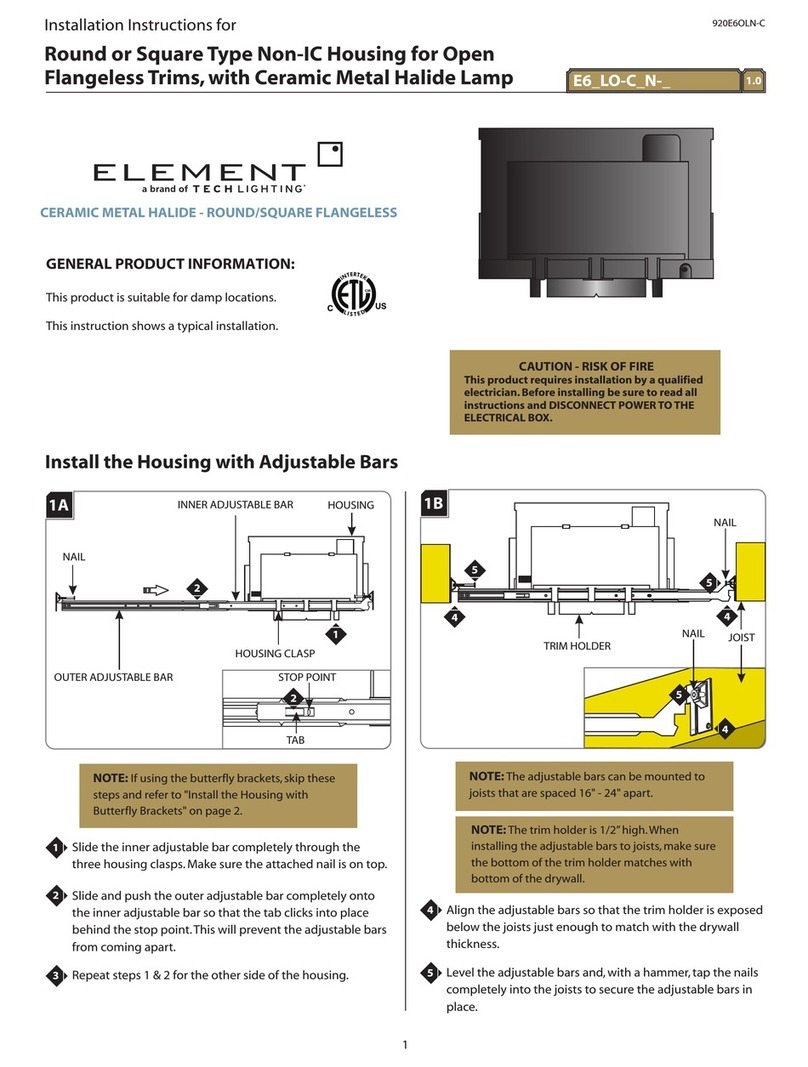
TECHLIGHTING ELEMENT E6_LO-C_N Series User manual

TECHLIGHTING

TECHLIGHTING ELEMENT E6_LO-C_N Series User manual

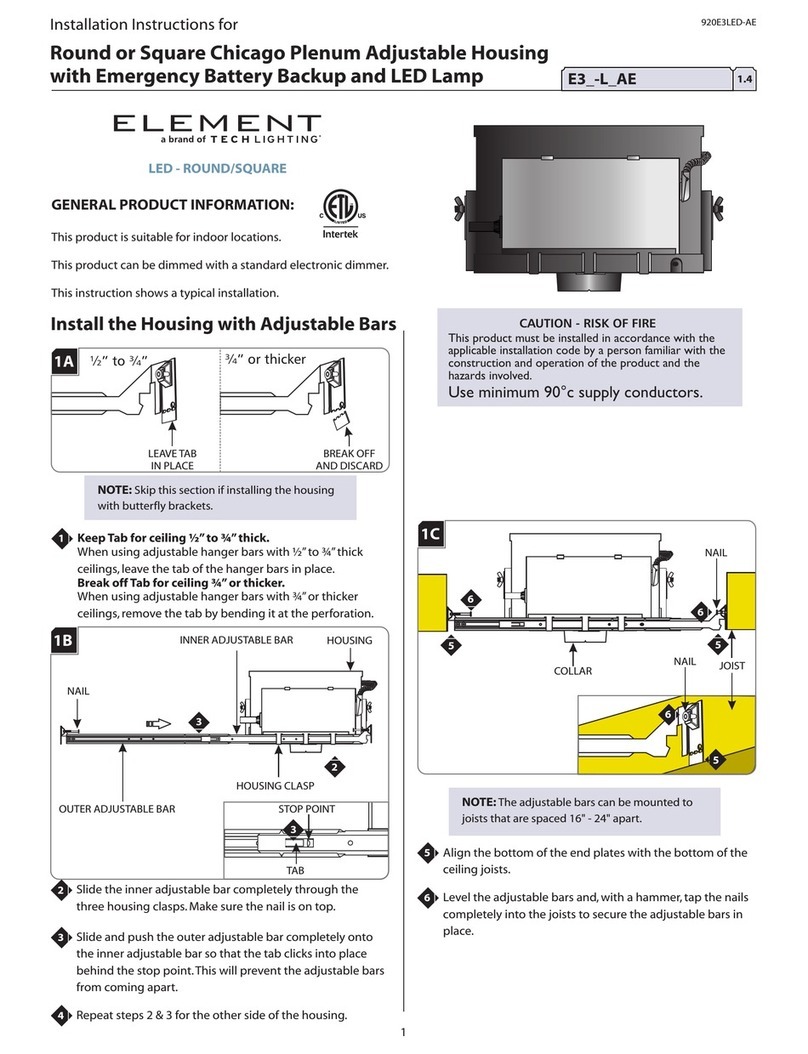
TECHLIGHTING ELEMENT E3-L AE Series User manual

TECHLIGHTING

TECHLIGHTING ELEMENT E3-L AE Series User manual

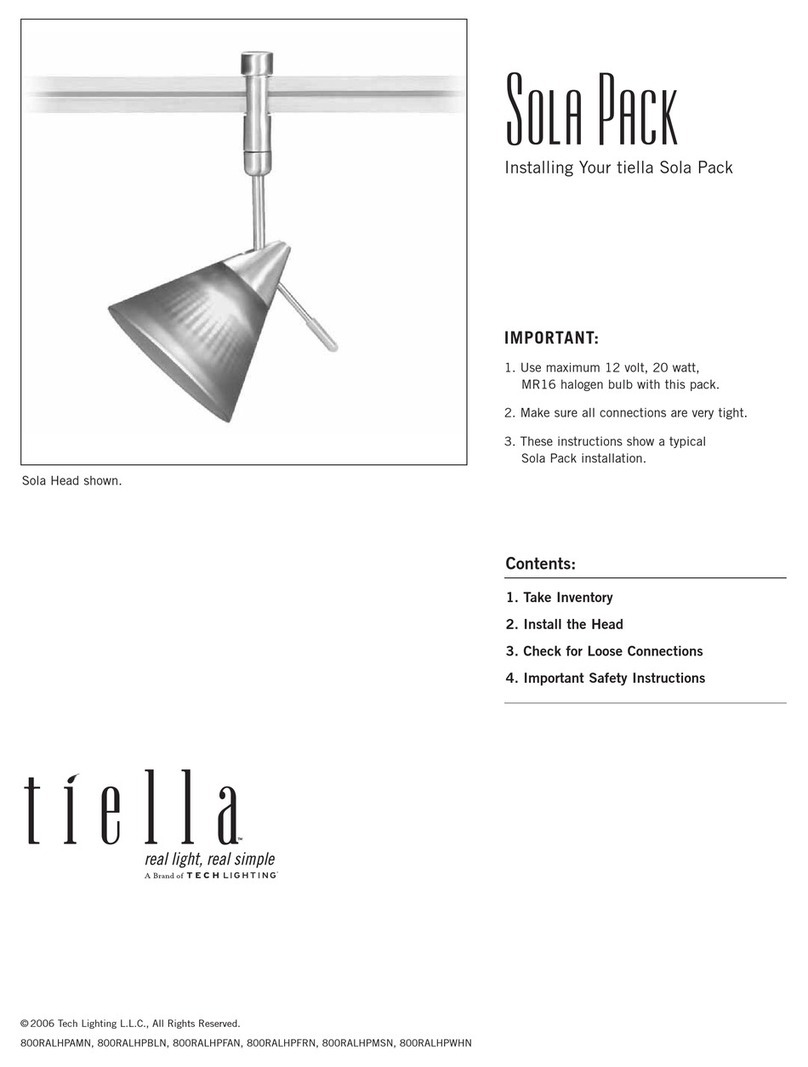
TECHLIGHTING tiella Sola Pack Instruction Manual

TECHLIGHTING

TECHLIGHTING tiella Sola Pack Instruction Manual

TECHLIGHTING Mona Lisa User manual

TECHLIGHTING

TECHLIGHTING Mona Lisa User manual

TECHLIGHTING T-trak 700TTSCCADJ Series User manual
TECHLIGHTING

TECHLIGHTING T-trak 700TTSCCADJ Series User manual

Popular Lighting Equipment manuals by other brands
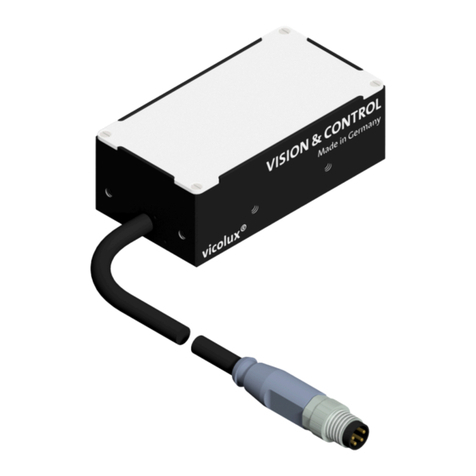
Unex Flex 120-104-271 operating manual

Unex

Unex Flex 120-104-271 operating manual

Portfolio 19530-000 installation instructions

Portfolio

Portfolio 19530-000 installation instructions

Light Sky SHARK LASER user manual

Light Sky

Light Sky SHARK LASER user manual

PTL Mini Multi user manual

PTL

PTL Mini Multi user manual

TourPro Lighting F1000 Spot user manual

TourPro Lighting

TourPro Lighting F1000 Spot user manual

Westcott 4820 Setup instructions

Westcott

Westcott 4820 Setup instructions

Lightolier Lytespan 8747 specification

Lightolier

Lightolier Lytespan 8747 specification

Fysic FW450 manual

Fysic

Fysic FW450 manual

ProLights DISPLAYCOBTRWDWW user manual

ProLights

ProLights DISPLAYCOBTRWDWW user manual

LumenRadio CRMX Luna user manual

LumenRadio

LumenRadio CRMX Luna user manual

ADJ PROFILE PANEL RGBA User instructions

ADJ

ADJ PROFILE PANEL RGBA User instructions

Saxby Lighting 13929 manual

Saxby Lighting

Saxby Lighting 13929 manual

EuroLite PAR-20 Spot user manual

EuroLite

EuroLite PAR-20 Spot user manual

Robe Color Mix 250 AT Series user manual

Robe

Robe Color Mix 250 AT Series user manual

NANOLUX SUMMIT 1000W operating manual

NANOLUX

NANOLUX SUMMIT 1000W operating manual

Cooper Lighting PROfile AR60S Specification sheet

Cooper Lighting

Cooper Lighting PROfile AR60S Specification sheet

NANLITE Forza 500 II user manual

NANLITE

NANLITE Forza 500 II user manual

Lightolier Calculite 8056 specification

Lightolier

Lightolier Calculite 8056 specification

manuals.online logo
manuals.online logoBrands
  • About & Mission
  • Contact us
  • Privacy Policy
  • Terms and Conditions

Copyright 2025 Manuals.Online. All Rights Reserved.