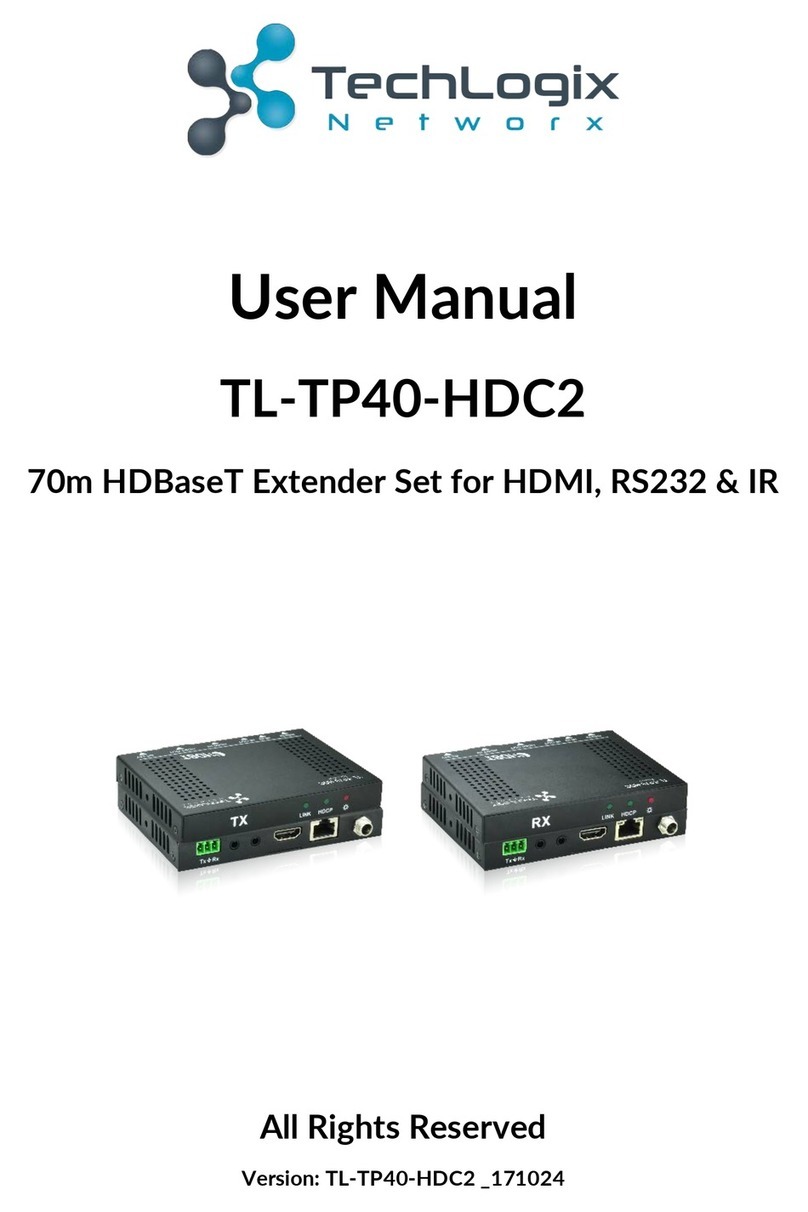
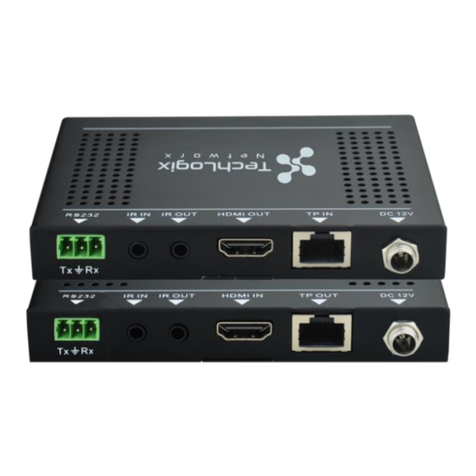
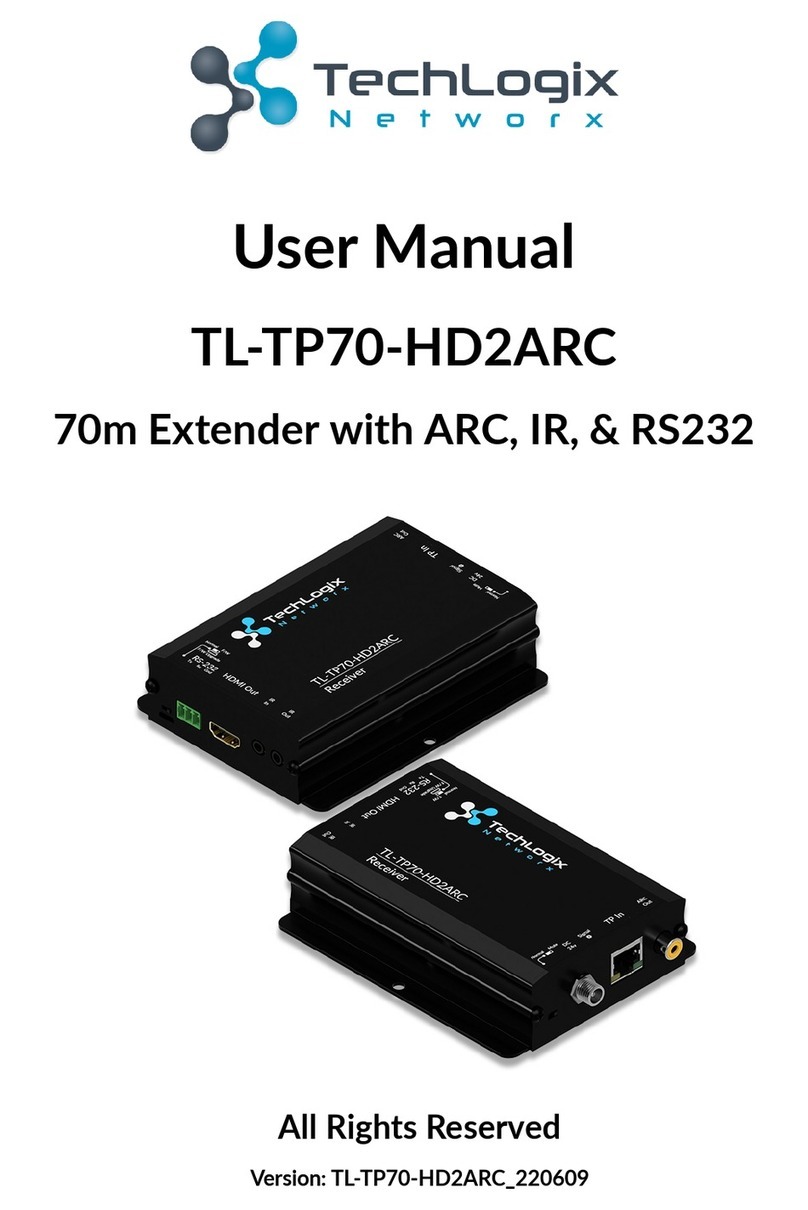
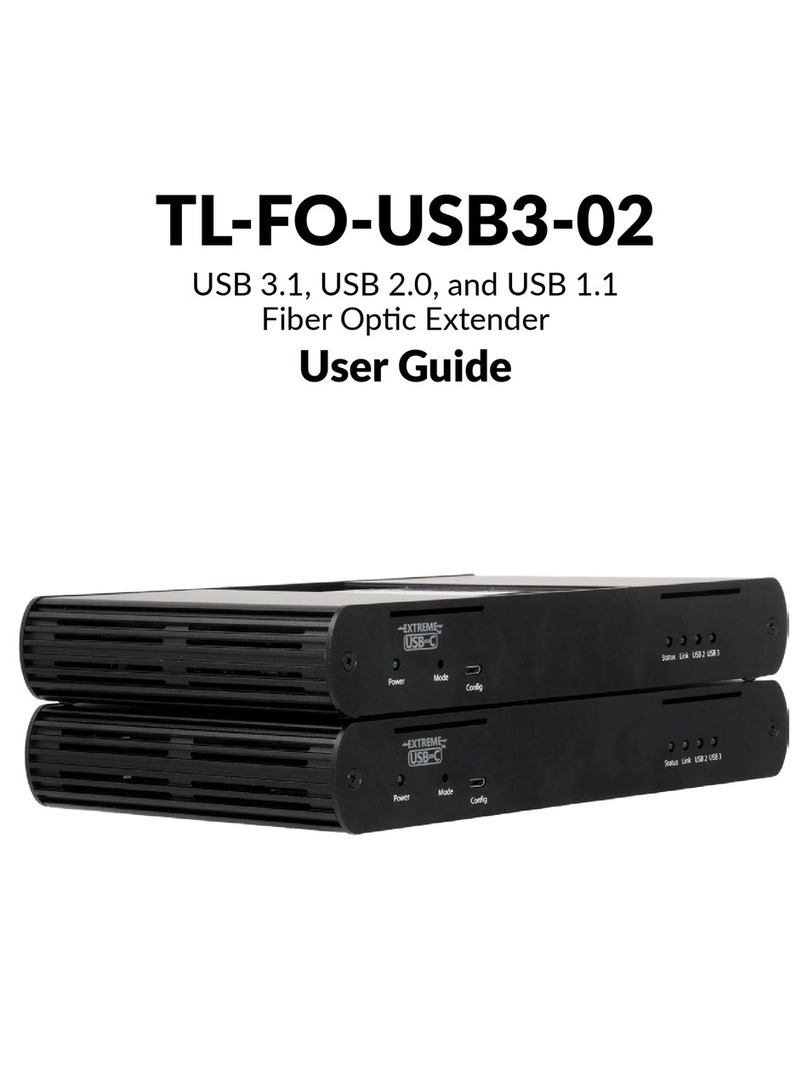
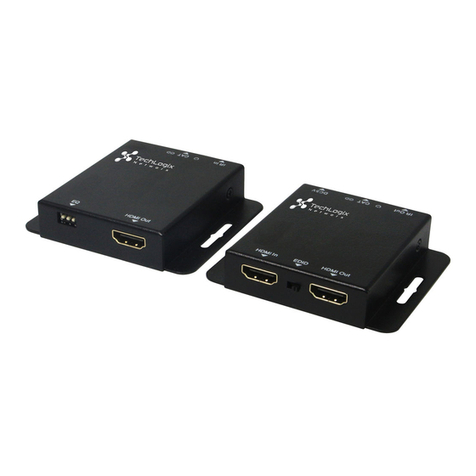
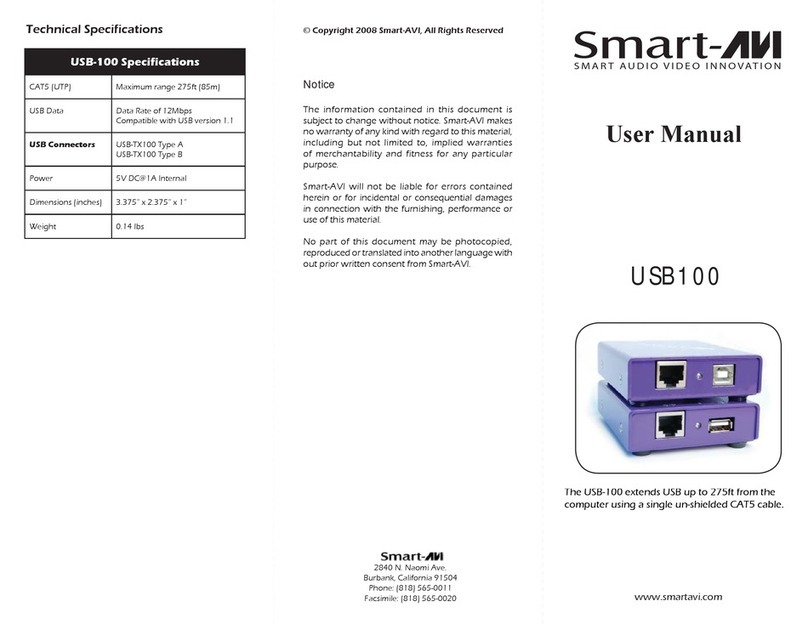
Techlogix TL-FO-USB3-01 User manual

TL-FO-USB3-01
USB 3.0 Over Fiber Opc Extender
User Guide

2
Thank you for purchasing the TechLogix TL-FO-USB3-01.
Please read this guide thoroughly.
FCC Radio Frequency Interference Statement Warning
This device complies with Part 15 of the FCC rules. Operaon is subject to the following two condions:
(1) this device may not cause harmful interference, and (2) this device must accept any interference received
including interference that may cause undesired operaon.
CE Statement
We, TechLogix Networx, LLC, declare under our sole responsibility that the TechLogix TL-FO-USB3-01, to which
this declaraon relates, is in conformity with European Standard EN 55022, EN 61000 and EN 55024.
IC Statement
This Class B digital apparatus complies with Canadian ICES-003.
WEEE Statement
The European Union has established regulaons for the collecon and recycling of all waste electrical and
electronic equipment (WEEE). Implementaon of WEEE regulaons may vary slightly by individual EU member
states. Please check with your Host and state government guidelines for safe disposal and recycling or contact
your naonal WEEE recycling agency for more informaon.
Product Operaon and Storage
Please read and follow all instrucons provided with this product, and operate for intended use only.
Do not aempt to open the product casing as this may cause damage and will void warranty. Use only the power
supply provided with this product. When not in use, product should be stored in a dry locaon between -20°C
and 70°C.

3
Contents
Introducon..................................................................................................................................................................................... 4
TL-FO-USB3-01 Product Contents ..........................................................................................................................................4
About the TechLogix TL-FO-USB3-01......................................................................................................................................4
Device Overview............................................................................................................................................................................. 5
Host Extender ..............................................................................................................................................................................5
Client Extender ............................................................................................................................................................................ 6
Installaon Guide ........................................................................................................................................................................... 7
Example Applicaon ...................................................................................................................................................................7
Requirements ...............................................................................................................................................................................7
Fiber Opc Link Cabling .............................................................................................................................................................7
Installing the TL-FO-USB3-01 System .....................................................................................................................................8
Preparing Your Site ........................................................................................................................................................... 8
Preparing Your Computer................................................................................................................................................ 8
Windows (7/8/8.1/10).................................................................................................................................................... 8
OS X/macOS................................................................................................................................................................... 10
Linux (Ubuntu 14.04).................................................................................................................................................... 11
Install Device and Drivers on Host PC.......................................................................................................................12
Windows (7/8/8.1/10)................................................................................................................................................. 12
OS X/macOS................................................................................................................................................................... 12
Linux (Ubuntu 14.04).................................................................................................................................................... 12
Install the Host Extender Unit......................................................................................................................................12
Install the Client Extender Unit....................................................................................................................................13
Compability............................................................................................................................................................................. 13
Checking the Installaon......................................................................................................................................................... 14
Windows (7/8/8.1/10) ..................................................................................................................................................14
OS X/macOS ....................................................................................................................................................................15
Linux (Ubuntu 14.04) .....................................................................................................................................................15
USB Extender Mounng...........................................................................................................................................................16
Troubleshoong ............................................................................................................................................................................17
Specicaons ................................................................................................................................................................................ 19
Technical Glossary........................................................................................................................................................................ 20
USB Cables ................................................................................................................................................................................ 20
Duplex LC Crossover ................................................................................................................................................................ 20

4
Introducon
This guide provides product informaon for the TL-FO-USB3-01, installaon instrucons, and troubleshoong
guidelines.
The instrucons in this guide assume a general knowledge of computer installaon procedures, familiarity with
cabling requirements, and some understanding of USB devices.
Your TL-FO-USB3-01 is packaged with:
• Host Extender
• Client Extender
• Client Extender Locking AC power adapter
• USB 3.0 cable
• Country specic power cable
• Quick Start Guide
The TL-FO-USB3-01 includes the ExtremeUSB® suite of features:
• Transparent USB extension
• True plug and play; no soware drivers required
• Works with all major operang systems: Windows®, OS X®, and Linux®
The TL-FO-USB3-01 incorporates Icron’s patented ExtremeUSB® technology, enabling users to extend beyond
the approximate 3m cable limit for USB 3.0 peripheral devices. With the TL-FO-USB3-01, USB 3.0 devices can be
located up to 100 meters from the computer. This extender system is composed of two individual units: the Host
Extender unit and the Client Extender unit.
TL-FO-USB3-01 Product Contents
About the TechLogix TL-FO-USB3-01
NOTE: Notes provide addional informaon that could be useful.
CAUTION: Cauons provide important informaon about an operaonal requirement.
CAUTION: The TL-FO-USB3-01 supports only USB 3.0 devices. USB 2.0 and 1.1 devices will not
funcon with this extender.

5
Device Overview
Host Extender
Power
Status
Host
1
2
3
54
Front
Rear
Item Type Descripon
1
Power ON Unit is powered properly.
Power OFF Unit is not powered or not powered properly.
2
Status Blinking Waing for connecon to Remote Extender.
Status ON Local/Remote Extender are linked and operang normally.
Status OFF Fault detected; power cycle required.
3
Host ON SuperSpeed Host detected on upstream facing port.
Host OFF SuperSpeed Host not detected.
Host Blinking SuperSpeed Host is suspended.
4USB 3.0 Type B port
Used to connect the Host Extender to the host computer. Port accepts locking or
non-locking USB 3.0 Type B connectors. (Read the message on the white scker
and remove scker from the back of Local Extender before usage.)
5Link Port (Duplex LC) Extension link Duplex LC ber opc transceiver port.

6
Client Extender
1
2
3
65
4 4
Front
Rear
Power
Status
Host
24V 1A
Item Type Descripon
1 USB 3.0 Type A ports Used to connect USB 3.0 device(s) to the Client Extender unit. Ports accept locking
or non-locking USB 3.0 Type A connectors.
2
Power ON Unit is powered properly.
Power OFF Unit is not powered or not powered properly.
3
Status Blinking Waing for connecon to Local Extender.
Status ON Local/Remote Extender are linked and operang normally.
Status OFF Fault detected; power cycle required.
4
Host ON SuperSpeed Host detected on upstream facing port.
Host OFF SuperSpeed Host not detected.
Host Blinking SuperSpeed Host is suspended.
5 Power Port Connects to the locking AC power supply. Required on Client Extender for proper
operaon.
6 Link Port (Duplex LC) Extension link Duplex LC f iber opc transceiver port.

7
Installaon Guide
Example Applicaon
Requirements
Fiber Opc Link Cabling
USB 3.0 Cameras
Client Extender
Assembly Line
Computer & Monitor
USB 3.0 up to 100m
over mulmode fiber
Host Extender
To complete installaon of the TL-FO-USB3-01, you will also require the following items that are not included
with the product:
• USB 3.0 compable computer (host computer) with a USB 3.0 compliant operang system
• USB 3.0 compable device
• 2-strand 50/125μm mulmode (MMF) ber opc cable with Duplex LC connectors
The Host and Clent Extender units are interconnected by ber opc cabling. This cabling must be:
• 50/125μm mulmode ber (MMF)
• Terminated with Duplex LC connectors
The following maximum distances are achievable depending upon the applicaon and cabling standard:
Mulmode
Fiber Class Cameras Storage
OM2 50m 50m
OM3 100m 50m
If premise cabling will be used for the installaon, then the distances provided above must be met when measuring
from the Host to the Client Extender unit, inclusive of the premise cabling and the patch cables. All cables must
meet the rangs specied. Patch cables must be terminated with Duplex LC connectors.
Up to 50m with USB 3.0 storage type devices and up to 100m is achievable when
using USB 3.0 bulk trac cameras. For Microso Kinect applicaons, please use an
acve extension cable.

8
Installing the TL-FO-USB3-01 System
Preparing Your Site
Preparing Your Computer
Windows (7/8/8.1/10)
Before you can install the TL-FO-USB3-01, you need to prepare your site:
1. Determine where the computer is to be located and set up the computer.
2. Determine where you want to locate the USB device(s).
3. Ensure ber opc cabling is in place, prepared, properly terminated, and within the maximum distances as
dened for the cabling standard used.
1. Open Control Panel.
2. Open Power Opons.
The TL-FO-USB3-01 does not support suspend modes of operaon. As such, your computer should be congured
to not go into “suspend mode” or to “suspend” the USB ports. Please refer to the instrucons for your operang
system listed below.

9
3. Click on Change Plan Sengs.
4. Select “Never” for “Put the computer to sleep” for all the conguraons presented.
5. Click Change advanced power sengs.
6. Expand “USB sengs”
7. Expand “USB selecve suspend seng”
8. Select “Disabled”.

10
OS X/macOS
1. Open System Preferences.
2. Select Energy Saver.
3. For both Baery and Power Adapter power sengs, move slider bar to “Never” for “Computer Sleep”.

11
Linux (Ubuntu 14.04)
1. Edit /etc/default/grub as root.
2. Append usbcore.autosuspend=-1 to the GRUB_CMDLINE_LINUX_DEFAULT variable.
3. Run update-grub as root under Ubuntu.
4. Reboot the host computer.

12
Install Device and Drivers on Host PC
Install the Host Extender Unit
Windows (7/8/8.1/10)
OS X/macOS
Linux (Ubuntu 14.04)
1. Install any soware required to operate the USB device(s). Refer to the documentaon for the USB device(s),
as required.
2. Check that the device is detected and installed properly in the operang system.
1. Remove the white scker covering the USB 3.0 port that reads “Important Step: Disable Suspend sengs on
your computer prior to using this product”.
2. Ensure your computer’s suspend sengs have been disabled (see the Preparing Your Computer secon in the
User Guide).
3. Place the Host Extender Unit near the computer.
4. Connect the link cable to the Host and the Client Extender Unit.
For Windows users, open Device Manager to conrm that the USB 3.0 device has been installed correctly.
For OS X/macOS users, open the System Proler to conrm that the USB 3.0 device has been installed correctly.
For Linux users, open a terminal and run the lsusb command to conrm that the USB 3.0 device has been
installed correctly.
NOTE: To open Device Manager in Windows 10/8/8.1 or Windows 7: Open the Start menu, right click
on “Computer” then select: Manage >> Device Manager.
With Surface Cabling
1. Plug one end of the ber opc cabling (not included) into the Link port on the Host Extender.
2. Plug the other end of the ber opc cabling into the Link port on the Client Extender.
With Premise Cabling
1. Plug one end of a ber opc patch cord (not included) into the Link port on the Host Extender.
2. Plug the other end of the patch cord into the ber opc informaon outlet near the host computer.
3. Plug one end of the 2nd ber opc patch cord (not included) into the Link port on the Client Extender.
4. Plug the other end of the 2nd patch cord into the ber opc informaon outlet near the USB device.
NOTE: To open System Proler in OS X: Open the Finder, select Applicaons, then open the Ulies
folder and double click on the System Proler icon.
5. Install the supplied USB 3.0 cable between the Host Extender and a USB 3.0 port on the host computer.

13
Install the Client Extender Unit
1. Place the Client Extender near the USB device(s).
2. Connect the USB device to the device port on the Client Extender unit. If using an AIA USB3 Vision™ compliant
locking USB cable, then turn the locking knobs to lock the cable to the port on the Client Extender.
The TL-FO-USB3-01 complies with USB 3.0 specicaons governing the design of USB devices. However,
TechLogix Networx does not guarantee that all USB 3.0 devices are compable with the TL-FO-USB3-01, as
there are a number of dierent conguraons that may impact the operaon of USB 3.0 devices over extended
distances.
NOTE: For Microso Kinect applicaons, please use an acve extension cable.
3. Plug the power adapter into a suitable AC outlet.
4. Connect the power adapter to the Client Extender and twist the connector to lock the power connector into
the Client Extender.
Compability
CAUTION: The TL-FO-USB3-01 supports only USB 3.0 devices. USB 2.0 and 1.1 devices will not
funcon with this extender.

14
Checking the Installaon
On the Host and Client Extender units, check that the Power, Status, and Host LEDs are on and solid. If the Host
or Status LEDs are permanently o, then the cabling between the Host and Client Extender units may not be
installed properly or is defecve.
Windows (7/8/8.1/10)
1. Open Device Manager to conrm that the TL-FO-USB3-01 has installed correctly.
2. Expand the entry for Universal Serial Bus controllers by clicking the “+” sign. If the TL-FO-USB3-01 has been
installed correctly, you should nd it listed as two “Generic SuperSpeed Hubs” or “3.0 Hubs”.
NOTE: To open Device Manager in Windows 10/8/8.1 or Windows 7: Open the Start menu, right click
on “Computer” then select: Manage >> Device Manager.

15
OS X/macOS
Linux (Ubuntu 14.04)
1. Open the System Proler to conrm that the TL-FO-USB3-01 has installed correctly.
2. In the le hand column under Hardware, select “USB” and inspect the right hand panel. If the TL-FO-USB3-01
has been installed correctly, you should nd it listed as a “Hub” under the “USB 3.0 SuperSpeed Bus”.
Open a terminal and run the lsusb command. The extender should show up as a USB 3.0 hub device with a
Vendor ID of 0000h and Product ID of 0000h.
NOTE: To open System Proler in OS X: Open the Finder, select Applicaons, then open the Ulies
folder and double click on the System Proler icon.

16
USB Extender Mounng
The boom of the TL-FO-USB3-01 enclosures features four pre-drilled holes for oponal surface mounng.
To ensure the stencil below prints to scale be sure to set the page scaling seng to “none”.
Distance between the enclosure mounng holes: 42.0 mm x 77.0 mm
1. Mark the center point of each of the four holes on your mounng surface either by directly measuring or using
a print out of the stencil below.
2. Hardware recommendaon: M3.0 locking washers and M3.0 screws (4 of each per extender) nong screw
length will depend upon thickness of mounng surface.
3. Drill through each of the four hole markings on the mounng surface using a 4.7625mm (3/16”) drill bit.
4. Align the boom enclosure holes to the newly drilled out holes on the mounng surface.
5. Place a locking washer on each of the four screws and using a screwdriver, fasten the extender into place.
mounting hole
42 mm
(1.65 in)
4.76 mm
(0.1875 in) 77 mm
(3.03 in)

17
Troubleshoong
Problem Cause Soluon
All LEDs on Host Extender are o. • The Host Extender is not receiving
power from the USB port.
• Ensure that the USB connecon between
the Host Extender and host computer is
properly installed.
• Move the USB connector to another USB port
on the host computer.
All LEDs on Host Extender are o. • The Client Extender is not receiving
power from the AC adapter.
• Ensure that the AC power adapter is
properly connected to the Client Extender.
• Check that the AC adapter is connected to a
live source of electrical power.
Status LEDs on both the Host and
Client Extender units are blinking.
• There is no connecon between the
Host and Client Extender units.
• The Host Extender is not connected to
a USB 3.0 port.
• The host computer does not support
USB 3.0.
• Ensure that the host computer supports
USB 3.0, refer to your computer’s manual for
conrmaon.
• Ensure the Client Extender is connected to a USB
3.0 port. The center of the port should be blue.
Another color, such as black usually indicates a
USB 2.0 port.
• Ensure that an LC mulmode ber opc
cable is connected between the Host and
Client Extender units.
• Connect a ber opc patch cord between the Host
and Client Extender units. Recheck operaon of
the system.
Host LED is blinking on one or
both units.
• The computer went into suspend,
hibernate or sleep mode.
• The computer tried to suspend the USB
3.0 port that is connected to the Host
Extender.
• Follow the steps in “Preparing Your Computer” to
disable suspend modes on your computer. Refer
to your operang system’s manual for addional
instrucons if necessary.
• Power cycle the Client Extender and the devices
connected to the Client Extender.
• Power cycle the Host and Client Extender,
and the devices connected to the Client
Extender.
Host LED on Host/Client Extender
is o.
• The host computer is not powered on.
• The Host Extender is not connected
to the computer (when used with the
oponal Host Extender AC adapter).
• The Host Extender is not connected to
a USB 3.0 host.
• The extender is malfunconing.
1. Disconnect all USB devices from the Client
Extender.
2. Disconnect the Host Extender from the
computer.
3. Disconnect the Client Extender from the AC
power adapter.
4. Reconnect the Host Extender to the computer.
5. Reconnect the Client Extender to the AC power
adapter.
6. In the Universal Serial Bus controllers secon of
Device Manager, check that the TL-FO-USB3-01
is recognized as two “Superspeed Hubs” or two
“3.0 Hubs”.

18
Problem Cause Soluon
All LEDs on both the Host and
Client Extender units are on
but the USB device does not
operate correctly, or is detected
as an “Unknown Device” in the
operang system.
• The USB device is malfunconing.
• The computer does not recognize the
USB device.
• The applicaon soware for the device
is not operang.
• The extender is malfunconing.
1. Disconnect the TL-FO-USB3-01 from the
computer.
2. Connect the USB device directly to the USB port
on the computer.
3. If the USB device does not operate properly,
consult the user documentaon for the device.
4. Update your system BIOS, chipset, or USB
Host controller drivers from your System/
Motherboard manufacturer’s website.
5. If the USB device operates properly when
directly connected to the computer, connect
another device (of a dierent type) to the TL-FO-
USB3-01. Connect the TL-FO-USB3-01 to the
computer.
6. If the second USB device does not operate, the
TL-FO-USB3-01 may be malfunconing. If the
second USB device does operate properly, the
rst device may not be compable with the TL-
FO-USB3-01.
There are issues with the Microso
Kinect.
• This extender is not fully compable
with the Kinect.
• For Microso Kinect applicaons, please use an
acve extension cable.

19
Specicaons
Distance* Mulmode Fiber Class Cameras Storage
OM2 50m 50m
OM3 100m 50m
* Up to 50m with USB 3.0 storage type devices and up to 100m is achievable when using USB
3.0 bulk trac cameras.
USB Device Support & Throughputs USB 3.0 up to 5 Gbps (Not backward compable with USB 2.0/1.1)
USB Host Support xHCI Controllers (Intel, AMD, Renesas (NEC), Fresco, AsMedia)
Enclosure Material Anodized Aluminum
Host EXTENDER
USB Connector 1 x USB 3.0 Type B Locking Receptacle per AIA USB3 Vision™
specicaon
Link Connector 1 x Duplex LC Connector
Dimensions 100mm x 76mm x 26mm (3.94” x 2.99” x 1.02”)
Client EXTENDER
USB Connectors 2 x USB 3.0 Type A Locking Receptacles per AIA USB3 Vision™
specicaon
Link Connector 1 x Duplex LC Connector
Dimensions 100mm x 76mm x 26mm (3.94” x 2.99” x 1.02”)
Power Connector 24V DC, 1A, Locking, 2.5 mm, center-posive
Available Current 900mA for each USB Port
Power Supply 100-240V AC Brick, Locking
ENVIRONMENTAL
Operang Temperature Range 0°C to 50°C (32°F to 122°F)
Storage Temperature Range -20°C to 70°C (-4°F to 158°F)
Operang Humidity 20% to 80% relave humidity, non-condensing
Storage Humidity 10% to 90% relave humidity, non-condensing
COMPLIANCE
EMC FCC (Class B), CE (Class B)
Environmental RoHS2 (CE)
Machine Vision Works with AIA USB3 Vision™ compliant devices
SUPPORT
Warranty 3-year

20
Technical Glossary
USB cables have two disnct connectors. The Type A connector is used to connect the cable from a USB device
to the Type A port on a computer or hub. The Type B connector is used to aach the USB cable to a USB device.
When a crossover ber opc cable is called for, the cable has the transmit signal on one end connected to the
receive signal at the other end.
USB Cables
Duplex LC Crossover
TX
RX
USB 3.0
Type A
Plug
USB 3.0
Type A
Jack
USB 3.0
Type B
Jack
USB 3.0
Type B
Plug
Table of contents
Other Techlogix Extender manuals

Techlogix
Techlogix TL-FO2-HDC User manual

Techlogix
Techlogix TTL-TP50-HDIR User manual

Techlogix
Techlogix TL-TP70-HD2ARC User manual

Techlogix
Techlogix TL-TP70-HDC User manual

Techlogix
Techlogix TL-FO-HD User manual

Techlogix
Techlogix TL-TP100-HDC2 User manual

Techlogix
Techlogix TL-TP50-HDIR User manual

Techlogix
Techlogix TL-TP100-HDC User manual

Techlogix
Techlogix TL-FO-USB3-02 User manual

Techlogix
Techlogix TL-TP40-HDC2 User manual