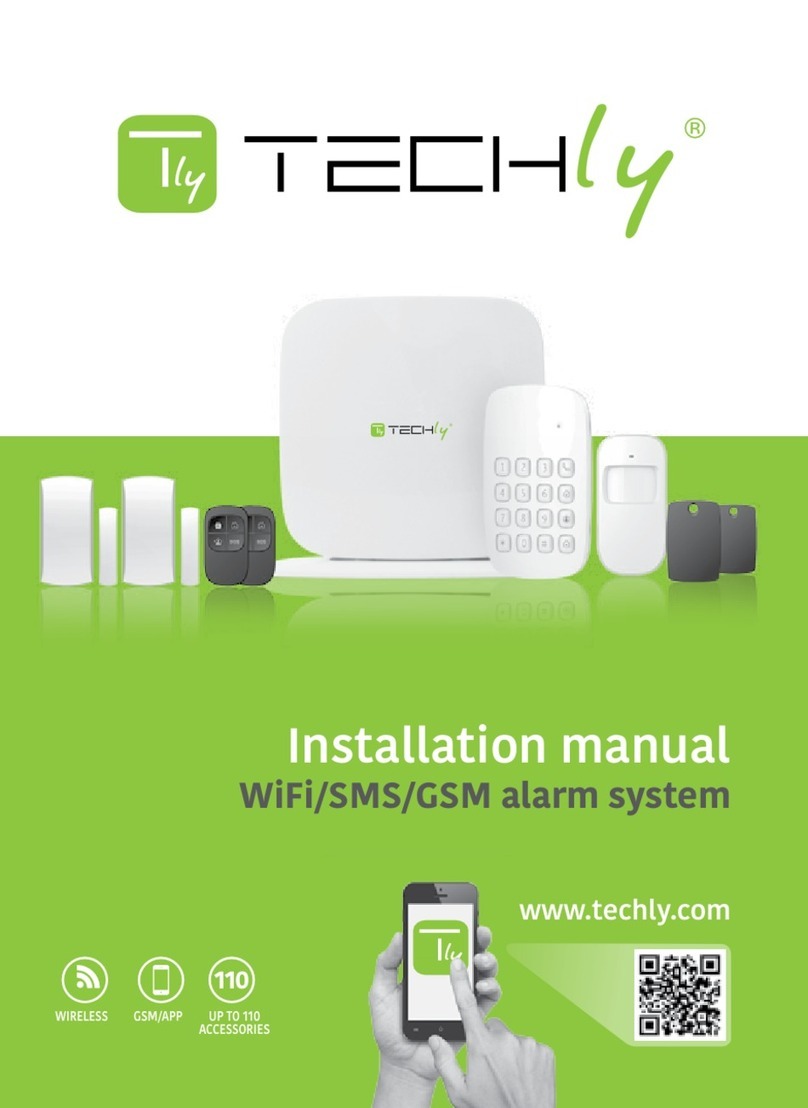
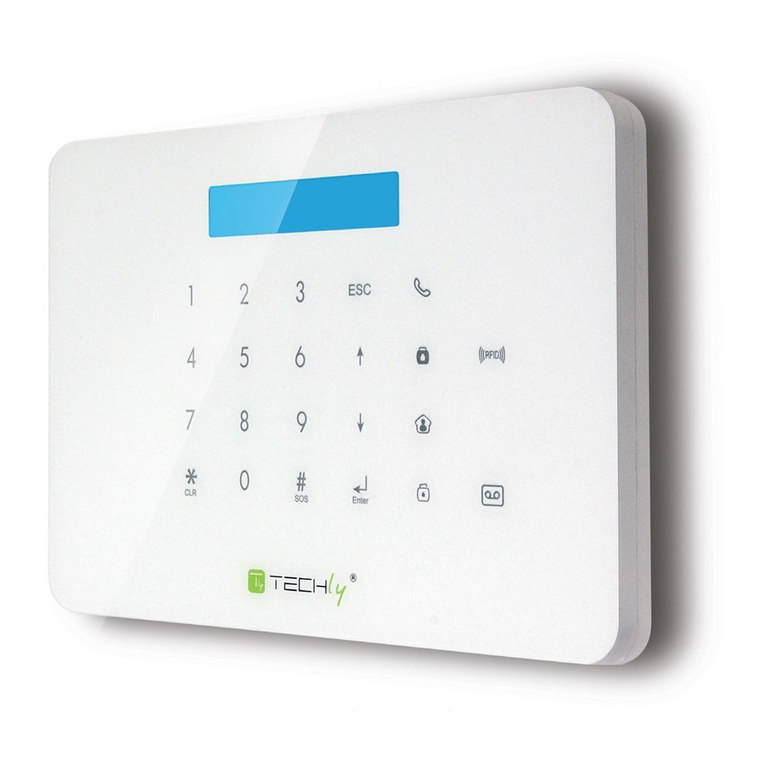
Techly I-ALARM-SIRIN User manual

Indoor siren
www.techly.com EN

2
Features
The Indoor Siren can be used either as an additional siren connected to your
alarm system or as an independent siren connected to a remote control and/
or wireless detectors.
• Wirelessconnectionforeasyinstallation
• Radio-frequency security of the accessories; more than one million of
codes combinations
• Simplifiedconnectiontoaccessories
• Built-in4.2V/600mAhlithiumbatteries:8hourbatterylifeinstandby
mode
Box content
1 x Indoor siren
1 x User’s manual

3
Layout
General information
TheindoorSirenispoweredbyitsbuilt-inAC110-220Vplug.SeveralSirens
canbeinstalledthroughoutyourhomeandconnectedtoyouralarmsystem.
When the alarrn of your system is triggered, the Siren rings and its LEDs
switch on.
The Indoor Siren can also be used as a standalone siren and can be connected
to wireless sensors and/or to a remote control.
Switch/power
Connect

4
Siren and light indications
When arming the system
Thesirenbeepsonce,theLEDlightsblinkonceandswitchon.
When disarming the system
Thesirenbeepstwice,theLEDlightsblinktwiceandturno.
When armed/disarmed in Mute Mode from the control panel
Thesirendoesnotbeep,theLEDlightsdonotblink.
Power on / o
Power on
Thesirenispoweredoasperdefaultsettings.Plugthesirentoa110-220V
socketandyouhearabeep:thesirenison.Youcanalsoturnthesirenonby
longpressing(6seconds)thePowerbuttononthesiren.
Enter Setup Mode / Power o
EnterSetupModebypressingthePowerbuttononce.PressagainthePower
buttonfor6secondstotumthesireno.

5
Use as an additional siren
lfthesirenisusedasanadditionalsiren,itmustberegisteredtoyouralarms
controlpanel. Ifthealarmistriggered, theSirenwillringout andits LED
lightswillfastash.
Register the siren in the control panel
PresstheConnectbuttononthesiren.TheLEDlightsup:thesirenisnowin
ConnectionMode.
Pressthe“SOS”or“Arm”buttononthecontrolpanelofyouralarmsystern.
You hear one beep: the siren has been registered in the control panel
successfully (if you hear 3 beeps, the siren has already been connected).
PresstheConnectbuttonagainonthesirentoexittheConnectionMode.
Note
Do not trigger any alarm with a sensor when registering the siren in the
control panel.
Test
Pressthe“Arm”buttononthecontrolpanel.Boththebuilt-insirenofthe
controlpanelandtheIndoorSirenbeep:theconnectionissuccessful.Ifnot,
theconnectionhasfailed,tryregisteringthesirenagain.

6
Use as a standalone alarm system
BeforeusingtheSirenasastandalonealarmsystem,itmustbeconnected
to a remote control or an accessory (e.g. motion detector, door /window
contact).
Whenthesysternisarmed,ifasensoristriggered,thesirenwillringoutand
theLEDlightswillfastash.
Connect a remote control
PresstheConnectbuttononthesiren.TheLEDlightsup:thesirenisnowin
ConnectionMode.
Pressanybuttonontheremotecontrol.
You hear one beep: the remote control has been connected to the siren
successfully (if you hear 3 beeps, the remote control has already been
connected).
Connect a wireless sensor
PresstheConnectbuttononthesiren.TheLEDlightsup:thesirenisnowin
ConnectionMode.
Triggerthesensor(e.g.walkinfrontofthesensorifyouwanttoconnecta
motiondetector).

7
Youhearonebeep:theaccessoryhasbeenconnectedtothesirensuccessfully
(ifyouhear3beeps,theaccessoryhasalreadybeenconnected).
Thesirensupportsupto10remotecontrolsand10wirelessdetectors.
Test
a) Testtheconnectiontoaremotecontrol
Pressthe”Arm”buttonontheremotecontrol.Thesirenbeepsonce:the
connectionoftheremotecontrolissuccessful.Ifnot,theconnectionhas
failed,tryregisteringtheremotecontrolagain.
b)Testtheconnectiontoawirelesssensor
Armthesystem.Triggerthesensor(e.g.walkinfrontofthesensorifyou
haveconnectedamotiondetector),Thesirenringsout:theconnectionof
thesensorissuccessful.Ifnot,theconnectionhasfailed,tryregistering
thesensoragain.
Clear all accessories
PresstheConnectbuttononthesirenfor6secondsuntilyouheartwobeeps.
TheLEDlighton:allaccessoriesandcontrolpanelconnectedtothesirenhave
been cleared.

8
Entry / Exit Delay
Adelaybeforeactivationcanbesetforthesirenifthesensorisassigned
totheDelayZone*.
IftheEntry/ExitDelayisactivated,thesirenbeepsonceeveryseconduntil
thesystemisarmed,duringtheperiodofdelayset.Ifoneofyoursystem’s
sensors triggers the alarm, the ringing out of the siren will be delayed
accordingly.
* The name of the Delay Zone and the connection process may vary
dependingonmodels.Refertotheusermanualofyouralarmsystemfor
moreinformation.
Set up the delay:
EnterSetupModebypressingthepowerbuttononce.Pressthepowerbutton
again
• oncetosetthedelayto10seconds
• twicetosetthedelayto20seconds
• threetimestosetthedelayto30seconds
Defaultsetting:nodelay.

9
Night Lamp mode
Whenusedasastandalonealarmsystem,theSirencanalsobeusedasan
LEDnightlamp.
Press the “Home mode” button on the remote control twice: the siren
switchestoHomeModeandthestrobelightturnsintoanightlamp.
Pressthe“Homemode”buttontwice,thenthe“Arm”buttononce:thesiren
isin monitoringmodewithnightlampon.Press the“Disarm” button:the
sirenisdisarmedandtheLEDlightsswitcho.
Thedelay willbe eectiveonlyif thesensors
have been assigned to the Delay Zone. To
assign a sensor to the Delay Zone, open its
cover and move the jumpers on the circuit
board according to the opposite drawing. For
moreinformation,refertothemanualofyour
alarm system.
D0
D3

10
Specifications
Power supply
110-220V
Volume
90dB
Backup battery
4,2V/600mAhLithium
Static current
<13mA
Alarm current
<300mA
Radio frequency
433MHz(+/-75KHZ)
Housing material
ABSplastic
Operating conditions
Temperature:-10°C~+55°C
Relative Humidity
≤80%(non-condensing)
Dimensions
81x80x76mm

11

www.techly.com
In compliance with Eu Directive WEEE this product is market with this symbol.
It means that used electrical and electronic products should not be mixed with
general household waste. There is a separate collections system for there
products in compliance with WEEE directive, otherwise contaminative and
hazardous substances can pollute the enviroment.
With CE sign, Techly ensures that the product is conformed to the basic
European standards and directives.

Sirena per interno
www.techly.com IT

14
Caratteristiche
Questasirenaperinternopuòessereusatasiacomeunasirenaaggiuntiva
collegataalsistemadiallarmesiacomeunasirenaindipendentecollegata
aduntelecomandoe/ounrilevatorewireless.
• Connessionewirelessperunafacileinstallazione
• Sicurezzaradio-frequenzadegliaccessori;piùdiunmilionedicombinazioni
• Collegamentodegliaccessorisemplificato
• Incorpora batteria gli ioni di litio da 4.2V/600mAh: 8 ore di durata in
modalità stand by
Contenuto della confezione
1 x Sirena per interno
1 x Manuale d’istruzione

15
Struttura
Informazioni generali
LasirenadainternoèalimentatadallacorrenteAC110/220V.Diversesirene
possono essere installate all’interno dell’abitazione e possono essere
collegateal vostrosistema diallarme. Quandoilsistemadiallarme viene
attivato,lasirenasuonaeilledsiillumina.
Lasirenadainternopuòessereusatacomesirenaautonomaepuòessere
connessaaisensorisenzafilie/oaduntelecomando.
Interruttore
Connessione

16
Sirena e indicazioni luminose
Quando si inserisce il sistema di allarme
Lasirenaemetteunbeep,laluceLEDlampeggiaunavoltaepoisiaccende.
Quando si disinserisce il sistema di allarme
Lasirenaemetteduebeep,laluceLEDlampeggiaduevolteesispegne.
Quando si inserisce/ disinserisce in modalità silenziosa dal pannello di
controllo
Lasirenanonemettealcunsegnaleacustico,laluceLEDnonlampeggia.
Accensione/Spegnimento
Accensione
Lasirenasispegnecomedaimpostazionipredefinite.Collegarelasirenaad
unapresadicorrente110-220Veverificareseuditeunsegnaleacustico:la
sirenaèaccesa.Épossibileaccenderelasirenatenendopremutoalungo(6
secondi)iltastodiaccensionesullasirena.
Accesso alla modalità di configurazione / spegnimento
Accedere alla modalità di configurazione premendo una volta il tasto di
accensione. Premere di nuovo il tasto di accensione per 6 secondi per
spegnerelasirena.

17
Utilizzo di una sirena aggiuntiva
Selasirenavieneusatacomeunasirenaaggiuntiva,deveessereregistrata
sulpannellodicontrollodell’allarme.Sel’allarmeèattivato,lasirenasuona
eleluciLEDlampeggianovelocemente.
Registrazione della sirena nel pannello di controllo
Premereiltastodicollegamentopresentenellasirena.IlLEDsiaccende:la
sirenaoraèinmodalitàConnessione.
Premere il tasto “SOS” o “Arm” sul pannello di controllo del sistema di
allarme. Si udirà un beep: la sirena è stata registrata con successo nel
pannello di controllo (se vengono uditi 3 beep, la sirena era già stata
connessa).Premerenuovamentesullasirenailtastoconnessioneperuscire
dallamodalitàConnessione.
Nota
Noninnescarealcun allarmeconunsensore quando sistaeettuando la
registrazionedellasirenasulpannellodicontrollo.
Test
Premereiltasto“Arm”sulpannellodicontrollo.Sialasirenaincorporataal
pannellochelasirenainternaemettonounsegnaleacustico:laconnessione
è avvenuta con successo. Se questo non accade, la connessione è fallita,
riprovatenuovamentearegistrarelasirena.

18
Uso come sistema di allarme indipendente
Prima di utilizzare la sirena come un sistema di allarme indipendente, la
sirenadeveesserecollegataaduncomandoremotooadunaccessorio(per
esempiounrilevatoredimovimento,uncontattoporta/finestra).
Quandoilsistemadiallarmeèinserito,seunsensorefascattarel’allarme,la
sirenasuoneràeleluciLEDlampeggerannovelocemente.
Collegamento ad un telecomando
Premereiltastoconnessionesullasirena.IlLEDsiillumina,lasirenaoraèin
modalitàConnessione.
Premereuntastosultelecomando.
Siudiràunsegnaleacustico:iltelecomandoèstatoconnessoconsuccesso
allasirena(sevengonouditi3beep,iltelecomandononèstatocollegato).
Collegamento ad un sensore senza fili
PremereiltastoConnessionesullasirena.IlLEDsiillumina:lasirenaèora
inmodalitàConnessione.
Attivareunsensore(peresempiocamminandodifrontealsensoresesivuole
connettereunrilevatoredimovimento).

19
Siudiràunbeep:l’accessorioèstatoconnessoallasirenaconsuccesso(sesi
udiranno3beep,l’accessorioeragiàstatoconnesso).
Lasirenasupportafinoa10telecomandie10rilevatoridimovimento.
Test
a)Testarelaconnessionealtelecomando
Premere il tasto “Arm” sul telecomando. La sirena emette un segnale
acustico:laconnessionealtelecomandoèavvenutaconsuccesso.Seciò
nonavviene, iltentativodiconnessioneèfallito,provarenuovamentea
registrareiltelecomando.
b)Testarelaconnessioneadunsensoresenzafili
Inserirel’allarme.Attivareilsensore(peresempiocamminandodifronte
alsensoreseèstatocollegatounsensoredimovimento).Lasirenasuona:
ilcollegamentoalsensoreèavvenutoconsuccesso.Seciònonavviene,
il tentativo di connessione è fallito, provare nuovamente a registrare il
sensore.
Eliminazione di tutti gli accessori
PremereiltastoConnessionesullasirenaper6secondifinoaquandononsi
udirannoduebeep.LaluceLEDsiaccende:tuttigliaccessorieilpannellodi
controllo connessi alla sirena sono stati eliminati.

20
Entrata/Uscita ritardate
Primadell’attivazioneèpossibileimpostareuntempodiritardoperlasirena
seilsensoreèassegnatoallaZonaDelay*.
Se l’entrata/uscita ritardata è attivata, la sirena emette un beep per ogni
secondopertutto il tempo di ritardoimpostato,finoaquando il sistema
di allarme non è inserito. Se uno dei sensori del sistema fanno scattare
l’allarme, il suono della sirena sarà ritardato di conseguenza come da
impostazioni.
* IlnomedellaZonaDelayeilprocessodicollegamentopotrebberovariare
asecondadeimodelli.Fareriferimentoalmanualed’istruzionedelvostro
sistemadiallarmeperulterioriinformazioni.
Impostazione del tempo di ritardo:
Accedere alla modalità di configurazione premendo una volta il tasto di
accensione.Premereiltastodiaccensionedinuovo
• unavoltaperimpostareunritardodi10secondi
• duevolteperimpostareunritardodi20secondi
• trevolteperimpostareunritardodi30secondi
Configurazionepreimpostata:nessunritardo.
This manual suits for next models
1
Table of contents
Languages:
Other Techly Security System manuals
Popular Security System manuals by other brands

Swann
Swann Automobile Alarm Easy setup guide

Barnett Engineering
Barnett Engineering ProTalk Cv3 Replacement instructions

YISEELE
YISEELE YX-700 user manual

National Security Systems
National Security Systems Security System user guide

M86 Security
M86 Security Threat Analysis Reporter user guide

GreatCall
GreatCall Lively Wearable2 quick start guide