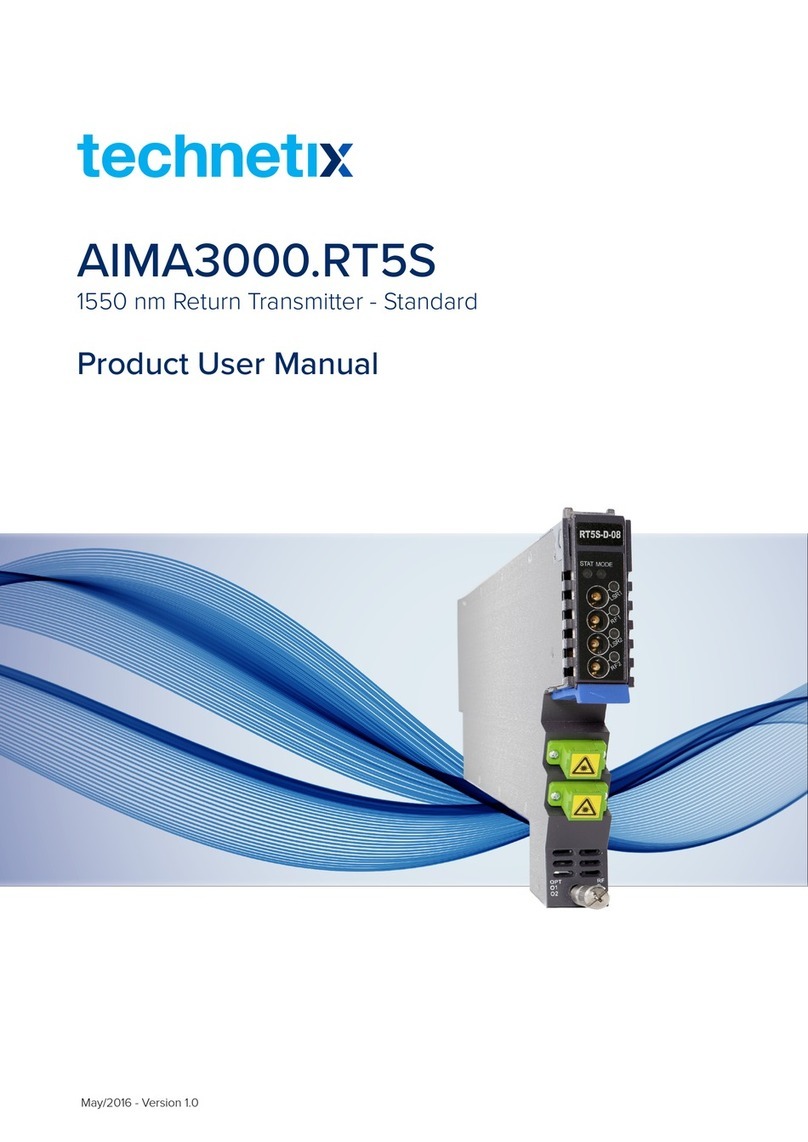
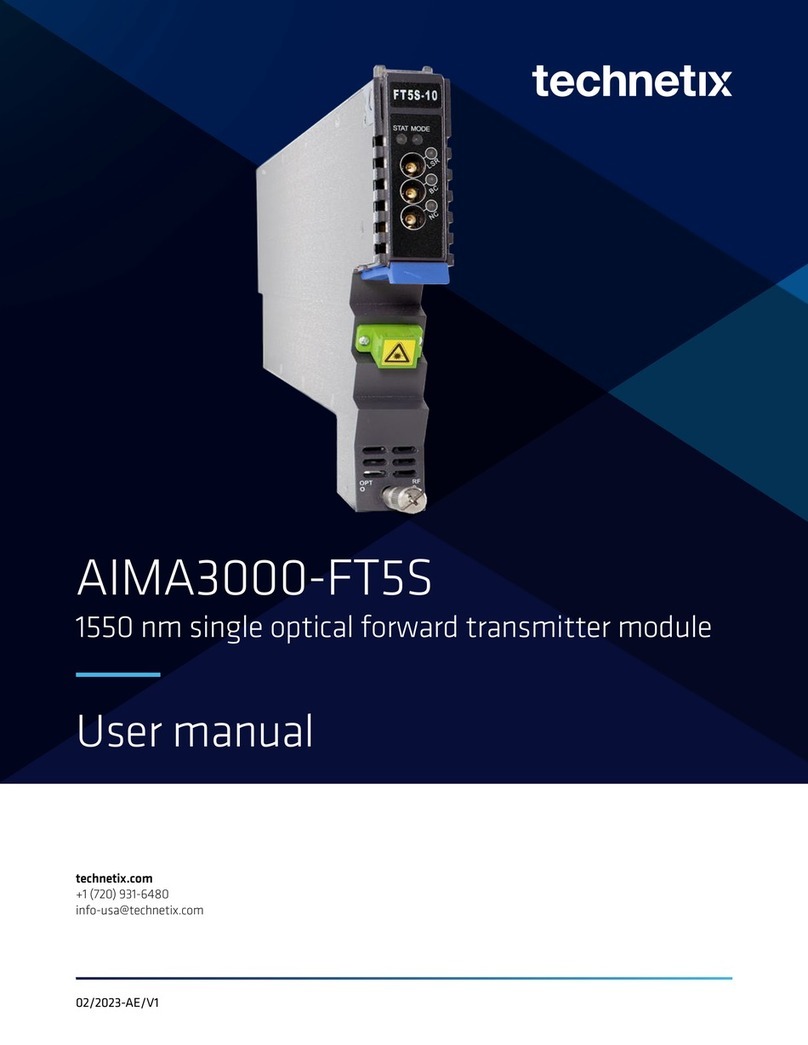
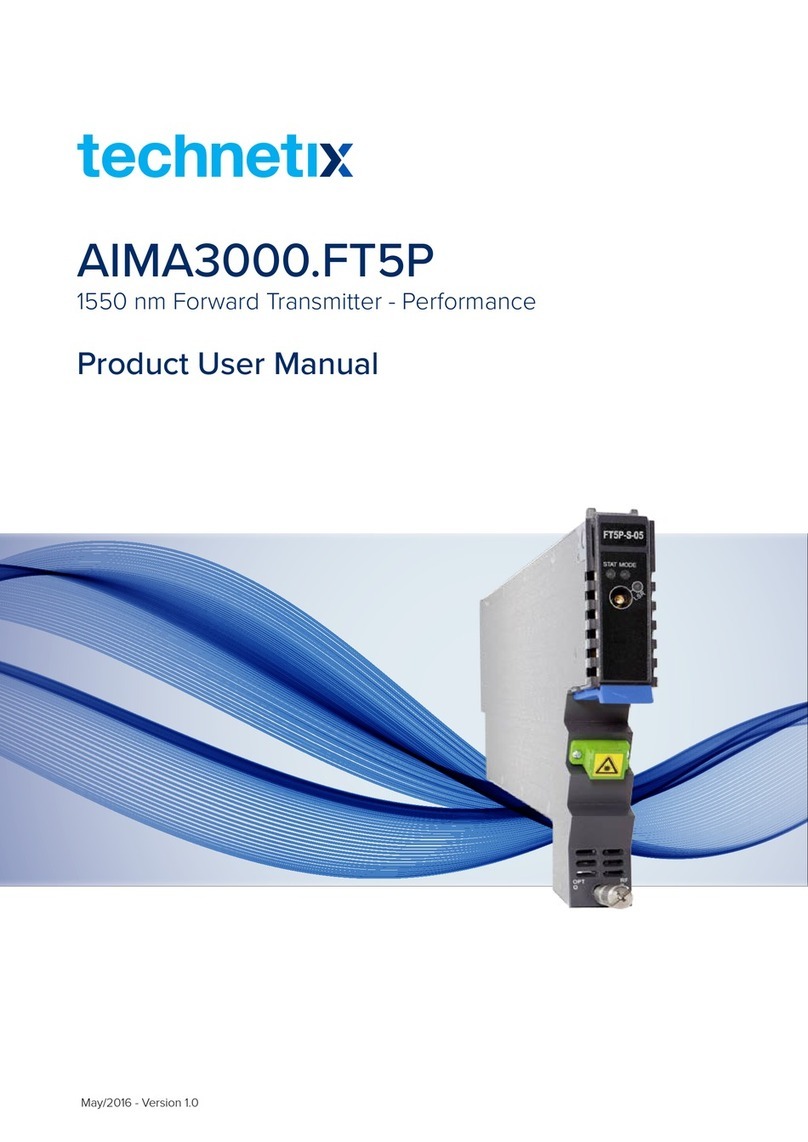
technetix AIMA3000.RT5S User manual

technetix.com
+1 (720) 931-6480
12/2022-AE/V2
User manual
AIMA3000-RT5S
1550 nm return transmitter - standard

Contents
Chapter 1 This manual 4
1.1 Chapter overview 4
1.2 Related documentation 4
1.3 Document conventions 4
1.4 Technical support 4
Chapter 2 Precautions 5
Chapter 3 Overview 6
3.1 Product description 6
3.2 Product key features 6
3.3 Specications 7
3.4 Block diagram 8
3.5 Order details 9
Chapter 4 Module characteristics 10
4.1 Module appearance and port layout 10
4.1.1 Overview 10
4.1.2 Front panel layout 11
4.1.3 Rear panel layout 13
Chapter 5 Installation 14
5.1 Preparatory work for installation 14
5.2 Unpacking 14
5.3 Module installation 14
5.4 Connecting optical cables 15
5.4.1 Usingtheslidingberguide 15
5.4.2 Usingthebretray 17
5.4.3 Cleaningthebreconnectorendsand
front-panelopticalport 17
5.4.4 Connectingtheopticalbres 18

Contents
5.5 Check module LEDs 18
5.6 Test the RF input signal 18
5.7 Testtheopticaloutputsignal 18
5.8 RT5S initial setup 19
Chapter6 Modulecongurationandalarmsetup 21
6.1 Alarms monitoring 21
6.1.1 Alarm status pages 21
6.1.2 Module operating voltage and temperature alarm 22
6.1.3 Module port alarms 23
6.1.4 Alarmmonitoringconguration 24
6.1.5 Input and output status monitoring 25
6.2 Logsmanagement 27
6.3 Device upgrade 28
6.4 Restoring factory defaults 29
6.5 Reboot 31
Chapter7 Troubleshooting 32
Chapter 8 Declaration of conformity 33
Appendix A: Default alarm limit settings 34

Chapter 1_This manual
1.1 Chapter overview
1. About this manual: preface
2. Precautions
3. Overview: application module overview, including the
module features, technical specications, and ordering
information.
4. Module characteristics: the appearance of the equipment,
port and introduction of other components
5. Installation: installation procedure
6. Module conguration and alarms: web management
conguration instructions.
7. Troubleshooting
8. Product warranty
9. Declaration of conformity.
Appendix A: default alarm limit parameters
Appendix B: factory default settings
1.2 Related documentation
The following documents may be used in conjunction with
this manual:
˺Technetix.AIMA3000 - Product user manual
˺Technetix.AIMA ASMM - Product user manual
˺AIMA3000 NMS Web management system product
user manual
˺Technetix.NMS3-EPSM - Basic inventory management
˺Technetix.NMS3-EPSM - Basic alarm management
˺Technetix.NMS3-EPSM - Basic system management
˺Technetix.NMS3-EPSM - Basic template management
1.3 Document conventions
Before you use the manual, please familiarise yourself with
the format used in this manual.
“*” Asterisk: points marked with an asterisk means there
is a corresponding note on the page
1.4 Technical support
If you need help in the process of setting up and maintaining
an RT5S, please contact Technetix’s technical support sta:
Europe
Technetix BV
Kazemat 5
NL-3905 NR Veenendaal
The Netherlands
+31 318 58 59 59
4USER MANUAL_AIMA3000-RT5S

Chapter 2_Precaution
˺You should carefully read and thoroughly understand the contents of the manual before installing
and using this equipment.
˺A typical connector is the SC/APC 8°. Note: An 8 ° angle polished optical connectors must be used.
˺There may be dangerous voltage inside the device at any time.
˺DO NOT power up before the cover and the panels of the equipment are installed and the enclosure is closed.
Cleaning
Outage or overload requiring service and repairs
Servicing and repairs
WARNING: This equipment is intended for indoor applications. To prevent re or electrical shock,
or damage to the equipment, do not expose units to water or moisture.
IMPORTANT: Only use a damp cloth for cleaning the front panel. Use a soft dry cloth to clean
the top of the unit. DO NOT use any spray cleaners or chemicals of any kind.
IMPORTANT: Unplug the unit and refer the servicing to Technetix qualied service personnel only.
WARNING: Exposure to class 3A laser radiation is possible. Access should be restricted
to trained personnel only. Do not view exposed ber or connector ends when
handling optical equipment
IMPORTANT: DO NOT attempt to service this unit yourself. Refer all servicing needs
to Technetix qualied service personnel only.
5technetix.com

Chapter 3_Overview
3.1 Product description
The RT5S, 1550 nm return transmitter - standard series, is
a high-density module with one or two lasers. It is designed
to plug into Technetix’s latest Advanced Intelligent Multi-
services Access (AIMA) platform - the AIMA3000. Technetix
RT5S is currently available in either a single or dual transmitter
conguration. It features a full-spectrum advanced return
path transmitter designed for multi-service operators (MSOs)
to increase network capacity to satisfy an ever-growing
subscriber demand for bandwidth. The module’s operating
wavelength conforms to ITU standards and it can work with
Technetix Erbium Doped Fiber Amplier Module (EDFA). It
provides the utmost exibility for MSOs during the transition
to all-digital.
The RT5S employs an advanced RF circuit design and is
available with either one or two high quality independent low-
chirp lasers. In addition, it has a cutting-edge optoelectronic
design for the delivery of high-quality transmissions, over
passive ber optic networks.
All RT5S models can also be conveniently monitored and
controlled through a computer connected to one of the
Ethernet ports via the ASMM module. All module settings
are retained in non-volatile memory to ensure trouble-free
operation. Bulk updating, automatic uploading and
block diagram downloading of conguration les can be
done when using Technetix NMSE web-based management
system.
3.2 Product key features
˺Plug-and-play with the AIMA3000 platform
˺High-quality 1550 nm isolated low-chirp analogue
DFB lasers
˺RF amplier gain blocks with advanced GaAs technology
for better performance
˺Conforms to ITU DWDM standards
˺Frequency response of 5 MHz to 204 MHz
˺Local laser shutdown via web interface
˺Totally independent and controllable circuits in one
module slot
˺Alarm monitoring via ASMM web interface and Technetix
NMSE
˺Automatic thermo-cooler control (ATC) for a consistent
laser temperature
˺Automatic power control (APC) for maintaining a
consistent amount of power amplication for each
wavelength
˺Remote rmware upgrade and auto upload and download
of conguration les through the ASMM web interface or
using Technetix NMSE
˺Bulk rmware updates through Technetix NMSE
˺Fully FCC, CE and RCM¹ compliant.
(1) See Declaration of Conformity for current status.
6USER MANUAL_AIMA3000-RT5S

3.3 Specications
Optical performance
Optical wavelength ITU standard wavelength
Optical outputs 1 or 2
Output power 8 dBm, 9 dBm, 10 dBm
Optical connector SC/APC (1), LC/APC, FC/APC, E2000/APC
Laser RIN < -155 dB/Hz
RF performance
RF bandwidth 5 MHz to 204 MHz
RF atness ± 0.5 dB
RF input return loss > 18 dB
RF nominal input level (2) 15 ~25 dBmV per channel
RF impedance 75 Ω
RF test point relative to RF input port -20 ±1 dB
Isolation between Transmitters > 60 dB
RF inputs connectors Single: 1 x GSK-type female
Dual: 2 x GSK-type female
RF test points Single: 2 x Mini-SMB (3)
Dual: 4 x Mini-SMB( 4)
Alarms and laser status Front-panel LEDs, SNMP traps
Link performance (5)
CNR > 53 dB
IMD2 < -60 dBc
General
Power supply Powered via AIMA3000 backplane
Power consumption Single < 8.0 W
Dual < 15.0 W
Operating temperature -5 ~ +55 oC
Operating humidity 90 % (Non-condensing)
Storage temperature -25 ~ +70 oC
Storage humidity 90 % (Non-condensing)
Dimensions (W*D*H) 24.6 mm * 410 mm * 152.5 mm
Weight 0.88 kg
Network management Technetix NMSE or through ASMM’s web interface
Notes:
(1) Standard option. Contact a Technetix Sales Representative for availability of other options.
(2) dBuV= 60 + dBmV
(3) Two mini-SMB connectors on front panel: 1 RF inputs test ports and 1 to measure RF input before the laser.
(4) Four mini-SMB connectors on front panel: 2 RF inputs test ports and 2 to measure RF input before the laser.
(5) Measured in a typical system with 4 channels signal source (11.5 MHz, 26.5 MHz, 45.5 MHz and 58.5 MHz), -2 dBm,
6 % OMI, 10 km ber. IMD2 is measured at 15 MHz and 38 MHz.
7technetix.com

Table 3 1 RT5S block diagram glossary
Parameters Glossary
RF IN 1 RF1 input
RF IN 2 RF2 input
-20 dB TP -20 dB test point
PREAMP Preamplier module
AMPLIFIER Amplier module
ATTENUATOR Gain adjustment
RF DETECTOR RF level detector
LASER Laser
OPTICAL OUTPUT Optical output
TO BACK PLANE AND COMMS Data bus
-20 dB OMI TP OMI test point for laser
CPU Central processing unit
3.4 Block diagram
8USER MANUAL_AIMA3000-RT5S

3.5 Order details
A-RT5S-[V]-[W]-[X1X2]-[Y]-[Z] 1550 nm Return Transmitter - Standard
Options:
VOptical Ports
SSingle
DDual
WOptical Output Power
08 8 dBm (6.3 mW) optical power
09 9 dBm (8 mW) optical power
10 10 dBm (10 mW) optical power
X1X21,2 First Channel Last channel
21 192.1 THz (1560.61 nm)
23 192.3 THz (1558.98 nm)
25 192.5 THz (1557.36 nm)
27 192.7 THz (1555.75 nm)
29 192.9 THz (1554.13 nm)
31 193.1 THz (1552.52 nm)
33 193.3 THz (1550.92 nm)
35 193.5 THz (1549.32 nm)
… …
51 195.1 THz (1536.61 nm)
YOptical Connector Type
SSC/APC3
LLC/APC
FFC/APC
EE2000/APC
ZBandwidth
20 5~204 MHz
1. Default spacing is 200 GHz. For other wavelength congurations not listed, please contact Technetix.
2. X2 is only used in dual transmitter variants.
• Dual version, X1 is the rst channel and X2 is the second channel
Examples:
Single X1 25
Dual X1X2 2527
3. Standard option. Contact a Technetix Sales Representative for availability of other options.
9technetix.com

Chapter 4_Module Characteristics
3.1 Module appearance and port layout
4.1.1 Overview
Fig. 4.1 Module appearance
Front Panel
Rear Panel
10USER MANUAL_AIMA3000-RT5S

4.1.2 Front panel layout Table 4-1 RT5S front panel functions
Item Number Item Description
1
MODE LED Module gain control mode indicator
MGC: green light blinking
AGC: green
2STATUS LED
Module alarm indicator
Normal: green
Minor alarm: amber
Major alarm: red
3LSR1 LED
Laser status indicator
Normal: green
OFF: green light blinking
Major alarm: red
4LSR1-TP Laser 1 input test point
5RF1 LED
RF1 status indicator
Normal: green
Input RF minor alarm: amber
Input RF level major alarm: red
6RF1-TP RF1 test point
7LSR2 LED
Laser status indicator
Normal: green
OFF: green light blinking
Major Alarm: Red
8LSR2-TP Laser 2 level input test point
9RF2 LED
RF2 status indicator
Normal: green
Output RF level minor alarm: amber
Output RF level major alarm: red
10 RF2-TP RF2 test point
11 Orange
tab-retaining clip
Used to plug and anchor
the module
The tab-retaining clip will pop-up
after pressing the release and
plug module.
12 OPT OUT 1 Optical output 1
13 OPT OUT 2 Optical output 2
14 Mounting screw Module fastening screw
WARNING: “OPT OUT”emits a non-visible laser radiation when working.
1
3
5
7
9
14
2
4
6
8
10
11
12
13
11technetix.com

3. After the module is inserted, gently push the hinged tab until it snaps into the orange retaining clip.
While pushing down on the hinged tab, the AIMA module will mate with the power bus and will lock in into the chassis.
4. When the module is fully seated within the chassis, of the AIMA module, fasten the spring-loaded mounting screw.
Only use ngers to fasten the mounting screw. DO NOT use a screwdriver.
WARNING: The module MUST be installed correctly to ensure a proper connection
of the module’s multi-pin connector and the backplane.
TIP: When inserting the module into the guide rails, vertically tilt the module slightly to check
that the guides are properly seated on the rails. The module is guided to the correct position
using the large metal fastening screw on the lower part of the front panel.
IMPORTANT: DO NOT use excessive force when inserting the module, but ensure the RF
connectors at the rear of the module are securely connected with the chassis'
RF connectors.
Module fastening screw
IMPORTANT: If force is required to insert a module, then it may not be correctly seated
on the slide rails, or the mounting screw may be misaligned.
12USER MANUAL_AIMA3000-RT5S

4.1.2 Rear panel layout
Table 4-2 RT5S rear panel functions
1
5
3
2
4
Serial Number Item Description
1RF 1 IN RF 1 Input
2RF 2 IN RF 2 Input
3Air Vent Air vent allowing air to ow
out of the module
4Multi-pin connector Power and communication port
5Placement pin Used to position the module in the chassis
13technetix.com

Chapter 5_Installation
5.1 Preparatory work for installation
Before installing this device, you must ensure that the unit is intact and ready for installation.
Unpack and check the unit: Open the box to check for any damage that may have occurred during shipment.
If damage is found, please contact a Technetix customer support representative.
Tool list
�Phillips screwdriver PH1/PH2. For use with the AIMA3000 chassis
�RT5S module. The module to install into the AIMA3000 chassis
5.2 Unpacking
Unpack the module. Keep the packaging materials for future transport needs.
Check the package manifest, record the product module type, serial number, purchase date and any other relevant
information to facilitate later management and maintenance.
5.3 Module installation
1. Gently depress the orange retaining clip and release the hinged tab.
2. Hold the AIMA module casing upright, align it with the AIMA3000 slide rails for the correct slot and insert
the module until it reaches the multi-pin connector
Number Description Quantity
1RT5S module 1
1Individual test sheet (certicate of performance) 1
Hinged tab
Orange retaining clip
AIMA module
IMPORTANT: DO NOT use excessive force when inserting the module, but ensure the
RF connectors at the rear of the module are securely connected with the chassis'
RF connectors.
14USER MANUAL_AIMA3000-RT5S

5.4 Connecting optical cables
For the convenience of the user, the AIMA3000 chassis has a sliding ber guide to help the operator to arrange the cables.
For the specic steps to connect the ber, please refer to the instructions in section 5.4.1.
5.4.1 Usingtheslidingberguide
The sliding ber guide is located in the lower-left corner of the chassis if looking at the front of the chassis, it is designed to help
installation of the optical ber cabling. To access the sliding ber guide you will need to rst remove the rear panel located on the
back of the chassis.
1. Unscrew the two thumbscrews on the rear panel.
2. Then, pull the panel forward.
15technetix.com

When using the sliding guide, put the ber connector in the clip and slide it in from the rear to the front, through the chassis.
Ensure that the optical ber tail does not become trapped or pulled tightly.
IMPORTANT: DO NOT remove the dust cap from the ber connector until it is connected
to the input port.
4. Raise the clip, insert the ber connector, and then lower the clip over the connector.
Fiber clip (at rear, for up to two connectors) Handle (at front)
16USER MANUAL_AIMA3000-RT5S

17technetix.com
5.4.2 Usingthebertray
All optical bers must be organised in a tidy manner in the chassis’s ber tray, which provides enough space for up to
64 optical bers. This allows for easy positioning and future replacement of optical bers. Along the front of the chassis, there
are cut-outs for keeping the optical bers in position.
1. When organising the optical bers, lift up the metal ap at the rear of the panel above the sliding guide.
This will allow ber cables to be moved away from the sliding guide rails.
2. Use the Fibre Guide Tool to organise the cables and wires in the bre tray to prevent tangles and the blocking
of the guide rails.
Fiber tray area PSU
Cut-outs

5.4.3 Cleaningtheberconnectorendsandfront-panelopticalports
To obtain a good quality optical input signal, optical ber input ports and ber connector ends must be carefully cleaned.
When cleaning the optical ber-connector end, remove the dust cap and then use a lint-free cloth dampened with a static
dissipative solvent to clean the angled surface. Dry the surface using a dry lint-free cloth.
To clean the front-panel optical port, use a special lint-free swab that is designed for this purpose. Dampen it with a static
dissipative solvent. Apply slight pressure to the internal angled surface of the optical port, while rotating the swab 90 degrees
back and forth. You may need to remove excess solvent using a dry lint-free swab. Alternatively, a cleaning pen such as the
one click cleaner can be used.
5.4.4 Connectingtheopticalbers
Carefully lift up the hinged cover of the optical input port, align the raised tab on the connector with the slot in the port.
Insert the connector until the connector is securely held in place indicated by a clicking sound.
5.5 Module installation
1. Gently depress the orange retaining clip and release the hinged tab.
Connection terminal
Head face
18USER MANUAL_AIMA3000-RT5S

5.5 Check module LEDs
Single port module
When the module has been installed, if the chassis is powered, all LED indicators on the front panel will show a blinking green
light, indicating the module is initiating.
If the input and output signals are normal, the “STAT” LED indicator will cease to blink in about 5 seconds and remain constant
green afterwards. At the same time, the “LSR”, “BC" and “NC" LED indicators will also remain constant green when the signals
are normal.
If the BC RF input signal is out of the expected range, the “STAT” and “BC” LED indicator will show constant orange or red. If
the NC RF input signal is out of the expected range, the “STAT” and “NC” LED indicator will show blinking orange or red*. If the
optical output signal is out of the expected range, the “STAT” and “LSR” LED indicator will show constant orange or red.
FT5S' default alarm setting on "NC input power” is disabled. The NC LED indicator will remain constant green when it’s disabled.
Before checking the status of the NC LED indicator, please log into AIMA3000 conguration page to enable the major alarm and
minor alarm (check the checkbox on HiHi/Hi/Lo/LoLo and ll in the thresholds).
Dual port module
When the module has been installed, if the chassis is powered, all LED indicators on the front panel will show a blinking green
light, indicating the module is initiating.
If the input and output signals are normal, the “STAT” LED indicator will cease to blink in about 5 seconds and remain constant
green afterwards. At the same time, the “LSR” LED indicators will also remain constant green when the signals are normal.
TheRFindicatorswillactin2dierentwayswhenthesignalisnormal:
A. When BC/NC monitoring is set to BC on, the RF indicators will remain constant green when the signals are normal.
B. When BC/NC monitoring is set to NC on, the RF indicators will remain blinking green when the signals are normal.
If the BC RF input signal is out of the expected range (“Monitor BC or NC” set to BC On), the “STAT” and “RF” LED indicator
will show constant orange or red. If the NC RF input signal is out of the expected range (“Monitor BC or NC” set to NC On), the
“STAT” and “RF” LED indicator will show blinking orange or red. If the optical output signal is out of the expected range, the
“STAT” and “LSR” LED indicator will show constant orange or red.
5.6 Test the RF Input Signal
When setting up the transmitter for nal deployment, the RF input levels must not exceed 20 dB.
5.7 Test the optical output signal
After the input signal has been conrmed, the optical power of the associated optical output port should be tested. Use the
optical power meter to test the output levels; the output values should be in accordance with the technical specications.
Before testing, the optical power meter must be calibrated. Before measuring optical signals, verify the interfaces are clean
and undamaged.
19technetix.com

5.8 RT5S initial setup
1. Calculate the correct RF drive level per channel for the channel to be used for RF1 and RF2. Conrm RF channel
level only on the RF1 and RF2 RF input leads or on all four RF1 and RF2 RF input leads and connect them to the
chassis (pictured below). Note: If an RF port is not in use, install an “F” 75 Ω terminator to the unused connection.
2. Before installing the RT5S, check the optical output ferrule tip with a berscope to ensure that the connector is clean
(pictured below). The cap on the optical output connector does not prevent contamination from getting on to the optical
connector, it prevents the laser from being emitted when laser is on and no optical patch cord is installed.
3. Next, install the RT5S unit into a slot where the RF1 / RF2 input leads are connected and check the optical output power with
a cleaned optical patch cord and a calibrated optical power meter. Record the optical output level. Connect a cleaned patch
cord to the ber output and to the relevant optical distribution frame (ODF) panel.
4. With a computer connected to the ASMM module’s network, select the port for the transmitter that needs to be adjusted.
Select “Port 1 for RF1 and “Port 2” for RF-2 from the left bar under the RT5S being congured. Conrm that the “Input AGC
mode” is set to “OFF”, if not change it to “OFF” and then click on “Submit” button. In addition, conrm that the “RF-1” and
“RF-2” elds are set to 0.0, if not set to 0.0 and click on “Submit” button.alarms.
20USER MANUAL_AIMA3000-RT5S
Other manuals for AIMA3000.RT5S
1
Table of contents
Other technetix Transmitter manuals
Popular Transmitter manuals by other brands
M-system
M-system M5XTR instruction manual

City Theatrical
City Theatrical Multiverse 5912 user manual
Camille Bauer
Camille Bauer KINAX 3W2 operating instructions
Vaisala
Vaisala HUMICAP HMD70U operating manual
Centronic
Centronic MemoControl MC411 operating instructions
Orolia
Orolia KANNAD 406 AS installation manual
