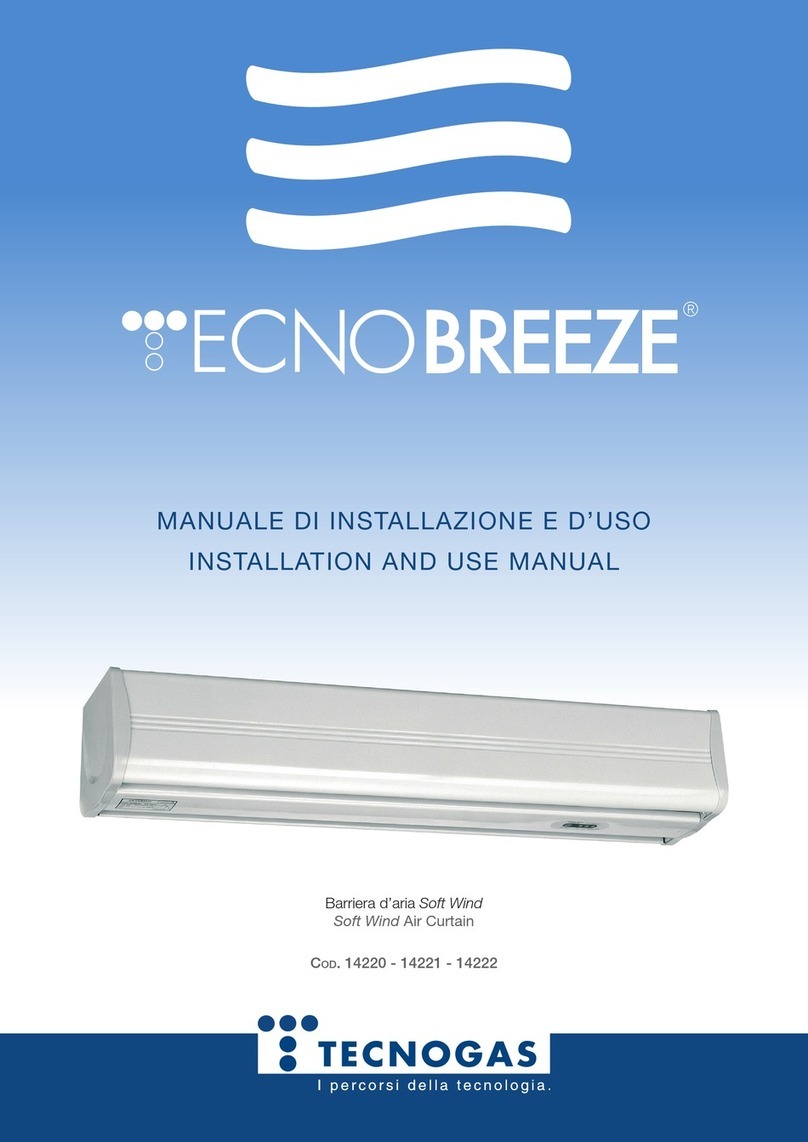
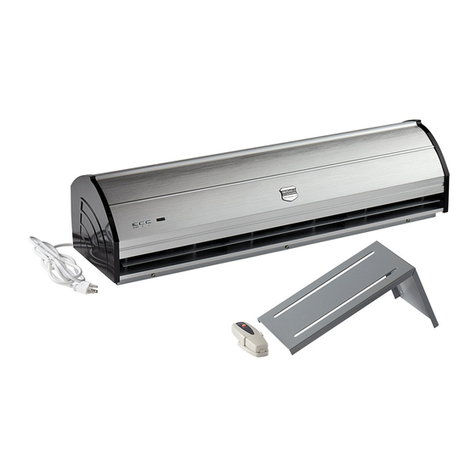
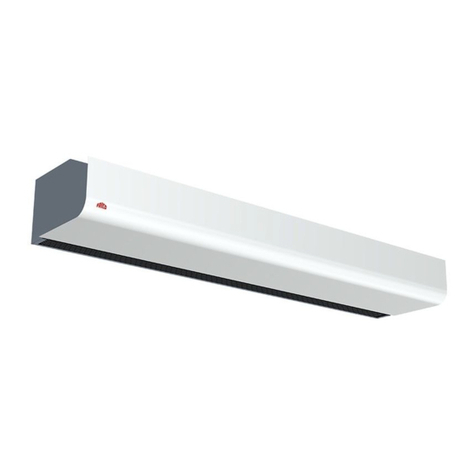
Tecnogas TECNOBREEZE Fashion Wind Guide

Barriera d’aria Fashion Wind
Fashion Wind Air Curtain
Barriera d’aria Natural Wind
Natural Wind Air Curtain
MANUALE DI INSTALLAZIONE E D’USO
INSTALLATION AND USE MANUAL

2

3
Grazie per aver acquistato questo prodotto Tecnogas. Per
la vostra sicurezza, vi consigliamo di leggere attentamente
queste istruzioni prima dell’installazione.
Al ne di non invalidare la garanzia,
consigliamo di afdarsi a installatori
e manutentori esperti.
Thank you for buying this Tecnogas product. For your
safety, please read these instructions carefully before use.
In order not to avoid guarantee,
we strongly recommend to rely
on expert technicians and service.
TECNOGAS:
LA NOSTRA ESPERIENZA
AL VOSTRO SERVIZIO
TECNOGAS:
OUR EXPERIENCE
AT YOUR SERVICE

4
1. Identicazione prodotto - Dimensioni di installazione.
Identication - Installation Dimensions
Fashion Wind - 1421x
Vista complessiva - Overall view
Modello
Model
A
(mm)
B
(mm)
C
(mm)
D
(mm)
E
(mm)
F
(mm)
G
(mm)
H
(mm)
I
(mm)
14211 900 --- 695 ---
74 100 215 230 123
14212 1200 --- 990 295
14213 1500 --- 1285 504
14214 1800 1580 885 210
Natural Wind - 1420x
Vista complessiva - Overall view
Modello
Model
A
(mm)
B
(mm)
C
(mm)
D
(mm)
E
(mm)
F
(mm)
G
(mm)
H
(mm)
14201 900
440 440
90 47 195 220 125
14202 1200
14203 1500
840 840
14204 1800

5
2. Precauzioni per l’installazione.
Installation caution.
Consigliamo di seguire queste direttive per un corretto funzionamento dell’apparecchio.
We strongly advise to follow this guideline while mounting this machine, to assure the correct device operation.
Installare l’unità su una parete solida, per
evitare oscillazioni o vibrazioni che potrebbero
danneggiarla. - Install the unit on a solid wall, in order
to avoid dangerous oscillation and/or vibration.
Non installare l’unità esternamente. Lasciare
almeno 50mm di spazio sopra la macchina. - Don’t
install the unit outside. Leave min. 50 mm free
above the unit.
Non installare l’unità troppo bassa. Lasciare
almeno 2,3m da terra. - Don’t install the unit too
low. Not less than 2,3m from the ground.
Se l’ingresso è più largo dell’unità, consigliamo
di installare due o più macchinari avendo cura di
lasciare 20-40mm di spazio tra ognuno. - If the
entrance is wider than the unit, it is recommended
to install two or more units. In this case, leave 20-
40 mm free between the units.
Non lasciare spazio tra l’unità e il muro - Don’t
leave gaps between the unit and the wall.
Non installare l’unità in posti dove potrebbe essere
esposta ad acqua, vapore, gas esplosivi o corrosivi.
- Don’t install the unit in places where it can be
exposed to water, steam, explosive or corrosive
gases.
Min. 50mm
3. Installazione.
Installation.
A. Installazione a parete - Wall mounting
Step 1 - Rimuovere la piastra di ssaggio dal
retro dell’unità - Remove the mounting plate
from the back of the unit.
A
B
A - Piastra di ssaggio
Mounting plate
B - Viti di tenuta
Fixing Screws
Step 2 - Fissare le viti nella posizione stabilita
(possono essere utilizzati metodi di ssaggio più
convenienti) - Fix
the bolts in the
proper position
(there might be
more convenient
xing methods).
Cemento
Concrete

6
Step 4 - Installare il corpo macchina come
mostrato nel disegno - Install the main body as
shown in the picture.
Step 3 - Fissare la piastra in posizione come
mostrato in gura - Fix the mounting plate
following this scheme.
A
B
C
D
A - Rondella
Washer
B - Rondella anti-svitamento
Spring Washer
C - Bullone
Nut
D - Piastra di ssaggio
Mounting Plate
B. Installazione su parete di legno - Wooden wall mounting
Step 2 - Installare il corpo macchina come
mostrato nel disegno - Install the main body as
shown in the picture.
Vite - Screw
Piastra - Plate
C. Installazione a softto - Ceiling mounting
Step 1 - Rimuovere la piastra di ssaggio dal retro
dell’unità - Remove the mounting plate from the
back of the unit.
A
B
A - Piastra di ssaggio
Mounting plate
B - Viti di tenuta
Fixing Screws
A
B
C
A - Rondella - Washer | B - Rondella anti-svitamento - Spring Washer | C - Dado - Nut
Step 2 - Fissare le staffe a softto come mostrato
in gura - Fix the ceiling brackets as shown in the
picture.
Step 3 - Fissare la piastra in posizione come
mostrato in gura (Non variare di più di 10cm la
posizione della piastra) - Fix the mounting plate
following this scheme (the position of the mounting
plate can be adjusted in the limit of 100mm).
A - Rondella
Washer
B - Rondella anti-svitamento
Spring Washer
C - Bullone
Nut
D - Piastra di ssaggio
Mounting Plate
A
B
C
D
Step 4 - Installare il corpo macchina come
mostrato nel disegno - Install the main body as
shown in the picture.
Step 1 - Fissare la piastra di montaggio nella
posizione desiderata con viti lettate - Fix the
mounting plate in the proper position with
tapping screw.

7
B. Installazione in controsoftto - False ceiling mounting
Step 1 - Montare l’unità dietro il controsoftto
con la stessa modalità utilizzata nel montaggio
su parete - Fix the air curtain same as on
concrete wall.
B
A - Piastra di ssaggio
Mounting plate
B - Viti di tenuta
Fixing Screws
Step 2 - Montare il tubo di ripresa e di mandata come
in gura - Install intake and output pipes as shown in
the picture.
A
D
B
A
C
A - Tubo di ripresa - Intake pipe | B - Tubazioni - Pipes
C - Tubo di mandata - Output pipe | D - Softto - Ceiling
4. Parametri tecnici.
Technical parameter.
Famiglia
Family
Modello
Model
Voltaggio
Voltage
Frequenza
Frequency
Potenza Max
Max. Power
(W)
Vel. max. aria
Max. Air Speed
(m/s)
Volume max d’aria
Max. Air Volume
(m3/h)
Rumore
Noise
(dB)
Peso Netto
Net Weight
(Kg)
High Low High Low High Low High Low
Natural Air
14201
220 - 240 V
50 Hz
160 110
11 9
1400 1100 57 55 10
14202 200 150 1900 1600 58 56 12
14203 230 180 2500 2000 59 57 13,5
14204 300 250 3200 2600 60 58 17
Fashion Air
14211 230 200
16 13
1100 900 52 49 13
14212 290 260 1500 1200 53 50 15,5
14213 380 350 1900 1500 55 52 20
14214 450 420 2280 1800 57 55 23,5
5. Schema elettrico.
Wiring diagram.
Natural Air
Diagramma di collegamento a due velocità
Double speed switch wiring diagram
Diagramma di collegamento a due velocità - radiocontrollato.
Double speed switch wiring diagram with remote control.

8
Fashion Air
Diagramma di collegamento a due velocità
Double speed switch wiring diagram
Diagramma di collegamento a due velocità - radiocontrollato.
Double speed switch wiring diagram with remote control.
6. Istruzioni di utilizzo.
Use instructions.
1. Premere il pulsante del telecomando per accendere l’unità in alta velocità.
Press the remote control button to switch on the unit in high speed mode.
2. Premere nuovamente il pulsante del telecomando per selezionare la ventilazione ridotta.
Presso the remote control button again to select low speed ventilation mode.
3. Posizionare le alette direzionali per ottenere l’effetto desiderato.
Adjust the directioning aps in order to obtain the desided effect.
7. Precauzioni.
Caution.
1. Utilizzare il macchinario solo per i voltaggi e frequenze per cui è stato progettato.
Use the unit at the right voltage and frequency.
2. Disconnettere la tensione prima di operare sul macchinario.
Disconnect power source before operating on the unit.
3. La manutenzione di routine è fortemente consigliata una volta l’anno.
Routine maintance is strongly recommended once a year.
4. Per la pulizia non utilizzare benzine, petroli o altri agenti chimici.
Never use petrol, benzene or other chemicals to clean the unit.
5. Evitare l’accesso di acqua nel vano motore.
Prevent water to get into the engine compartment.
6. Per evitare incidenti, afdarsi a personale esperto per ogni problema tecnico.
In order to avoid injuring, rely on experts for any technical issues.

9
Grazie per aver acquistato questo prodotto Tecnogas.
Vi invitiamo a visitare il nostro sito web dove
troverete altri prodotti dedicati al benessere e alla pulizia
dell’aria che respirate.
Thank you for buying this Tecnogas product.
We ask you to take a look at our website to nd other
products for health and cleanliess of the air you breath.
www.tecnogas.net

This manual suits for next models
5
Table of contents
Other Tecnogas Heater manuals
