tedee GO TLV2.0 Assembly instructions

INSTALLATION GUIDE AND USER
MANUAL
Read installation guide and
user manual. Learn how to use
your device in a safe and proper
manner.

www.tedee.com2
CONTENT
QUICK START WITH TEDEE GO
SAFETY INFORMATION
safety guidelines / warnings
charging and maintenance guidelines / warnings
SET OF ITEMS - WHAT’S IN THE BOX?
ACTIVATION CODE
SETUP - 5 EASY INSTALLATION STEPS
step 1: INSTALL ADAPTER (OPTIONAL)
step 2: INSTALL TEDEE GO
step 3: REMOVE BATTERY PROTECTIVE TABS
step 4: DOWNLOAD THE TEDEE APP, CREATE A NEW ACCOUNT AND LOG IN
step 5: USE THE TEDEE APP TO ACTIVATE AND CALIBRATE YOUR TEDEE GO LOCK
DEINSTALLATION OF TEDEE GO
BATTERY REPLACEMENT
FACTORY RESET
ADDITIONAL AND TECHNICAL INFORMATION
technical specications
radio frequency
software
LED signals
legal / environmental notes
warranty
technical support
3
4
4
5
7
8
9
9
11
13
14
15
16
18
19
20
20
21
21
22
24
24
25

www.tedee.com3
QUICK START WITH TEDEE GO
Tedee GO is a smart door lock that can be tted to any euro-prole
cylinder, with a double-clutch (panic function) feature.
Tedee GO allows you to unlock the door, share access, and check all
activities remotely.
This manual will give you an overview of the basic features of Tedee
lock and will help you walk through the setup in ve easy steps.
TEDEE GO SETUP - GO TO PAGE 9
ATTENTION: Tedee GO is only compatible with
euro prole cylinders equipped with a double clutch
function (panic function), allowing the door to be
unlocked from both sides with a key, with both keys
inserted in the cylinder, as shown in the gure on the
left.
If you are unable to determine whether your cylinder
has a double-clutch function, please contact Tedee
support.
INSTALL
ADAPTER
(OPTIONAL)
INSTALL TEDEE
GO
GET
TEDEE APP
REMOVE BATTERY
TABS
ACTIVATE
AND CALIBRATE
YOUR LOCK
1 2 43 5

www.tedee.com 4
SAFETY INFORMATION
SAFETY GUIDELINES / WARNINGS
WARNING: Read all safety guidelines and warnings provided below. Failure to follow them may result
in electric shock, re, and / or serious injury.
DO NOT
DO
MOVING PARTS
• Do not modify or disassemble the device, except as provided in the instructions (battery replacement/removal of protective
tabs).
• Do not self-service any part of the device.
• Do not use outdoors, intended for indoor use only.
• Do not immerse the device in any liquid or expose it to moisture.
• Do not use the device near an extreme heat source or open re.
• Do not use the device in an environment of a high humidity or dust levels, as well as pollution degree II.
• Do not insert any conductive objects in device openings and gaps.
• The appliance is not to be used by persons (including children) with reduced physical, sensory or mental capabilities, or lack of
experience and knowledge, unless they have been given supervision or instruction. Children should be supervised not to play
with the appliance.
• The device cannot be used as the only mean of access control to rooms or premises that require increased access control.
• If repairs are required, please contact Tedee technical support.
• Use only the batteries provided or recommended by Tedee.
• Read the installation guide and learn how to start working with your lock, how to add it to your Tedee app and how to pair it
with other Tedee devices. You can also follow the link: https://tedee.com/support-3/manuals/
• Because you can operate the device remotely, it is not recommended to keep your hands on the housing.

www.tedee.com5
BATTERY SAFETY GUIDELINES / WARNINGS
Battery-powered Tedee GO lock includes non-rechargeable and non-user-serviceable batteries.
DO NOT
• Do not mix old and new batteries.
• Do not touch leaking batteries.
• Do not short circuit batteries or insert them incorrectly.
• Do not use batteries that appear to be leaking, discolored, rusty, deformed; emit an odor; or are otherwise abnormal.
• Do not expose the batteries to re or high temperature. Do not leave or store batteries in hot places such as near an oven,
stove, direct sunlight, or other heat sources.
• Do not immerse batteries in water or allow them to come into contact with water.
• Do not disassemble, puncture, modify, drop, throw, or cause other unnecessary shocks to batteries.
• Do not place batteries in a microwave oven, or into any other high-pressure container.
• Do not carry loose batteries in a pocket or purse with other metal objects.
• Do not charge the non-rechargeable batteries included in your Tedee GO set. Do not overcharge rechargeable batteries (if
applicable).
• Do not put batteries in the mouth and do not swallow them. If swallowed, contact your local medical help immediately.
• Neither Tedee Sp. z o.o. nor our retailers assume any liability for failures to comply with these warnings and safety guidelines.
By purchasing this device, the buyer assumes all risks associated with LiPo batteries. If you do not agree with these conditions,
return the device immediately before use.
CR-123
CR-123
RECOMMENDED BATTERIES
To power your Tedee GO lock, you need to use 3x CR-123/123A batteries or 3x CR-123 rechargeable batteries.
We only allow to use 3V CR123/123A batteries or 3.7V CR123 rechargeable batteries.
WARNING: You can permanently damage the device while trying to use or install the batteries or
rechargeable batteries exceeding 3/3.7V respectively.

www.tedee.com 6
Other information
• The cleansing pad included with the device contains highly ammable isopropyl alcohol, which may cause serious eye irritation
and drowsiness or dizziness if inhaled. Keep it away from direct heat/re/ignition sources and avoid contact with eyes or
inhalation. Wash hands with soap after use. If eye irritation occurs, rinse carefully with water. If inhaled, go out into the fresh air
and make breathing comfortable. Seek medical advice if irritation/breathing problems persist.
• Dispose the devices in accordance with your local regulations. If possible, recycle.
• Do not dispose the device as a household waste and do not burn it.
• This device is safe to use under normal and reasonably foreseeable misuse operating code of conduct. If you notice any signs of
errors or hardware malfunction, contact Tedee technical support for help. In such case this device should be returned to Tedee
for necessary repairs under the warranty conditions. Any changes or modications to the device’s hardware or software which
are not approved, recommended, or provided by Tedee may void your warranty.
• Neither Tedee Sp. z o. o., nor our retailers are responsible for failure to comply with the above warnings and safety guidelines.
By purchasing this device, the buyer acknowledges all risks associated with the use of Tedee equipment. If you do not agree to
these terms, return the device to the manufacturer or distributor before use.
DO
• Do read the instructions for batteries replacement provided in this booklet.
• Do insert new batteries correctly, following the symbols for positioning the positive (+) and negative (-) terminals of each
battery. Do not reverse battery polarity.
• Do use only one type of batteries when replacing batteries in the device (do not mix).
• Do replace batteries with the size and type specied in this manual. Always replace all batteries in Tedee GO at the same time.
• Do store batteries in a cool, dry place at normal room temperature.
• Do remove batteries from devices that will be unused for extended periods of time.
• Do segregate, recycle, and dispose of the batteries according to your local regulations. For more information contact your local
authority.

www.tedee.com7
SET OF ITEMS – WHAT’S IN THE BOX?
2A
2B
2C 3
4
5
1
6
7
8 9
1. Key bow hole
2. Mounting screws (2A, 2B, 2C)
3. LED
4. The button
5. Latch button (press to slide off the cover)
6. 3x CR123 batteries
7. Adapter (for xing with an adhesive tape)
8. Allen key size 2
9. Cleansing wipe pad

www.tedee.com 8
ACTIVATION CODE
Location of the unique activation code (AC) of your Tedee lock.
Activation code (AC) of your Tedee lock is printed on:
While adding your device to Tedee app you can either:
• scan the QR Code
• type in AC manually (14 characters)
HELPFUL TIP
Before tting the Tedee lock to the cylinder, take a photo of your activation code and keep it.
SEPARATE STICKER INCLUDED IN THE KIT
Activation code
XXXXXXXXXXXXXX
FRONT SIDE OF YOUR DEVICE
AC
TI
VA
TION
CO
DE
XXXXXXXXXXXXXX

www.tedee.com9
STEP 1: INSTALL ADAPTER (OPTIONAL)
ADAPTER NOT NEEDEDADAPTER NEEDED
ATTENTION: If your lock cylinder extends less than 3mm beyond the rosette/escutcheon, as shown in the picture below, follow
the steps for tting the adapter shown on the next page of the manual.
If your cylinder extends 3mm or more beyond the outline of the door, go straight to STEP 2: INSTALL TEDEE GO.
< 3 mm
< 3 mm
Follow the instructions below Proceed to step 2
>= 3 mm
>= 3 mm
SETUP - 5 EASY STEPS
USE THE RULER PROVIDED WITH THE TEDEE GO SET
TO TAKE MEASUREMENTS.
3MM

www.tedee.com 10
Mount the adapter around the cylinder as shown below, making sure that the adhesive does not come into contact
with the cylinder, then press the adapter rmly against the door for 1 minute. You can now insert the key into the
cylinder.
1
2
3
Carefully remove the protective lm from the back
of the adapter, taking care not to touch the adhesive
tape, which may weaken its properties.
Thoroughly wipe the area around the lock cylinder
(rosette/escutcheon) with the cleansing wipe pad
provided and let it dry for about 1 minute.
1 min
Note: Make sure you install the adapter in a room with a temperature above 15 degrees Celcius.

www.tedee.com11
STEP 2: INSTALL TEDEE GO
1
2
Position the key horizontally and make sure that the housing latch button faces upwards (vertically), as shown below.
90°
WITHOUT THE ADAPTERWITH THE ADAPTER
Slide Tedee GO lock onto the cylinder until you feel resistance.
!

www.tedee.com 12
3
A B C
While continuously pushing the Tedee GO lock rmly against the door, use the provided allen key, to x all
three mounting screws (A, B, C), starting from the top (A), in the order shown below, until you encounter a rm
resistance.
Attention: Make sure to keep pushing the lock towards the door while xing the screws. If you don’t,
the installation may not succeed and you may need to repeat this step.
WITHOUT THE ADAPTER
A B C
WITH THE ADAPTER

www.tedee.com13
AC
TI
VA
TION
CO
DE
XXXXXXXXXXXXXX
AC
TI
VA
TION
CO
DE
XXXXXXXXXXXXXX
STEP 3: UNLOCK BATTERIES
1
2
4
3
Keep the latch button pressed while sliding off the cover.
Slide the cover back onto the housing, holding down
the latch button until it clicks into place.
You can now add and calibrate your Tedee GO lock in
the Tedee app.
Remove the protective tabs from under all three batteries.
After removing the third protective tab, check for a light signal (LED).
The RED-GREEN-BLUE-WHITE sequence conrms that your Tedee
GO is ready.
ACTIVATION
CODE
XXXXXXXXXXXXXX
AC
TI
VA
TION
C
ODE
XXXXXXXXXXXXXX

www.tedee.com 14
STEP 4: DOWNLOAD THE TEDEE APP, CREATE A NEW ACCOUNT, AND LOG IN
(skip this step if you already have an account)
Create account
Android*
v. 8+
Internet &
Bluetooth® min.
4.0
Internet &
Bluetooth® min.
4.0
iOS*
v. 15+
1 2
Download Tedee application. Create an account or log in to an existing account.
The registration page will open
* Tedee does not guarantee continued future support for older,
discontinued versions of Android/iOS soware.

www.tedee.com15
STEP 5: USE TEDEE APP TO ACTIVATE AND CALIBRATE YOUR TEDEE LOCK
Note: after scanning the QR code or typing in the AC manually follow the instructions in the app.
1
3
2
4
Log into the Tedee application and select the ‘ADD
NEW DEVICE’ option from the menu.
Provide activation code (AC) of your Tedee GO.
Enable Internet connection, Bluetooth®, and
location services (optional) on your smartphone.
Select ‘ADD DEVICE’ in the lock section.
INTERNET
CONNECTION
Bluetooth®
CONNECTION
LOCATION
Scan QR code
Type activation
code manually
Add new device
select
Lock GO
select
select:

www.tedee.com 16
DEINSTALLATION OF TEDEE LOCK
Rotate the allen key clockwise for all three clamping screws
(A, B and C).
WITH THE ADAPTER
A
B
C
1
Rotate the allen key counter-clockwise for all three clamping
screws (A, B and C).
WITHOUT THE ADAPTER
A
B
C

www.tedee.com17
2
3
Pull the lock off.
Heat the adapter with a hair dryer for 10-15 minutes and try to remove it with a athead screwdriver. If
unsuccessful, repeat the process until the adapter is removed.
15

www.tedee.com 18
BATTERY REPLACEMENT
1
2
3
Press the latch button rmly while pulling off the cover.
Slide the cover back onto the housing, holding the latch button
down until it clicks into place.
Remove old batteries and replace them with three new
batteries/rechargeable batteries according to the polarity
symbols indicated on the housing.
IMPORTANT:
1) When replacing the batteries in the device, use
only one type of battery. Do not mix batteries with
rechargeable batteries
2) If replacing batteries with rechargeable batteries or
vice versa, update the current power type in the Tedee
app (Device / Settings / Battery)
3) Use 3V batteries or 3.7 V rechargable batteries only!
NOTE: After battery replacement follow the auto-calibration
steps (Device / Settings / Calibration).

www.tedee.com19
• Remove Tedee lock from the cylinder and place it in the vertical position (button up).
• Press and hold the button until the LED lights up in RED.
• Release the button immediately after the LED turns RED.
• After releasing the button, Tedee lock will conrm the factory reset with three quick red ashes.
• Wait until the lock restarts (it may take up to one minute).
Note: Remember to position your Tedee GO lock vertically (button up).
FACTORY RESET
TEDEE GO LOCK
(VERTICAL POSITION)

www.tedee.com 20
TECHNICAL SPECIFICATIONS
ADDITIONAL AND TECHNICAL INFORMATION
Models TLV2.0 Power supply 3x CR123/CR123A battery
Weight ca. 196g
Bluetooth®
communication BLE 5.0 2,4GHz Applies to:
TLV2.0
Dimensions 58mm x 65mm
Operating
temperature
10-40°C
(indoor only) Security TLS 1.3
Operating
humidity maximum 65% Can be paired
with
Tedee bridge
Tedee keypad
Origin Poland, EU Can be
installed on
Euro-prole
cylinders, equipped
with double-clutch
(emergency) feature
Recommended:
GERDA SLR
modular cylinder
Production
batch number
Additional information: The production batch number of your device is the rst eight characters of the “De-
vice Serial Number (S/N)” visible on the label on the package and the label on the device itself. For exam-
ple, the production batch number of the device with the “Device Serial Number (S/N)” 10101010-000001
is 10101010.
Marking of color
variants
The color variant of the product is marked with a letter at the end of the model name, on the label and
on the product rating plate. For example, a device with model TLV2.0 in color variant A is marked as
“TLV2.0A”.
This manual suits for next models
2
Table of contents
Popular Door Lock manuals by other brands

LockState
LockState RemoteLock openEDGE RG Hardware installation
Assa Abloy
Assa Abloy Sargent PE8700 Series installation instructions

Door Guard Pty Ltd
Door Guard Pty Ltd PH-LT-SLV-05 user manual
Assa Abloy
Assa Abloy RIXSON W73 installation instructions
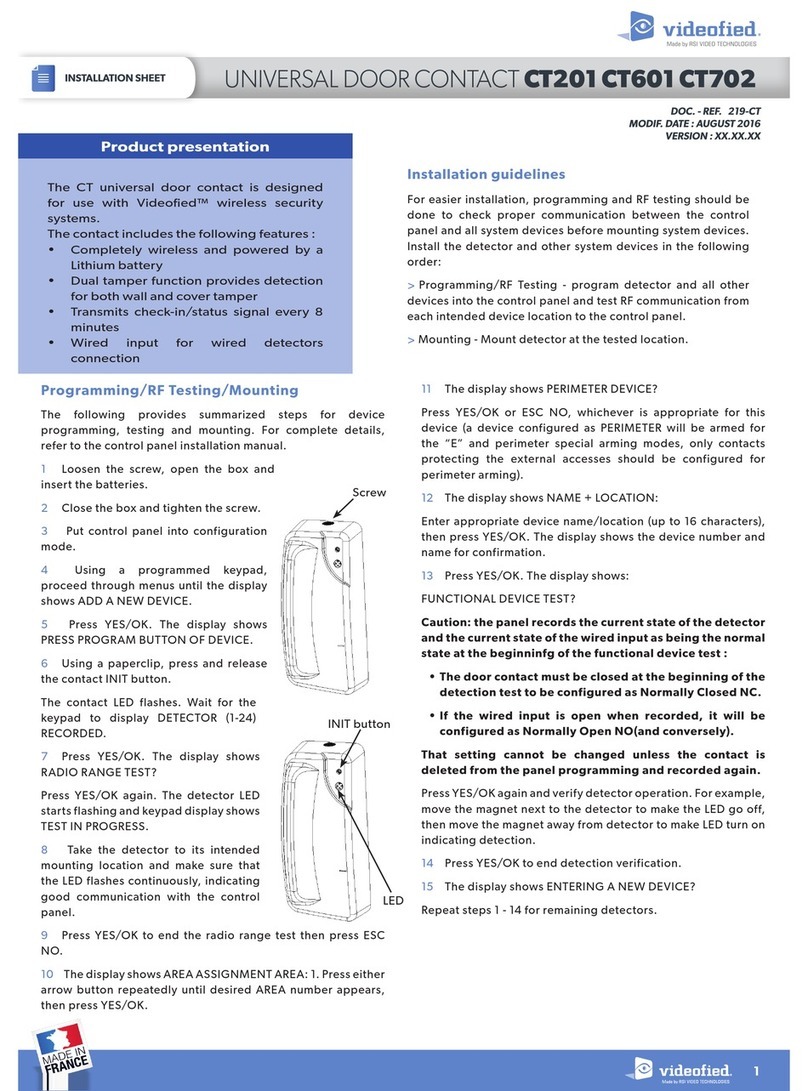
Videofied
Videofied CT201 Installation sheet
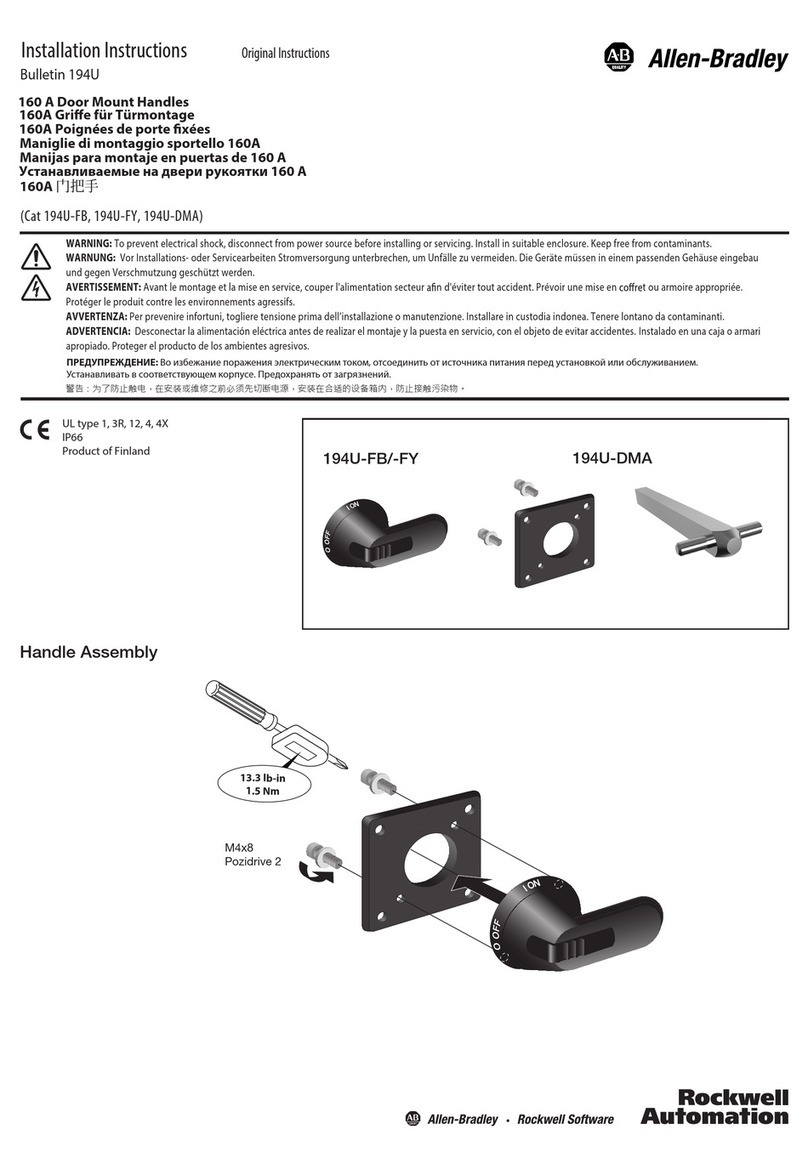
Rockwell Automation
Rockwell Automation Allen-Bradley 194U-FB installation instructions
