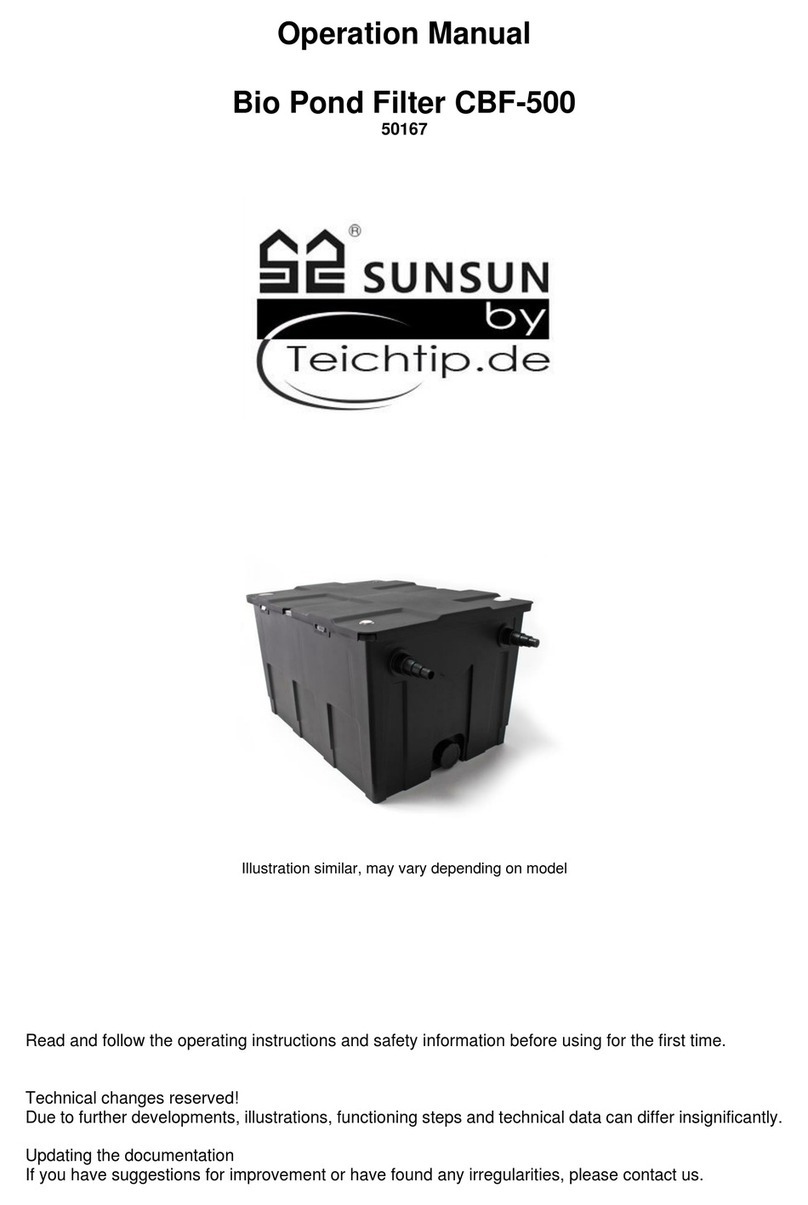
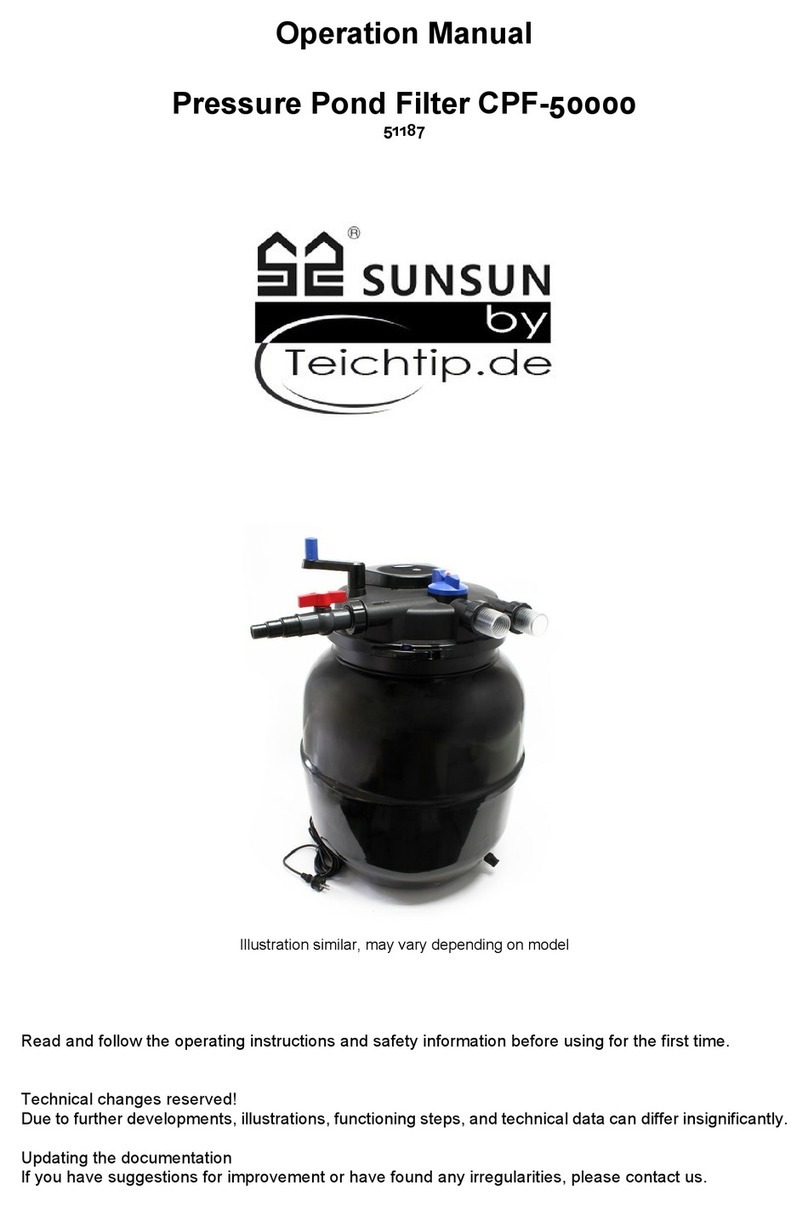
TeichTip SunSun CPA Series User manual

Instruction manual
SunSun CPA Pressure Pond Filter
51627–51633
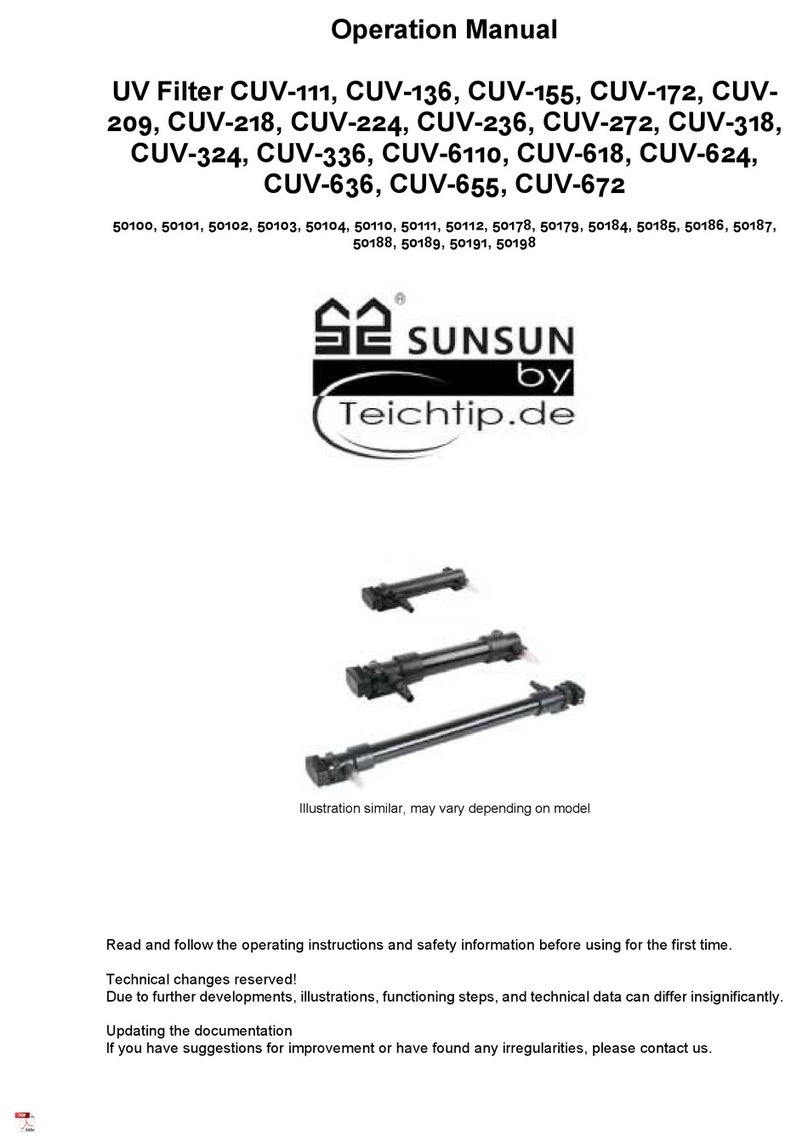
Illustration similar, may vary depending on model
Please read and follow the operating instructions and safety information prior to initial operation.
Technical changes reserved!
Illustrations, functional steps, and technical data may deviate insignificantly due to continuous further
developments.

© by WilTec Wildanger Technik GmbH Item 51627–51633 Page 2
http://www.WilTec.de
http://www.aoyue.eu 03 2022-1
http://www.teichtip.de
The information contained in this document may alter at any time without prior notice. No part of this
document may be copied or otherwise duplicated without prior written consent. All rights reserved.
WilTec Wildanger Technik GmbH cannot be held liable for any possible mistakes in this operating man-
ual, nor in the diagrams and illustrations shown.
Although WilTec Wildanger Technik GmbH has made every possible effort to ensure that this operating
manual is complete, accurate, and up-to-date, errors cannot be ruled out entirely.
If you have found an error or wish to suggest an improvement, we look forward to hearing from you.
Send us an e-mail to:
or use our contact form:
https://www.wiltec.de/contacts/
The most recent version of this manual in several languages can be found in our online shop:
https://www.wiltec.de/docsearch
Our postal address is:
WilTec Wildanger Technik GmbH
Königsbenden 12
52249 Eschweiler Germany
Do you wish to collect your goods? Our address for collection is:
WilTec Wildanger Technik GmbH
Königsbenden 28
52249 Eschweiler Germany
In order to shorten the waiting time and to allow for an easy on-site processing, we kindly ask you to
contact us briefly beforehand or to place your order via the webshop.
E-mail: service@wiltec.info
Phone: +49 2403 55592–0
Fax: +49 2403 55592–15
To return your goods for exchange, repair, or other purposes, please use the following address. Atten-
tion! To allow for a trouble-free complaint or return, it is important to contact our customer service team
before returning your goods.
Retourenabteilung
WilTec Wildanger Technik GmbH
Königsbenden 28
52249 Eschweiler Germany
E-mail: service@wiltec.info
Phone: +49 2403 55592–0
Fax: (+49 2403 55592–15)

© by WilTec Wildanger Technik GmbH Item 51627–51633 Page 3
http://www.WilTec.de
http://www.aoyue.eu 03 2022-1
http://www.teichtip.de
Introduction
Thank you for choosing to purchase this quality product. To minimise the risk of injury, we ask you to
always take some basic safety precautions when using this product. Please read this operating manual
carefully and make sure that you understand it.
Keep these operation instructions in a safe place.
Safety instructions
Caution!
In and near standing water, garden ponds, and swimming ponds, the use of this device is only allowed
with a fault current protection switch with a triggering nominal current up to 30 mA (according to VDE
0100 Article 702 and 738).
The device is not suitable for use in swimming pools, paddling pools of any kind or waters in which
people or animals may stay during operation. Operation of the device with people being in the danger
area is not permitted. If you have doubts or questions concerning the operation, contact an electrician.
The device is not intended for use by persons (including children) with impaired or limited physical,
sensory, and mental abilities or lack of experience and/or real knowledge, unless they are supervised
by a person responsible for their safety or follow the instructions made by this person on how to correctly
use the device. Children should be supervised to ensure that they do not play with the device.
Attention!
•Perform a visual inspection of the device before every use. Do not use the device if the safety
appliances are damaged or worn out. Never override safety regulations.
•Only use the device accordingly to the intended purpose stated in this manual.
•You are responsible for the safety of the working zone.
•If the cable or the plug is damaged due to external influences, the cable must not be repaired,
but must be replaced with a new one. This work can only be carried out by an electrician.
•The voltage of 230 V AC indicated on the nameplate of the device must match the existent
mains voltage.
•Never lift, carry, or fix the device by using the power cable.
•Make sure that the electrical plug connection is protected from flood and moisture.
•Pull out the plug before maintaining.
•Avoid exposing the device to direct jets of water.
•The user is responsible for complying with local safety and mounting regulations. If necessary,
ask a qualified electrician.
•The user must take appropriate measures (e.g., installation of an alarm system, a reserve pump,
etc.) to prevent damage caused by the flooding in case of device malfunctioning.
•In case of device failure, repairs can only be carried out by an electrician.
•The device must never run dry or be operated with its suction line fully closed. The manufac-
turer’s warranty is void for damage to the device caused by dry running.
•Do not use this device to operate swimming pools.
•This device must not be integrated into any kind of domestic water circuit meant for potable
water.
•The device must always be installed out of the water.
•The minimum distance between the device and the pond is 2 m.
•It must be ensured that the device cannot fall into the water.
•Install the device so that it is not exposed to direct sunlight.
•The device is to be mounted horizontally on an appropriate mounting spot using screws.
•The universal-hose stepped tails can be shortened according to the hose diameter if necessary.
•Attach hoses with hose clamps.

© by WilTec Wildanger Technik GmbH Item 51627–51633 Page 4
http://www.WilTec.de
http://www.aoyue.eu 03 2022-1
http://www.teichtip.de
•Although ultraviolet radiation is the lowest in energy of all types of ionising radiation, it can be
harmful to human beings and other organisms. Even UV radiation with a bigger wavelength is
already able to destroy chemical bonds of organic molecules. It is therefore advisable to use
technical UV sources responsibly.
•Only operate the tube inside a closed and intact housing.
Warning!
Read all safety precautions and instructions. Failure to obey the safety precautions and instructions
might cause an electric shock, a fire, and/or severe injuries.
Keep all safety precautions and instructions for future use.
Resistance
•The maximum temperature of the pumped liquid should not exceed +35 ℃ in continuous oper-
ation.
•The pump must not be used to pump flammable, gassing, or explosive liquids. The pump must
not be used to pump other liquids, especially motor fuels, cleaning agent, or other chemical
products.
Electrical connection
The electrical connection is made to an earthed socket 230 V ~ 50 Hz. Fuse protection at least 6 A.
Caution!
•The UVC filter should be placed in such a way that no water may reach it. The minimum distance
between the device and the pond is 2 m. The lamp is not suitable of underwater operation.
•The power supply of the UVC filter must not be switched on before water circulates inside the
device.
•Place the UVC filter in a safe and stable place, as the sleeve of the filter is made of very fragile
quartz glass.
•Do not switch on the power before all parts of the device are completely assembled.
•In case the quartz glass sleeve and the upper part of the UVC filter are damaged, the device
cannot be put into operation.
•The UVC filter must not be used if people are in the water.
•Make sure that the existing mains voltage and frequency match the specifications on the filter.
•While installing the device, local and national installation prescriptions must be obeyed.
•Do not pull on the power cord. Keep the cable away from heat, oil, or sharp edges.
•Make sure that the upper part is only exposed to a pressure below 0.3 bar.
•Remove the filter with frost announced.
•When installing the UV filter, do not expose it to direct sunlight.
•A dirty quartz crystal glass tube affects the efficiency of the device; thus, regularly clean it.
•For the device to keep its efficiency, the UV glass sleeve should be replaced after 8,000 hours
of operation.
•UV radiation is harmful to eyes and skin. Do not directly look into the UV light and do not expose
your skin to UV light.
•When installing or maintaining the device, switch off the power supply of the lamp and pump.
•The product must be mounted horizontally, the feet pointing downwards. For safety reasons, it
is not allowed to install the device in another way.

© by WilTec Wildanger Technik GmbH Item 51627–51633 Page 5
http://www.WilTec.de
http://www.aoyue.eu 03 2022-1
http://www.teichtip.de
Symbols
Water inlet from pump to filter
Water outlet from filter to pond
Cleaning outlet from filter to sewers or flowerbed
Use
•The pressure pond filter with integrated UV clarifier is a pressure filter system for biologically
and mechanically filtering normal pond water with a temperature between +4 ℃ and 35 ℃. This
pressure pond filter is only intended for private use for cleaning garden ponds with or without
fish.
•Only water may be filtered!
Working principle
A
Inlet
The pump is connected to the inlet via a pressure hose.
B
Vortex system
Gravity is used to separate suspended and muddy particles.
C
Mechanical filtering
Dirt particles are absorbed at the surface of the filter sponges before the water reaches the
inner part of the filter.
D
Biological cleaning
Microorganisms settle on the pores of the filter sponges. The blue and yellow filter sponges
are different in size and density. This is why zones form where the rapidity of the water flow
is different. In high-speed zones (blue filters), microorganisms settle that convert ammo-
nium into nitrate. In zones where the water flow rate is slower (yellow filters), mainly anaer-
obic microorganisms gather that convert nitrate into nitrogen.

© by WilTec Wildanger Technik GmbH Item 51627–51633 Page 6
http://www.WilTec.de
http://www.aoyue.eu 03 2022-1
http://www.teichtip.de
E
Cleaning the pond water
When outflowing, the water is shortly exposed to ultraviolets rays emitted by the UV lamp.
Thus, germs, bacteria, and algae are eliminated. The water circulation in the filter is from
outward inwards.
F
Water backflow
The cleaned water flows back into the pond through a pressure hose.
G
Cleaning outlet
For the filter to be cleaned, a drain hose can be connected that directs the dirty water to
the sewers or a flowerbed.
H
Functional switch
With the help of the functional switch, you can switch from “filter” to “clean” mode.
I
Motor
The motor drives the automatic cleaning mode.
Definition: Clear water
We speak of clear water when you see the fish and pond bottom at a depth of 1 m.
Installing the filter
1. Install the filter so that it is protected against flooding and cannot fall into the pond. It should
therefore be placed at a minimum distance of 2 m from the pond.
2. Dig a hole near the pond and appropriately fix the filter.
3. Make sure that the cover of the filter can be opened.
4. With a lifting height of more than 1 m being required, you should perhaps use a more powerful
pump.
Hose connection
We recommend that you heat up the hose with warm water before attaching it to the stepped hose tail
and fixing it with a hose clamp; thus, it cannot come off.
•Use a hose with the largest possible diameter.
•With hoses longer than 4 m, it is advisable to use a hose tail with the largest possible diameter.
•To minimise pressure losses, cut off the parts of the stepped hose tail that you do not need.
Cleaning outlet
You can direct the dirty water directly to the sewers or a flowerbed.

© by WilTec Wildanger Technik GmbH Item 51627–51633 Page 7
http://www.WilTec.de
http://www.aoyue.eu 03 2022-1
http://www.teichtip.de
Operating the pressure filter
Before operating the pressure filter, always check gaskets, connections, and clamps for correct assem-
bly. Adjust the switch to the “filter” position. Do not fail to familiarise yourself with the safety regulations
before commissioning.
•Switch on the pump.
Attention! Never operate the UV lamp without water flowing past it.
•Check the connections for possible leaks.
•Connect the device to the power supply.
•The filter system with integrated UV lamp must operate 24/7.
•Replace the UV lamp after 8,000 hours of operation in order that the device keeps its highest
efficiency.
•The filter sponge must regularly be cleaned.
Attention! After reinstallation, the pressure filter will reach its full biological cleaning efficiency
after a few weeks. The bacteria can only work at best at a temperature of +10 ℃.
Cleaning the filter sponges
Suspended and dirt particles collect in the filter sponges. These accumulations reduce the efficiency of
the filter; thus, the filter sponges need to be cleaned regularly, e.g., every week.
Furthermore, the filter sponges should be cleaned whenever the water is muddy or dirty (whenever the
red control lamp blinks).
1Clockwise adjust the switch to the “clean” position.
2The filter will automatically switch to cleaning mode.
3The filter is rinsed. As soon as clear water flows through the transparent stepped hose tail,
counter-clockwise turn the switch to the “filter” position.
4The filter is now operational again. Check the water flow towards the pond.
Replacing the filter sponges
If the water flow is too low due to dirty filter sponges and cannot be improved by automatic cleaning, the
filter sponges must be cleaned or replaced.
Do not use any chemical cleaning agents for not to destroy the microorganisms settled in the filter
sponges.
1. Pull out the plug of the filter.
2. Switch off the pump, making sure that it cannot unintentionally be switched on
again. Remove all hoses by unscrewing and removing the connecting nuts.
3. Remove the protective cover and open the clamp.
4. Remove the lid and place it upside down on a clean surface.
5. Turn the inlet connection counter-clockwise and unscrew the screws.
6. Replace the filter sponges.
7. Remove the filter sponges, clean them under running water. Wring them out well!
8. Clean the container, filter sponges, O-ring 3, and container edge with the help of a hosepipe.
9. Place the sponge on a separate surface and fix the tube inlet.
10. Replace O-ring 3 on the upper container edge (wetting it beforehand). Press the lid down.
11. Fix the clamp to the correct spot, push the safety latch forward.
12. Attach all hoses with gaskets to the appropriate connections points and tighten the connecting
nuts.
13. Switch on the pressure filter.

© by WilTec Wildanger Technik GmbH Item 51627–51633 Page 8
http://www.WilTec.de
http://www.aoyue.eu 03 2022-1
http://www.teichtip.de
Cleaning the quartz glass sleeve and replacing the UV lamp
1. Unscrew the 4 screws on the lid.
2. Remove the UV unit and clean the quartz glass sleeve with a damp
cloth.
3. Remove the screw on the quartz glass sleeve.
4. Replace the UV lamp.
5. Check the quartz glass sleeve for cracks.
6. Place the filter, switch on the device.
Troubleshooting
Problem
Possible cause
Proposed solution
Muddy wa-
ter
The device has not been used for
long.
Full biological cleaning efficiency will be
reached after a few weeks.
Insufficient pump power
Switch off pump, then switch it on.
Extremely dirty water
Remove algae and leaves from pond or change
water.
Too much fish
Guideline: approx. 1 kg fish to 1000 m³ pond wa-
ter.
Dirty filter sponges
Clean filter sponges.
Dirty quartz glass sleeve
Clean quartz glass sleeve.
UV lamp
does not
work
Main plug of UV filter not plugged in
Plug in power plug.
Damaged UV lamp
Replace UV lamp.
Bad connection
Check electrical connections.
Filter overheated
UV lamp is switched on again after cooling
down.
No water
discharge
Switch in “clean” position
Adjust switch to “filter” position.
Main plug of pump not plugged in
Plug in power plug of pump.
Pond inlet blocked
Clean pond inlet.

© by WilTec Wildanger Technik GmbH Item 51627–51633 Page 9
http://www.WilTec.de
http://www.aoyue.eu 03 2022-1
http://www.teichtip.de
Exploded views and parts lists
51627
№
Name
№
Name
№
Name
1
Screw 1
9
Lid
17
O-ring 3
2
UV unit
10
Gasket
18
Container
3
O-ring 1
11
Inlet and outlet
19
Screw 2
4
UV lamp
12
Connecting nut for inlet
and outlet
20
Washer
5
O-ring 2
13
Filter sponge
21
Bearing
6
Quartz glass sleeve set
14
Filter sponge inset
22
Cleaning set
7
Cap nut
15
Filter-holder
23
Motor
8
Rubber seal
16
Threaded ring

© by WilTec Wildanger Technik GmbH Item 51627–51633 Page 10
http://www.WilTec.de
http://www.aoyue.eu 03 2022-1
http://www.teichtip.de
51628
№
Name
№
Name
№
Name
1
Screw 1
9
Lid
17
Threaded ring
2
UV unit
10
Gasket
18
O-ring 3
3
O-ring 1
11
Inlet and outlet
19
Container
4
UV lamp
12
Flow ring (for transparent
set)
20
Screw 2
5
O-ring 2
13
Connecting nut for inlet
and outlet
21
Washer
6
Quartz glass sleeve set
14
Filter sponge
22
Bearing
7
Cap nut
15
Filter sponge inset
23
Cleaning set
8
Rubber seal
16
Filter-holder
24
Motor

© by WilTec Wildanger Technik GmbH Item 51627–51633 Page 11
http://www.WilTec.de
http://www.aoyue.eu 03 2022-1
http://www.teichtip.de
51629
№
Name
№
Name
№
Name
1
Screw 1
10
Gasket
19
Filter basket
2
UV unit
11
Inlet and outlet
20
Threaded ring
3
O-ring 1
12
Flow ring (for transparent
set)
21
O-ring 3
4
UV lamp
13
Connecting nut for inlet
and outlet
22
Container
5
O-ring 2
14
Filter sponge
23
Screw 2
6
Quartz glass sleeve set
15
Filter sponge inset
24
Sealing ring
7
Cap nut
16
Filter-holder
25
Bearing
8
Rubber seal
17
Cover of filter basket
26
Cleaning set
9
Lid
18
Bio balls
27
Motor

© by WilTec Wildanger Technik GmbH Item 51627–51633 Page 12
http://www.WilTec.de
http://www.aoyue.eu 03 2022-1
http://www.teichtip.de
51630
№
Name
№
Name
№
Name
1
Screw 1
10
Gasket
19
Bearing
2
UV unit
11
Inlet and outlet
20
Cleaning set
3
O-ring 1
12
Flow ring (for transparent
set)
21
Motor
4
UV lamp
13
Connecting nut for inlet
and outlet
22
Cover of filter basket
5
O-ring 2
14
Filter sponge
23
Bio balls
6
Quartz glass sleeve set
15
Filter sponge inset
24
Filter basket
7
Cap nut
16
Drain tube
25
Bearing
8
Rubber seal
17
Screw 2
26
Threaded ring
9
Lid
18
Washer
27
O-ring 3

© by WilTec Wildanger Technik GmbH Item 51627–51633 Page 13
http://www.WilTec.de
http://www.aoyue.eu 03 2022-1
http://www.teichtip.de
51631
№
Name
№
Name
№
Name
1
Screw 1
9
Lid
17
Threaded ring
2
UV unit
10
Gasket
18
O-ring 3
3
O-ring 1
11
Inlet and outlet
19
Container
4
UV lamp
12
Connecting nut for inlet
and outlet
20
Screw 2
5
O-ring 2
13
Filter sponge
21
Washer
6
Quartz glass sleeve set
14
Filter sponge inset
22
Bearing
7
Cap nut
15
Drain tube
23
Cleaning set
8
Rubber seal
16
Filter basket
24
Motor

© by WilTec Wildanger Technik GmbH Item 51627–51633 Page 14
http://www.WilTec.de
http://www.aoyue.eu 03 2022-1
http://www.teichtip.de
51632
№
Name
№
Name
№
Name
1
Screw 1
10
Gasket
19
O-ring 3
2
UV unit
11
Inlet and outlet
20
Container
3
O-ring 1
12
Connecting nut for inlet
and outlet
21
Screw 2
4
UV lamp
13
Filter sponge
22
Washer
5
O-ring 2
14
Filter sponge inset
23
Bearing
6
Quartz glass sleeve set
15
Drain tube
24
Cleaning set
7
Cap nut
16
Cover of filter basket
25
Motor
8
Rubber seal
17
Filter basket
9
Lid
18
Threaded ring

© by WilTec Wildanger Technik GmbH Item 51627–51633 Page 15
http://www.WilTec.de
http://www.aoyue.eu 03 2022-1
http://www.teichtip.de
51633
№
Name
№
Name
№
Name
1
Screw 1
10
Inlet and outlet
19
Rubber seal
2
UV unit
11
Connecting nut for inlet
and outlet
20
Threaded ring
3
O-ring 1
12
Filter sponge
21
Cover of filter basket
4
UV lamp
13
Filter sponge inset
22
Bio balls
5
O-ring 2
14
Drain tube
23
Base of filter basket
6
Quartz glass sleeve set
15
Screw 2
24
O-ring
7
Cap nut
16
Washer
25
Container
8
Lid
17
Cleaning set
9
Gasket
18
Motor

© by WilTec Wildanger Technik GmbH Item 51627–51633 Page 16
http://www.WilTec.de
http://www.aoyue.eu 03 2022-1
http://www.teichtip.de
Technical specifications
Model
Item number
UV power (W)
Max. flow
rate (ℓ⁄h)
Inlet and outlet
(㎜)
Capacity (ℓ)
CPA-2500
51627
11
6000
19–40
(¾″–1½″)
16
CPA-5000
51628
11
9000
19–40
(¾″–1½″)
20
CPA-10000
51629
11
10,000
19–40
(¾″–1½″)
25
CPA-15000
51630
18
10,000
19–40
(¾″–1½″)
38
CPA-20000
51631
36
12,000
19–40
(¾″–1½″)
50
CPA-30000
51632
55
12,000
19–40
(¾″–1½″)
75
CPA-50000
51633
55
12,000
32 / 38 / 50
(1¼″, 1½″, 2″)
170

© by WilTec Wildanger Technik GmbH Item 51627–51633 Page 17
http://www.WilTec.de
http://www.aoyue.eu 03 2022-1
http://www.teichtip.de
Regulations for waste disposal
The Waste Electrical and Electronic Equipment Directive (WEEE Directive, 2012/19/EU) of the EU was
implemented in the German law related to electrical and electronic equipment and appliances.
All WilTec electric devices that fall under the WEEE directive are labelled with the symbol of a crossed-
out wheeled rubbish bin. This symbol indicates that this electric device must not be disposed of with the
domestic waste.
WilTec Technik GmbH is registered with the German registration authority EAR (Stiftung Elektro-
Altgeräte Register) under the WEEE-registration number DE45283704.
Disposal of used electrical and electronic devices (in-
tended for use in the countries of the European Union
and other European countries with a separate waste
collection system for these devices).
The symbol on the packaging or the product itself indi-
cates that this product must not be treated as normal
domestic waste but must be disposed of at a recycling
collection station for electrical and electronic waste.
By disposing of this product correctly, you contribute to
the protection of the environment and the health of your
fellow people. Inappropriate disposal threatens the en-
vironment and health.
Material recycling helps to reduce the consumption of raw materials.
Additional information about the recycling of this product can be provided by your local commune, the
municipal waste disposal facilities, or the store where you purchased the product.
Address:
WilTec Wildanger Technik GmbH
Königsbenden 12 / 28
52249 Eschweiler Germany
Important Note:
Reproduction and any commercial use (of parts) of this operating manual, requires a written permission
of WilTec Wildanger Technik GmbH.
This manual suits for next models
14
Table of contents
Other TeichTip Water Filtration System manuals
Popular Water Filtration System manuals by other brands

Price
Price FFU series Installation and service manual

Ispring
Ispring WF150K Installation instructions & user manual

stefani
stefani UC2 manual

GE
GE GNUL30B Owner's manual and installation

Zip
Zip HydroTap G5 Touch-Free Wave Quick start installation guide

Honeywell
Honeywell kaltecSoft PW52-AS installation instructions

FreshWater
FreshWater Spring MTP/K Installation Guide and Technical Information

Doulton
Doulton HIS installation instructions

Pentair
Pentair OMNIFILTER PB35 installation instructions

Pentair
Pentair FLECK 5800 SXT Service manual

Brita
Brita MAXTRA PRO Instructions for use

Ebbco
Ebbco CLS-141-24K H.E.-SWS Operation and maintenance manual