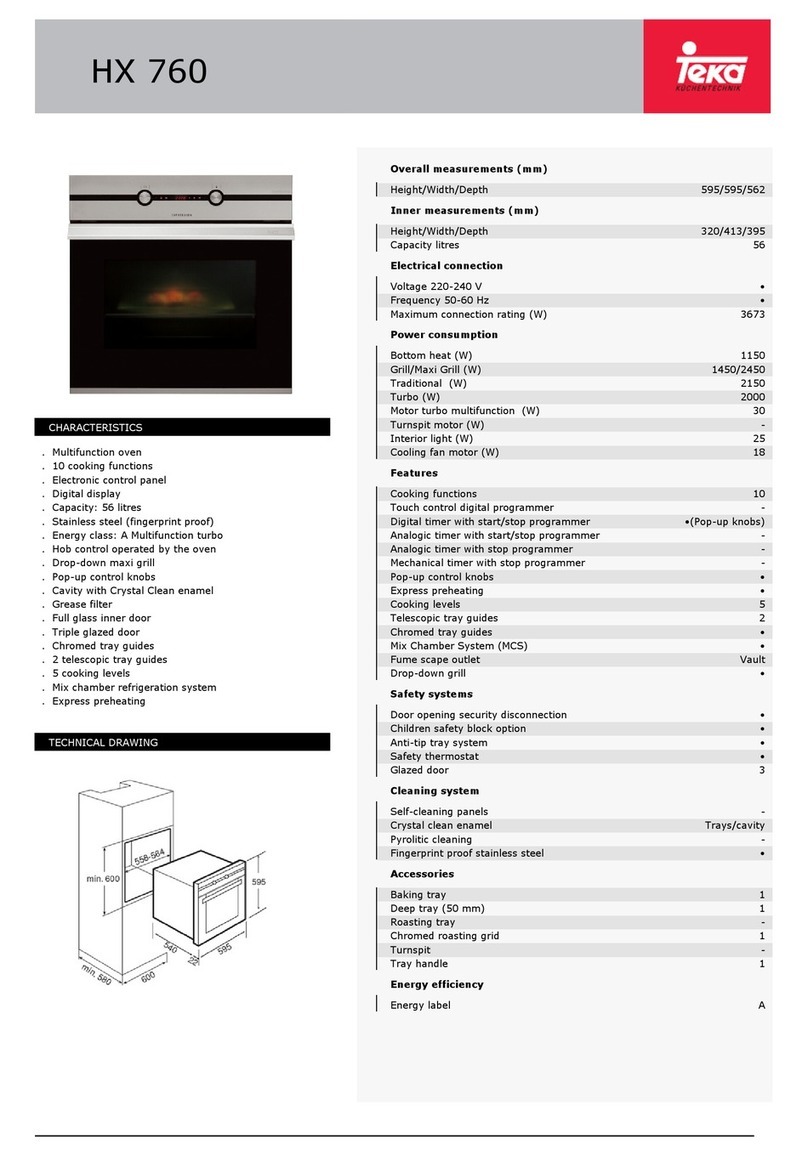
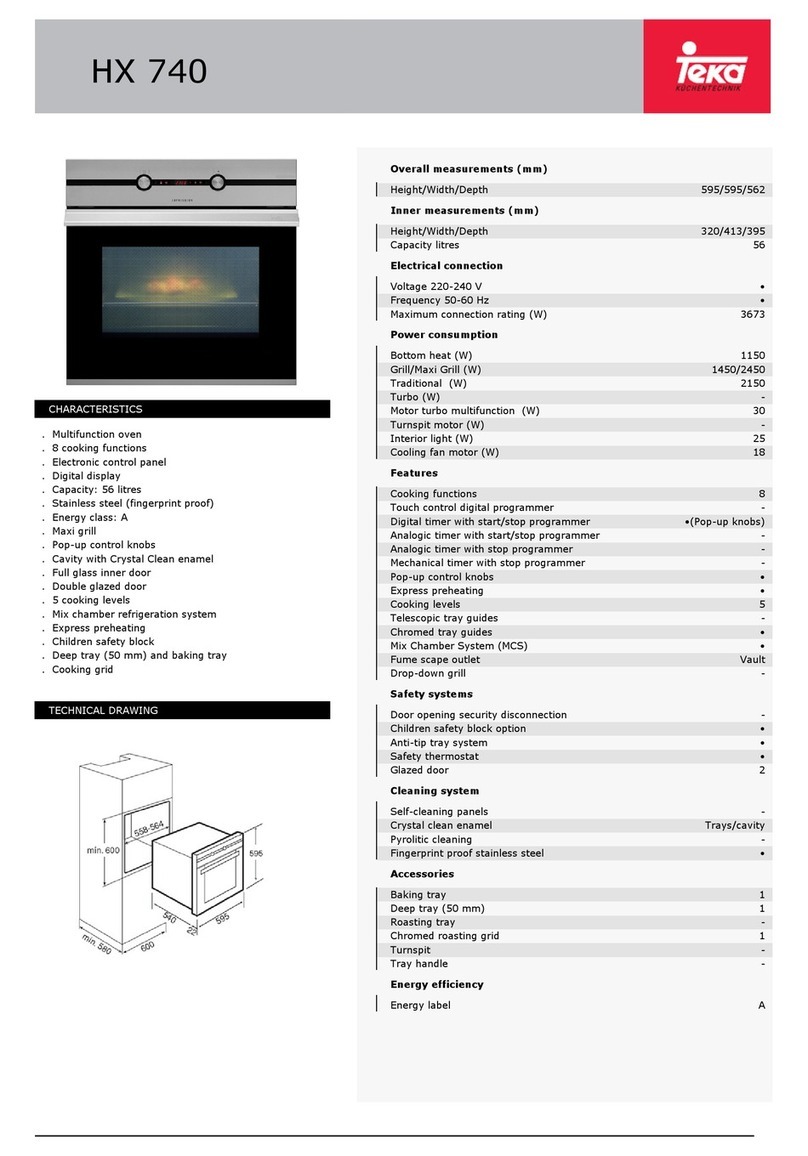
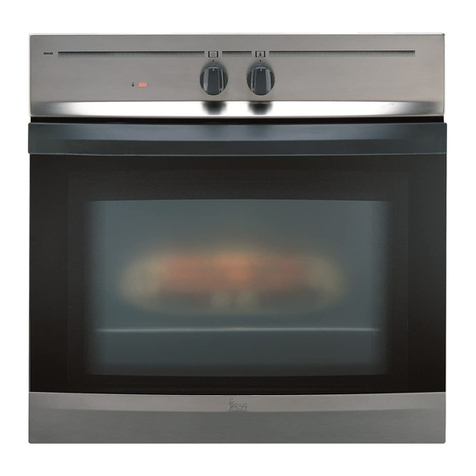
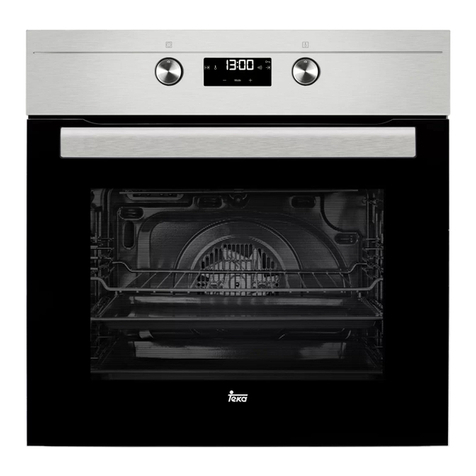
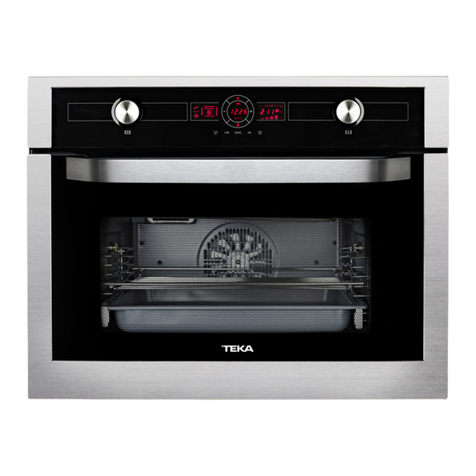
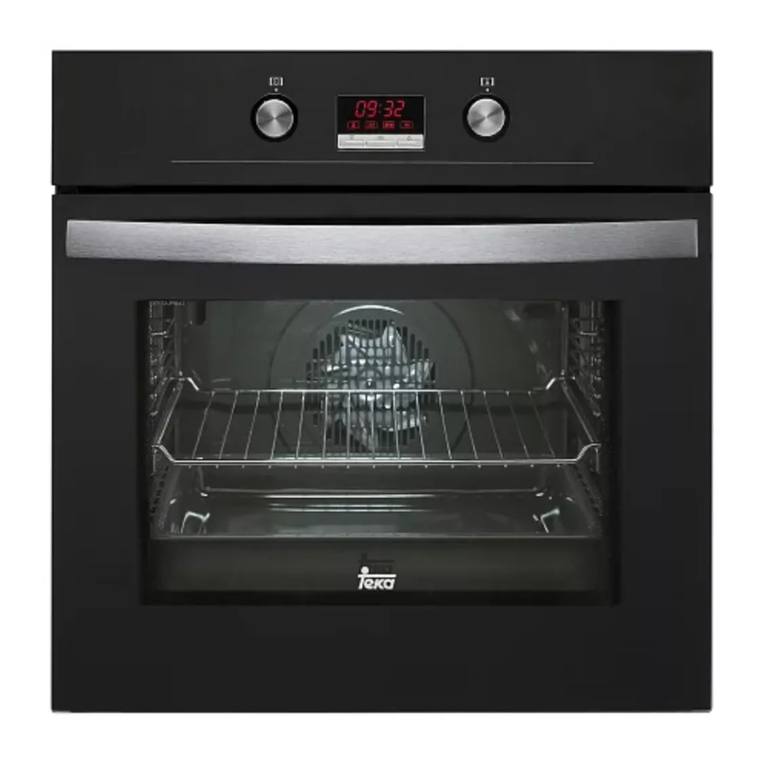
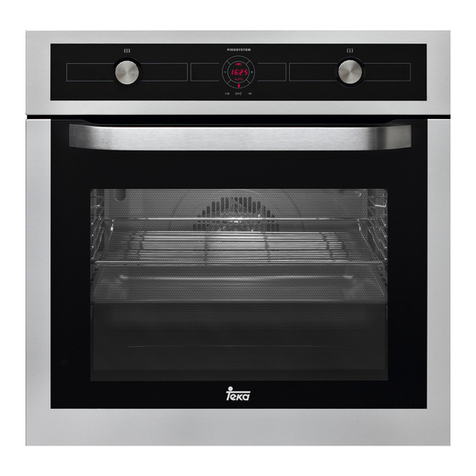
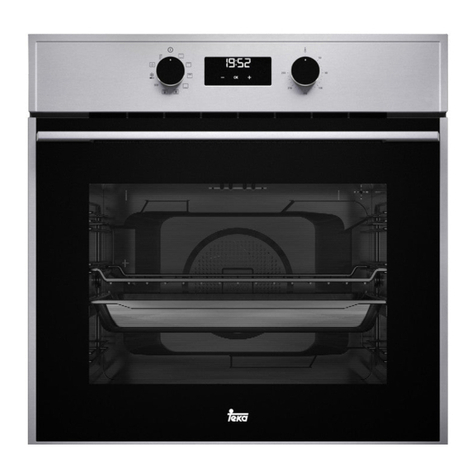
Teka HA-845 User manual

1312
HA-845
1Control Panel
2Insertable Controls
3Oven Seal
4Grill Element
5Chrome Support
6Grid
7Tray(*)
8Hinge
9Door
10 Air Outlet
11 Fixing to Unit
12 Grill Screen
13 Smoke Outlet
14 Light
15 Rear Panel
16 Fan
17 Large Interior
Glass Door
Model HA-845
Control Panel
1Function selector.
2Electronic clock.
3Temperature selector.
8O forno permanecerá desligado, ficando
iluminados os símbolos e . O seu
forno está programado.
9Quando alcançar a hora de início do cozin-
hado, o forno entrará em funcionamento e
realizar-se-á o cozinhado durante o tempo
seleccionado.
10 Alcançada a hora final que tinha sido pro-
gramada, o forno desligar-se-á, soará um
sinal acústico e os símbolos e
piscarão.
11 Prima qualquer tecla para parar o sinal
acústico, ligando-se o seu forno de novo.
12 Coloque os comandos na posição para
desligar o forno.
Se desejar modificar a hora de finalização,
prima as teclas ou até se iluminar o
símbolo , e prima a tecla . A partir
deste momento, pode modificar a hora selec-
cionada premindo as teclas ou . A
seguir ouvirá 2 beeps seguidos, como confir-
mação da modificação.
Função segurança para crianças.
Para activar a função, prima a tecla de
forma prolongada, a seguir ouvirá 2 beeps
seguidos e o símbolo iluminar-se-á. O
relógio está bloqueado.
Se activar a função segurança para crianças
com o forno desligado (comando selector de
funções no ) evitará que o forno se coloque
em funcionamento. Se activar esta segurança
com qualquer função de cozinhado, só blo-
queará o manuseamento do relógio electrónico.
Para desactivar a função, prima a tecla de
forma prolongada, a seguir ouvirá 2 beeps
seguidos e o símbolo desligar-se-á.
Atenção
No caso de um corte de fornecimento eléctri-
co, será eliminada toda a programação do
relógio electrónico e aparecerá a indicação
00:00 a piscar no relógio. Deverá acertá-lo e
programá-lo de novo.
Informação Técnica
O forno atinge uma temperatura na porta inferior a 60 K (conforme EN 60335-1/2-6)
ENGLISH
HA845
1
2
3
4
6
7
8
9
5
11
10
12
14
13
15
16
17
HA845
1 2 3
(*) Inside oven and tray with easy cleaning enamel.
Heruntergeladen von manualslib.de Handbücher-Suchmachiene

1514
Use of the Oven
Oven Functions
ENGLISH
Setting the time on the Electronic Clock
When the oven is connected to the power sup-
ply, the word and the indication 00:00
flash on the display. Press or to set
the time on the clock. The clock beeps twice
to confirm the selected time.
If you wish to modify the time, press or
until the word and the current time
flash on the screen. Press . Then press
or to modify the time. The clock beeps
twice to confirm the modification.
Manual Operation
The oven is ready to be used when the clock
has been set. Select a cooking function and a
temperature.
When you begin cooking, symbol lights up
gradually until the oven heats up 100% to the
selected temperature.
Set the controls to to turn the oven off.
Symbol gradually goes out as the tem-
perature inside the oven drops.
Functions of the Electronic Clock
Fast Pre-heating: To heat the oven up quickly
from cold.
Alarm: Creates an alarm signal when the peri-
od of time finishes; the oven does not need to
be in use in order to use this function.
Cooking Time: To cook for a selected length
of time; the oven turns itself off automatically
when the time finishes.
End Cooking Time: To cook until a set time;
the oven turns itself off automatically when
the time finishes.
Cooking time and End Cooking Time: To cook
for a selected length of time and end at a set
time. When this function is set, the oven
comes on automatically at the time required
in order to cook for the set length of time
(Cooking time) and end automatically at the
indicated time (End Cooking Time)
Child Safety Function. This function blocks
the oven to prevent small children from inter-
fering with the controls.
Fast pre-heating
1Select a cooking function and a tempera-
ture.
2Press . Symbol lights up and fast
pre-heating begins.
If you press for a second time, the pre-
heating function is cancelled.
Important
You are recommended not to insert food
inside the oven until the fast pre-heating func-
tion finishes; symbol goes out.
Programming the Alarm
1Press until symbol lights up. Press
.
2Set the period of time after which you wish
the alarm to sound by pressing or .
3The clock beeps twice, the current time is
displayed and symbol lights up per-
manently to indicate that the alarm has
been set.
4When the set period of time comes to an
end, the alarm sounds and symbol
starts to flash.
5Press any button to stop the alarm; symbol
goes out.
You can consult the remaining time at any
moment by pressing or until symbol
flashes and then pressing . You can
also modify the set time at this point by press-
ing or . The clock beeps twice to con-
firm the change.
If you wish the remaining time to be displayed
until the end of the set period of time, press
or until symbol flashes and then
press and keep it pressed in. Symbol
flashes and the word lights up.
Keep pressed in again to return to the
real time.
Switch off oven
Conventional
It is used for sponges and cakes where the
heat received must be uniform to achieve a
spongy texture.
Conventional with fan
Appropriate for roasts and cakes. The fan
spreads the heat uniformly inside the oven.
Grill
For preparing dishes with superficial roasting.
It allows the outer layer to be browned without
affecting the inside of the food. Ideal for flat
food, such as steaks, ribs, fish, toast.
MaxiGrill
Allows greater surfaces to be prepared, than
with the grill, together with higher power
reducing the time required for browning of the
food.
MaxiGrill with fan
Allows uniform roasting at the same time as
surface browning. Ideal for grills. Special for
large volume pieces, such as poultry, game
etc. It is recommended to put the item on a
rack with a tray beneath to collect the stock
and juices.
Caution
While using the Grill, MaxiGrill or MaxiGrill with
fan, the door must be kept closed.
Turbo
The fan distributes the heat produced by an
element located at the rear of the oven. Due to
the uniform heat distribution, it allows roasting
and baking to take place at two heights at the
same time.
This cooking mode allows defrosting of food.
To do this, set the temperature selector to
position.
Lower element
Heats only from beneath. Suitable for heating
dishes and raising pastry and similar.
Lower element with fan
It distributes the heat from the lower part of
the oven and is ideal for cakes with jam or fruit
filling, which only require heating from
beneath. Pre-heating is always necessary.
Grill and Lower element
Special for roasts. It can be used for any
piece, whatever its size.
Note
The pilot light remains on in any cooking
function.
Heruntergeladen von manualslib.de Handbücher-Suchmachiene

17
ENGLISH
Technical Information
This oven has got a door temperature of below 60 K (as per EN 60335-1/2-6)
Setting the Cooking Time
1Press or until symbol lights up.
Press .
2Select the period of time you wish to cook
for by pressing or .
3The clock beeps twice, the current time is
displayed and symbol lights up perma-
nently to indicate that the oven will turn
itself off automatically.
4Select a cooking function and temperature.
5When the cooking time comes to an end,
the oven turns itself off, the alarm sounds
and symbol flashes.
6Press any button to stop the alarm and turn
the oven back on again.
7Set the controls to to turn the oven off.
You can consult the remaining cooking time at
any moment by pressing or until sym-
bol flashes and then pressing . You
can also modify the set time at this point by
pressing or . The clock beeps twice to
confirm the change.
If you wish the remaining time to be displayed
until the end of the set period of time, press
or until symbol flashes and then
press and keep it pressed in. Symbol
flashes and the word lights up.
Keep pressed in again to return to the
real time.
Setting the End Cooking Time
1Press or until symbol lights up.
Press .
2Select the time you wish the cooking
process to finish at by pressing or .
3The clock beeps twice, the current time is
displayed and symbol lights up perma-
nently to indicate that the oven will turn
itself off automatically.
4Select a cooking function and temperature.
5When the set time is reached, the oven
turns itself off, the alarm sounds and sym-
bol flashes.
6Press any button to stop the alarm and turn
the oven back on again.
7Set the controls to to turn the oven off.
You can consult the end cooking time at any
moment by pressing or until symbol
flashes and then pressing . You can
also modify the end cooking time at this point
by pressing or . The clock beeps twice
to confirm the change.
This function can be used even when you are
already using the oven. To do this, follow the
instructions indicated above except point
number 4.
Setting the Cooking Time and the End
Cooking Time
1Press or until symbol lights
up. Press .
2Select the period of time you wish to cook
for by pressing or .
3The clock beeps twice, the current time is
displayed and symbol lights up per-
manently.
4Press or until symbol lights
up. Press .
5Select the time you wish the cooking
process to finish at by pressing or .
6The clock beeps twice, the current time is
displayed and symbol lights up per-
manently.
7Select a cooking function and temperature.
8The oven remains off with symbols
and lit up. Your oven is set.
9When the time to start cooking is reached,
the oven starts up and cooks for the set
period of time.
10 When the set end cooking time is reached,
the oven turns itself off, the alarm sounds
and symbols and flash.
11 Press any button to stop the alarm and
turn the oven back on again.
12 Set the controls to to turn the oven off.
You can modify the end cooking time by
pressing or until symbol lights up
and then pressing . You can now modify
the end cooking time by pressing or .
The clock beeps twice to confirm the change.
Child Safety Function.
Keep pressed in to activate this function.
The clock beeps twice and symbol lights
up. The clock is blocked.
If the child safety function is activated when
the oven is off (function control set to ),
then the oven cannot be turned on until the
function is deactivated. If the child safety
function is activated when the oven is set to
a cooking function, then the clock settings
cannot be modified until the function is deac-
tivated.
Keep pressed in to deactivate this func-
tion. The oven beeps twice and symbol
goes out.
Important
In the event of a power cut, all the electronic
clock settings are deleted and the indication
00:00 flashes on the display. It is necessary
to set the time and programme the clock
again.
16
Heruntergeladen von manualslib.de Handbücher-Suchmachiene

17
ENGLISH
Technical Information
This oven has got a door temperature of below 60 K (as per EN 60335-1/2-6)
Setting the Cooking Time
1Press or until symbol lights up.
Press .
2Select the period of time you wish to cook
for by pressing or .
3The clock beeps twice, the current time is
displayed and symbol lights up perma-
nently to indicate that the oven will turn
itself off automatically.
4Select a cooking function and temperature.
5When the cooking time comes to an end,
the oven turns itself off, the alarm sounds
and symbol flashes.
6Press any button to stop the alarm and turn
the oven back on again.
7Set the controls to to turn the oven off.
You can consult the remaining cooking time at
any moment by pressing or until sym-
bol flashes and then pressing . You
can also modify the set time at this point by
pressing or . The clock beeps twice to
confirm the change.
If you wish the remaining time to be displayed
until the end of the set period of time, press
or until symbol flashes and then
press and keep it pressed in. Symbol
flashes and the word lights up.
Keep pressed in again to return to the
real time.
Setting the End Cooking Time
1Press or until symbol lights up.
Press .
2Select the time you wish the cooking
process to finish at by pressing or .
3The clock beeps twice, the current time is
displayed and symbol lights up perma-
nently to indicate that the oven will turn
itself off automatically.
4Select a cooking function and temperature.
5When the set time is reached, the oven
turns itself off, the alarm sounds and sym-
bol flashes.
6Press any button to stop the alarm and turn
the oven back on again.
7Set the controls to to turn the oven off.
You can consult the end cooking time at any
moment by pressing or until symbol
flashes and then pressing . You can
also modify the end cooking time at this point
by pressing or . The clock beeps twice
to confirm the change.
This function can be used even when you are
already using the oven. To do this, follow the
instructions indicated above except point
number 4.
Setting the Cooking Time and the End
Cooking Time
1Press or until symbol lights
up. Press .
2Select the period of time you wish to cook
for by pressing or .
3The clock beeps twice, the current time is
displayed and symbol lights up per-
manently.
4Press or until symbol lights
up. Press .
5Select the time you wish the cooking
process to finish at by pressing or .
6The clock beeps twice, the current time is
displayed and symbol lights up per-
manently.
7Select a cooking function and temperature.
8The oven remains off with symbols
and lit up. Your oven is set.
9When the time to start cooking is reached,
the oven starts up and cooks for the set
period of time.
10 When the set end cooking time is reached,
the oven turns itself off, the alarm sounds
and symbols and flash.
11 Press any button to stop the alarm and
turn the oven back on again.
12 Set the controls to to turn the oven off.
You can modify the end cooking time by
pressing or until symbol lights up
and then pressing . You can now modify
the end cooking time by pressing or .
The clock beeps twice to confirm the change.
Child Safety Function.
Keep pressed in to activate this function.
The clock beeps twice and symbol lights
up. The clock is blocked.
If the child safety function is activated when
the oven is off (function control set to ),
then the oven cannot be turned on until the
function is deactivated. If the child safety
function is activated when the oven is set to
a cooking function, then the clock settings
cannot be modified until the function is deac-
tivated.
Keep pressed in to deactivate this func-
tion. The oven beeps twice and symbol
goes out.
Important
In the event of a power cut, all the electronic
clock settings are deleted and the indication
00:00 flashes on the display. It is necessary
to set the time and programme the clock
again.
16
Heruntergeladen von manualslib.de Handbücher-Suchmachiene
Other manuals for HA-845
1
Table of contents
Other Teka Oven manuals
Popular Oven manuals by other brands

Electrolux
Electrolux Air-O-Steam 267503 Brochure & specs

Oster
Oster OS-BOV70DC instruction manual

Jenn-Air
Jenn-Air JJW2427DS installation instructions

Integrated Appliance group
Integrated Appliance group AOM9SE2 Installation and operation manual

Gemini
Gemini GOG28B manual

Siemens
Siemens CM978GN 1B Series User manual and installation instructions